Work has once again commenced on Hague this week after almost a year of next to none (besides the back yard cleanup this past summer). Jason and I ran electrical to the bathroom in prep for the Durock cement board to go in. Hope to begin that by the end of the week. Feels good to be back.

Massive Back Yard Cleanup: Before and Afters
Things are once again mostly stalled on Hague construction wise as my attention is on projects at the other houses. That said, we did recently hire someone we’ve worked with before to complete a massive back yard cleanup/clearing to make way for restoring a garden that was once there and planting a bee friendly lawn.
You simply won’t believe these before and after photos are the same yard…
Before:

After:

Before:

After:

The piles you see is the waste to be hauled away. I’ve already taken three pickup bed loads since the time the photos were taken and have about three more. This gives some idea of how badly overgrown it all was.
Once the brush is cleared the goal is to make it beautiful with plenty of native plantings and proper lawn seeding before the Fall
We managed to finish getting the subfloor in the main bathroom which was my main goal for March.

Next up: Some light electrical and then installing the base of the walls with some board (Durock for some at least).
Work on the main bathroom subfloor continues as Jason and I make adjustments and solve conundrums to make sure the subfloor is solid and level. This includes adding some new joisting and shaving some off the existing.

Plans are coming together.

Back on track.
It’s been a while, I know.
We intentionally slowed down on this project for a few months for reasons. One being that my attention has been on rebuilding a walk in shower in one of the bathrooms at our Summit House. Here’s how that turned out…

Now, we’re rolling again on rebuilding the main bathroom at Hague.
We left off with the plumbing work roughed in. Next on the list is removing the old subfloor so we can see about getting it all level.

The whole back part of the house is an addition and there is absolutely nothing level or square about it.

Therefore, we will need to come up with some creative solutions to get it to a place where the tile won’t flex and crack and one doesn’t have to step up three inches to enter.
We have a plan. We have the materials. it’s just a matter of executing it.
That should happen within the next ten days or so. It feels good to be moving on this again.


Today, we managed to finish getting the rest of the tile and cement/debris out of the bathroom (see final shot). Also, removed some portions of the subfloor to begin to plan what will need to be done to level out the joisting before putting in the new floor (after the plumbing is done, of course)


How they did things back in the day...
On top of the subfloor you lay down a layer of paper. Then, nail down some steel meshwork on top of that. Then pour 1-3 inches (depending on the levelness of the subfloor) of high sand concrete on top of that. Then spread a thin layer of setting mortar on top of that. Then set the tile and grout it.
Let’s just say it will be a LOT of work getting it all up so we can get to the subfloor and figure out what’s underneath. Also, several hundred pounds of debris to dispose of.
Here’s the progress so far…


Back to work after too long of a break. Today was spent doing some finishing work in order to call those officially done.
This started with replacing all of the bedroom door hinges on the second floor which were a hodgepodge of basic 1990’s henges like these:

Which I replaced with restored Victorian henges:


Jason also worked on installing a small piece of trim at the top of the stairs:

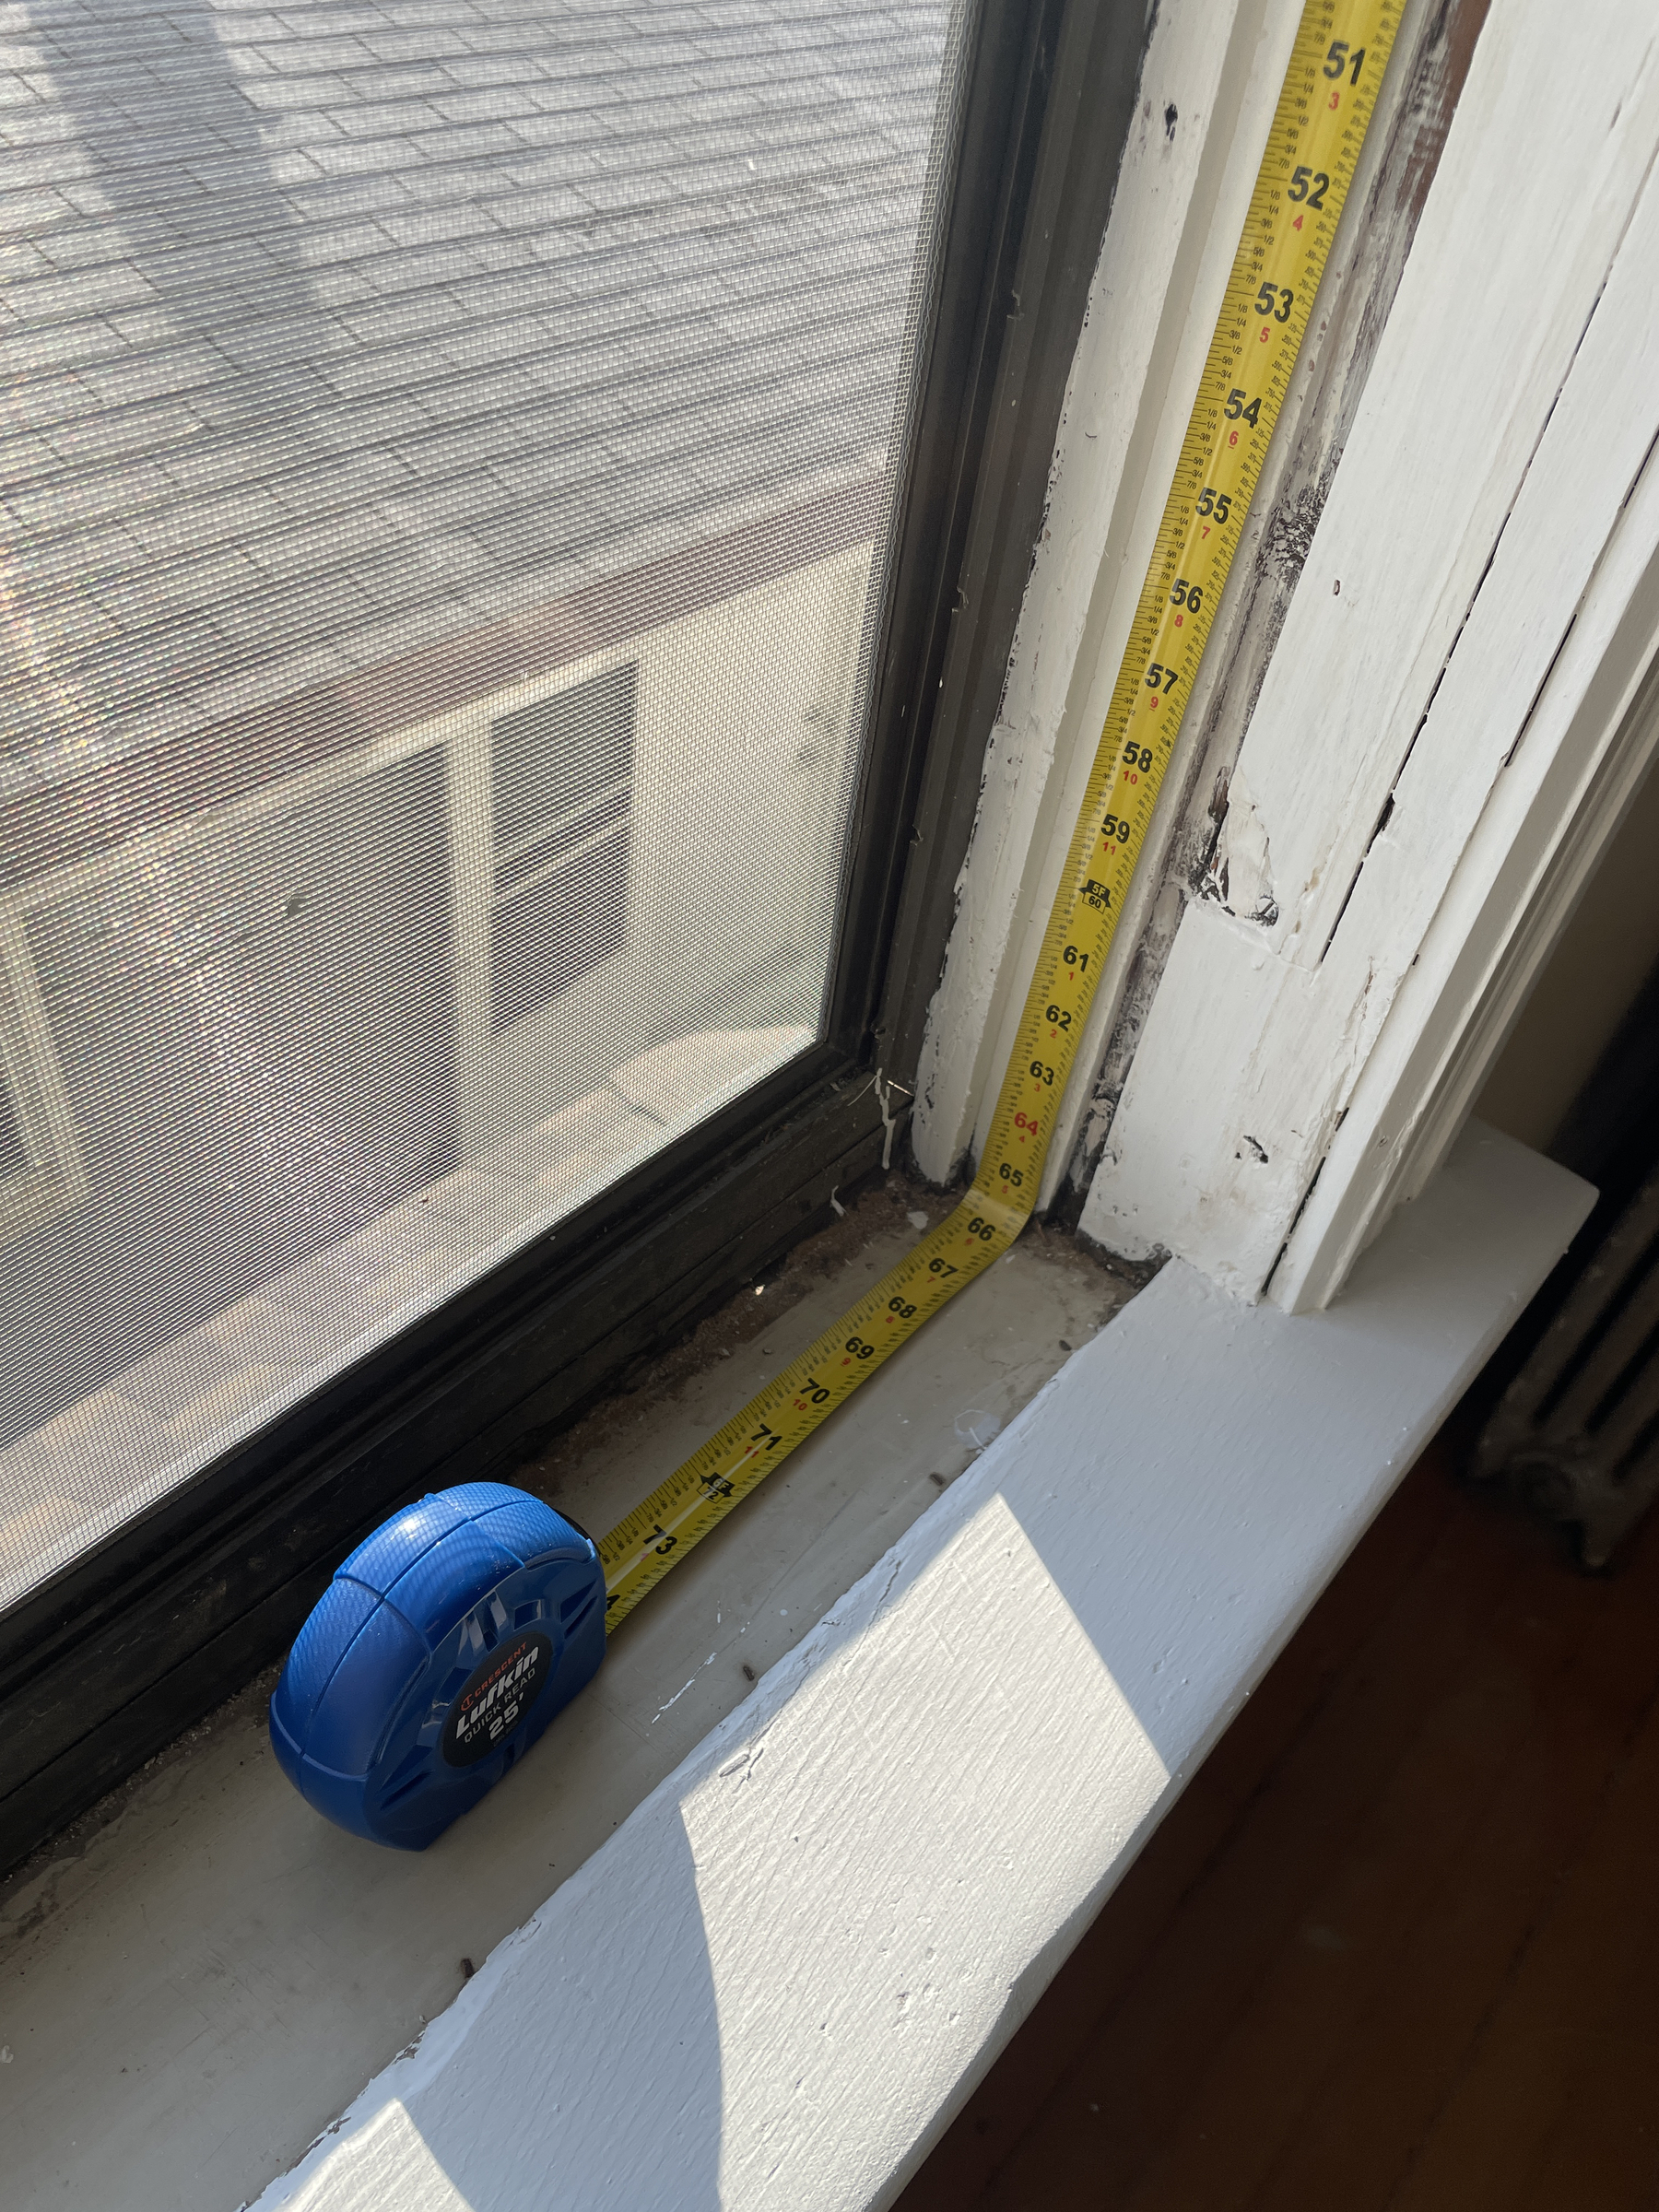
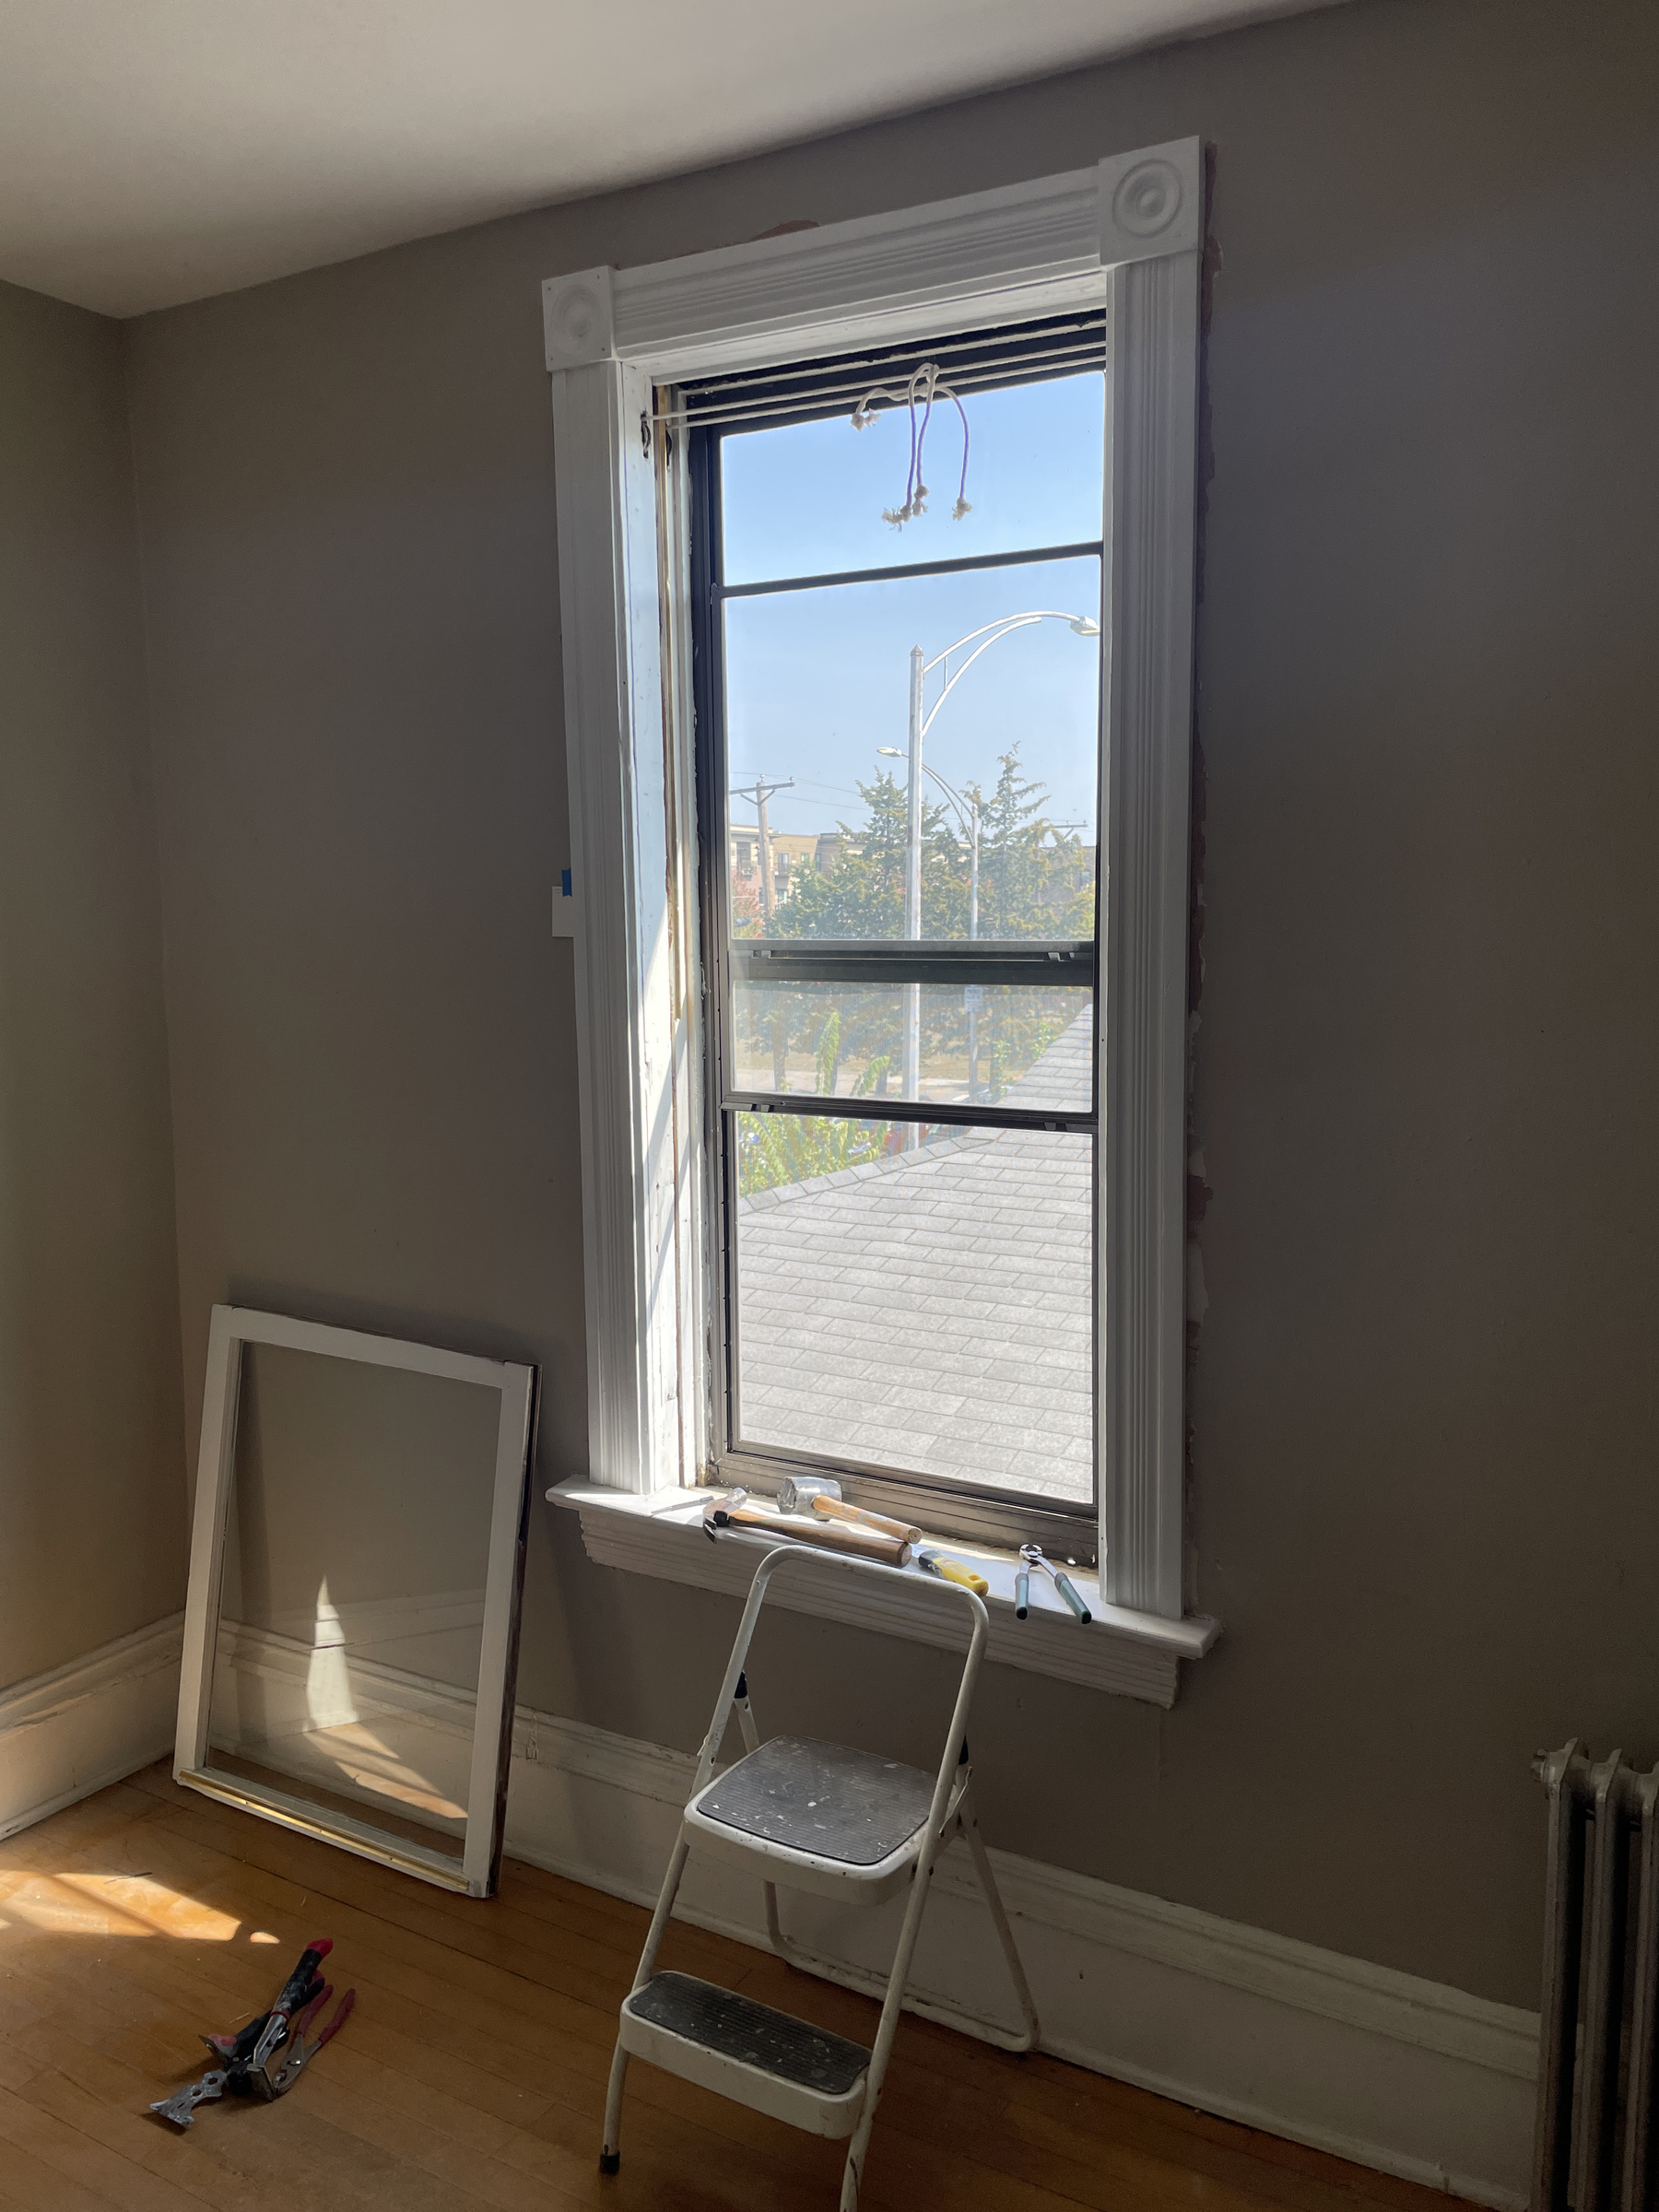
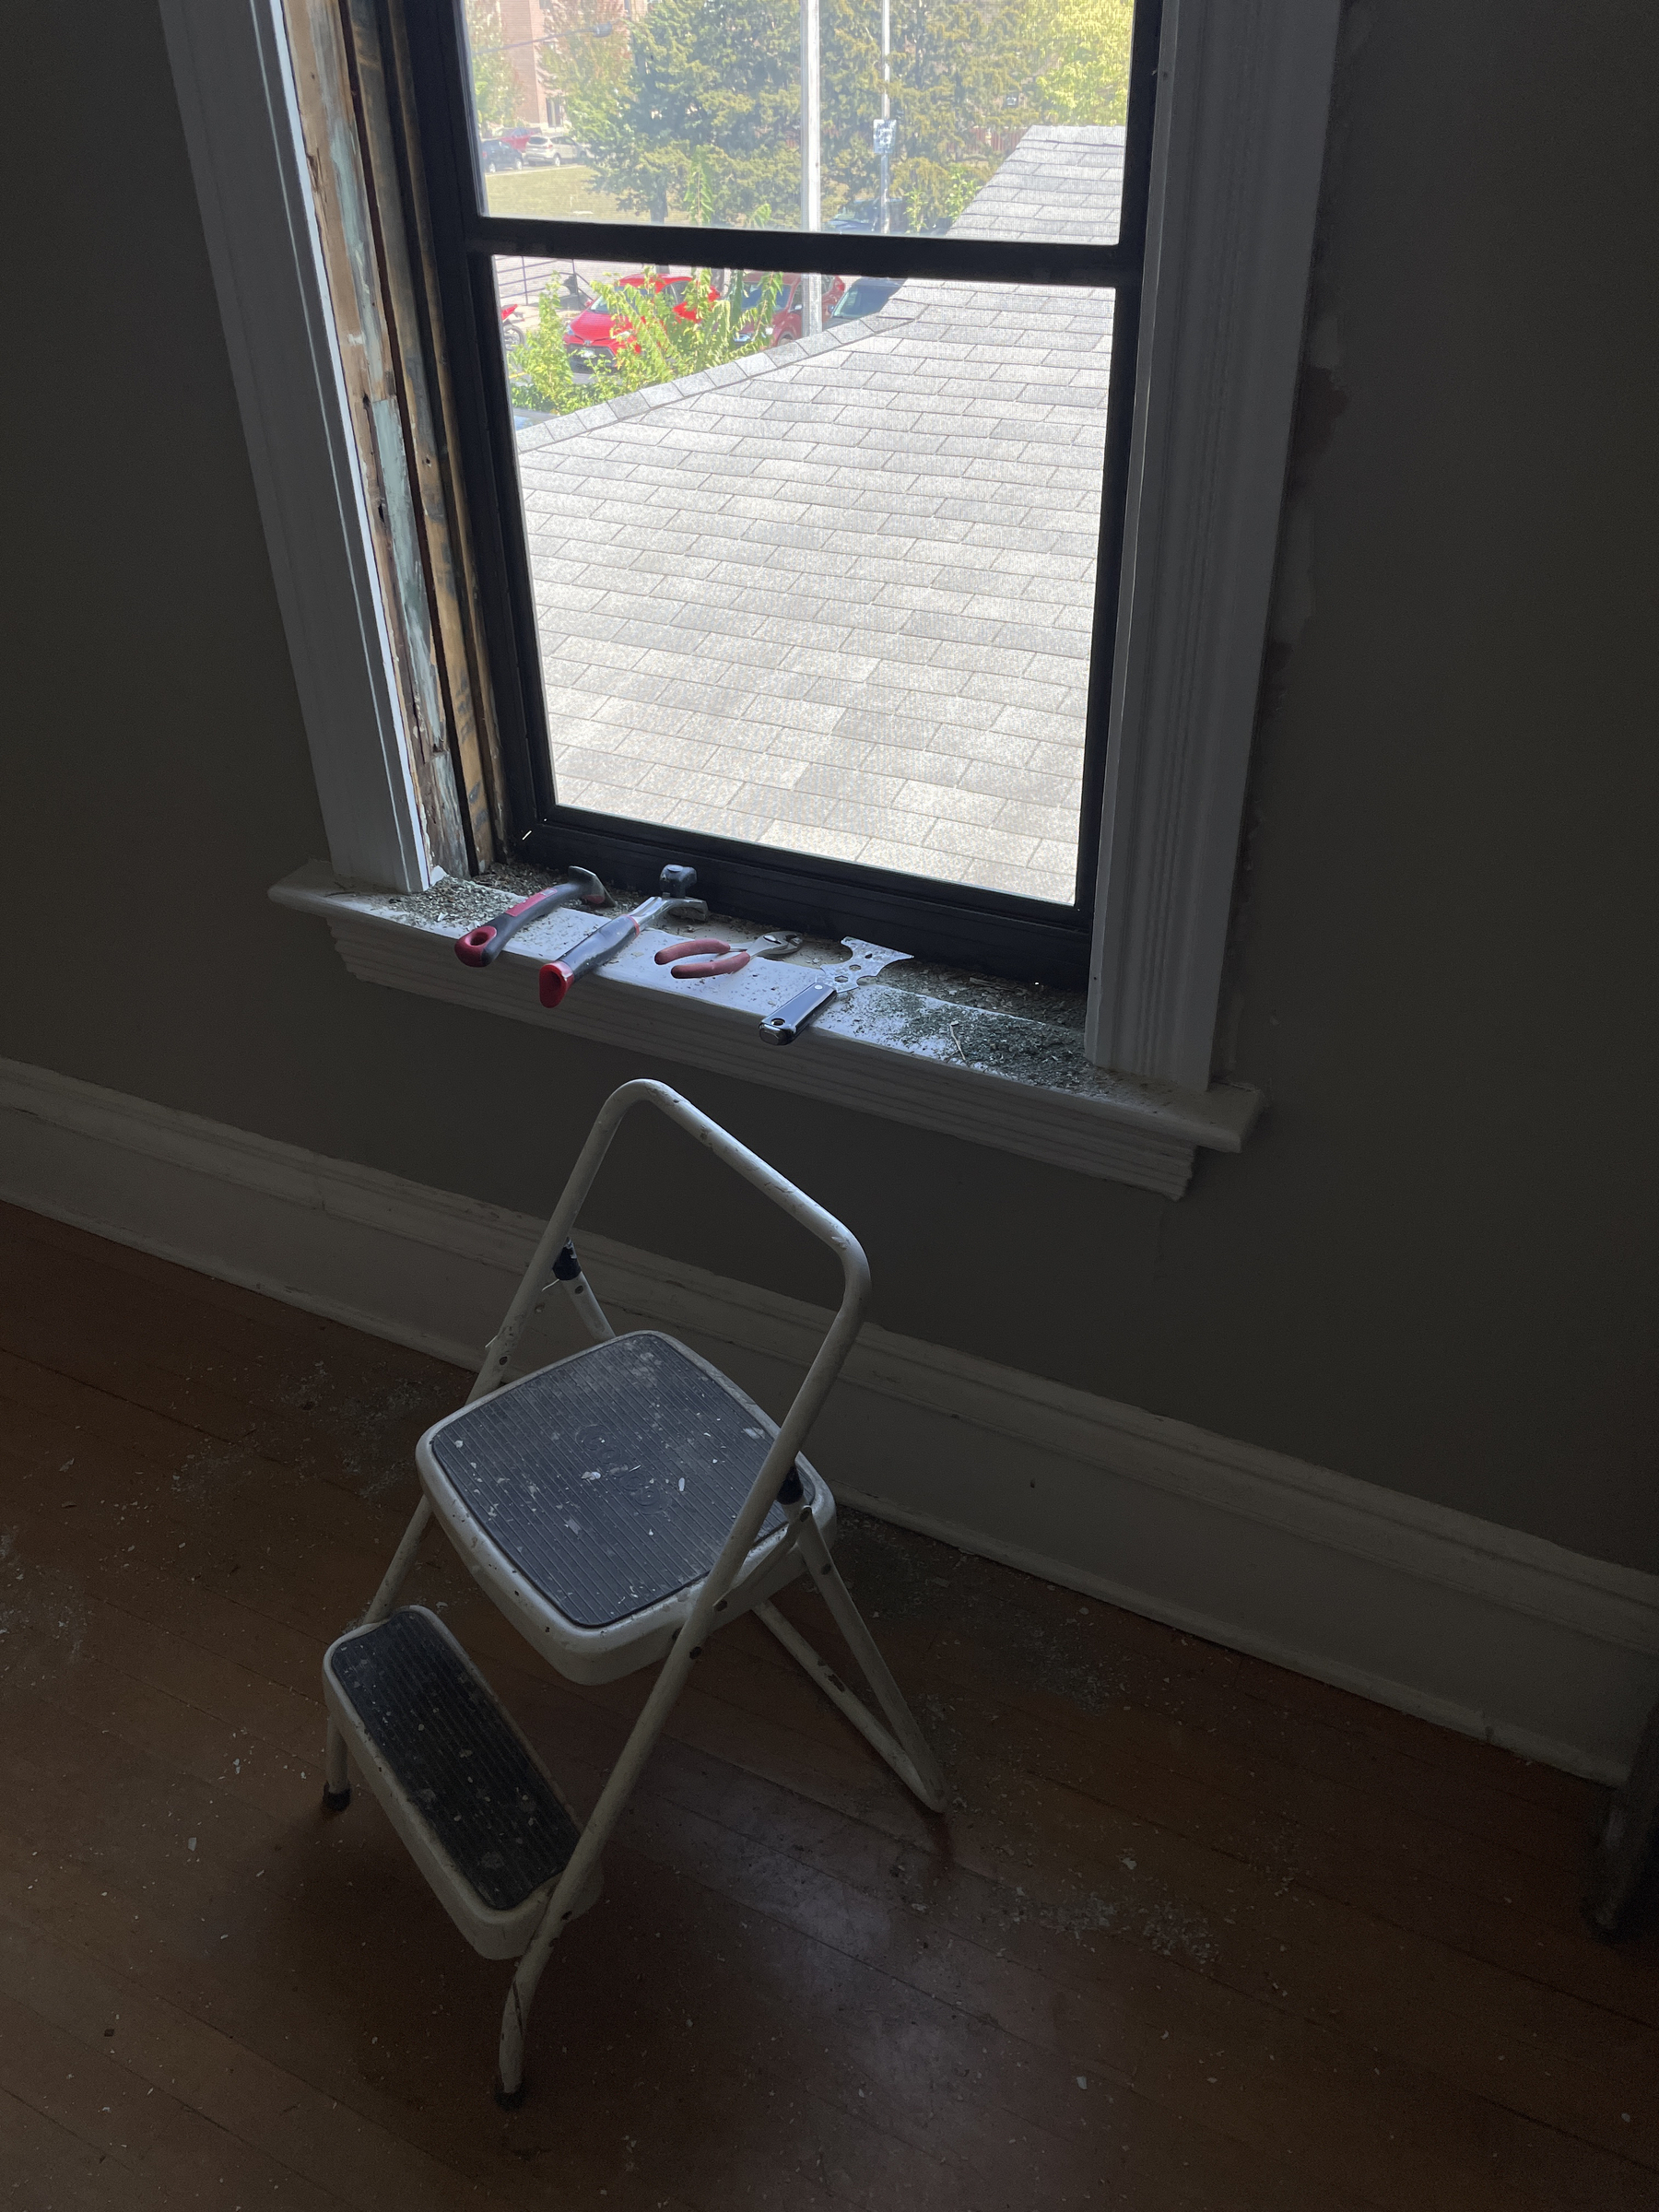
And I installed the sash stops in the window at the end of the hallway:

A Productive day all around.
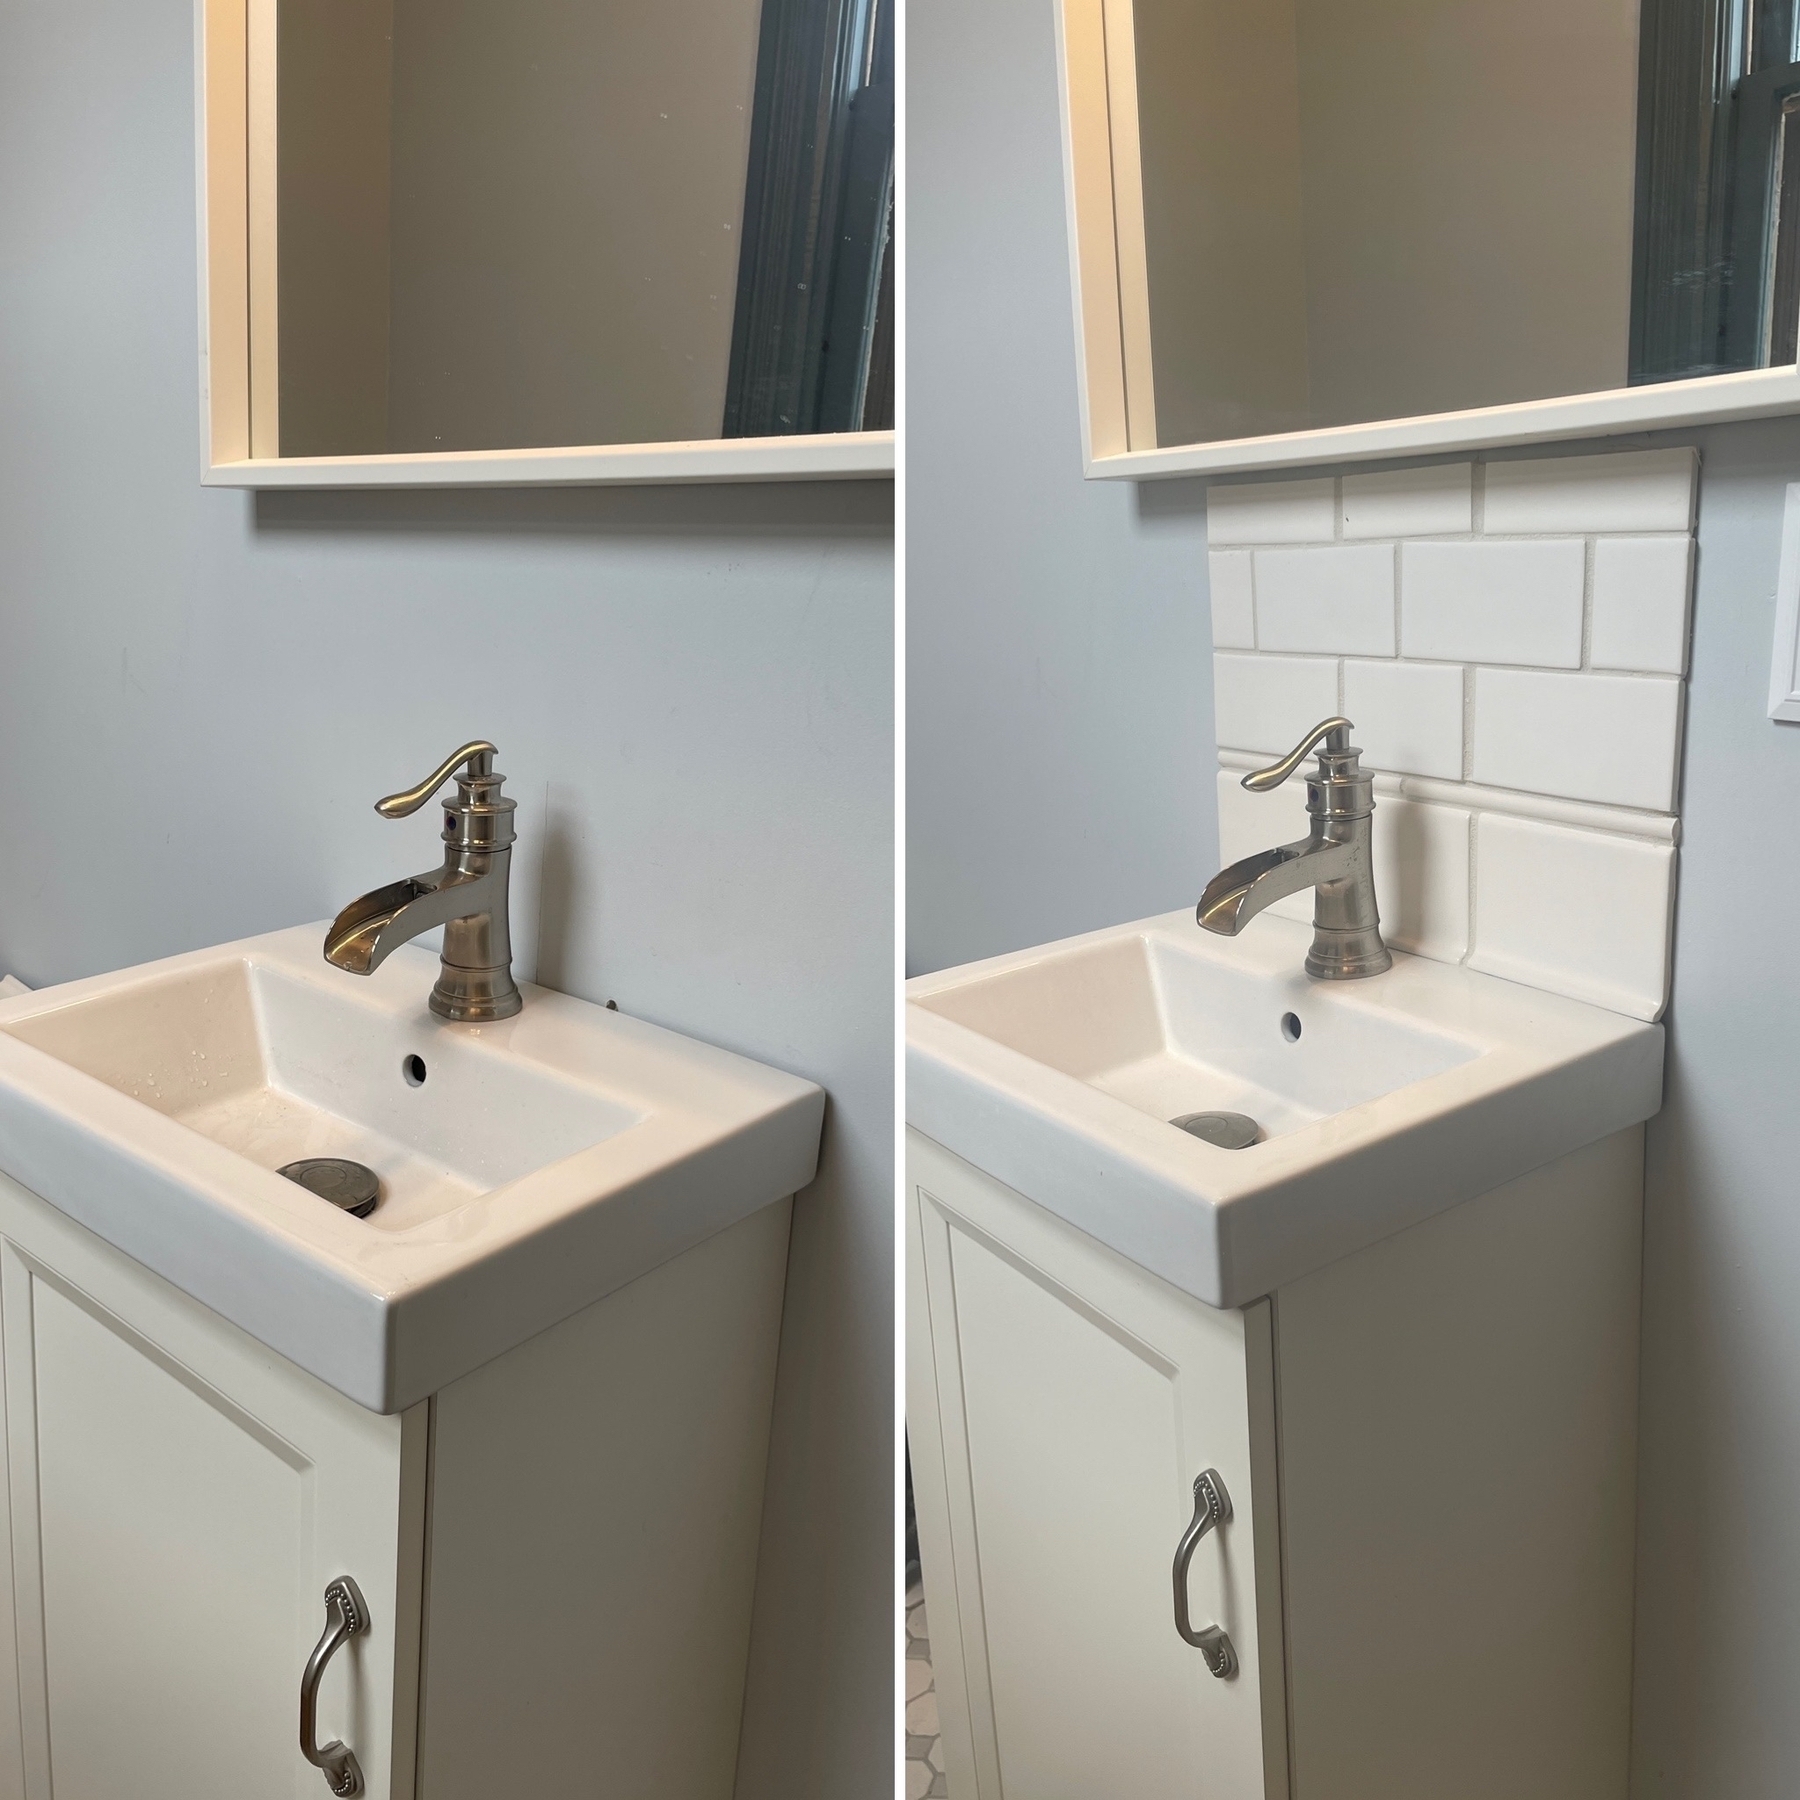
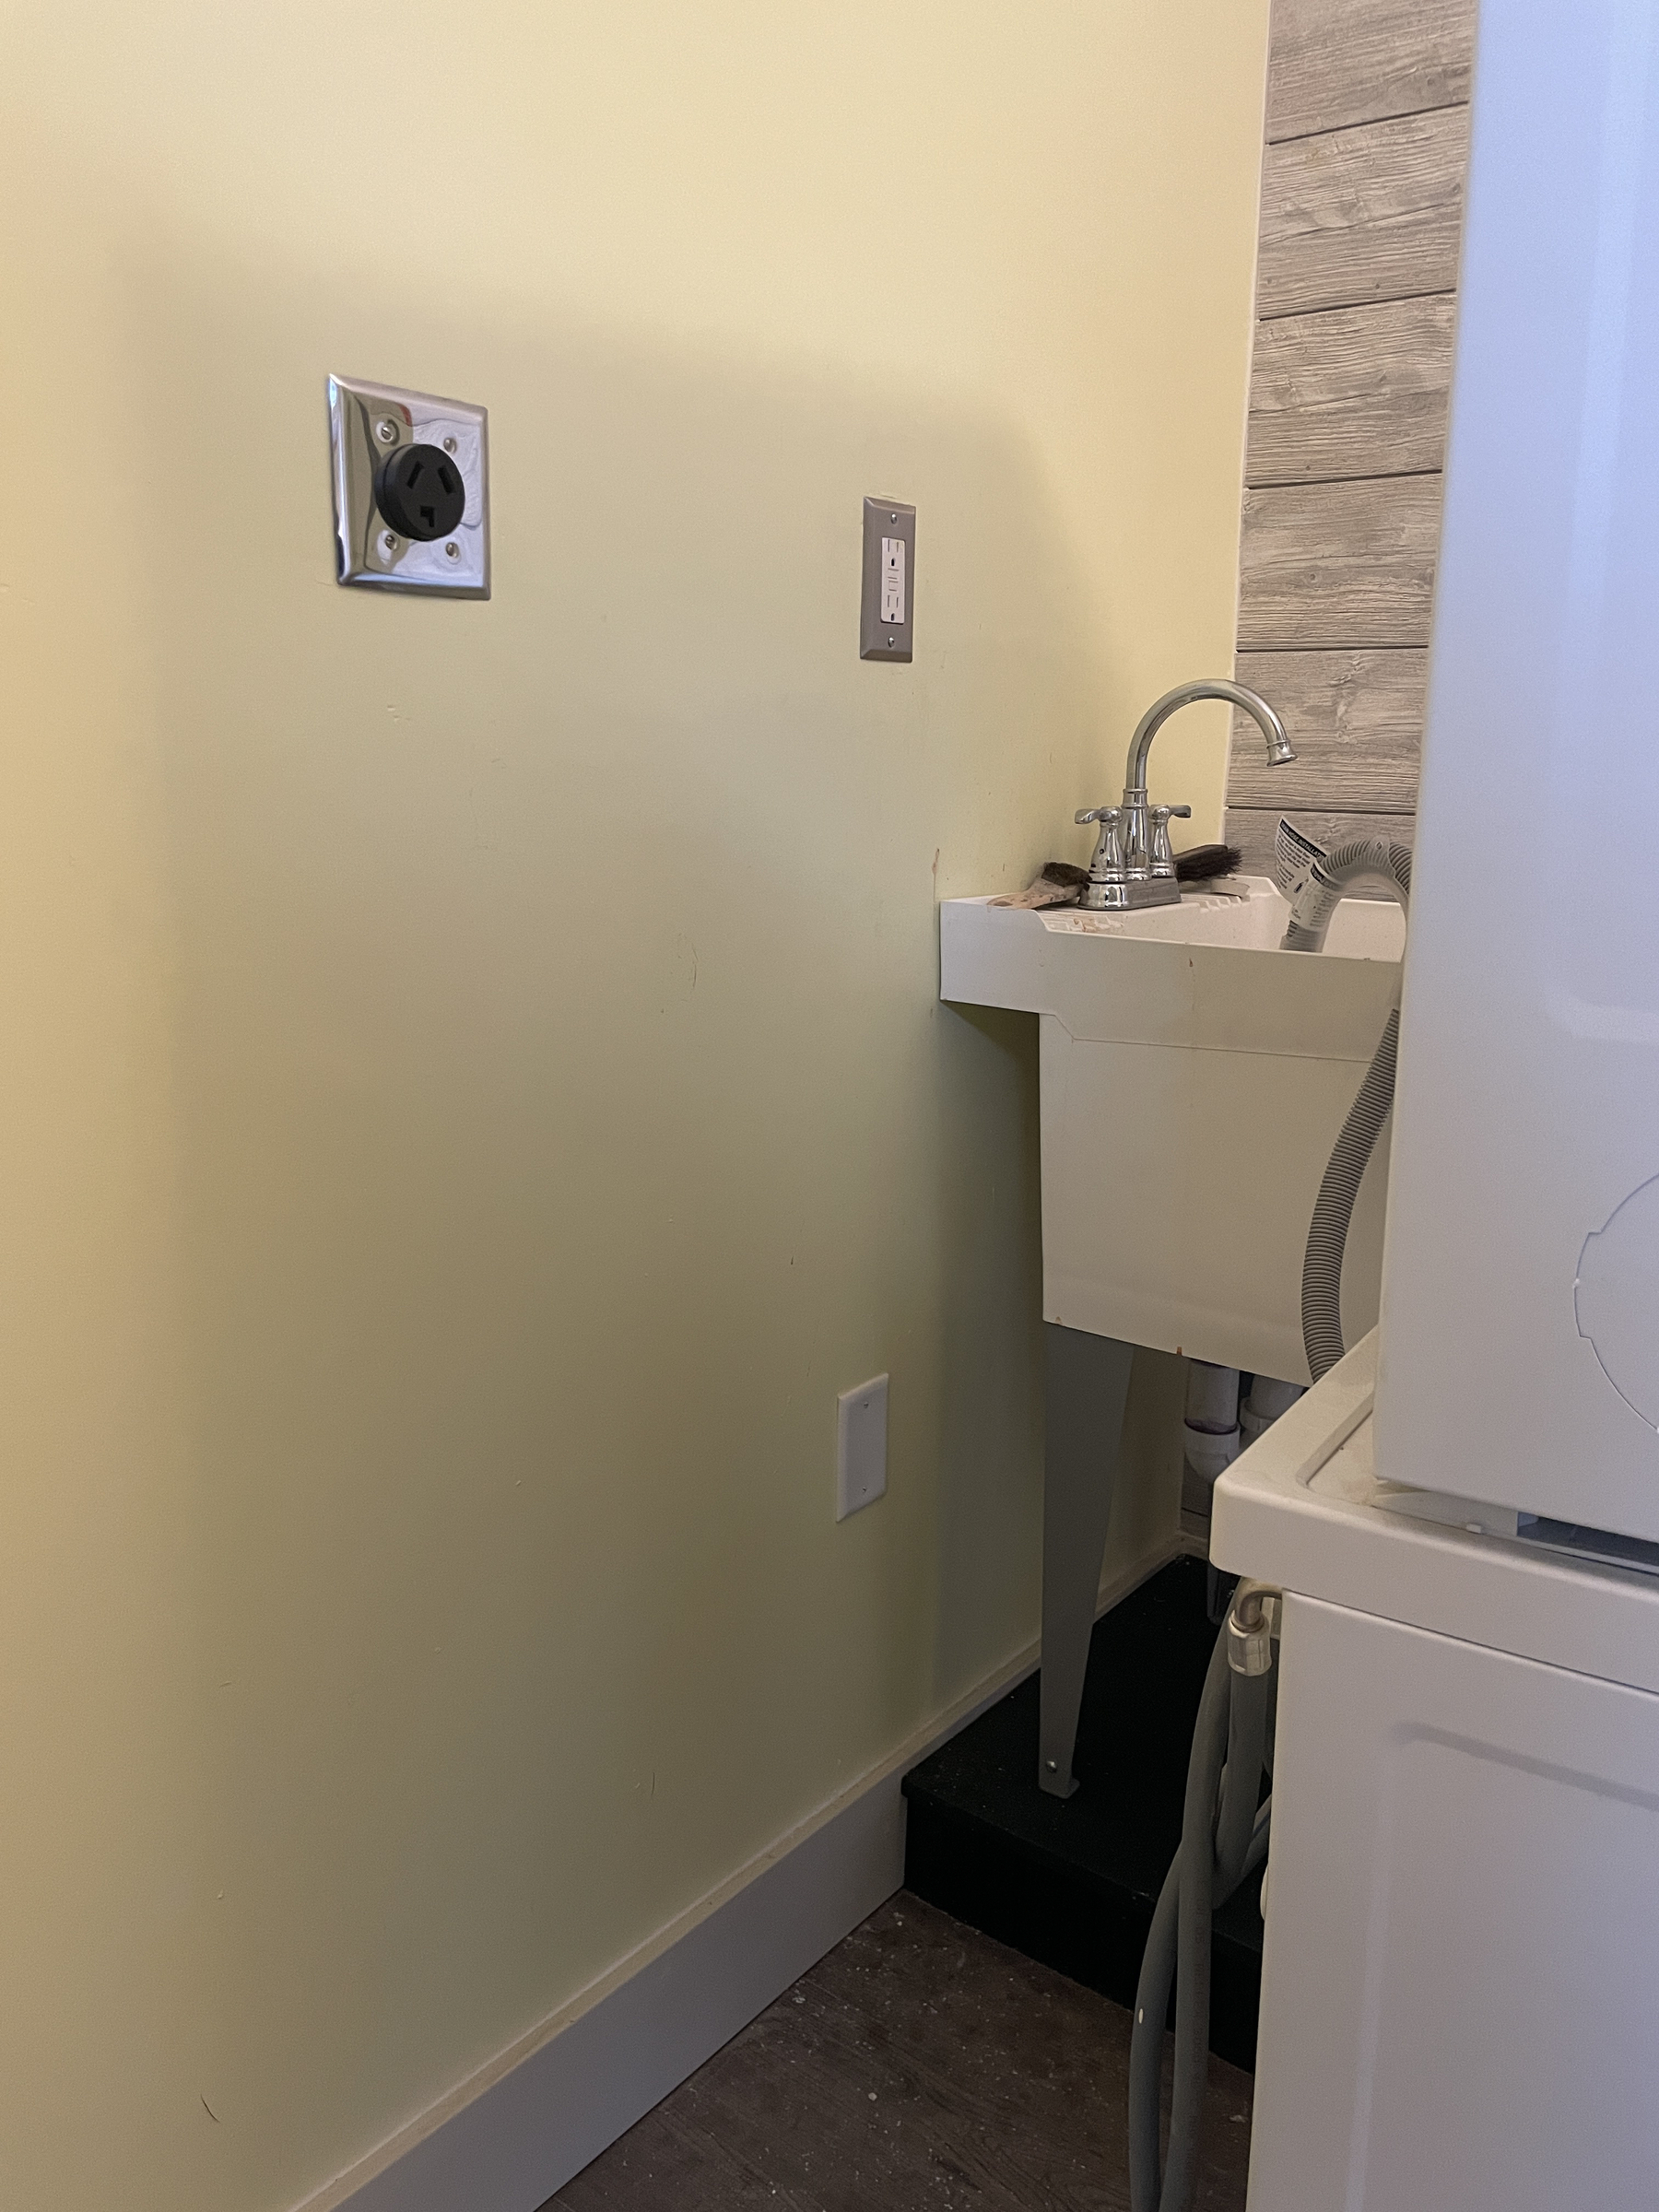
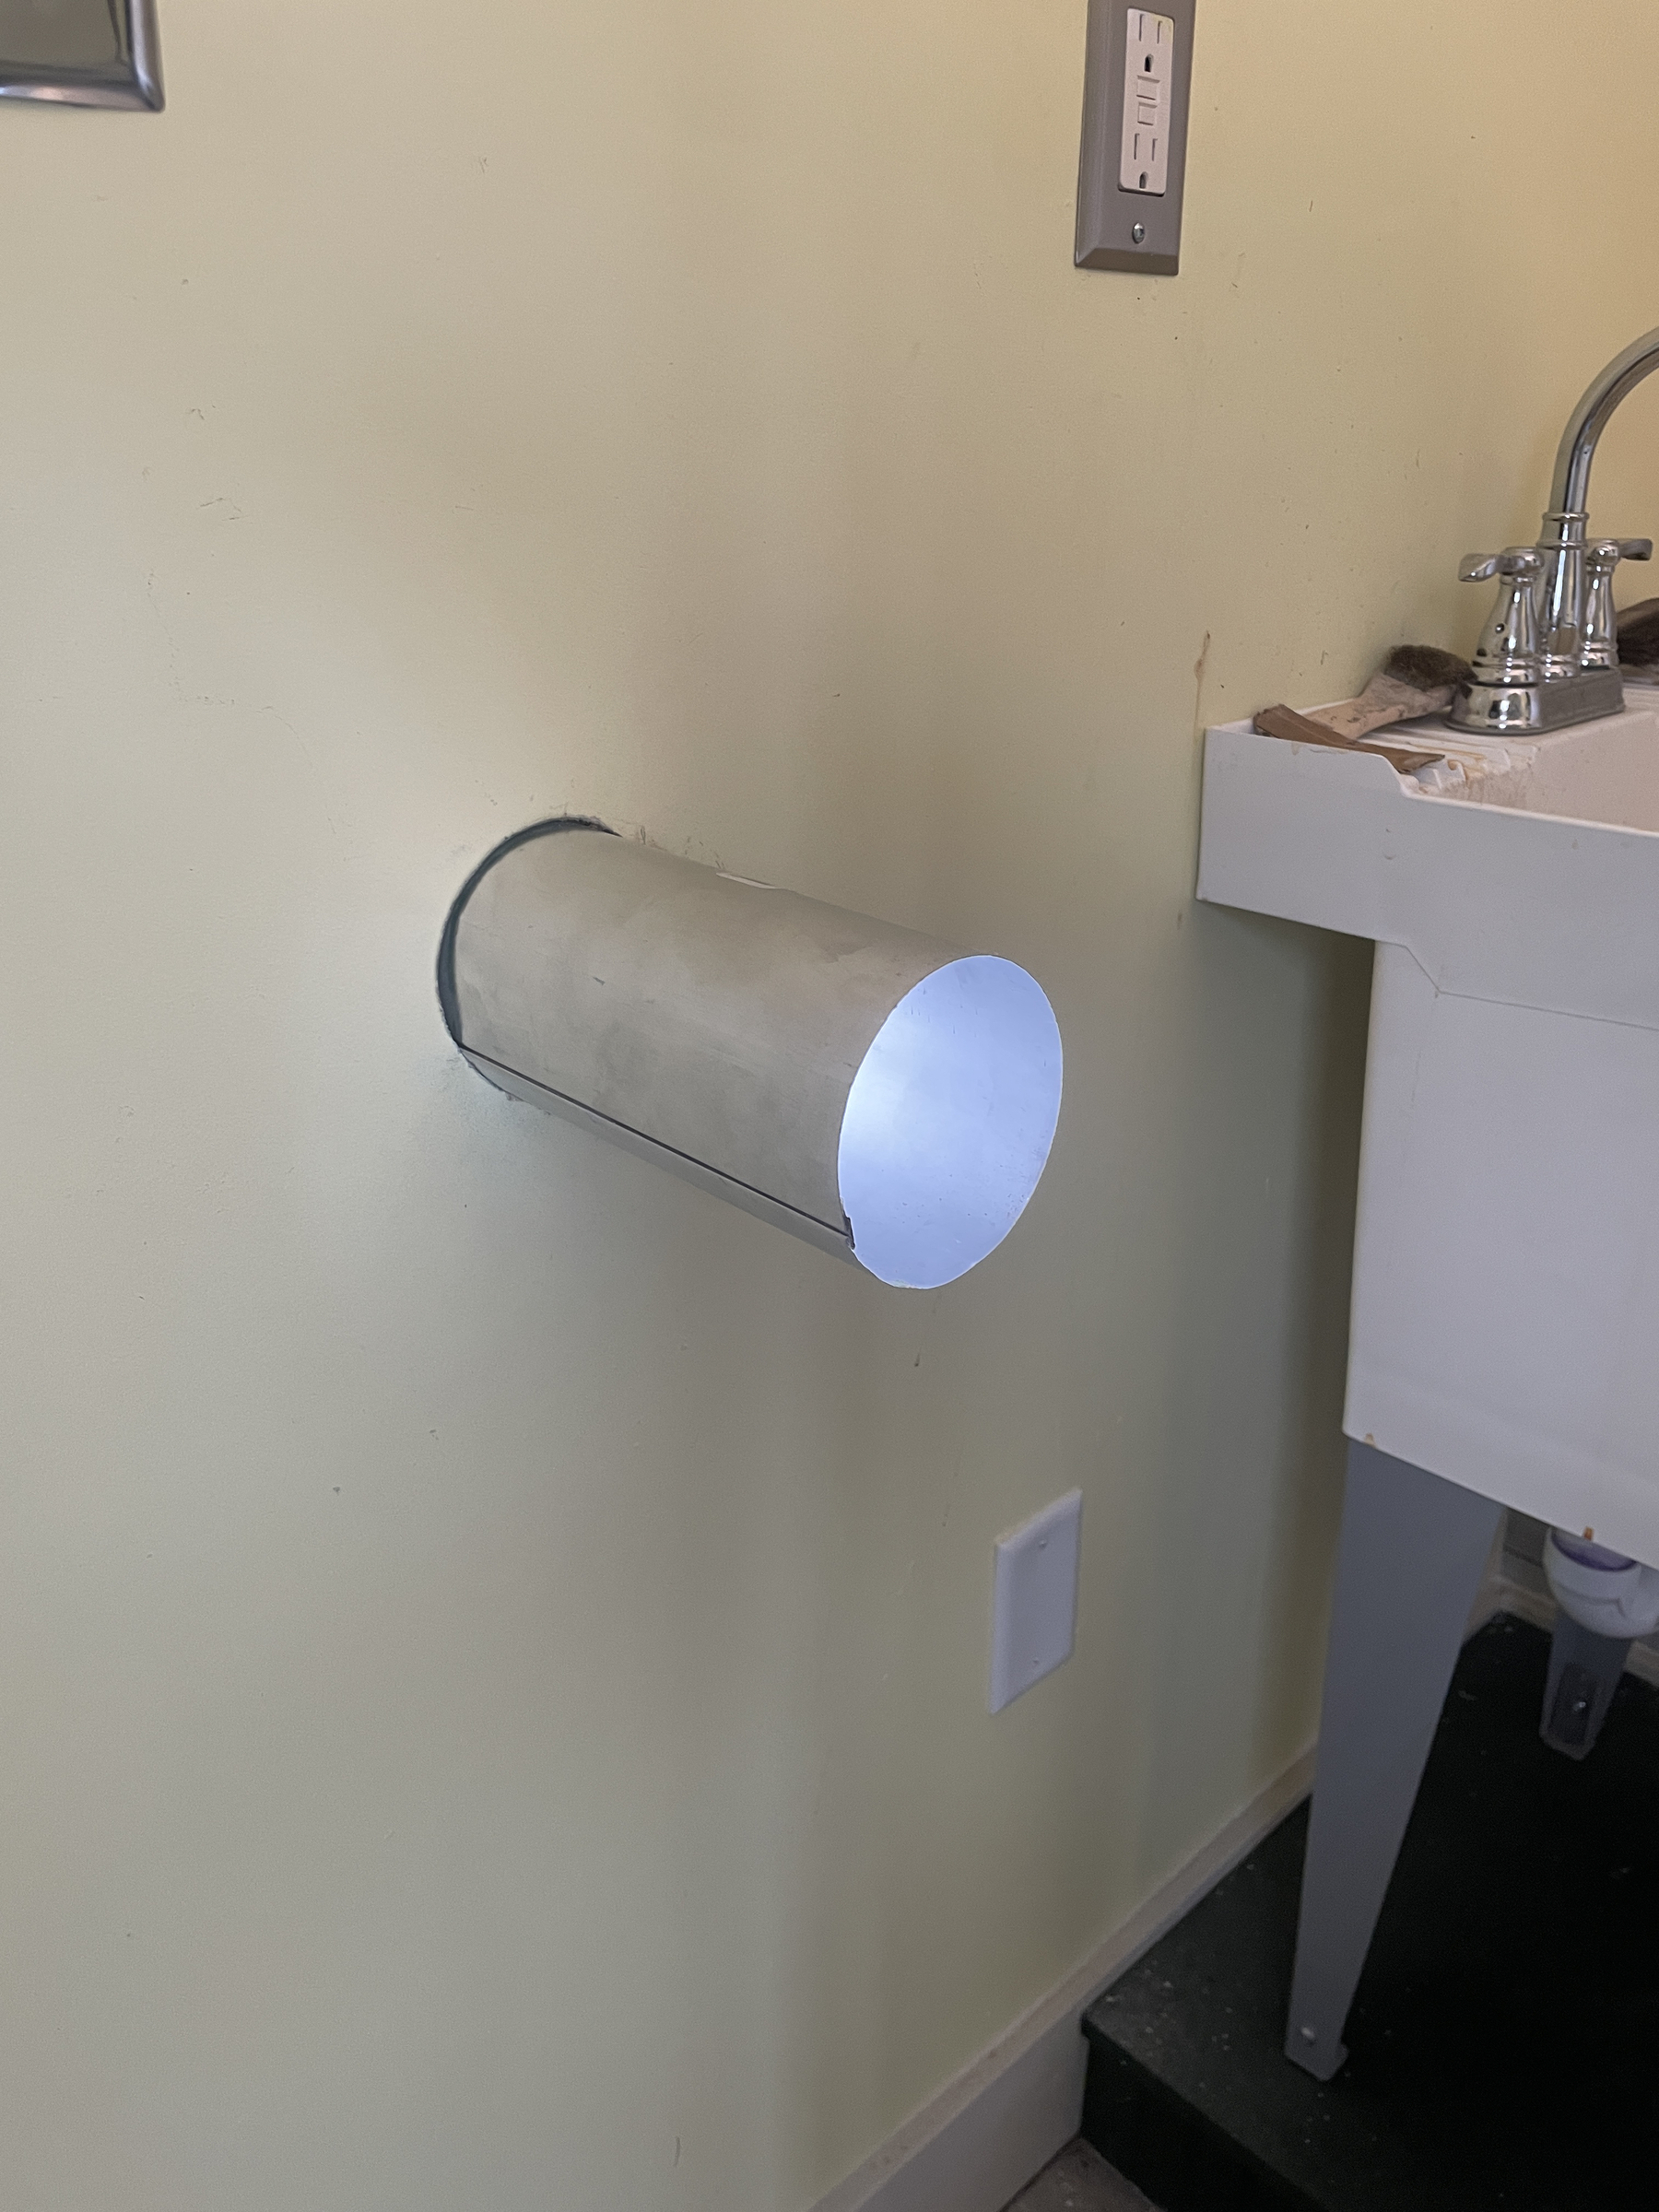
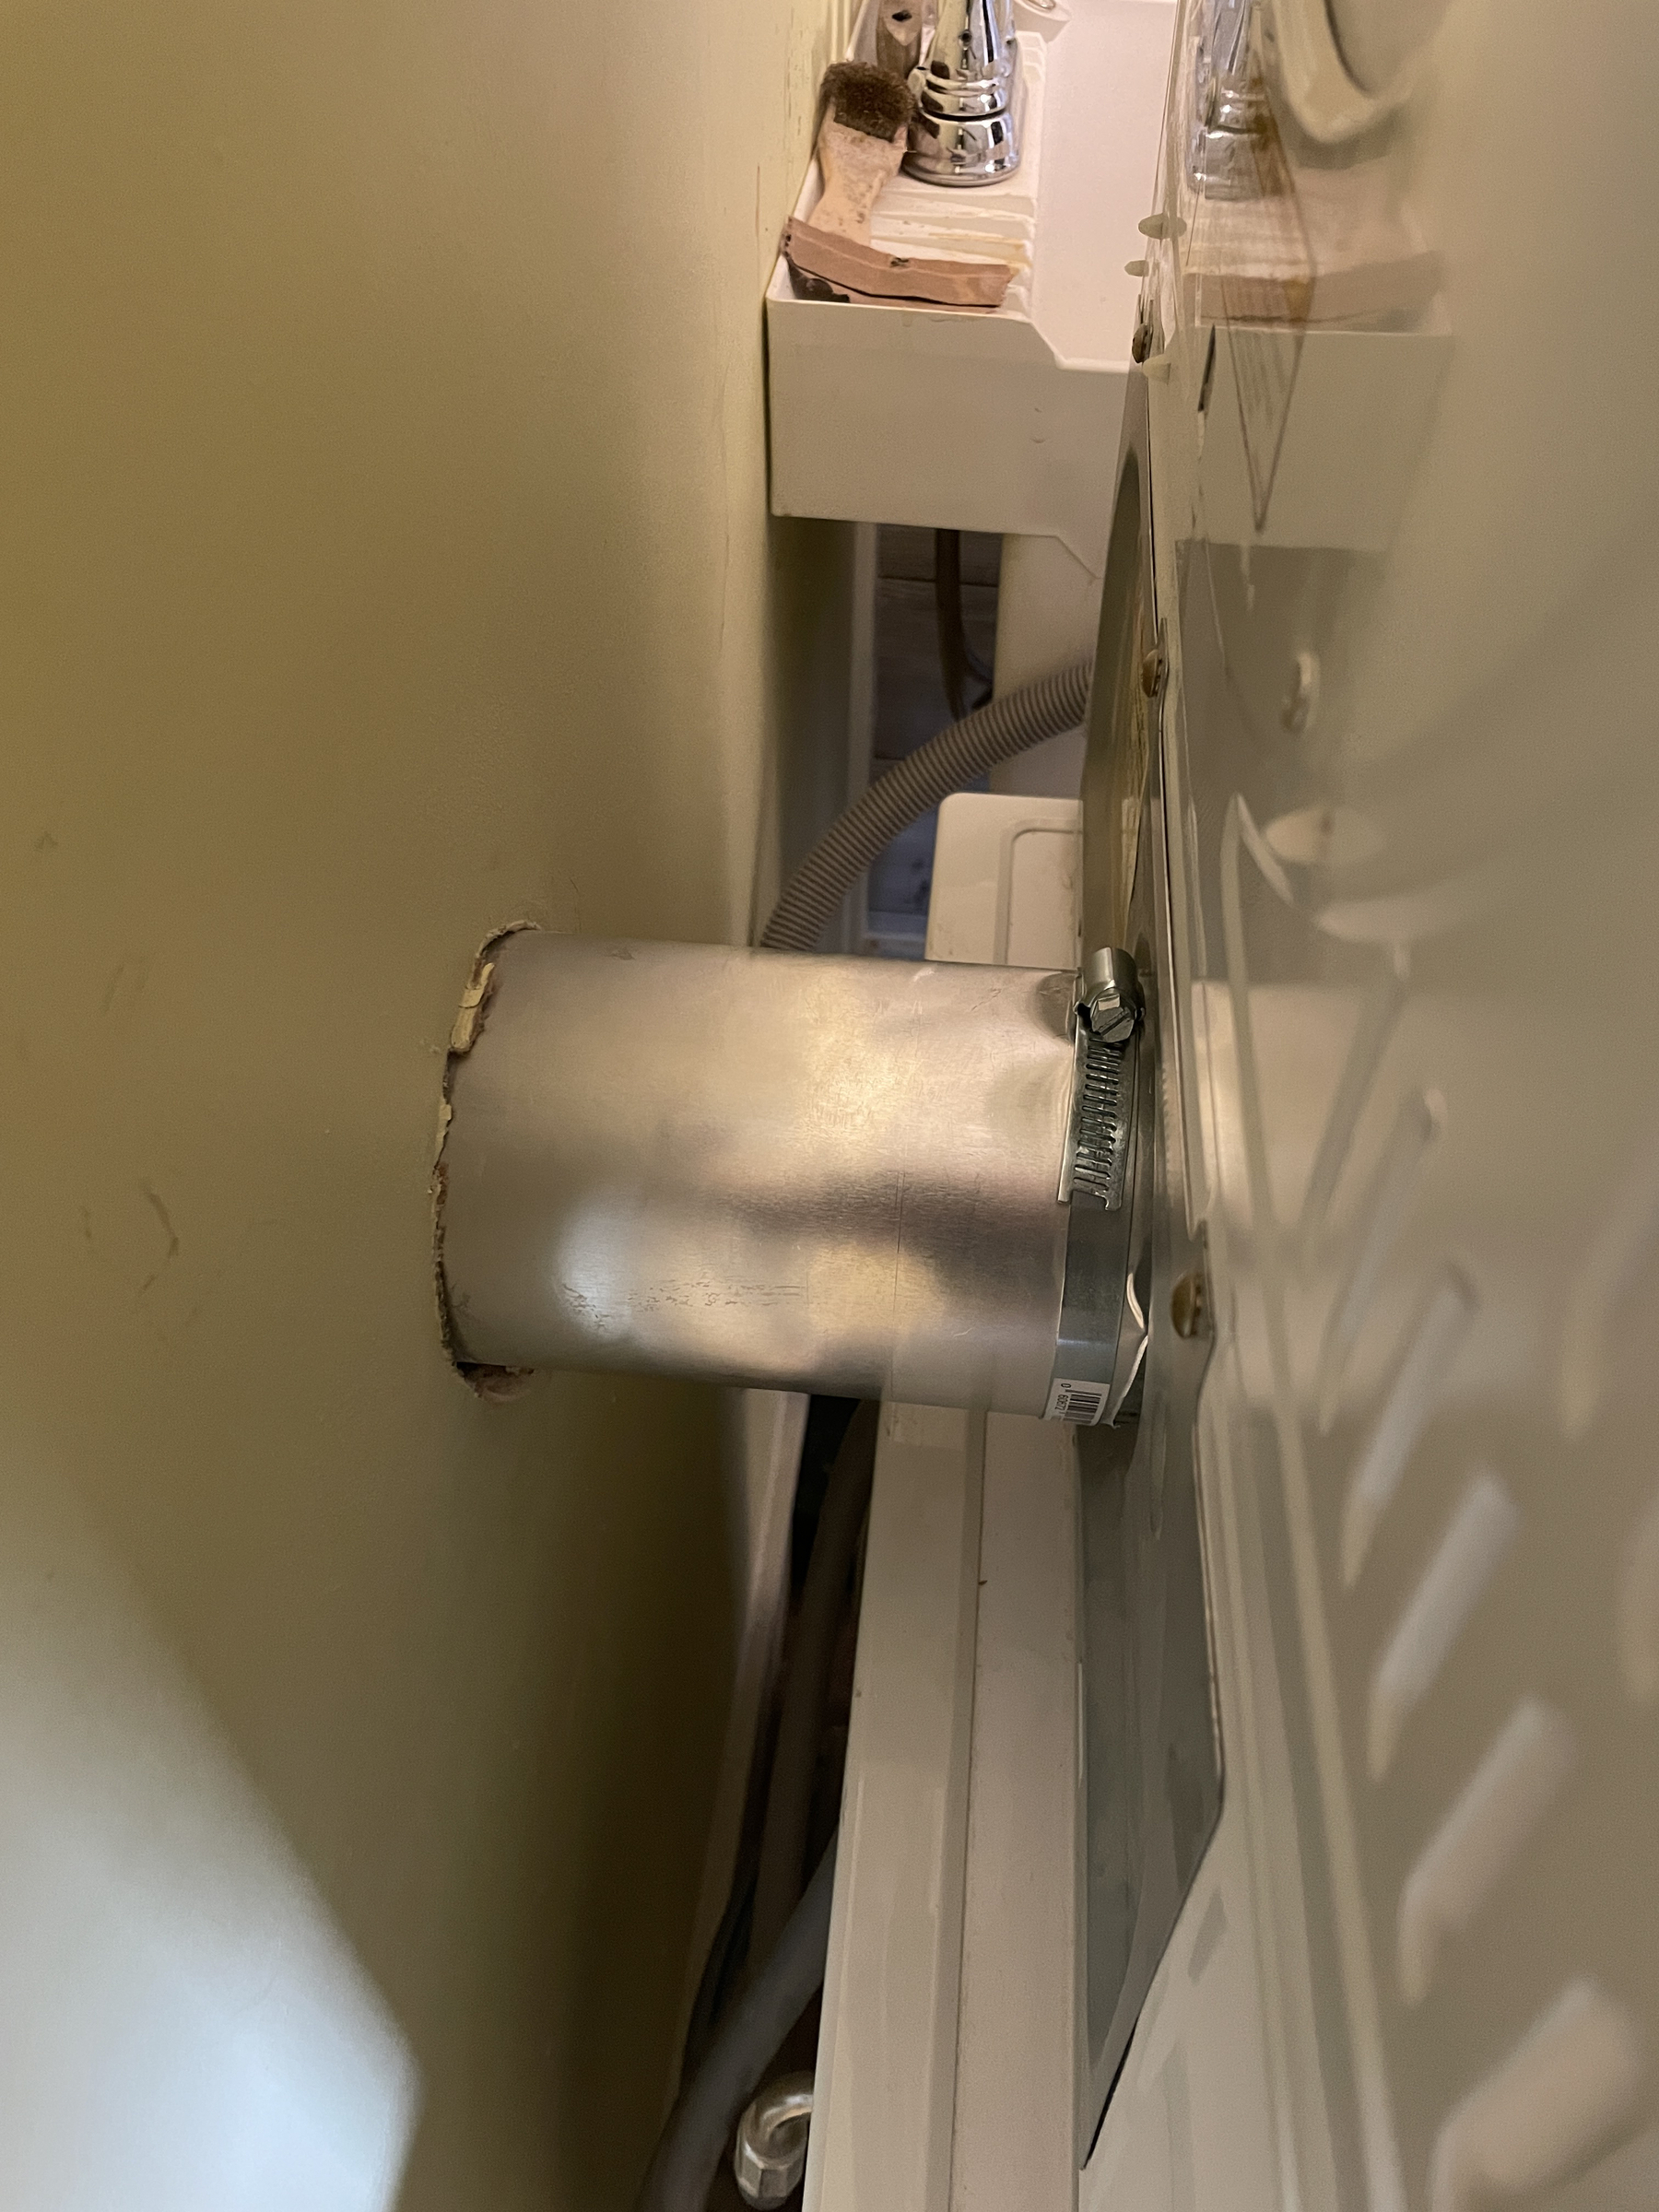
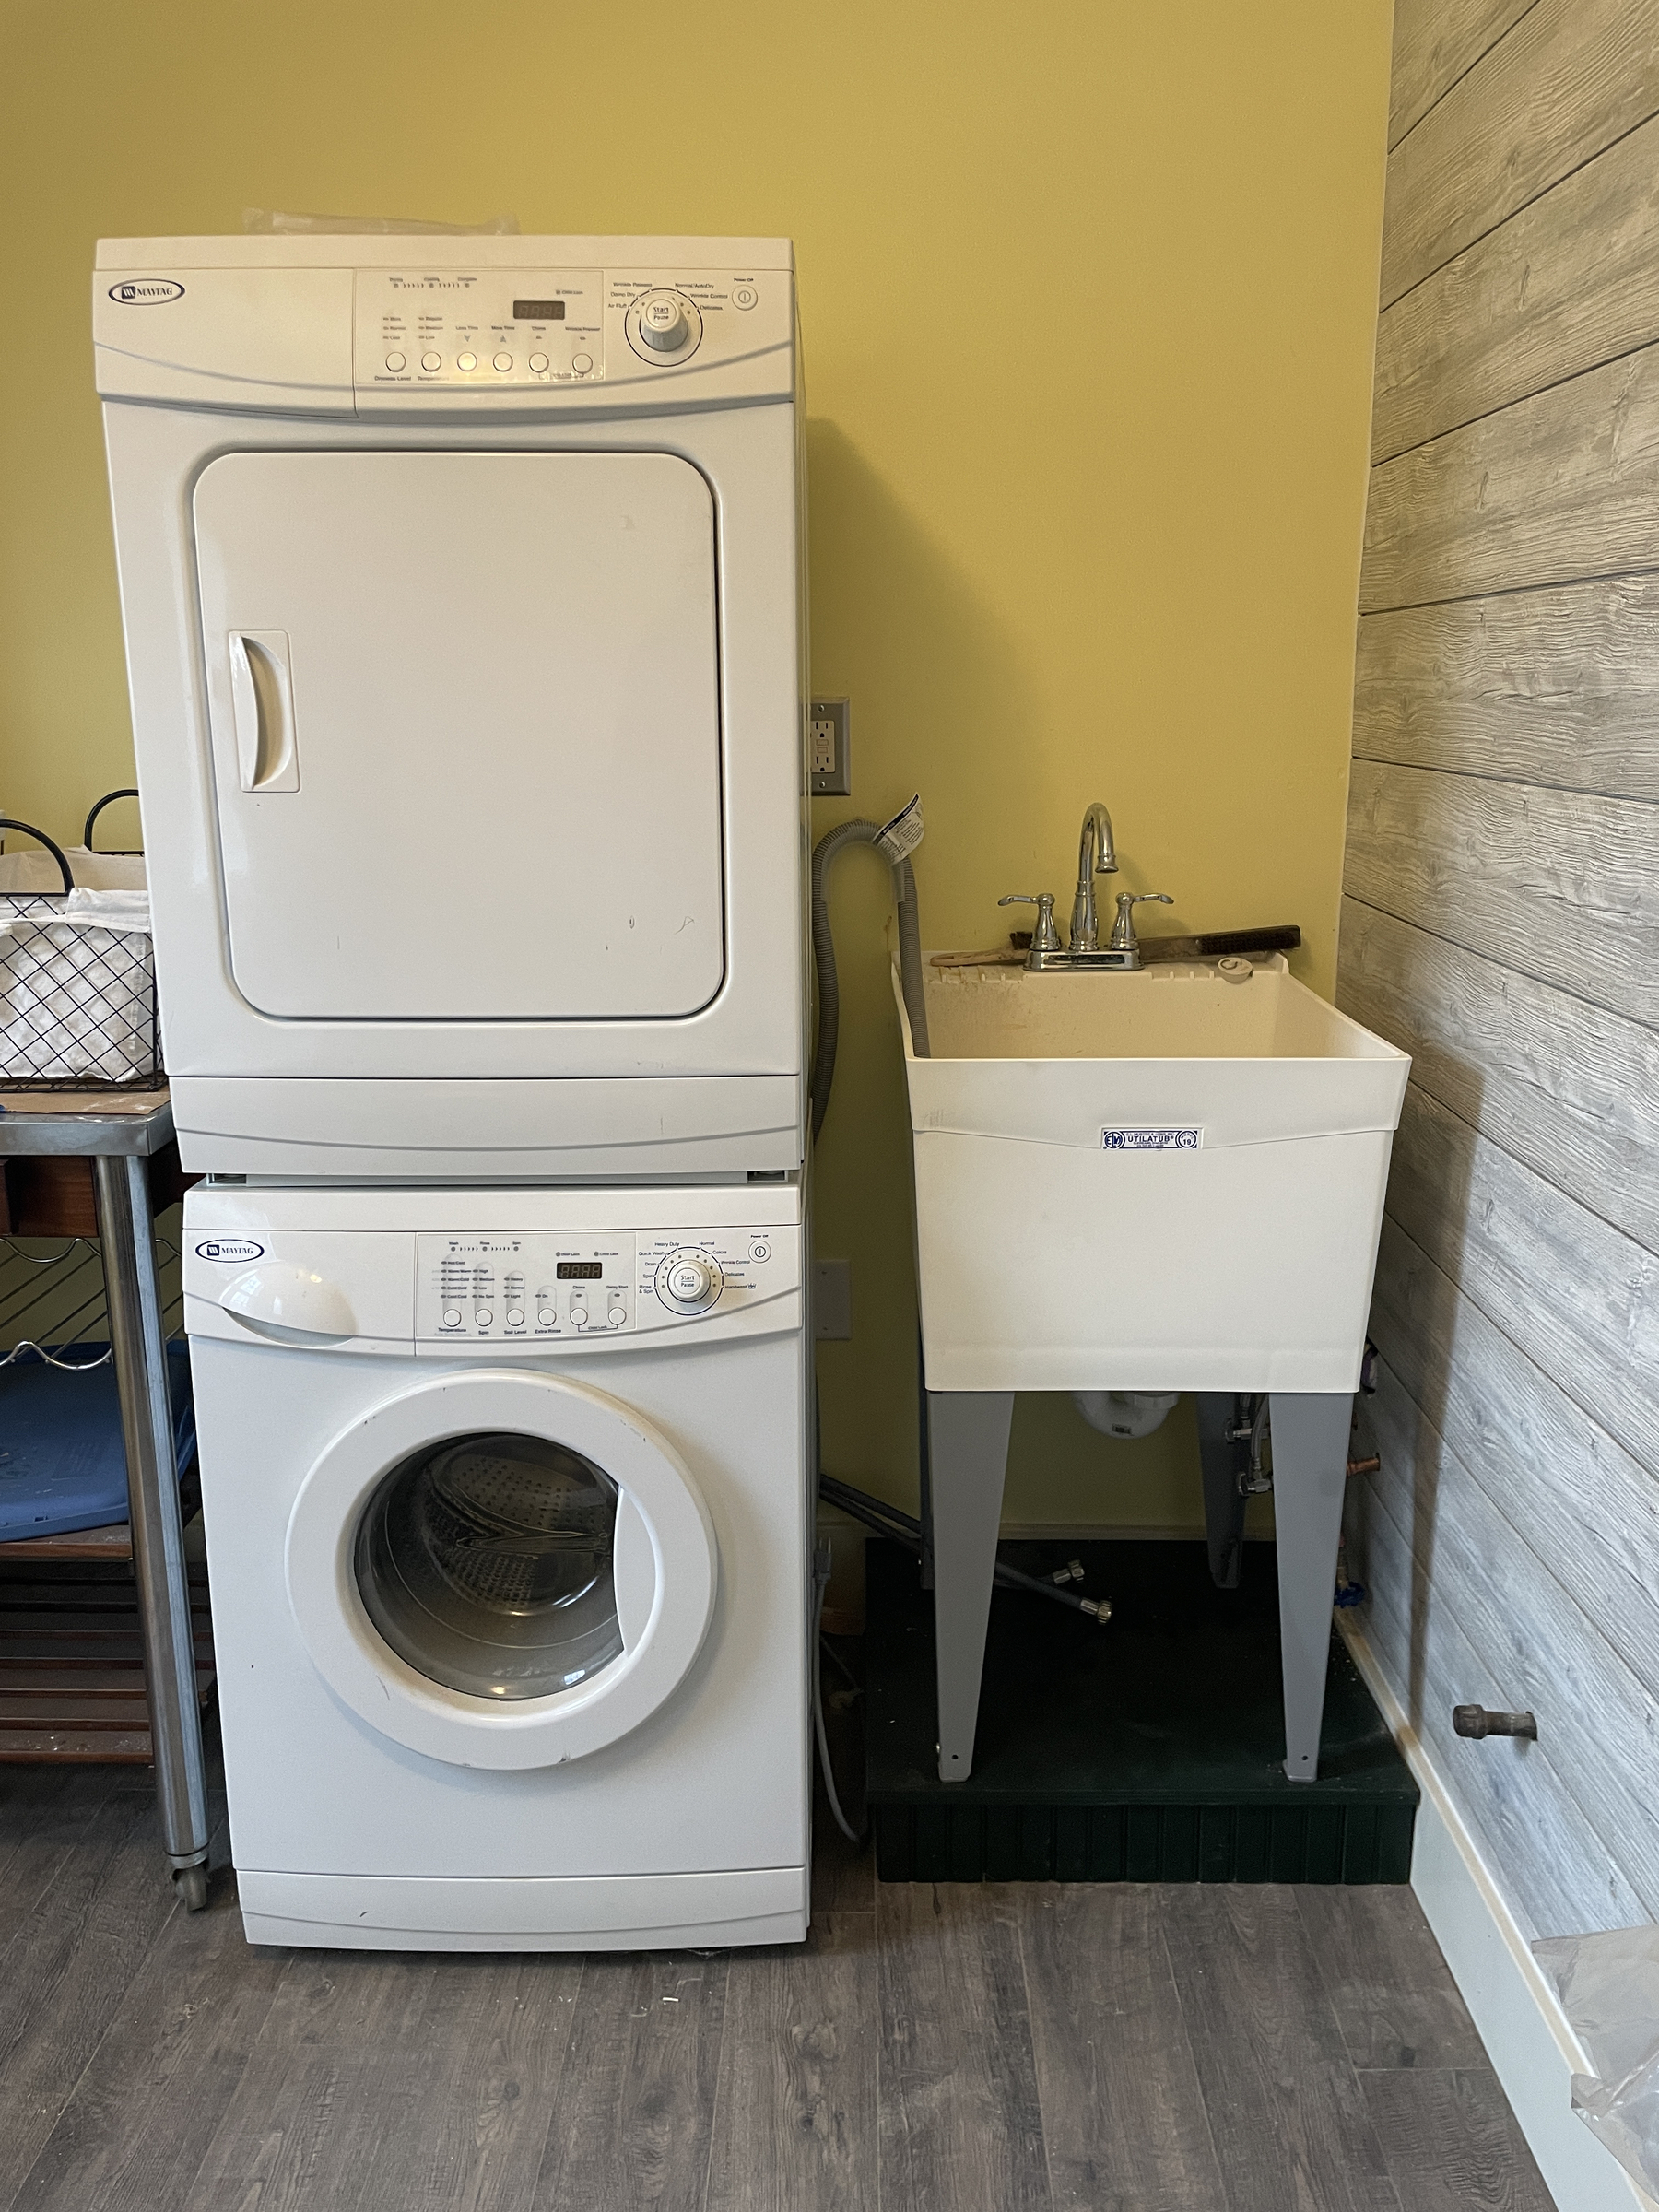
Many finishing touches done on both the Powder Room and the Mudroom/Laundry. Here’s a before and after of the tile work in the Powder Room and some progress shots of the dryer venting and washer hook up.
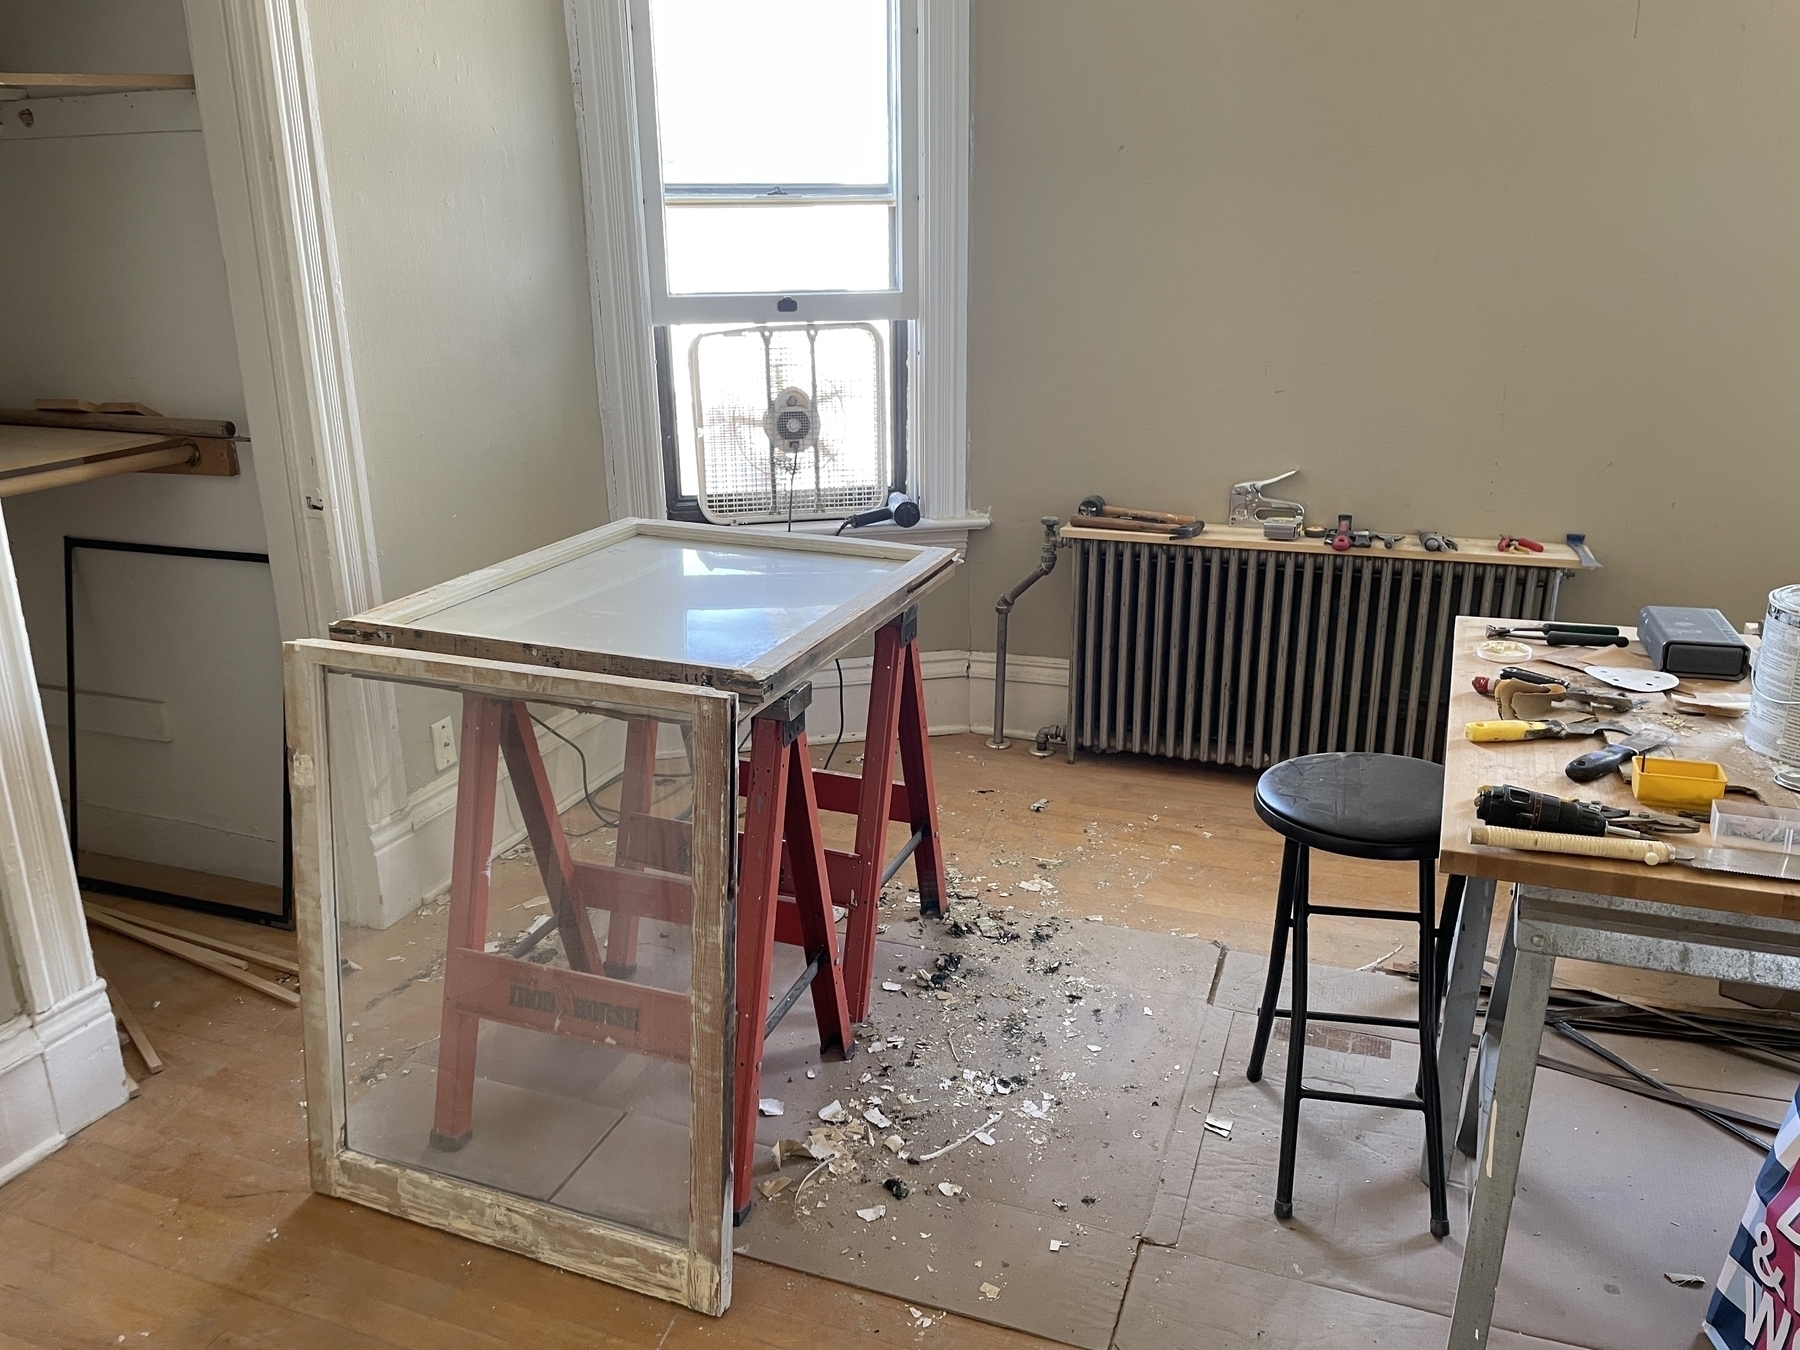
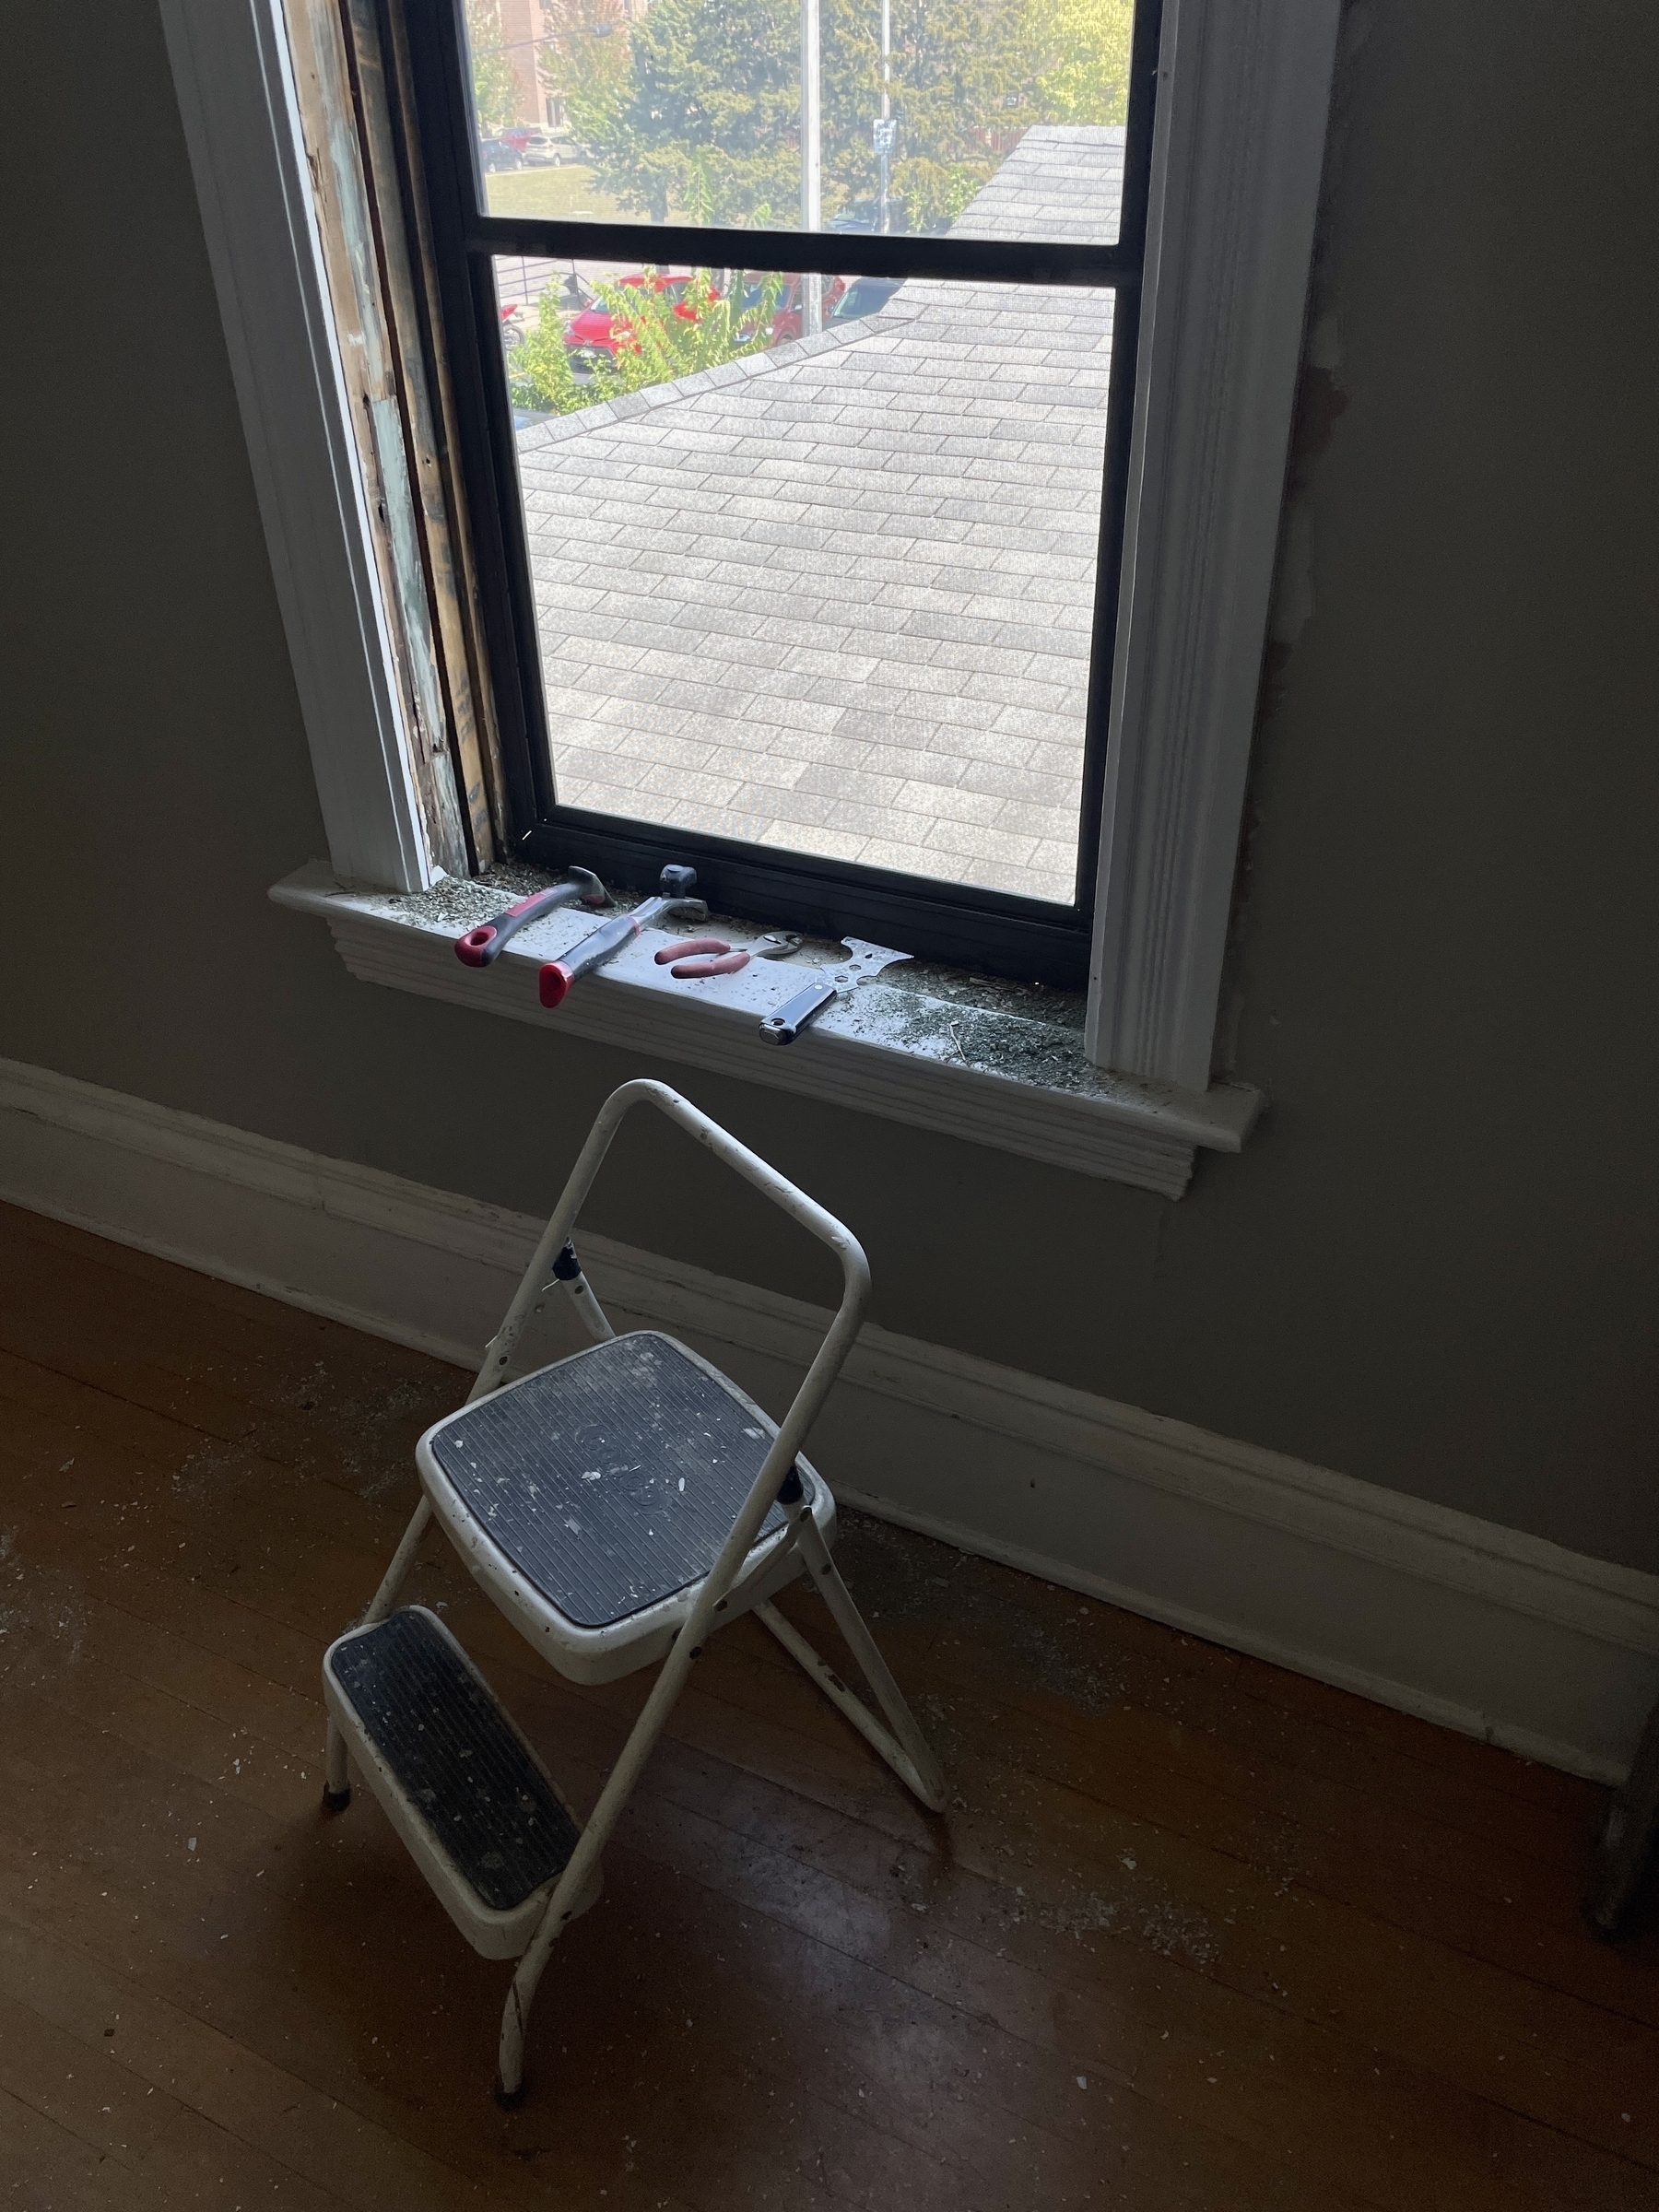
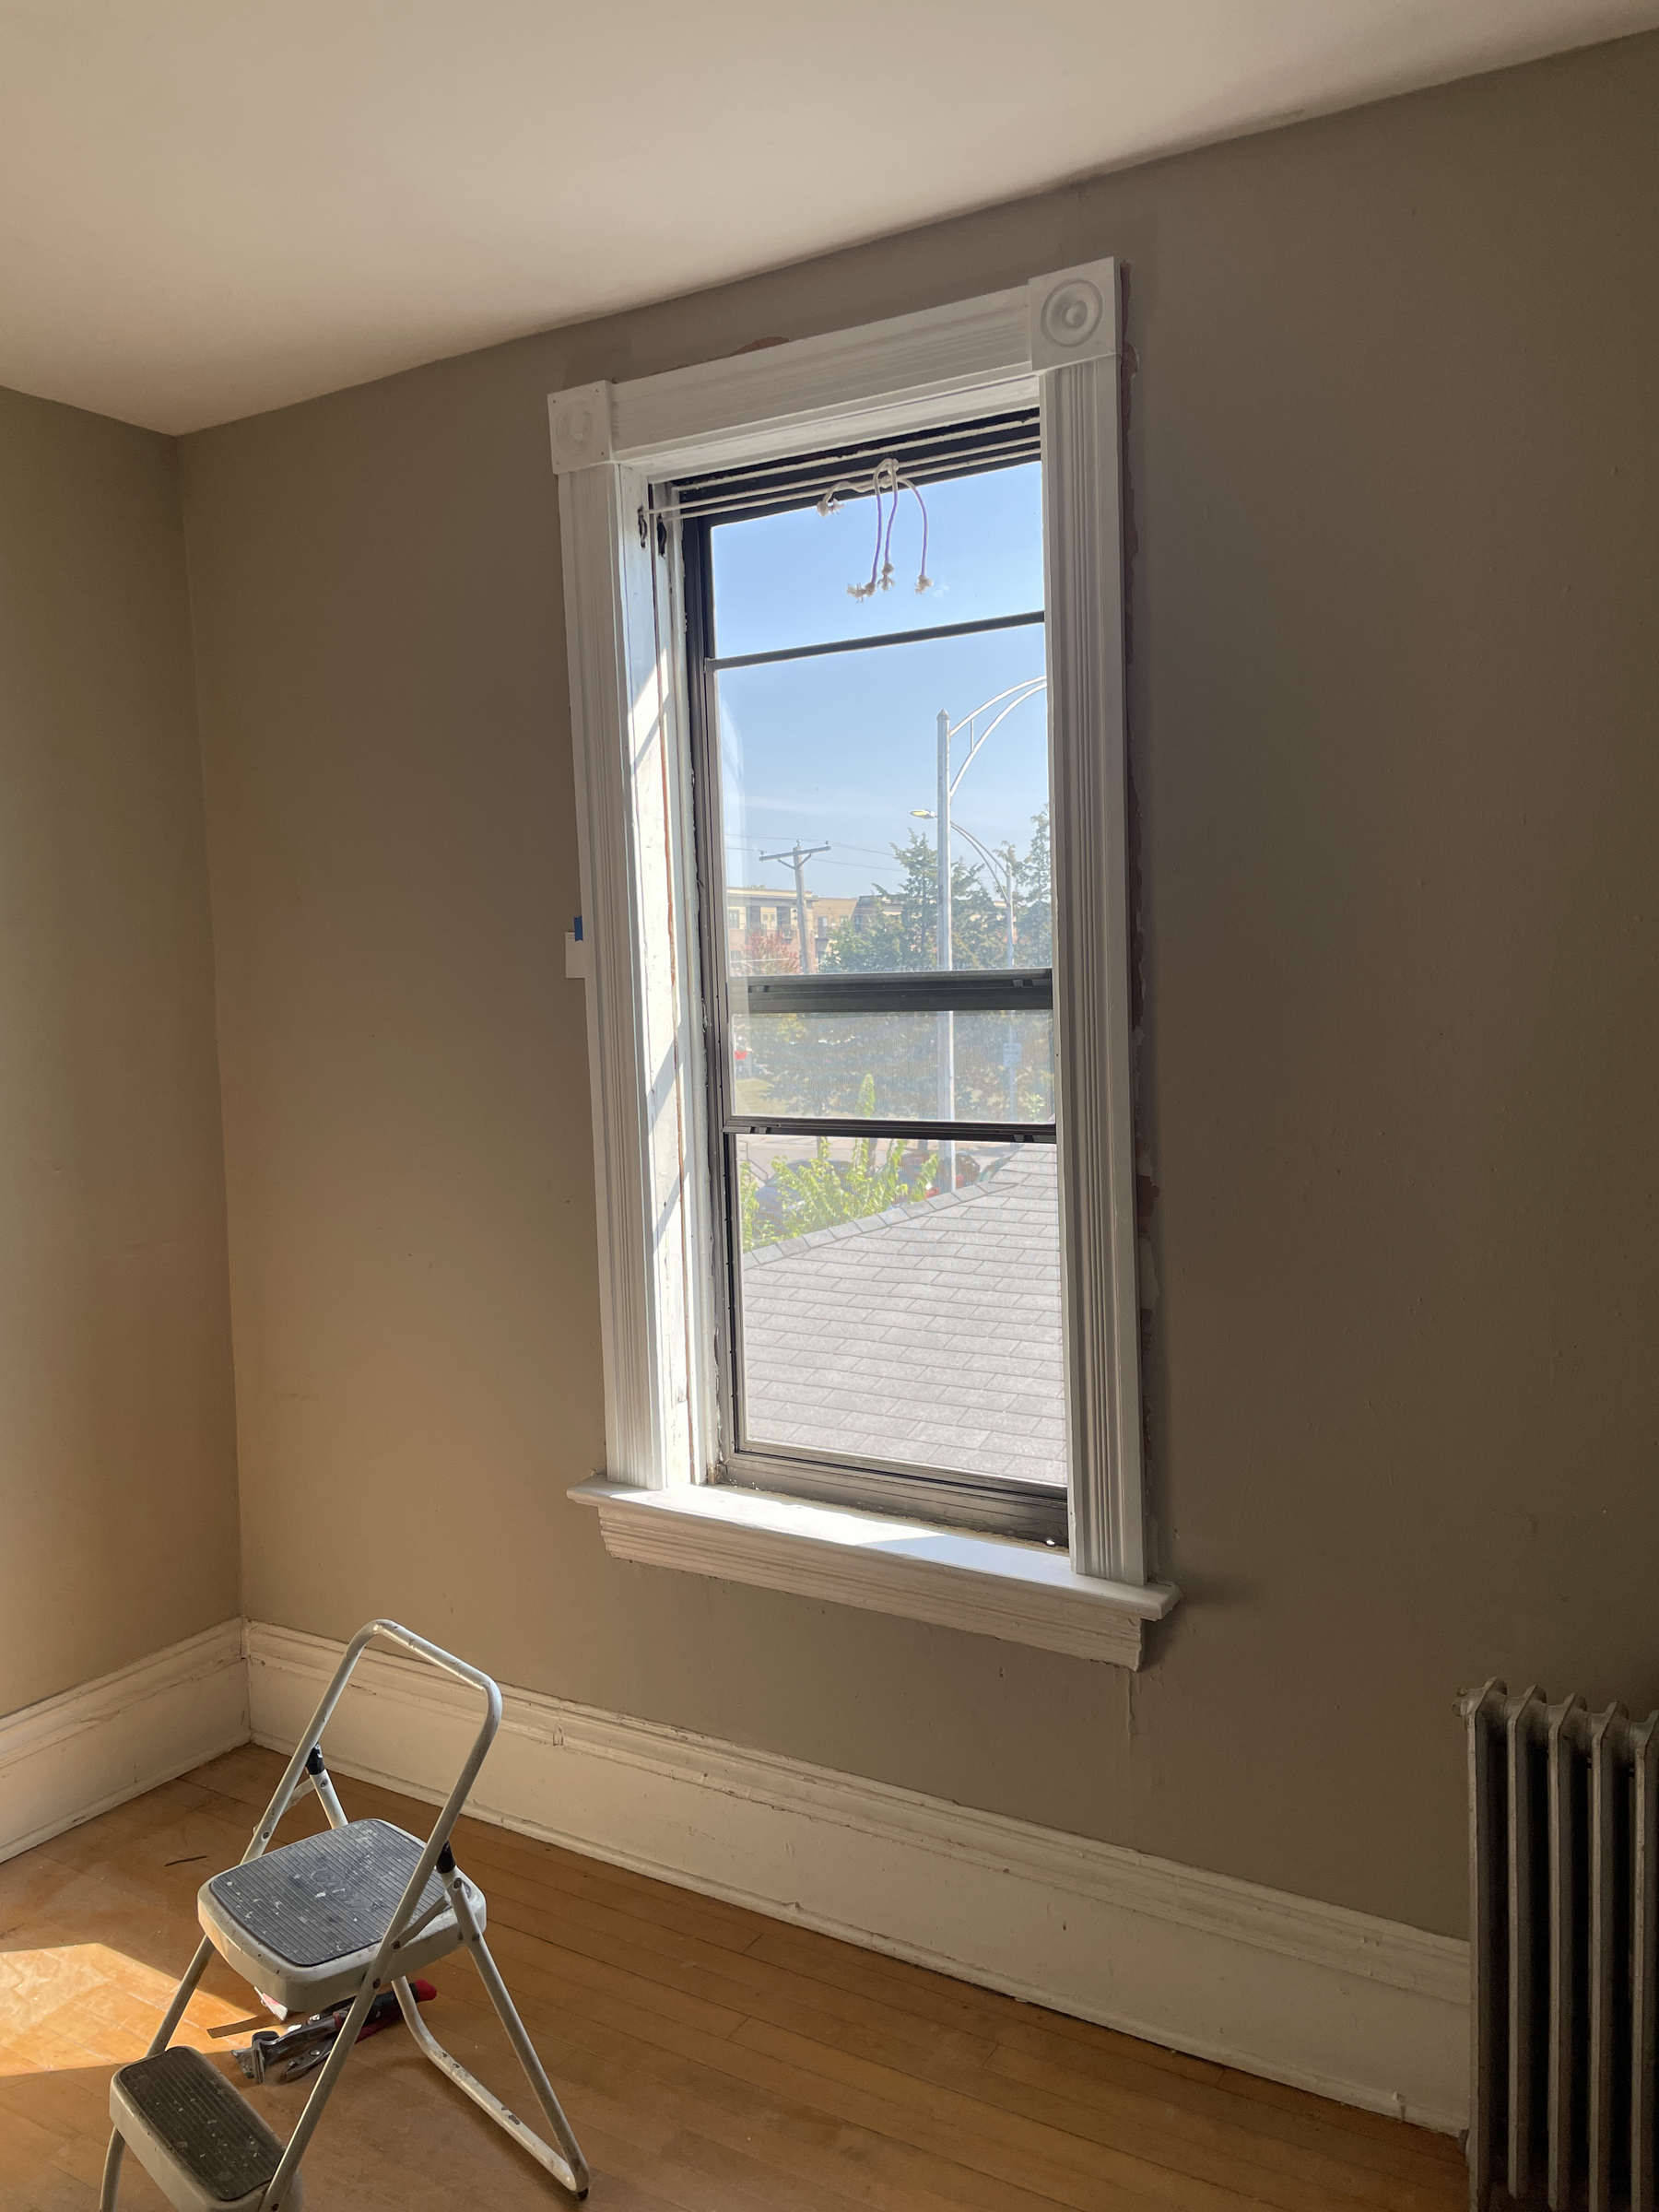
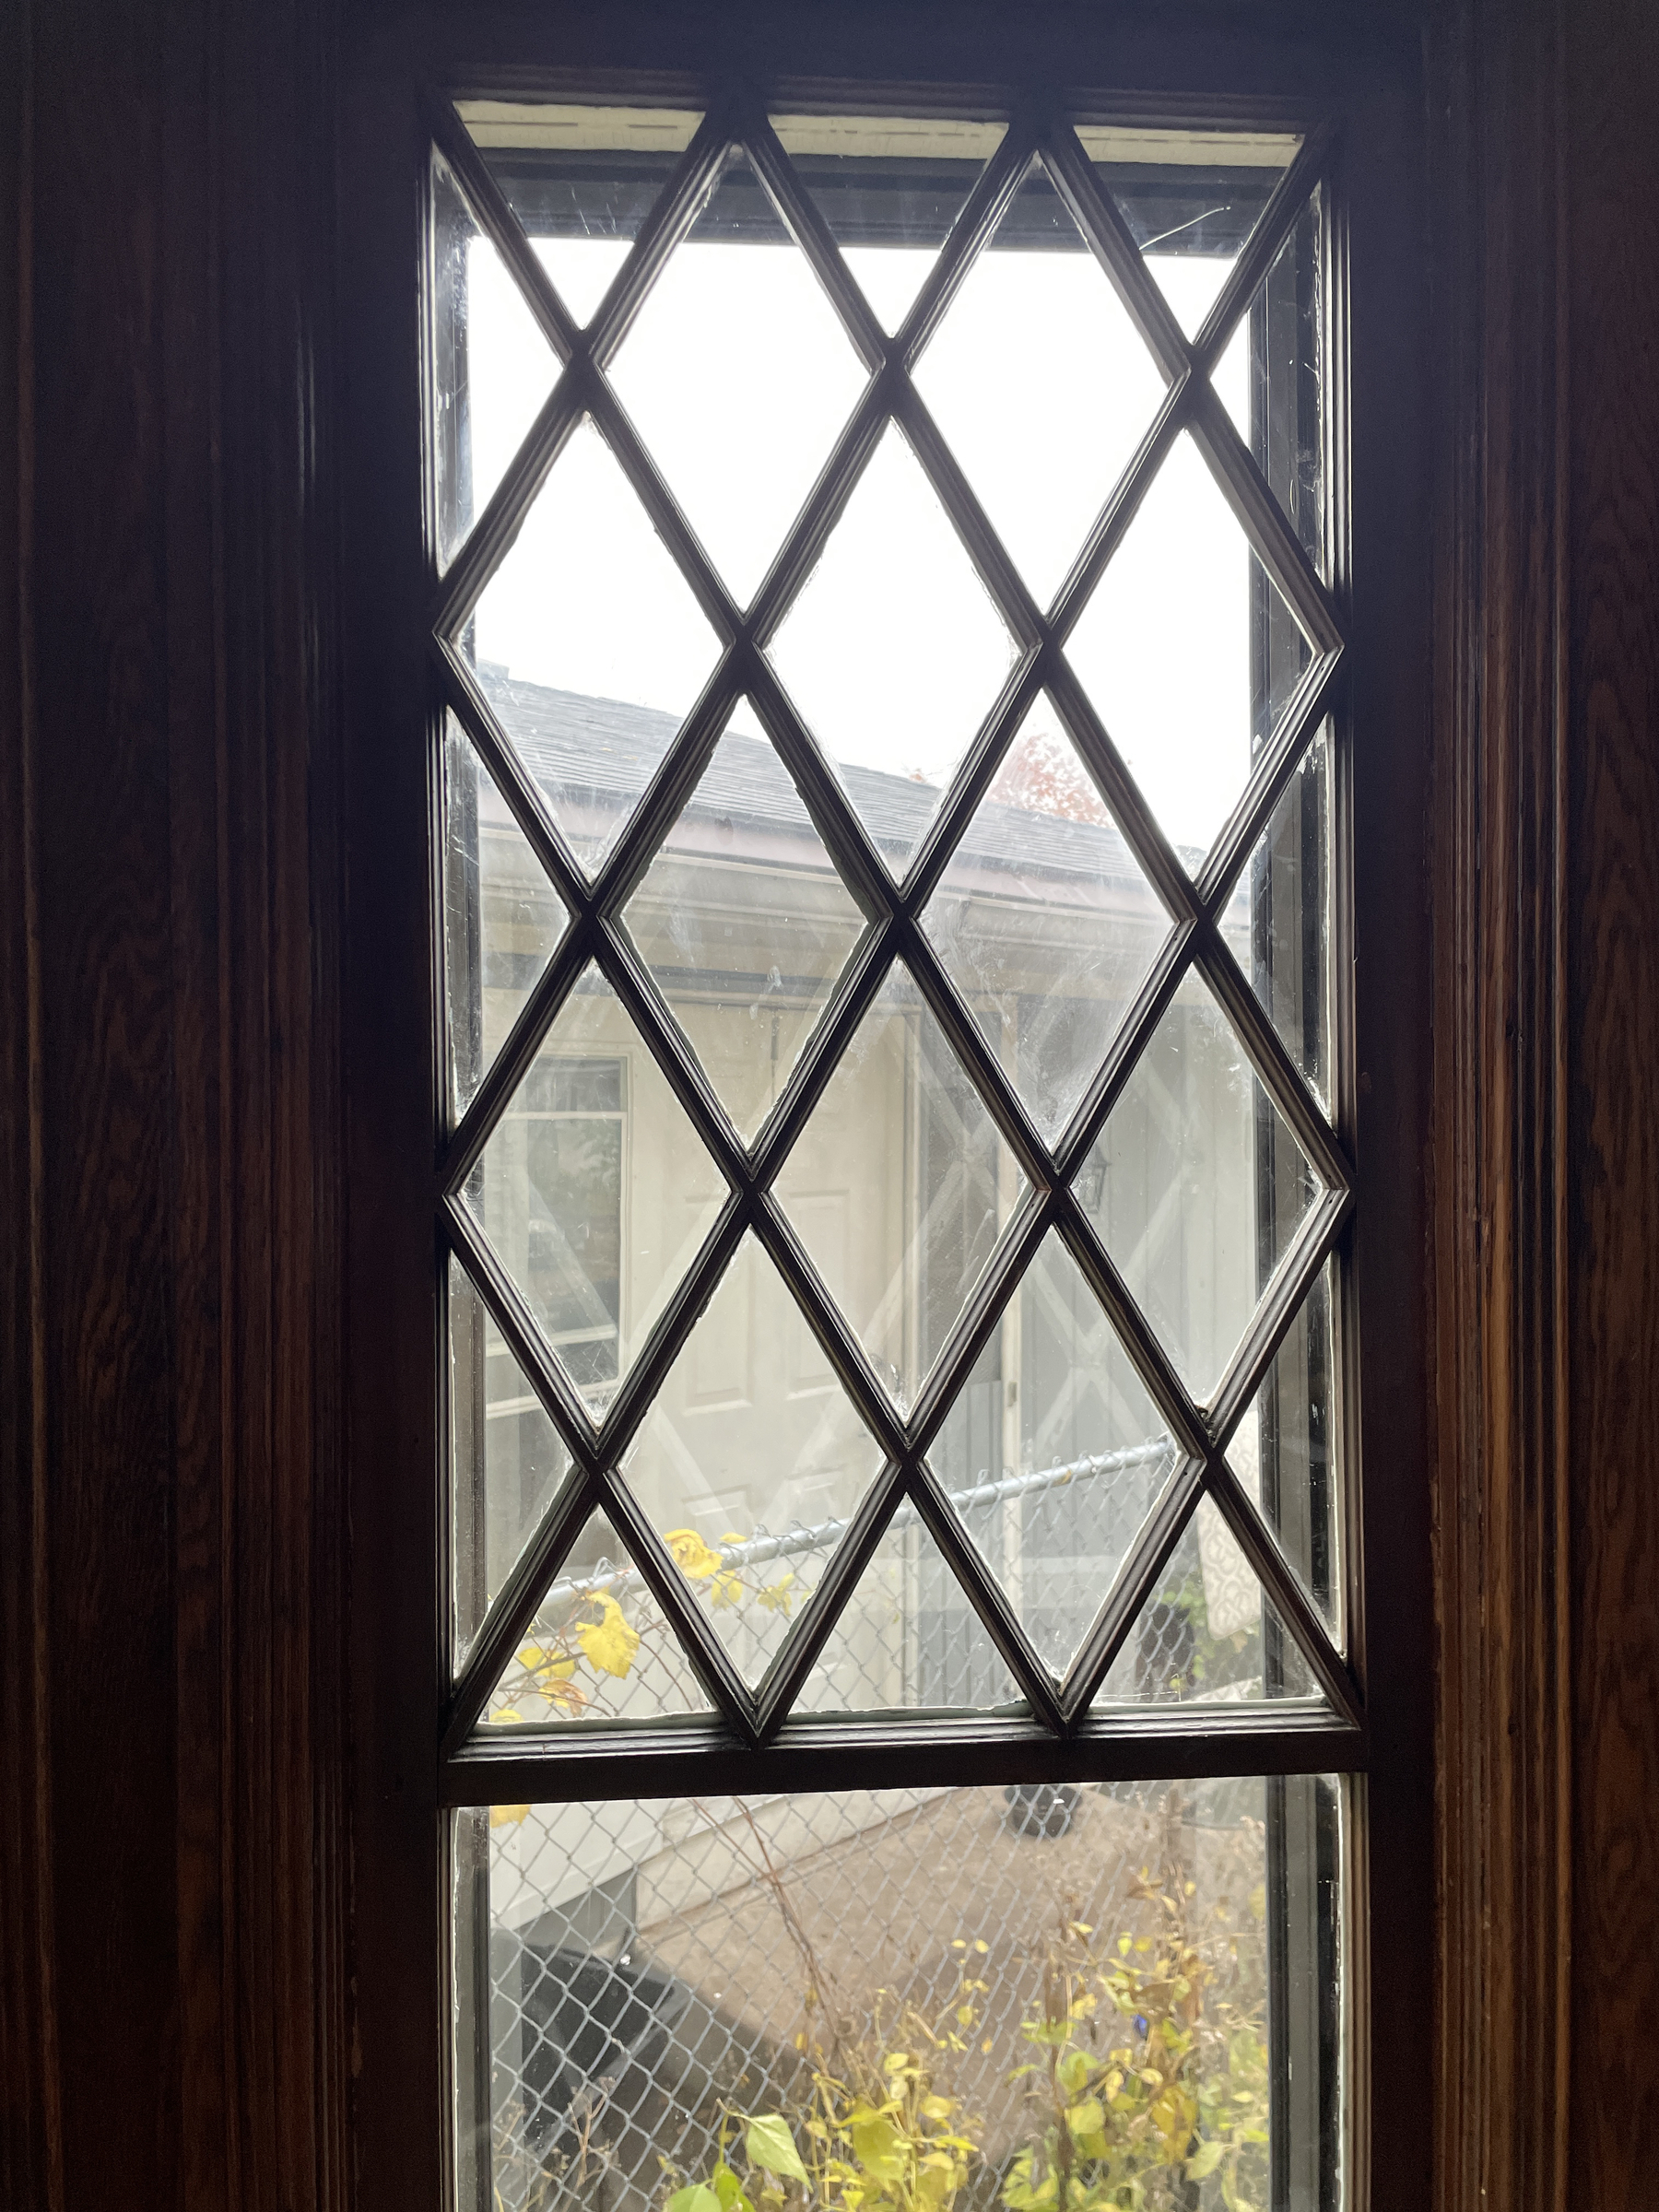
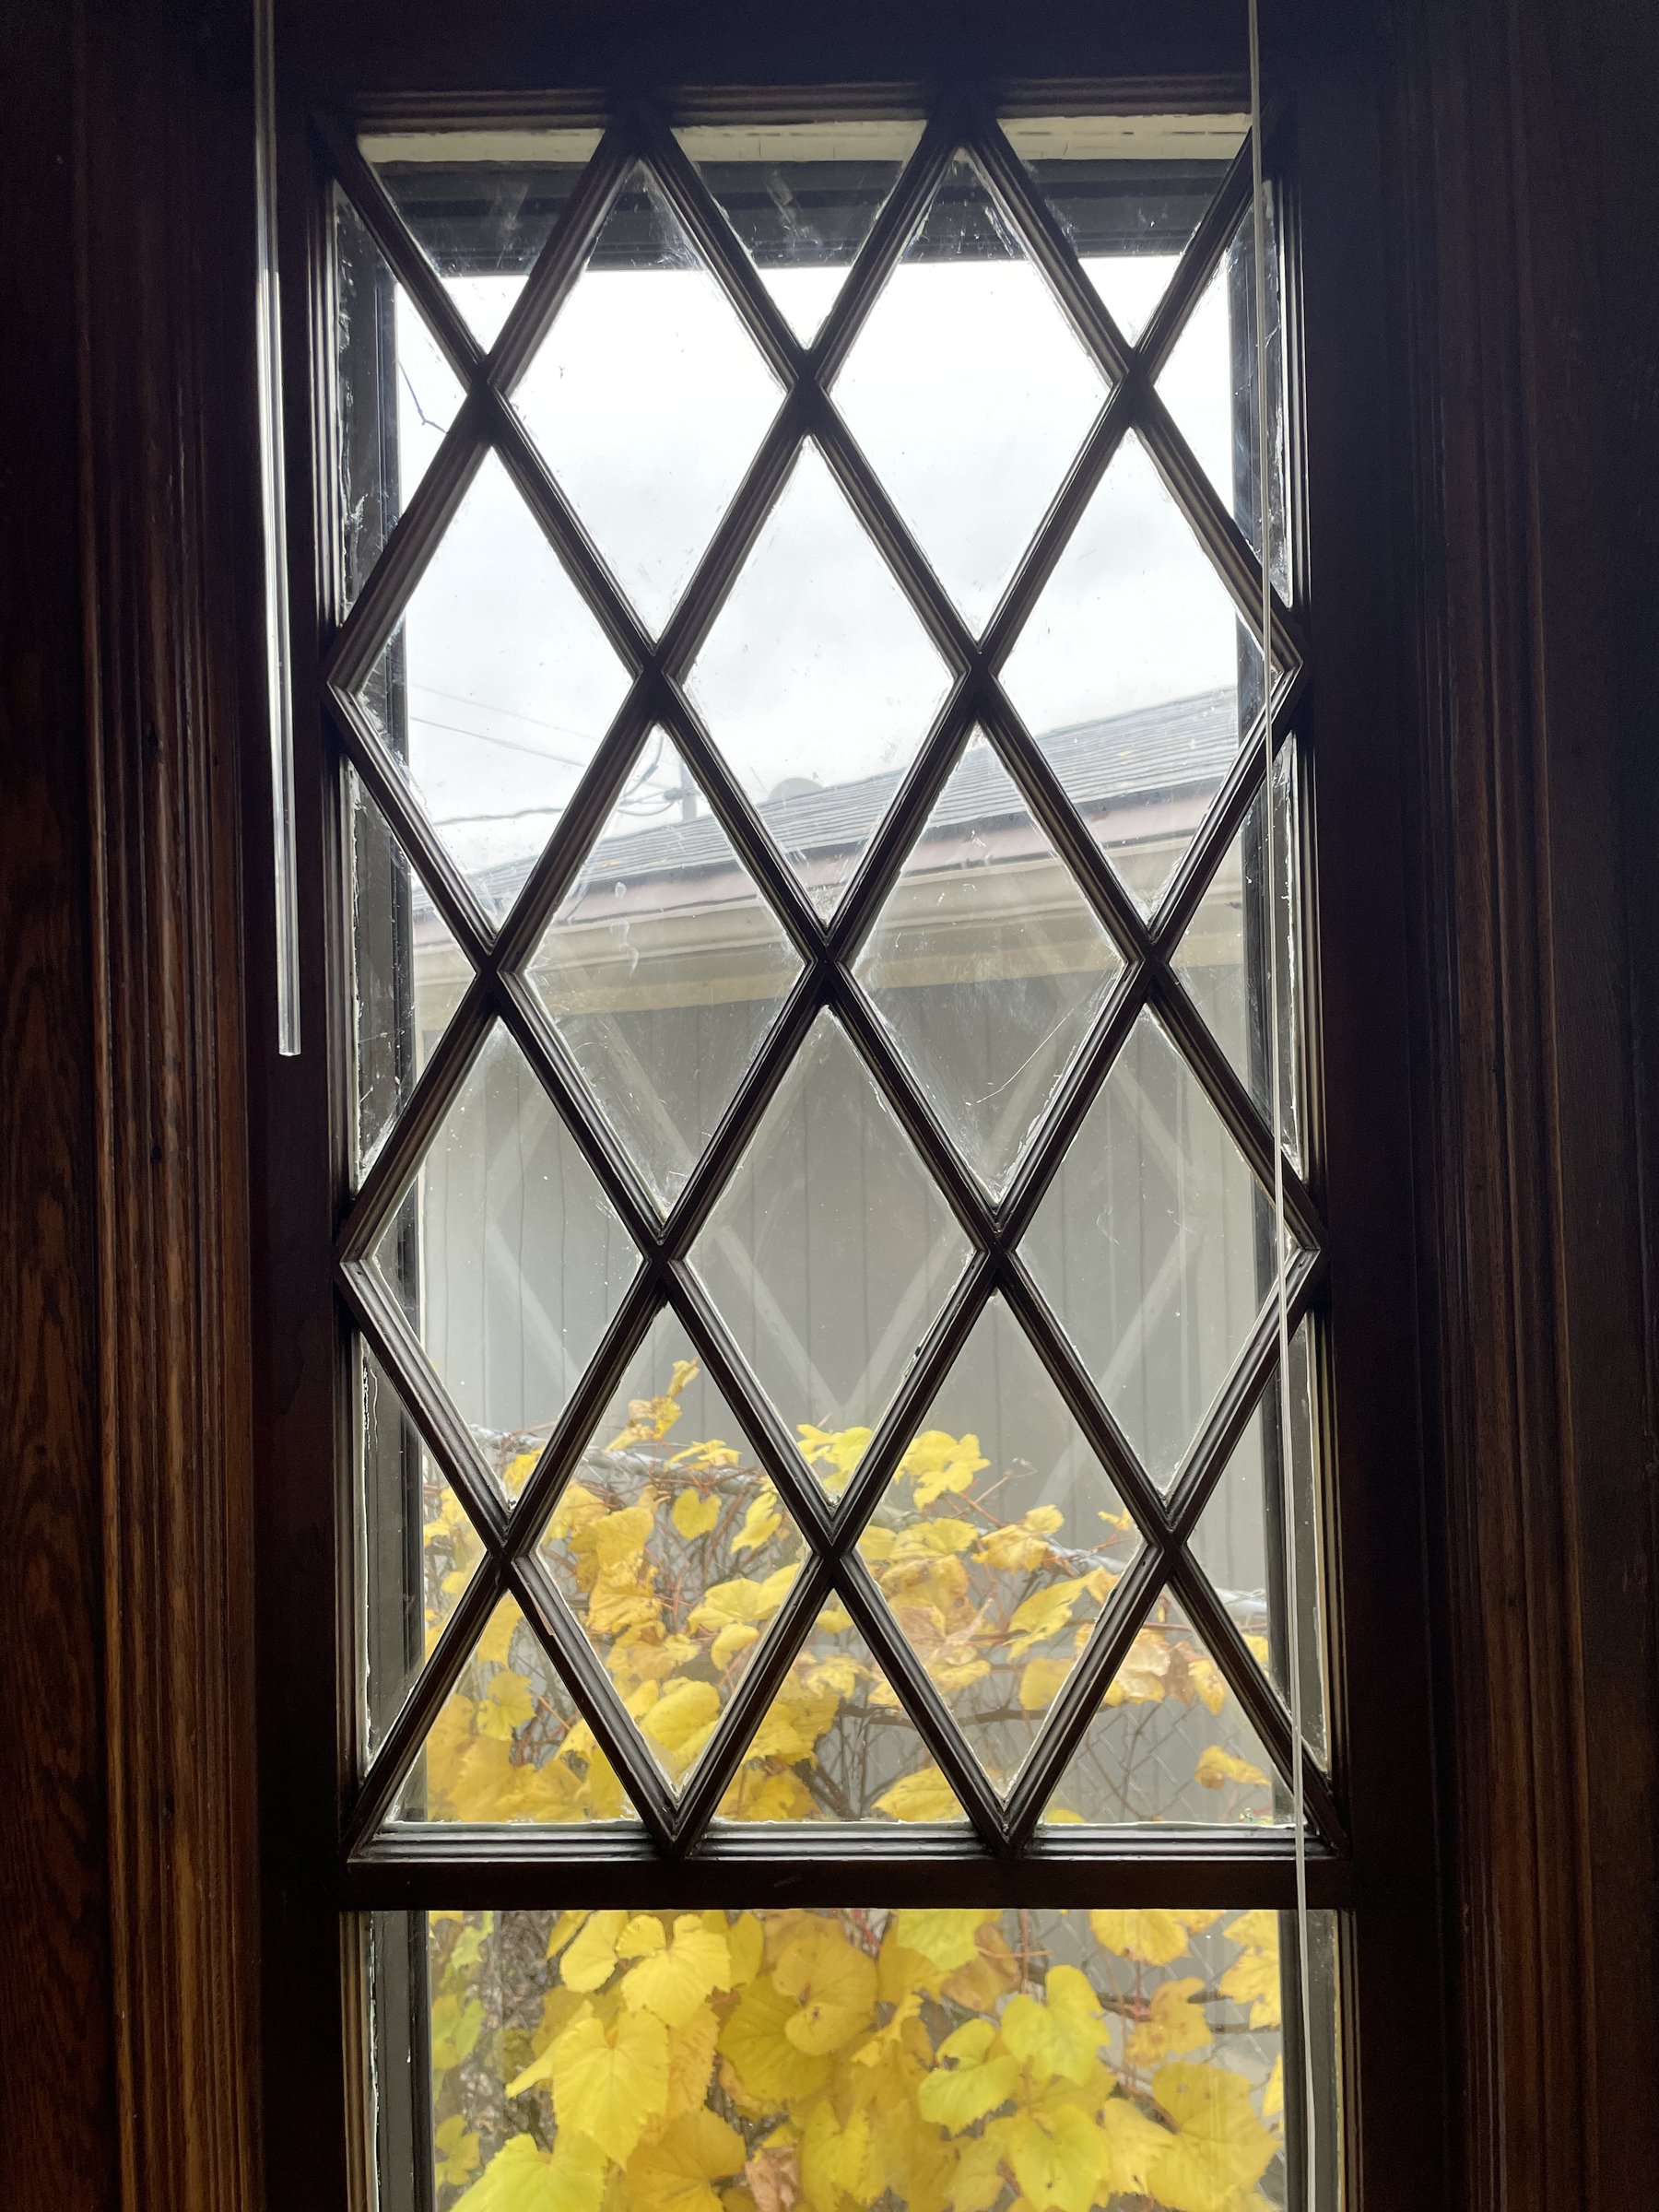
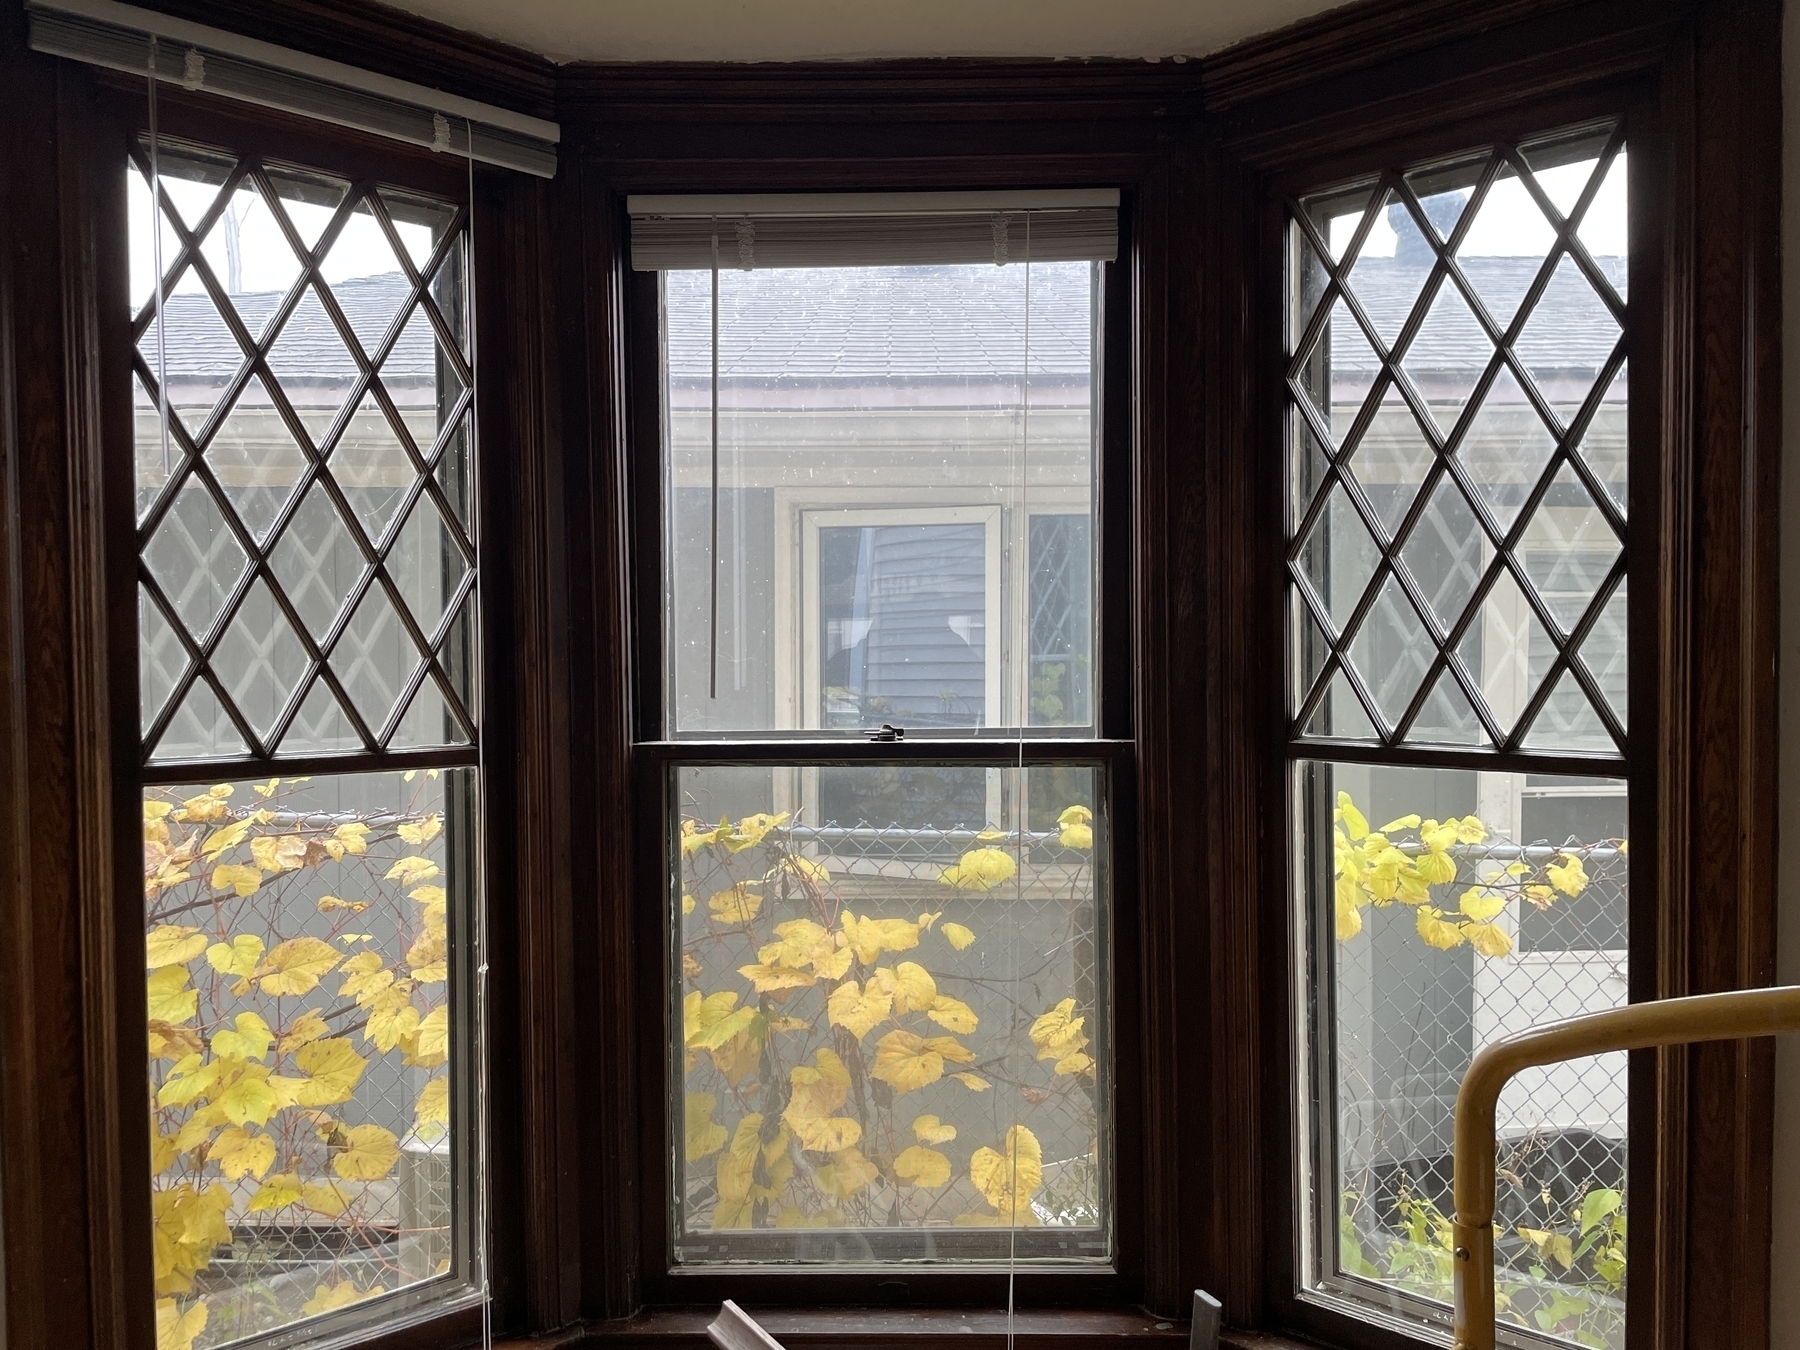
Failed to mention that while we were working on the china cabinet, The Window Whisperer Olivia was working on the lattice windows in the dining room. She replaced a couple of broken panes and re-glazed everything. Forgot to take before pictures as usual but here they are after.
Here’s the built-in china cabinet near completion. The only things left to do are install the glass shelves (which may be a while as the ones we got are a tad too long) and mount the light cables and transformer.
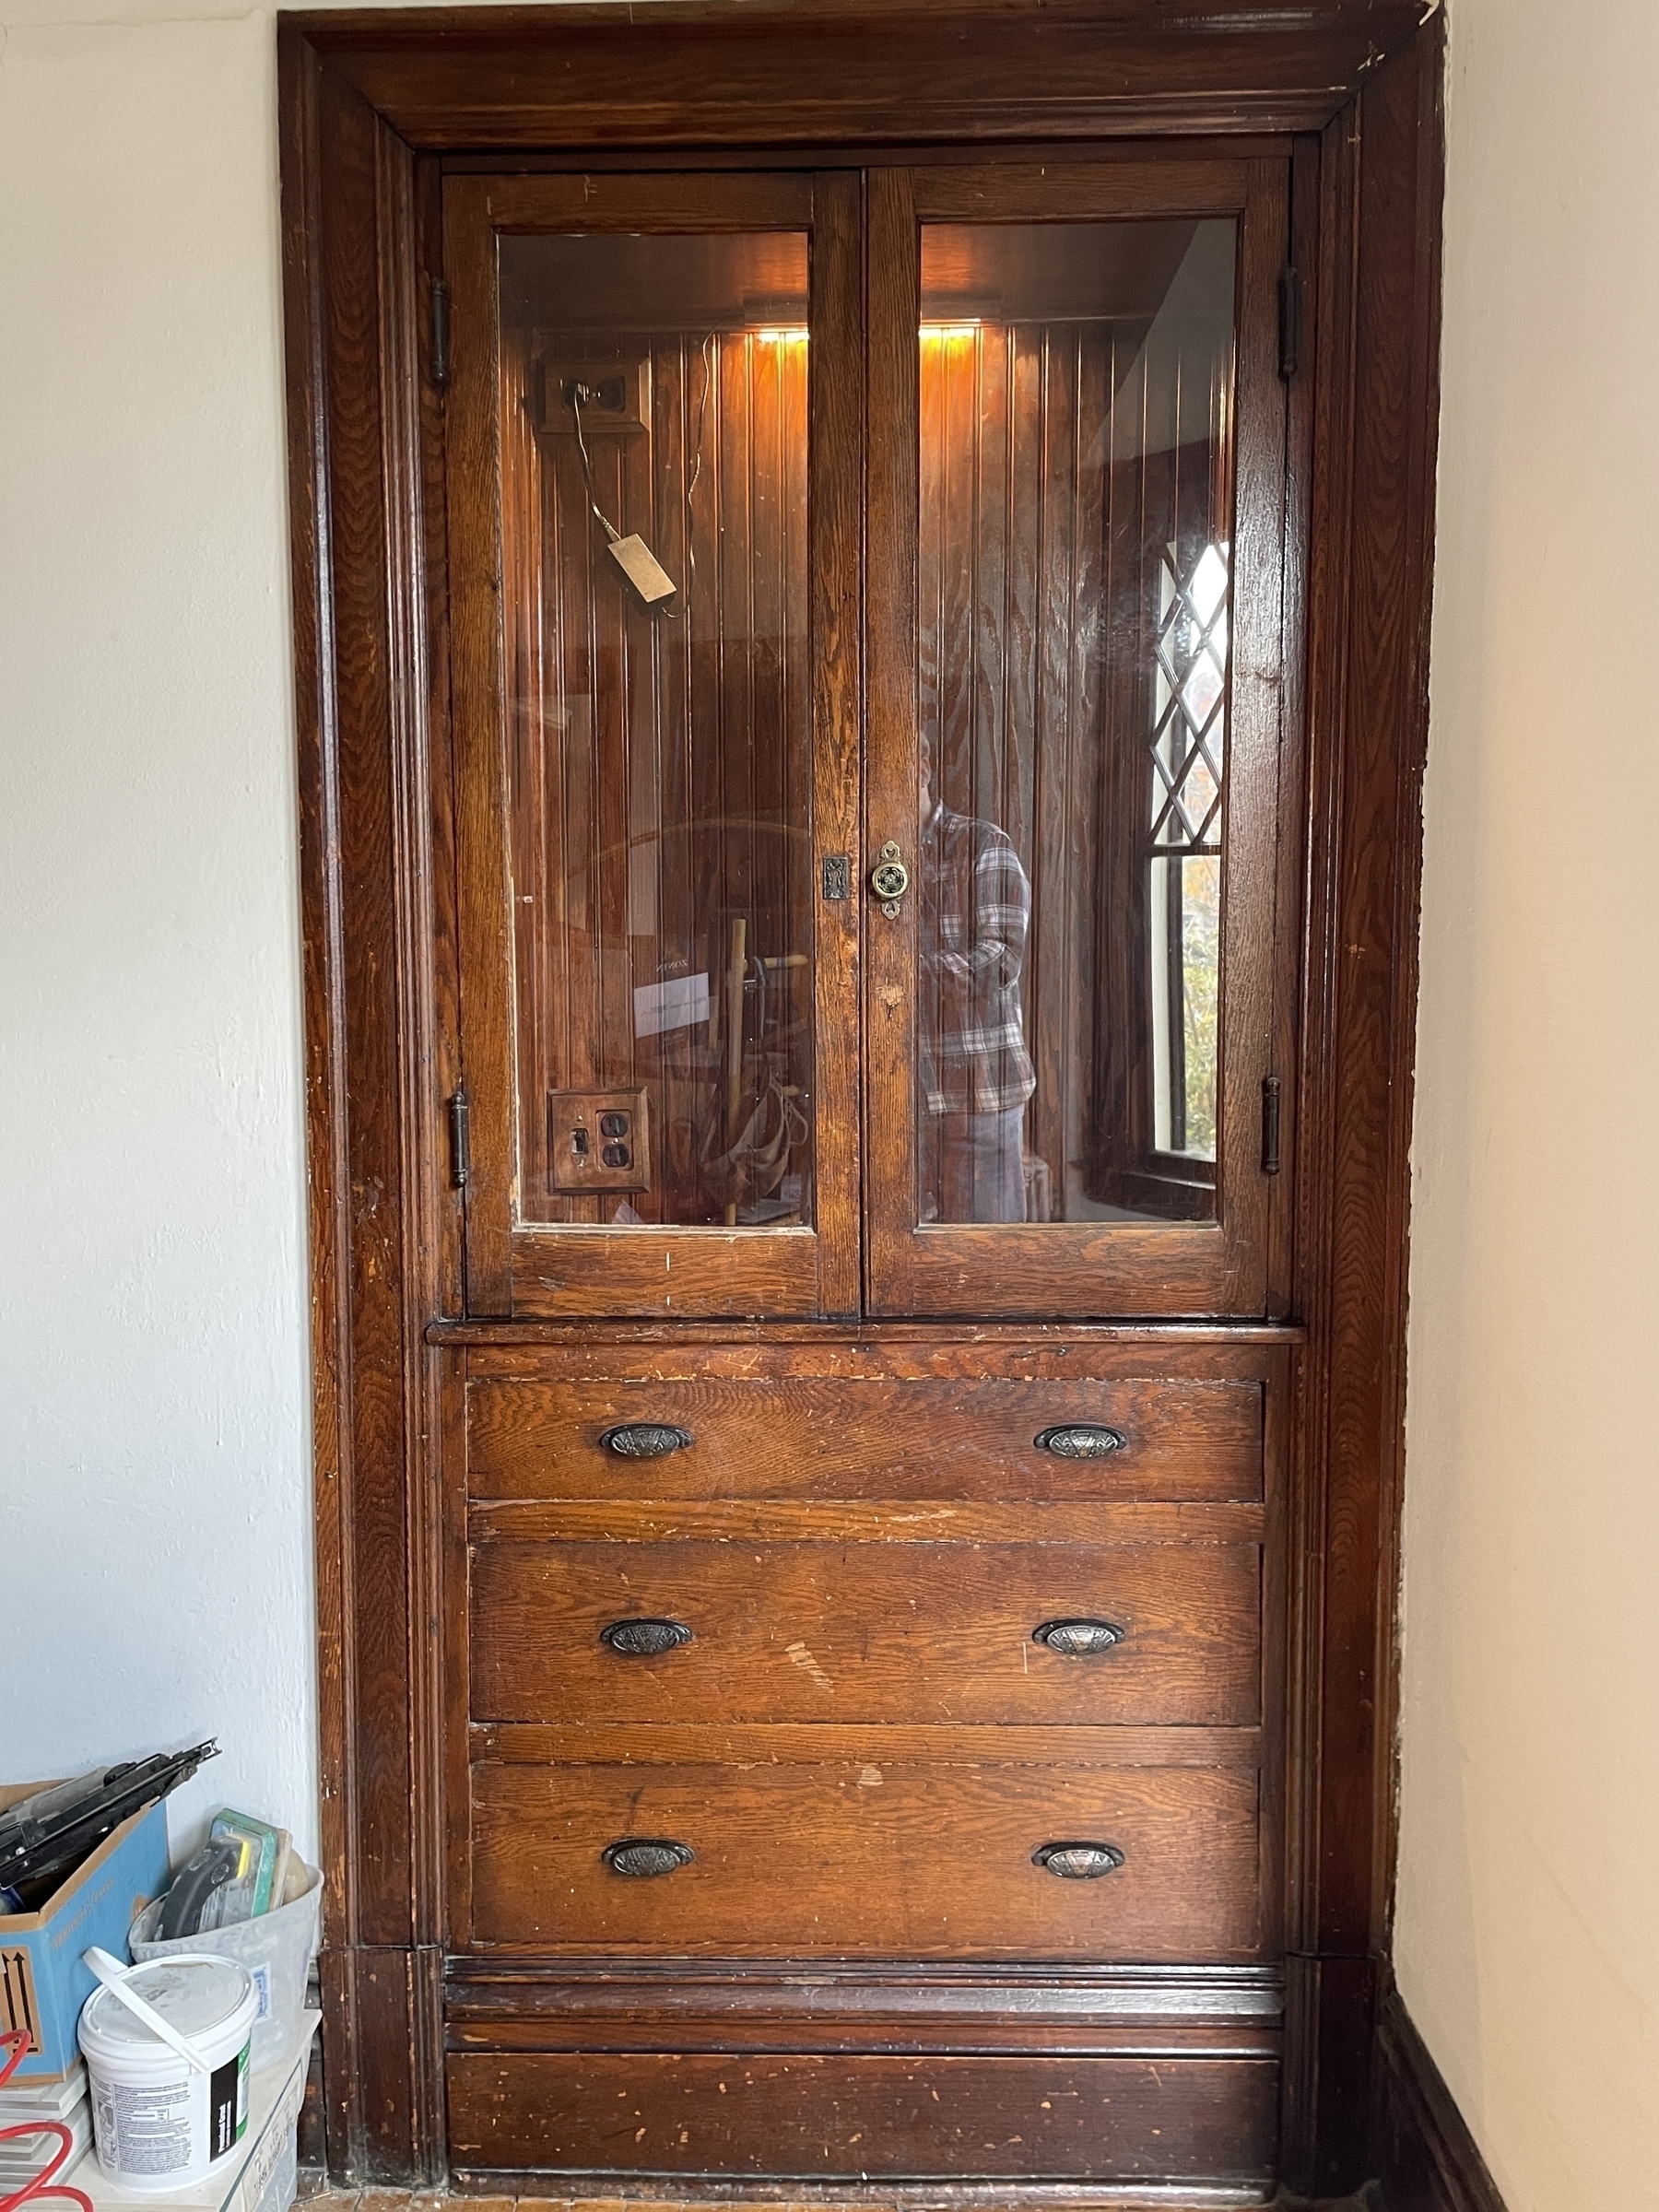
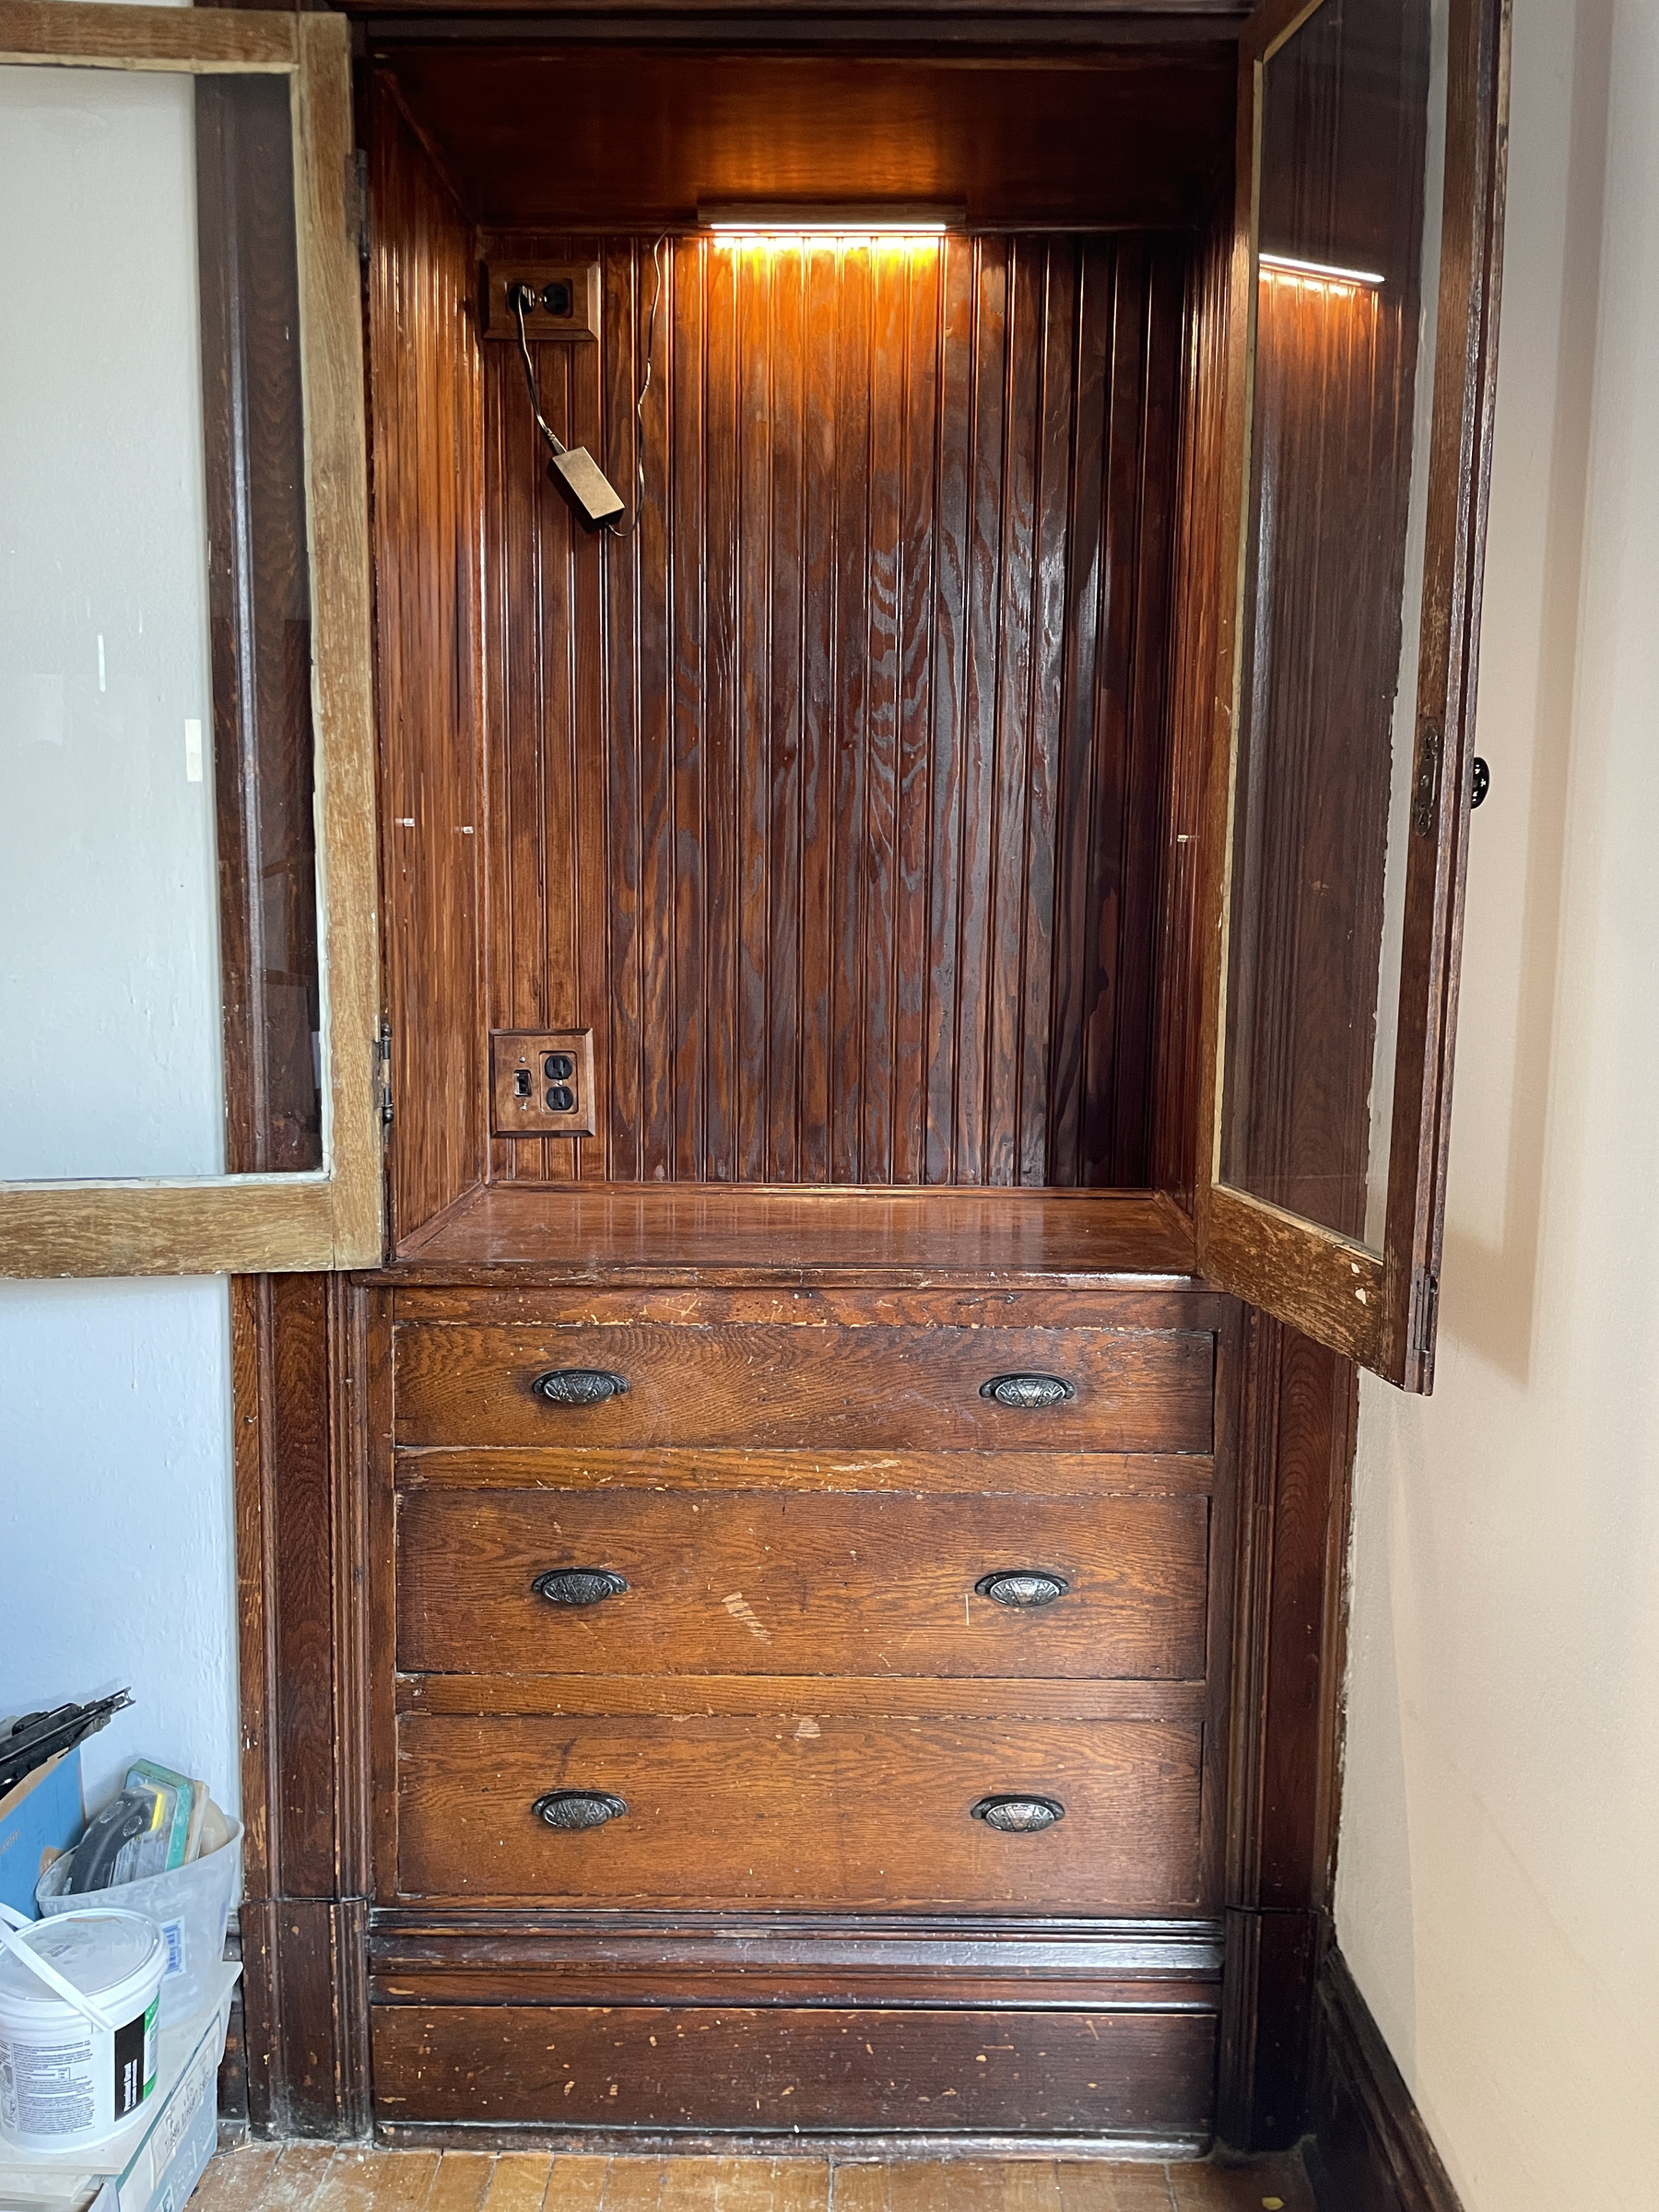
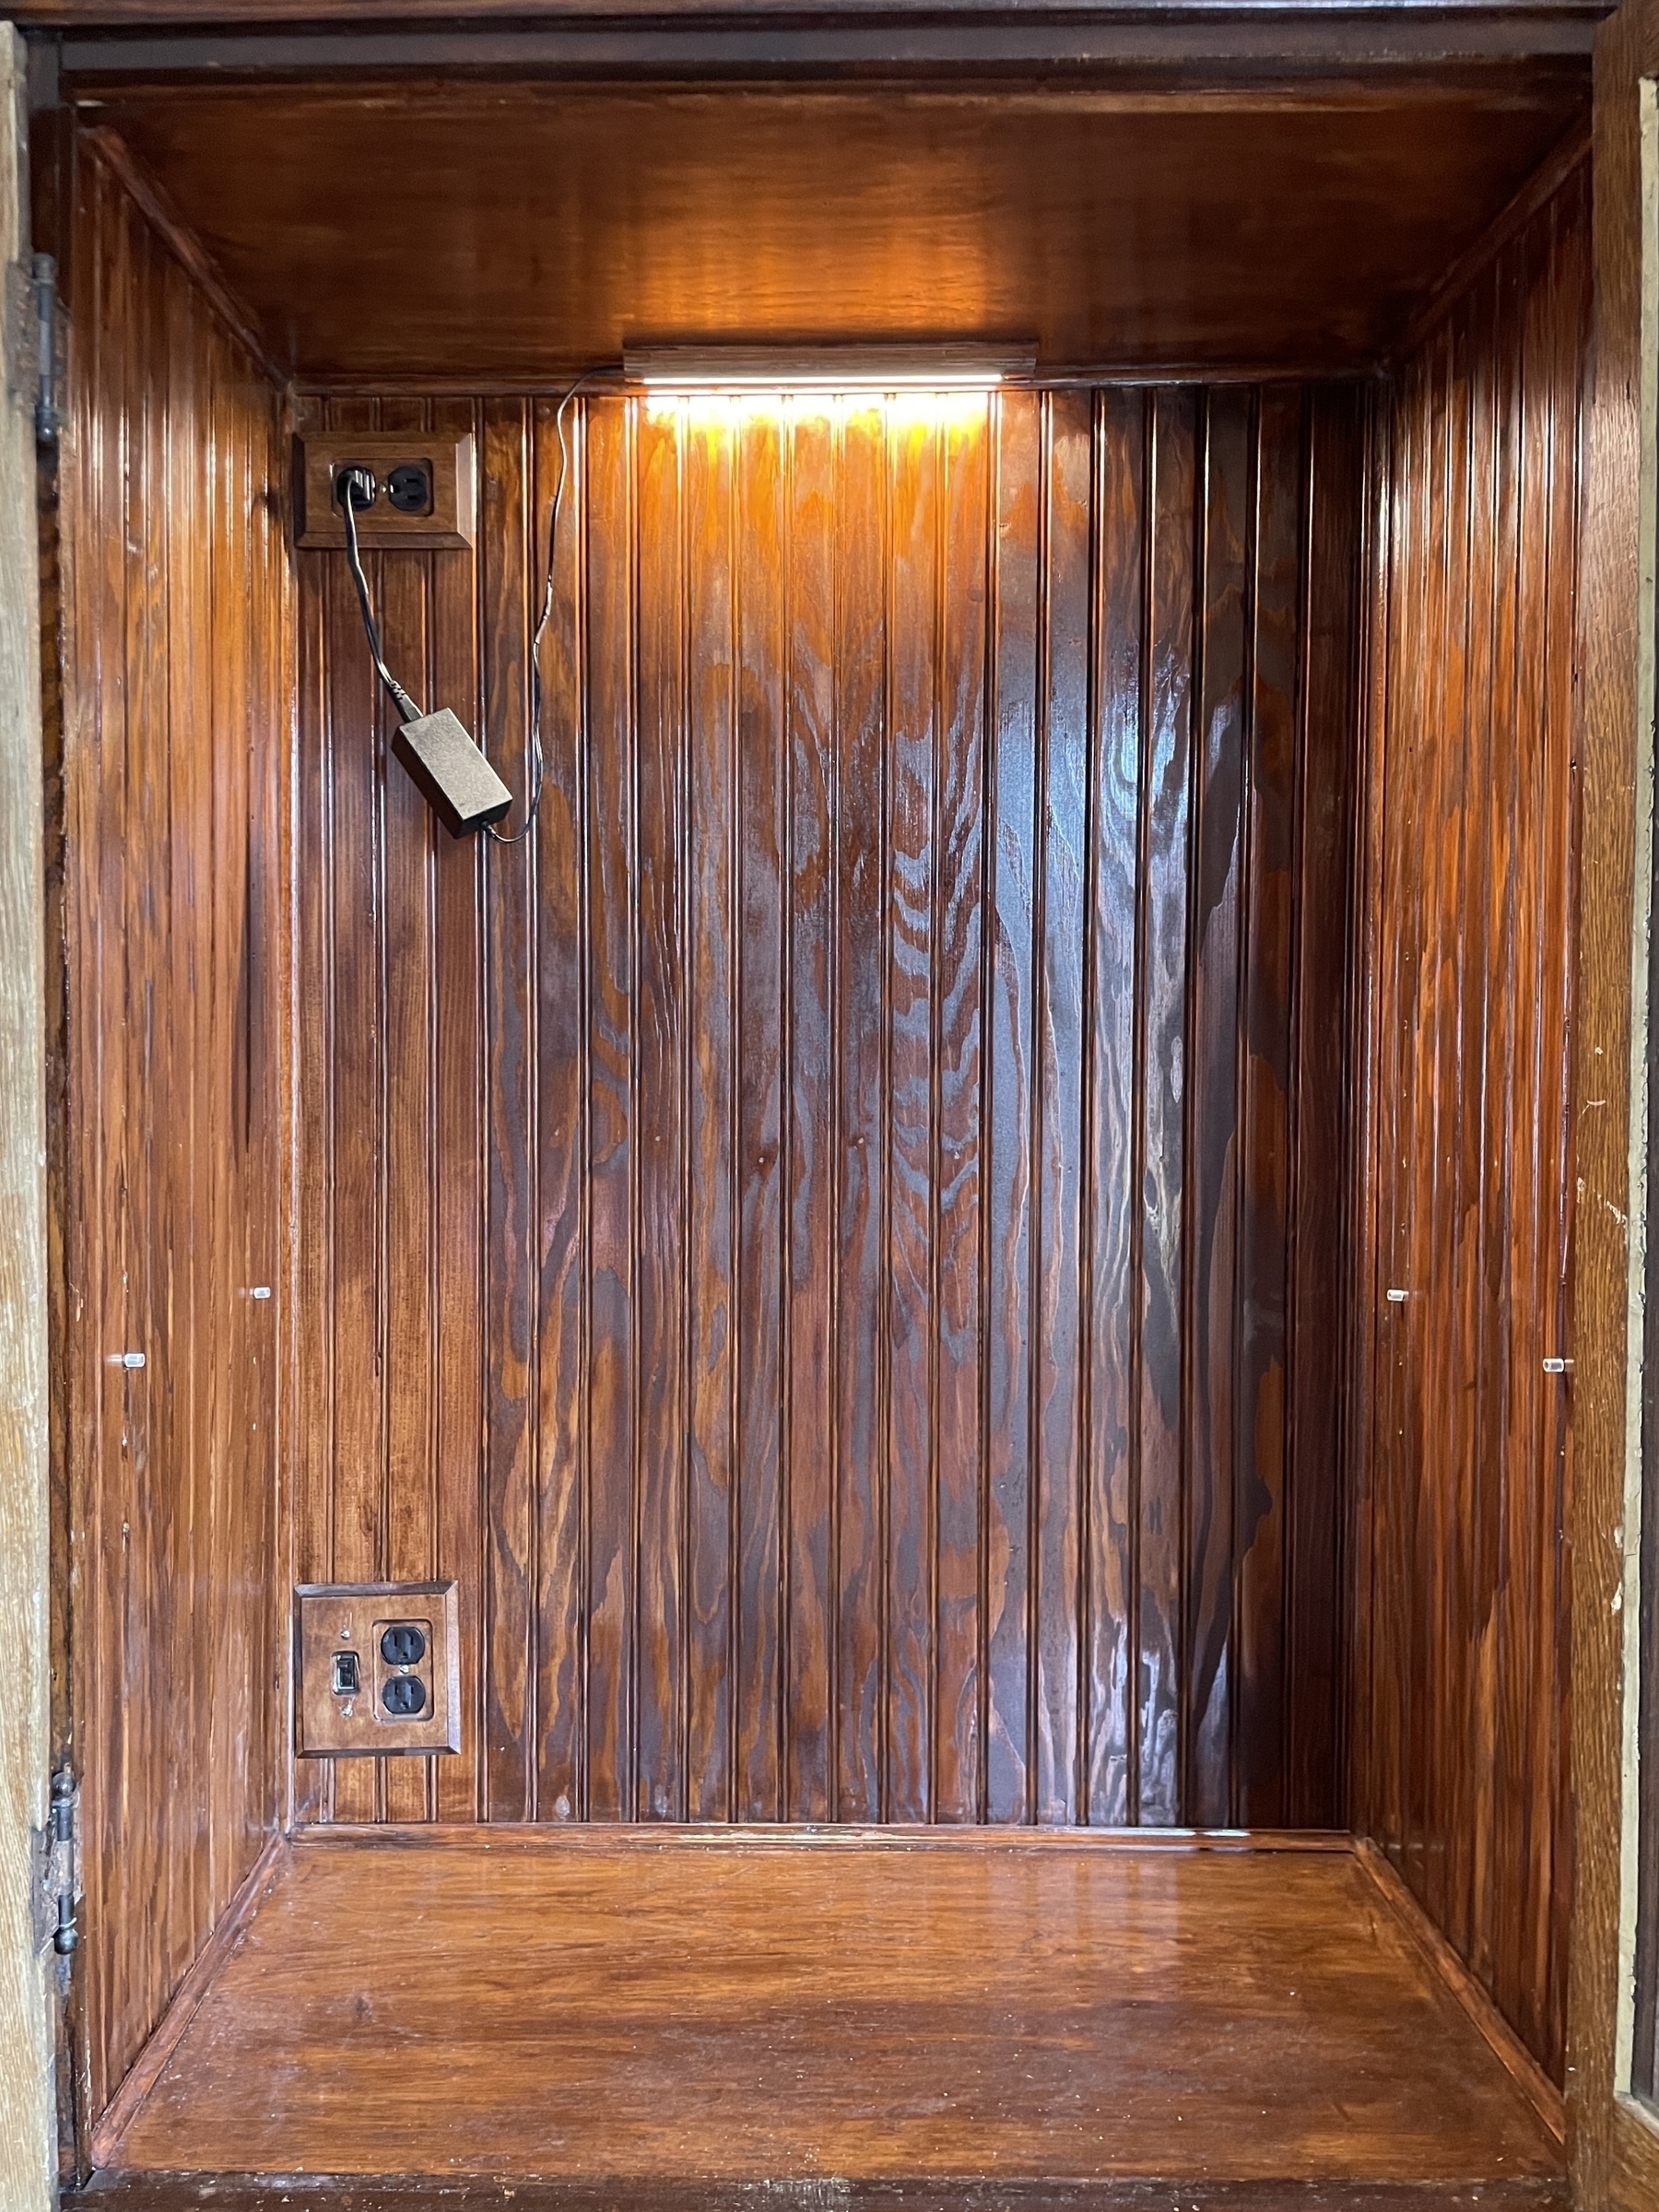
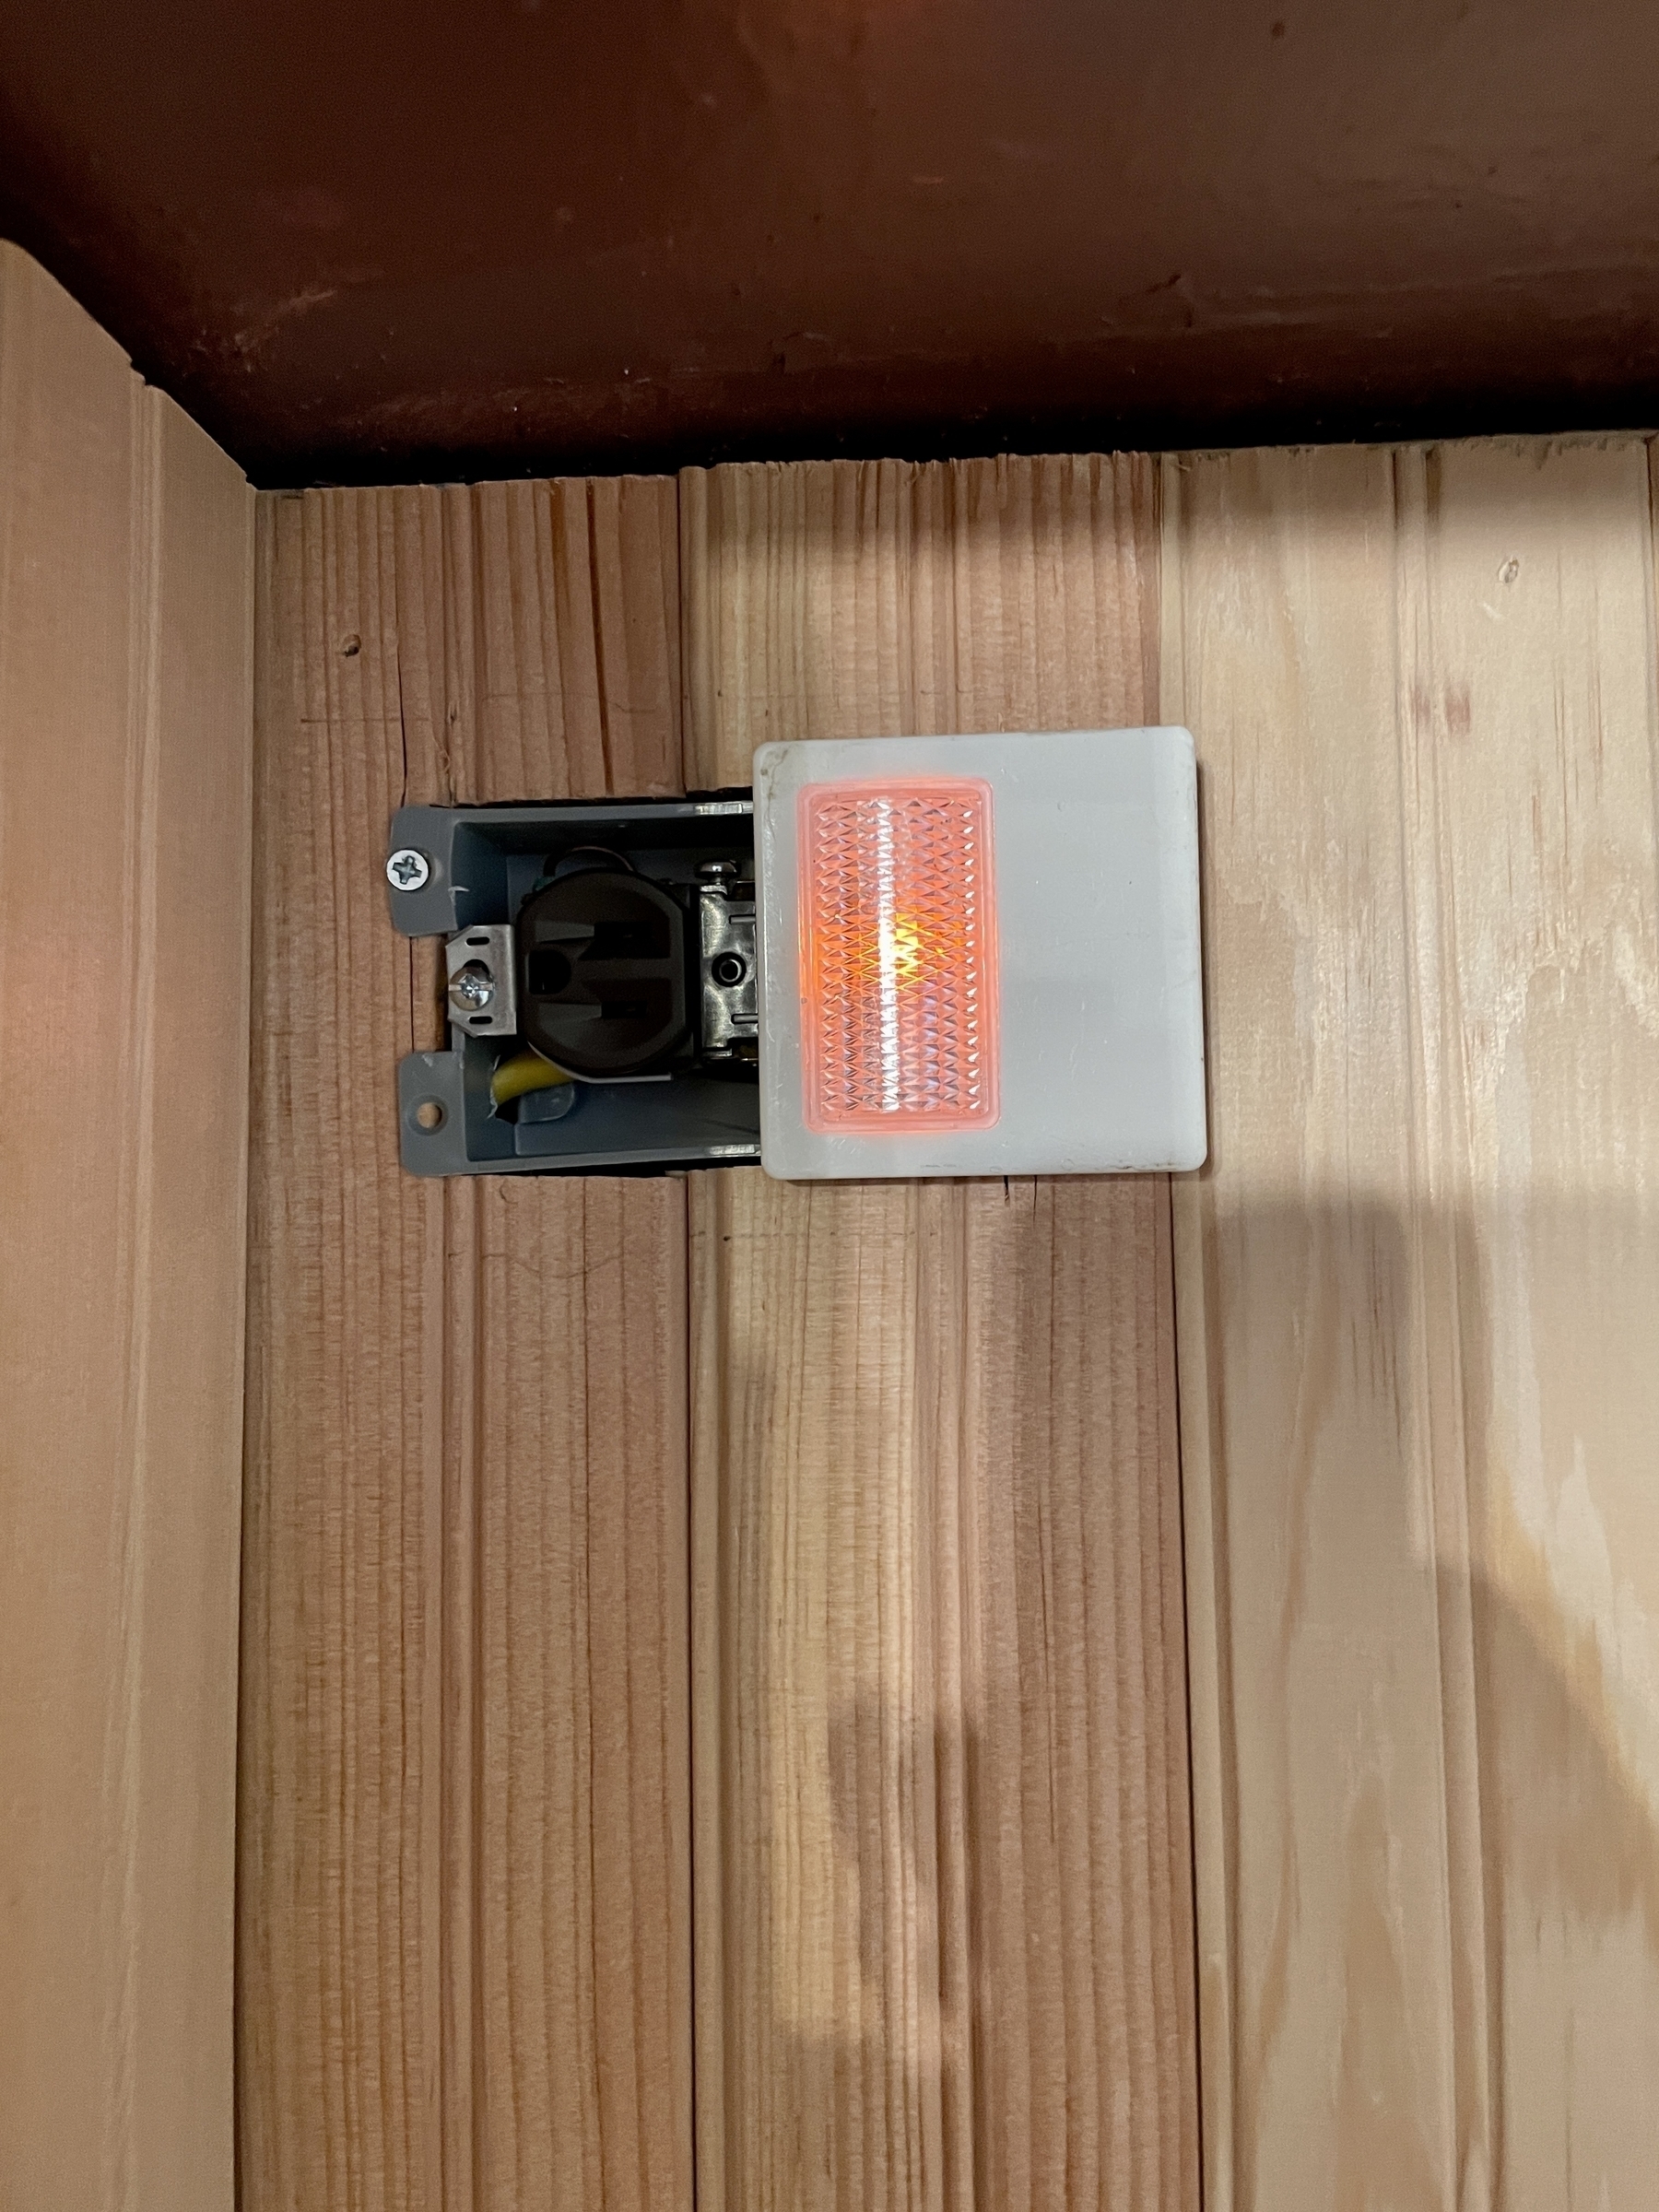
More recent progress on the built-in china cabinet. Added some electrical. The switch at the bottom powers on/off the top outlet. The plan is to put some plug in LED lighting in…
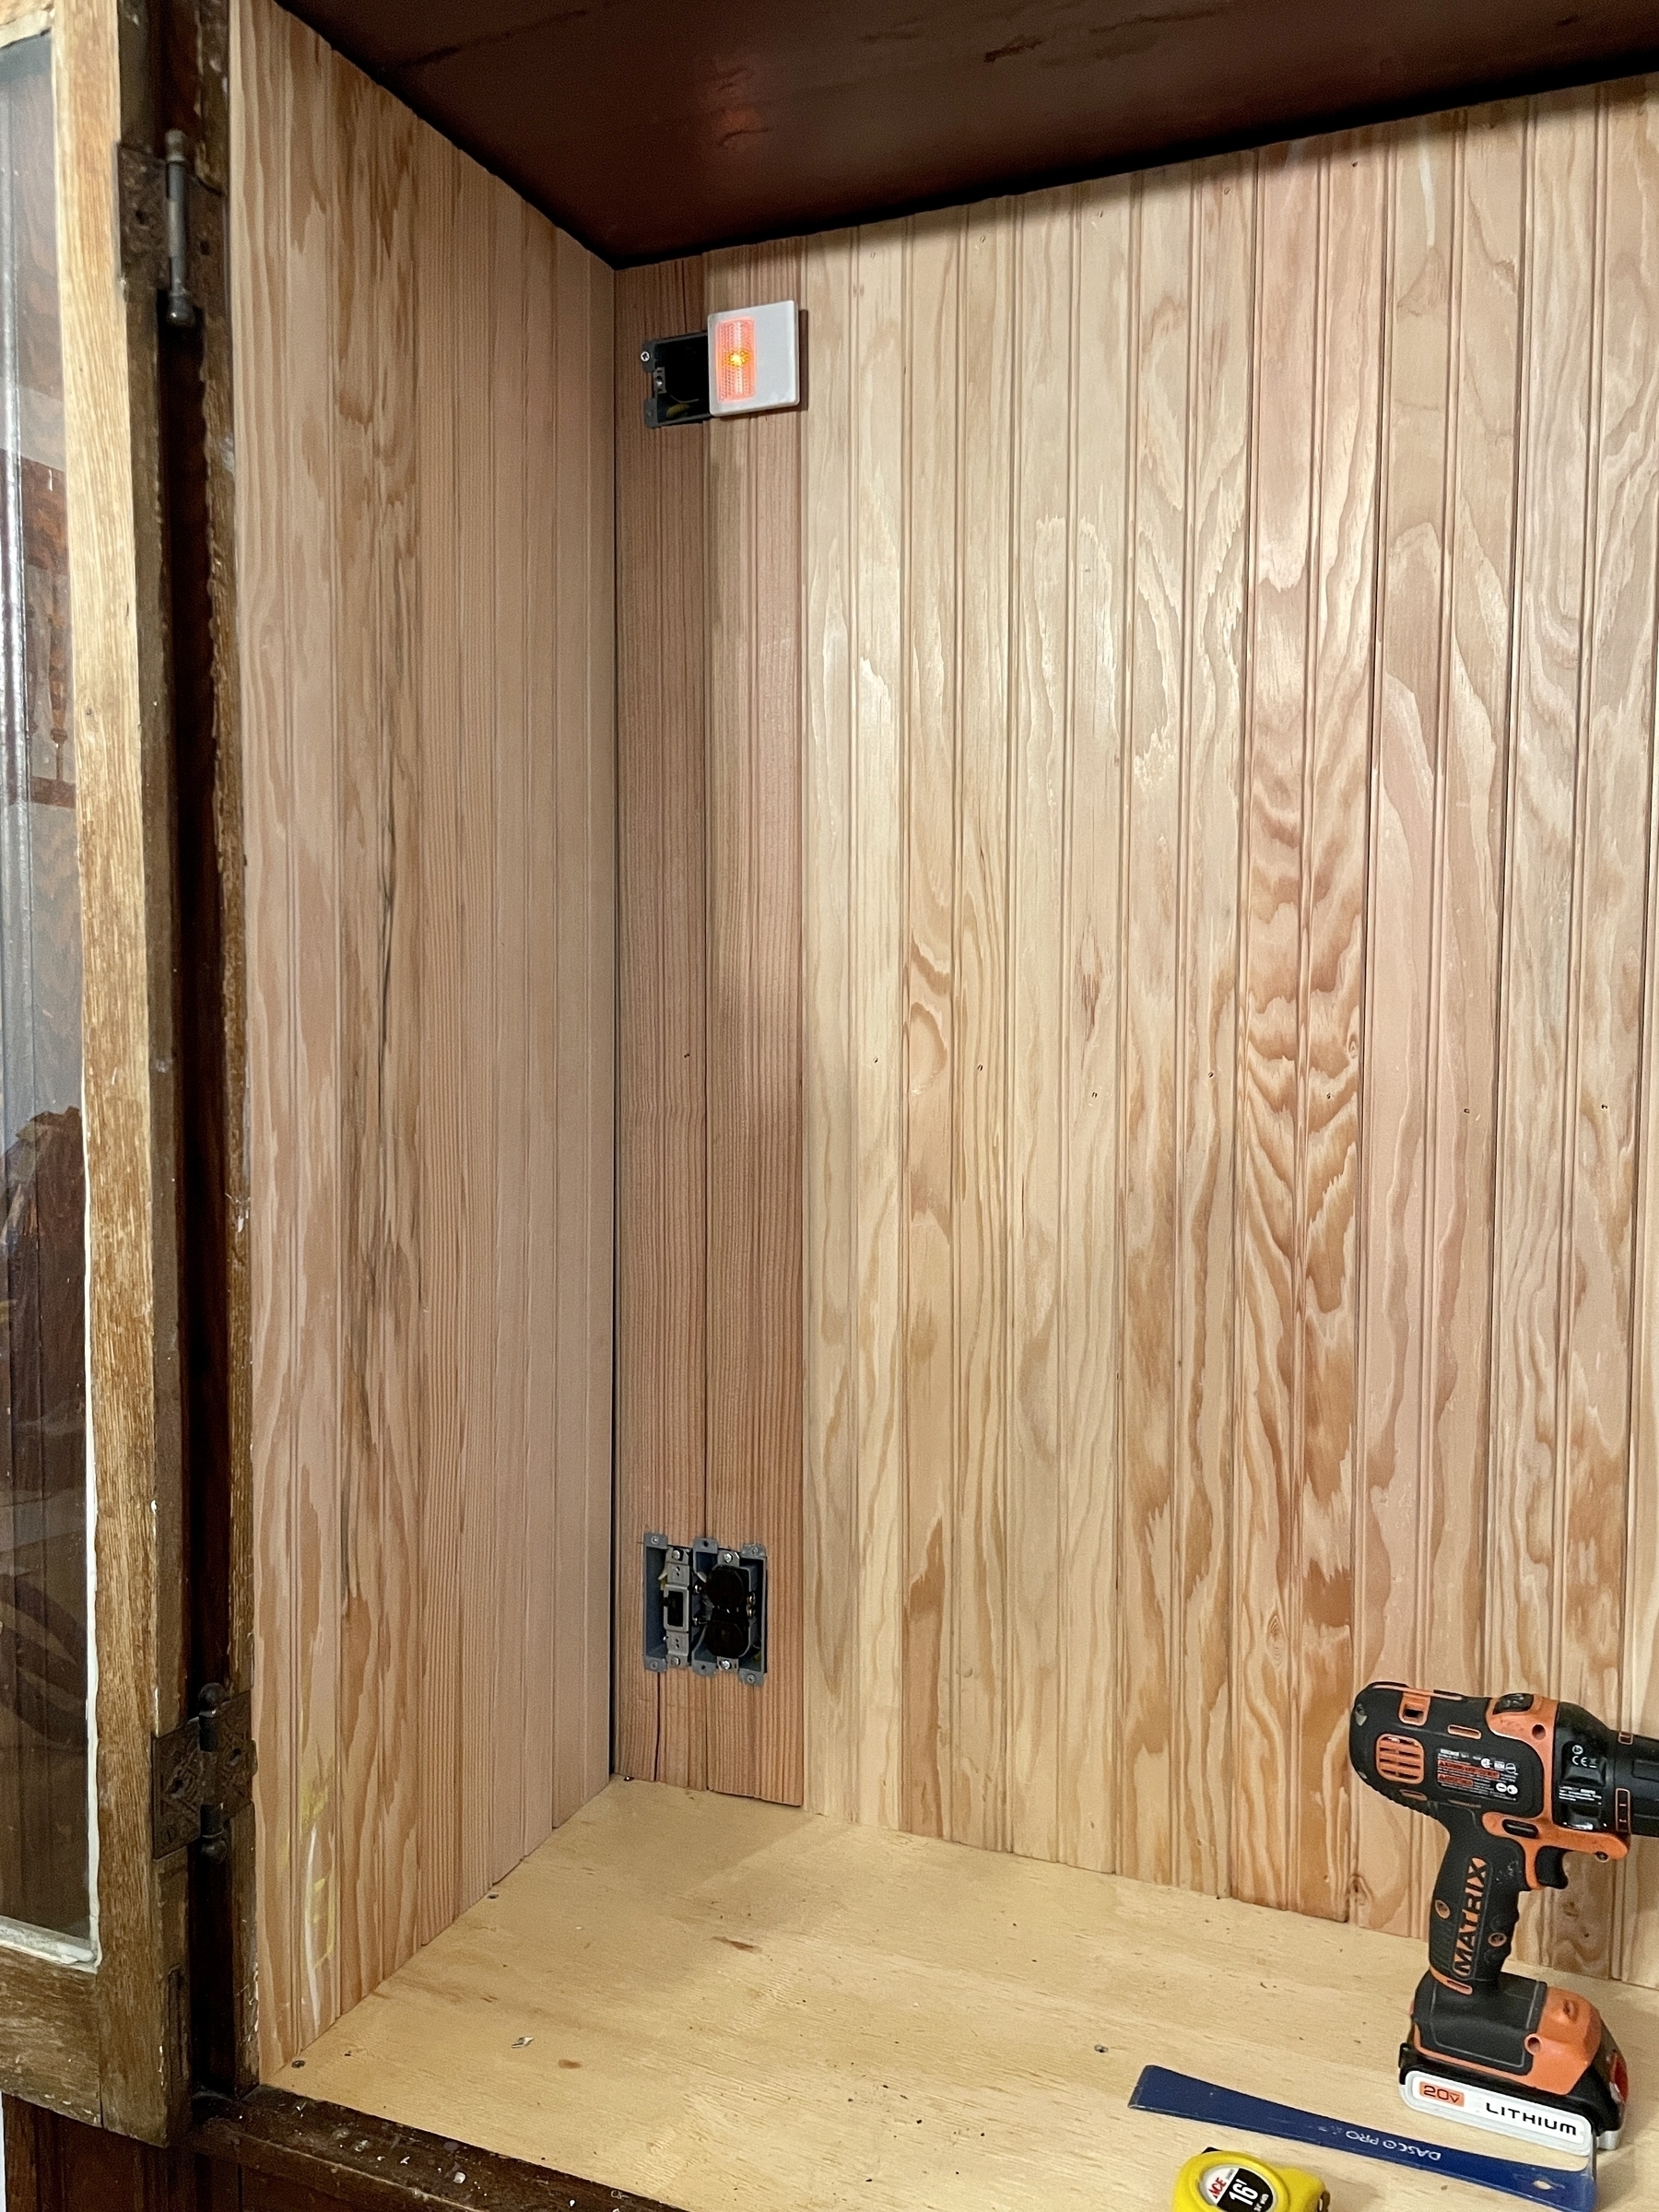

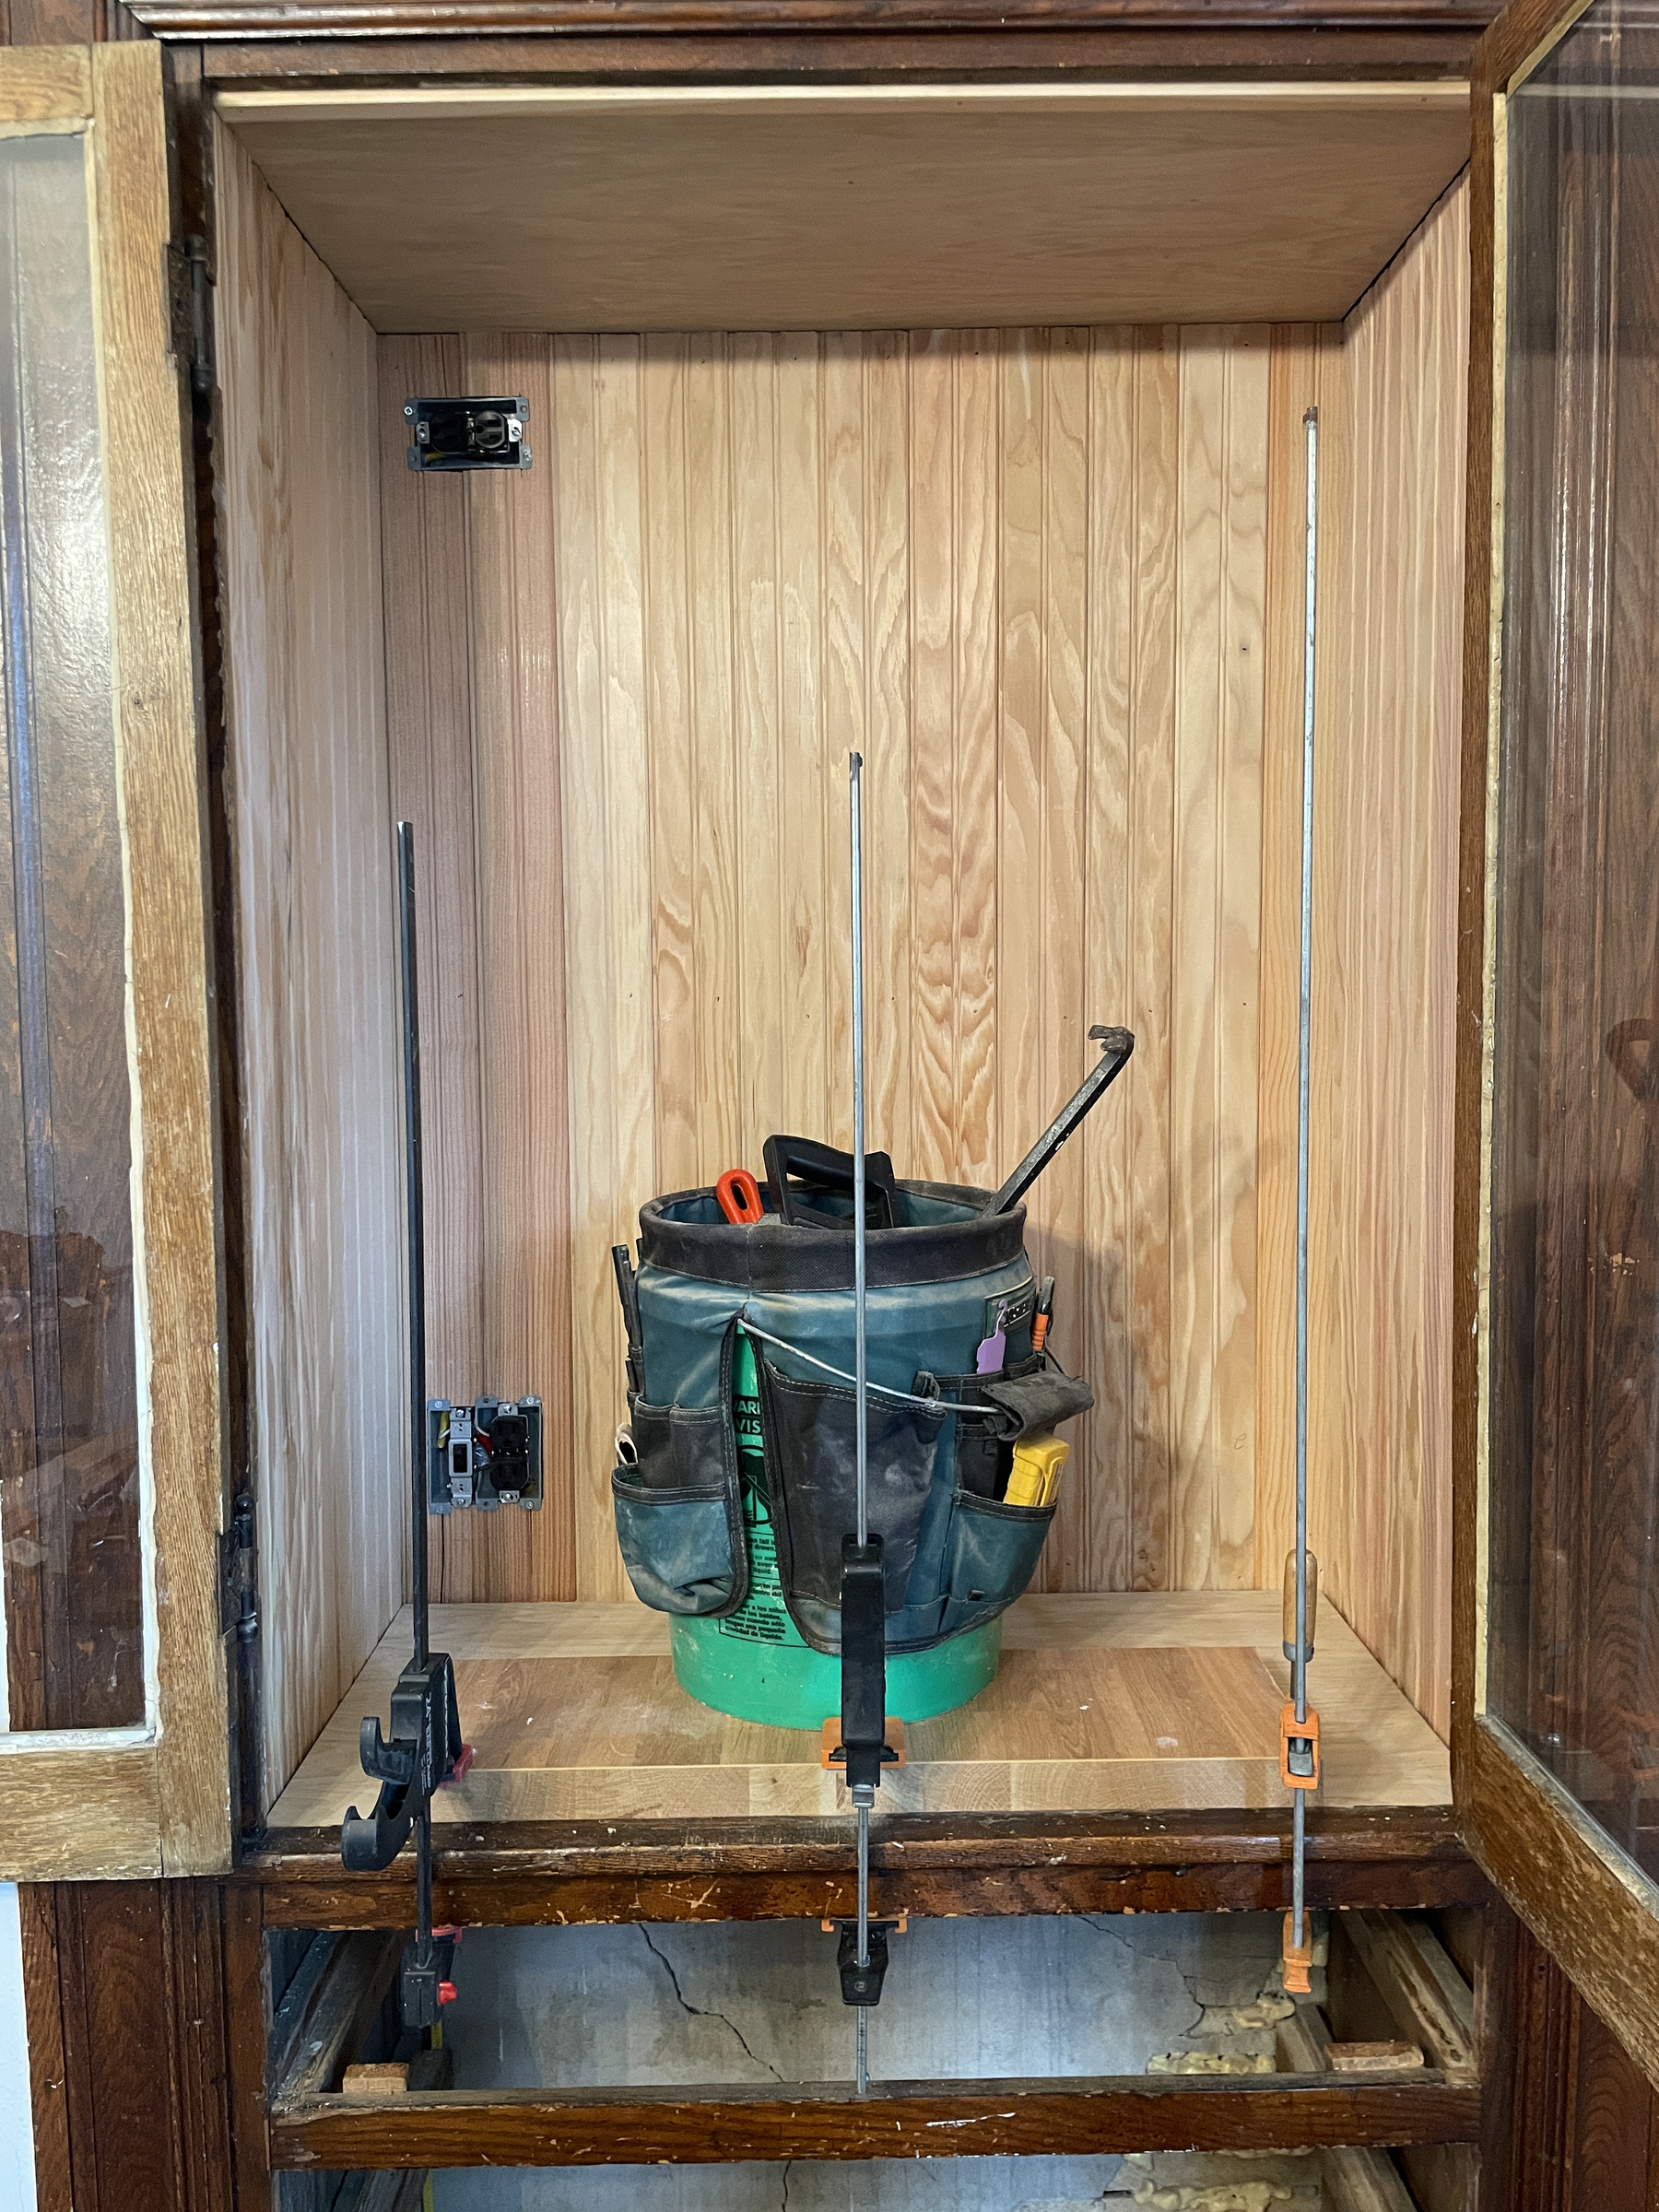
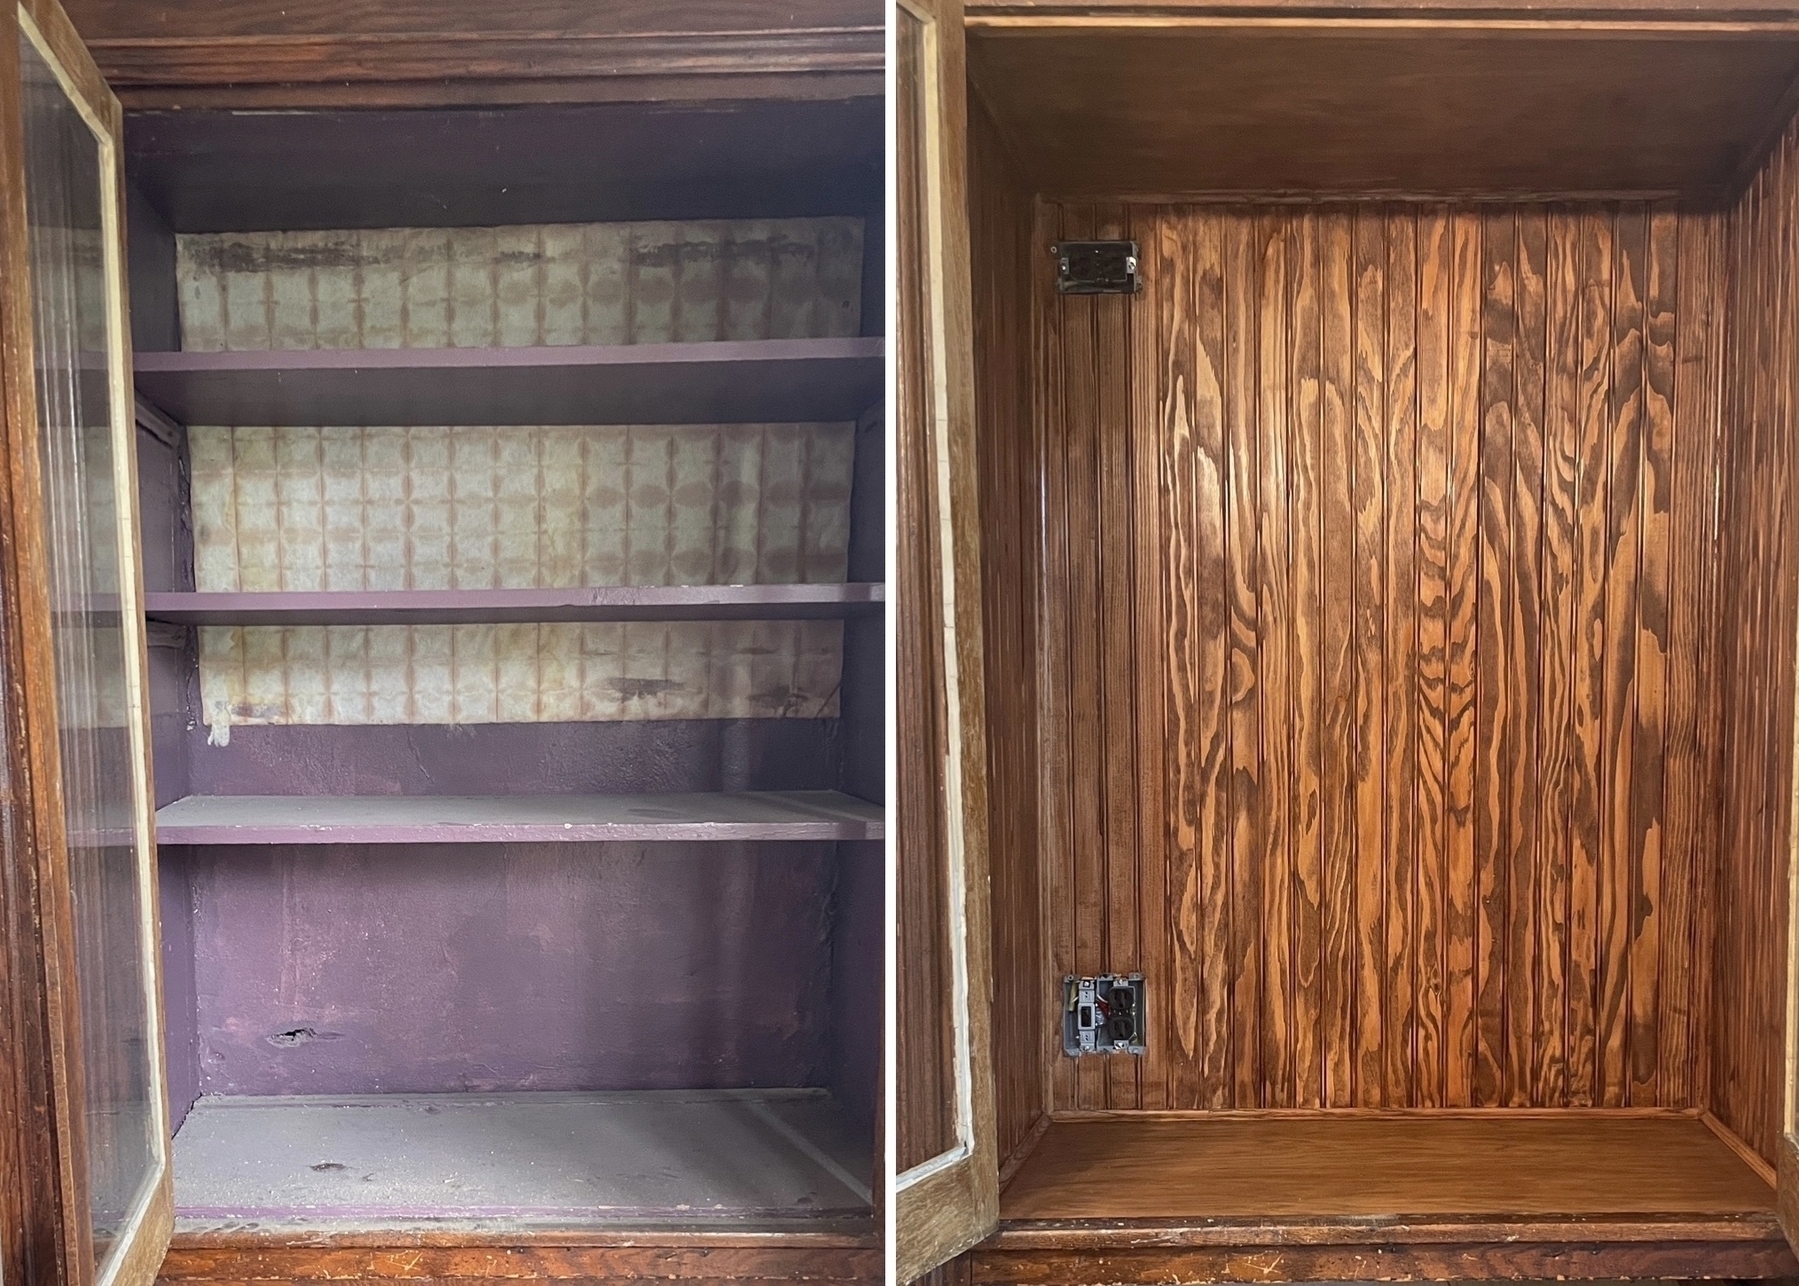
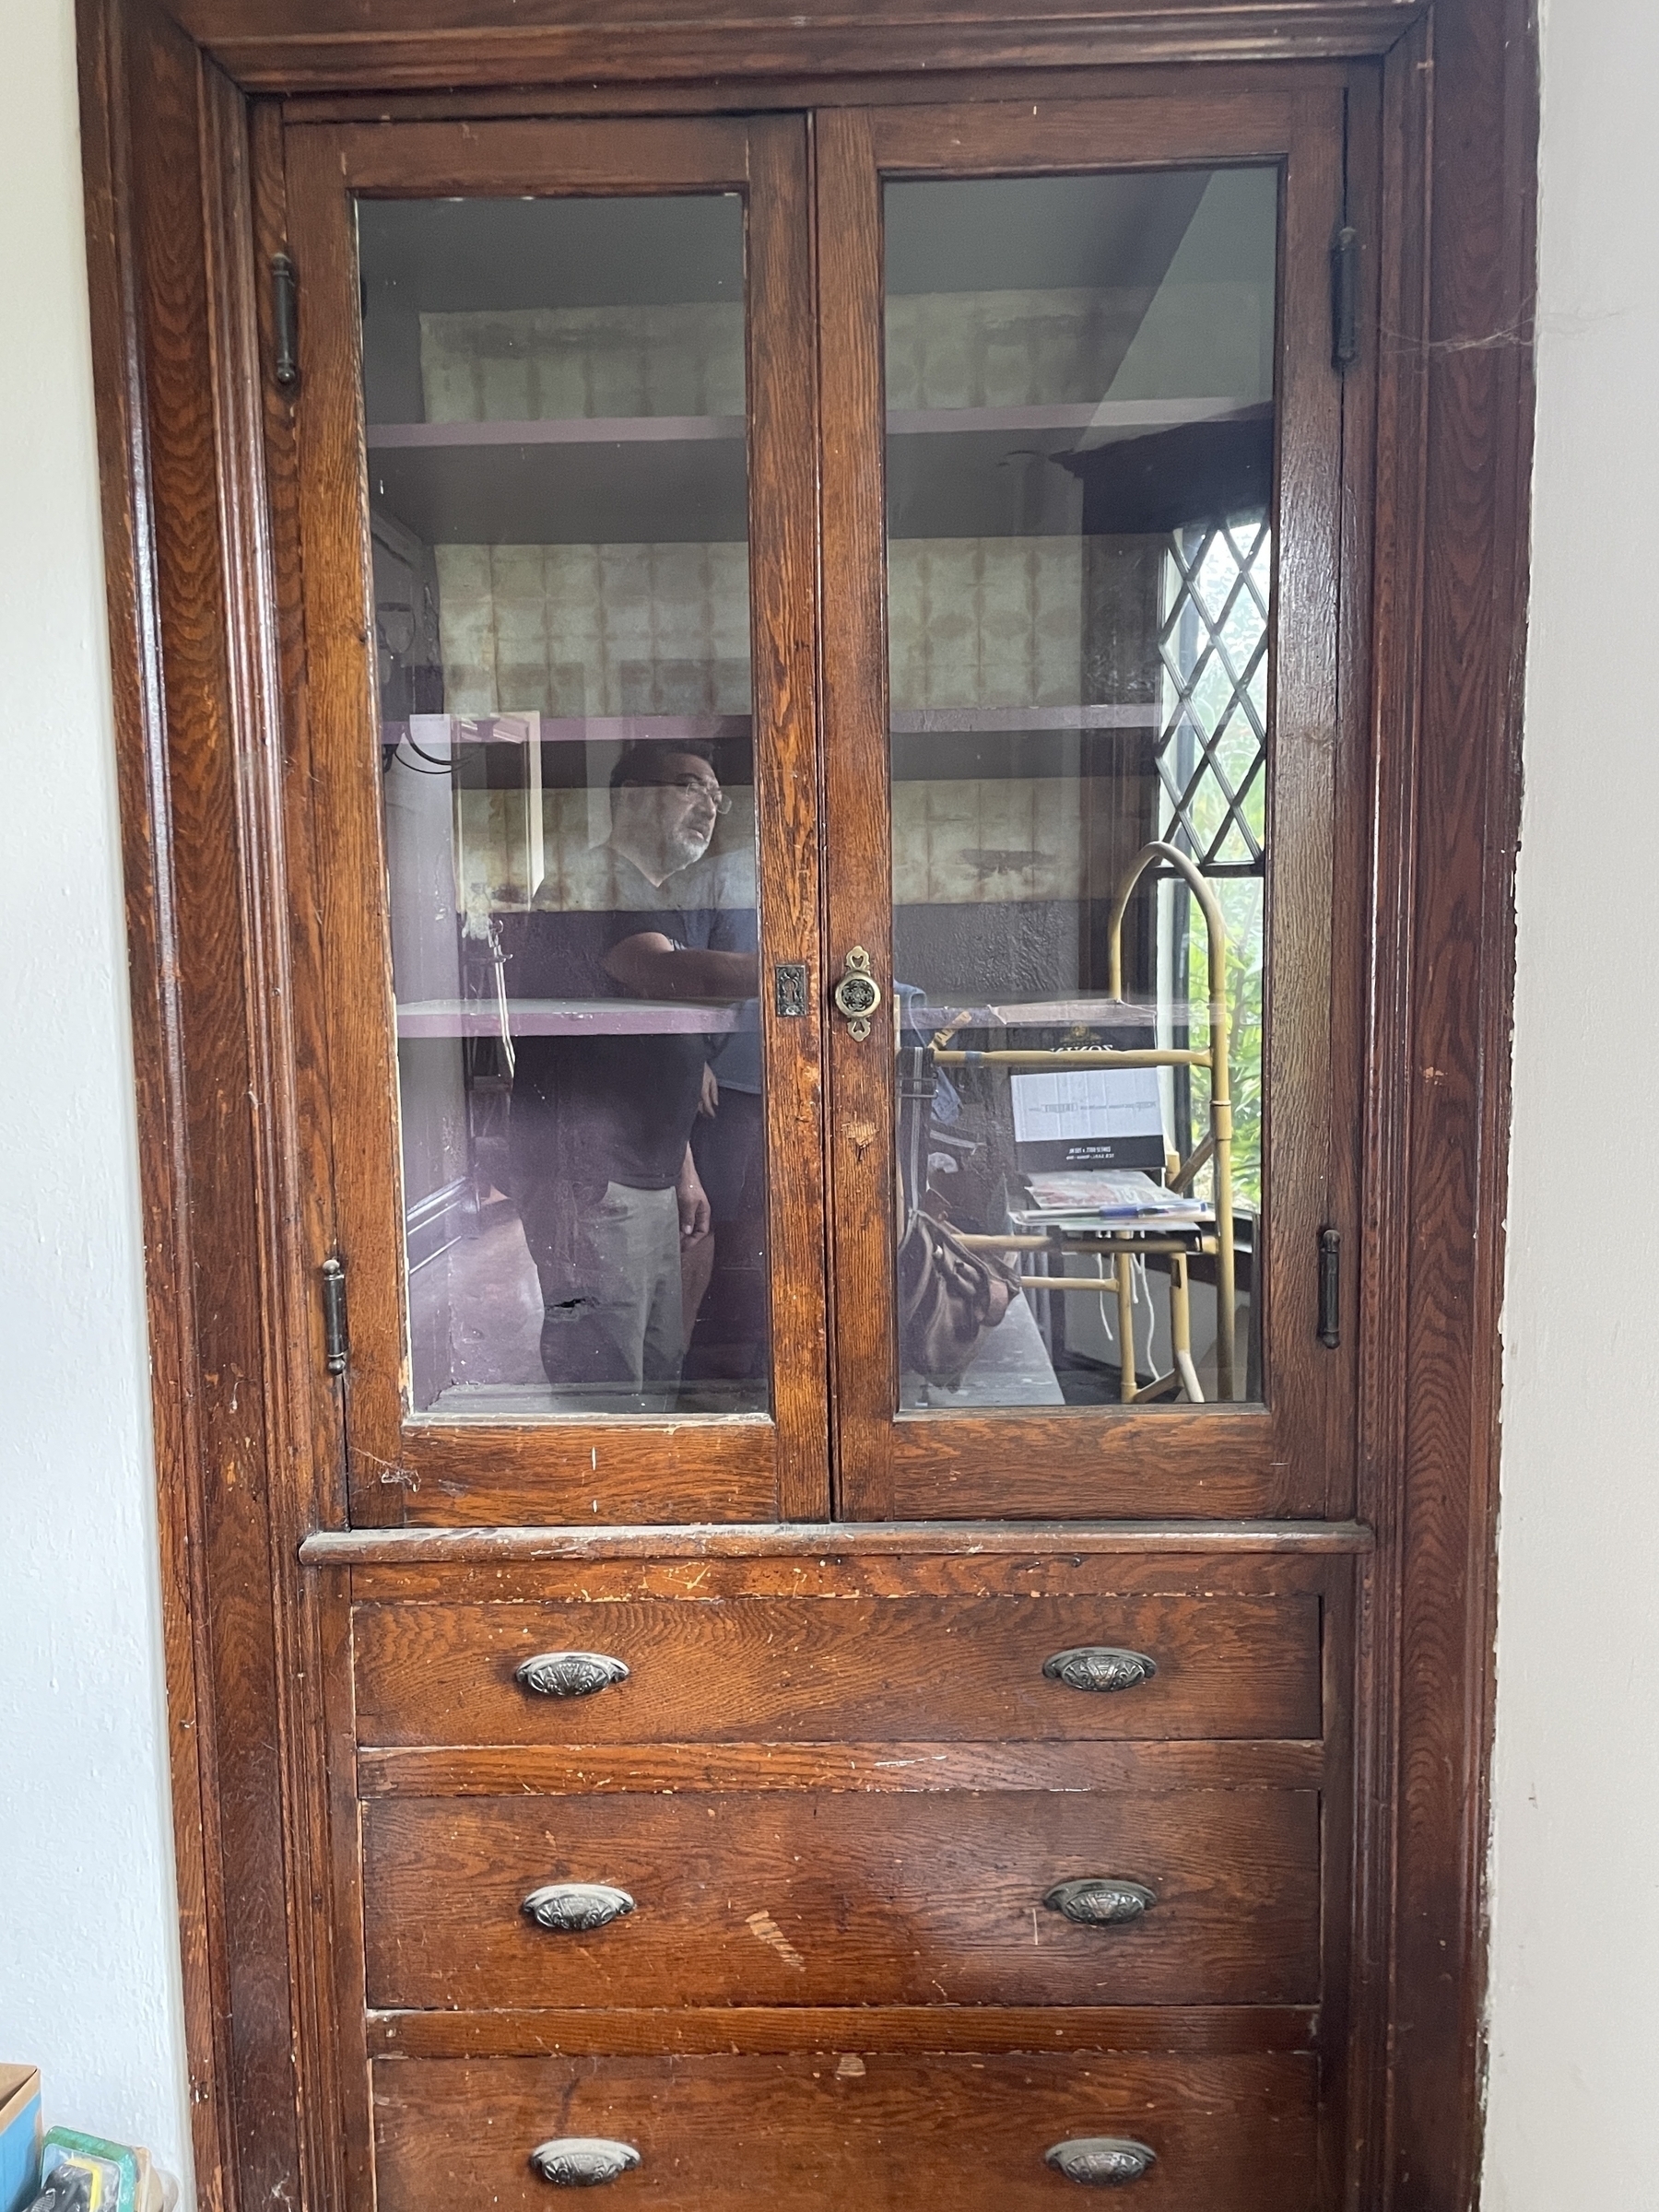
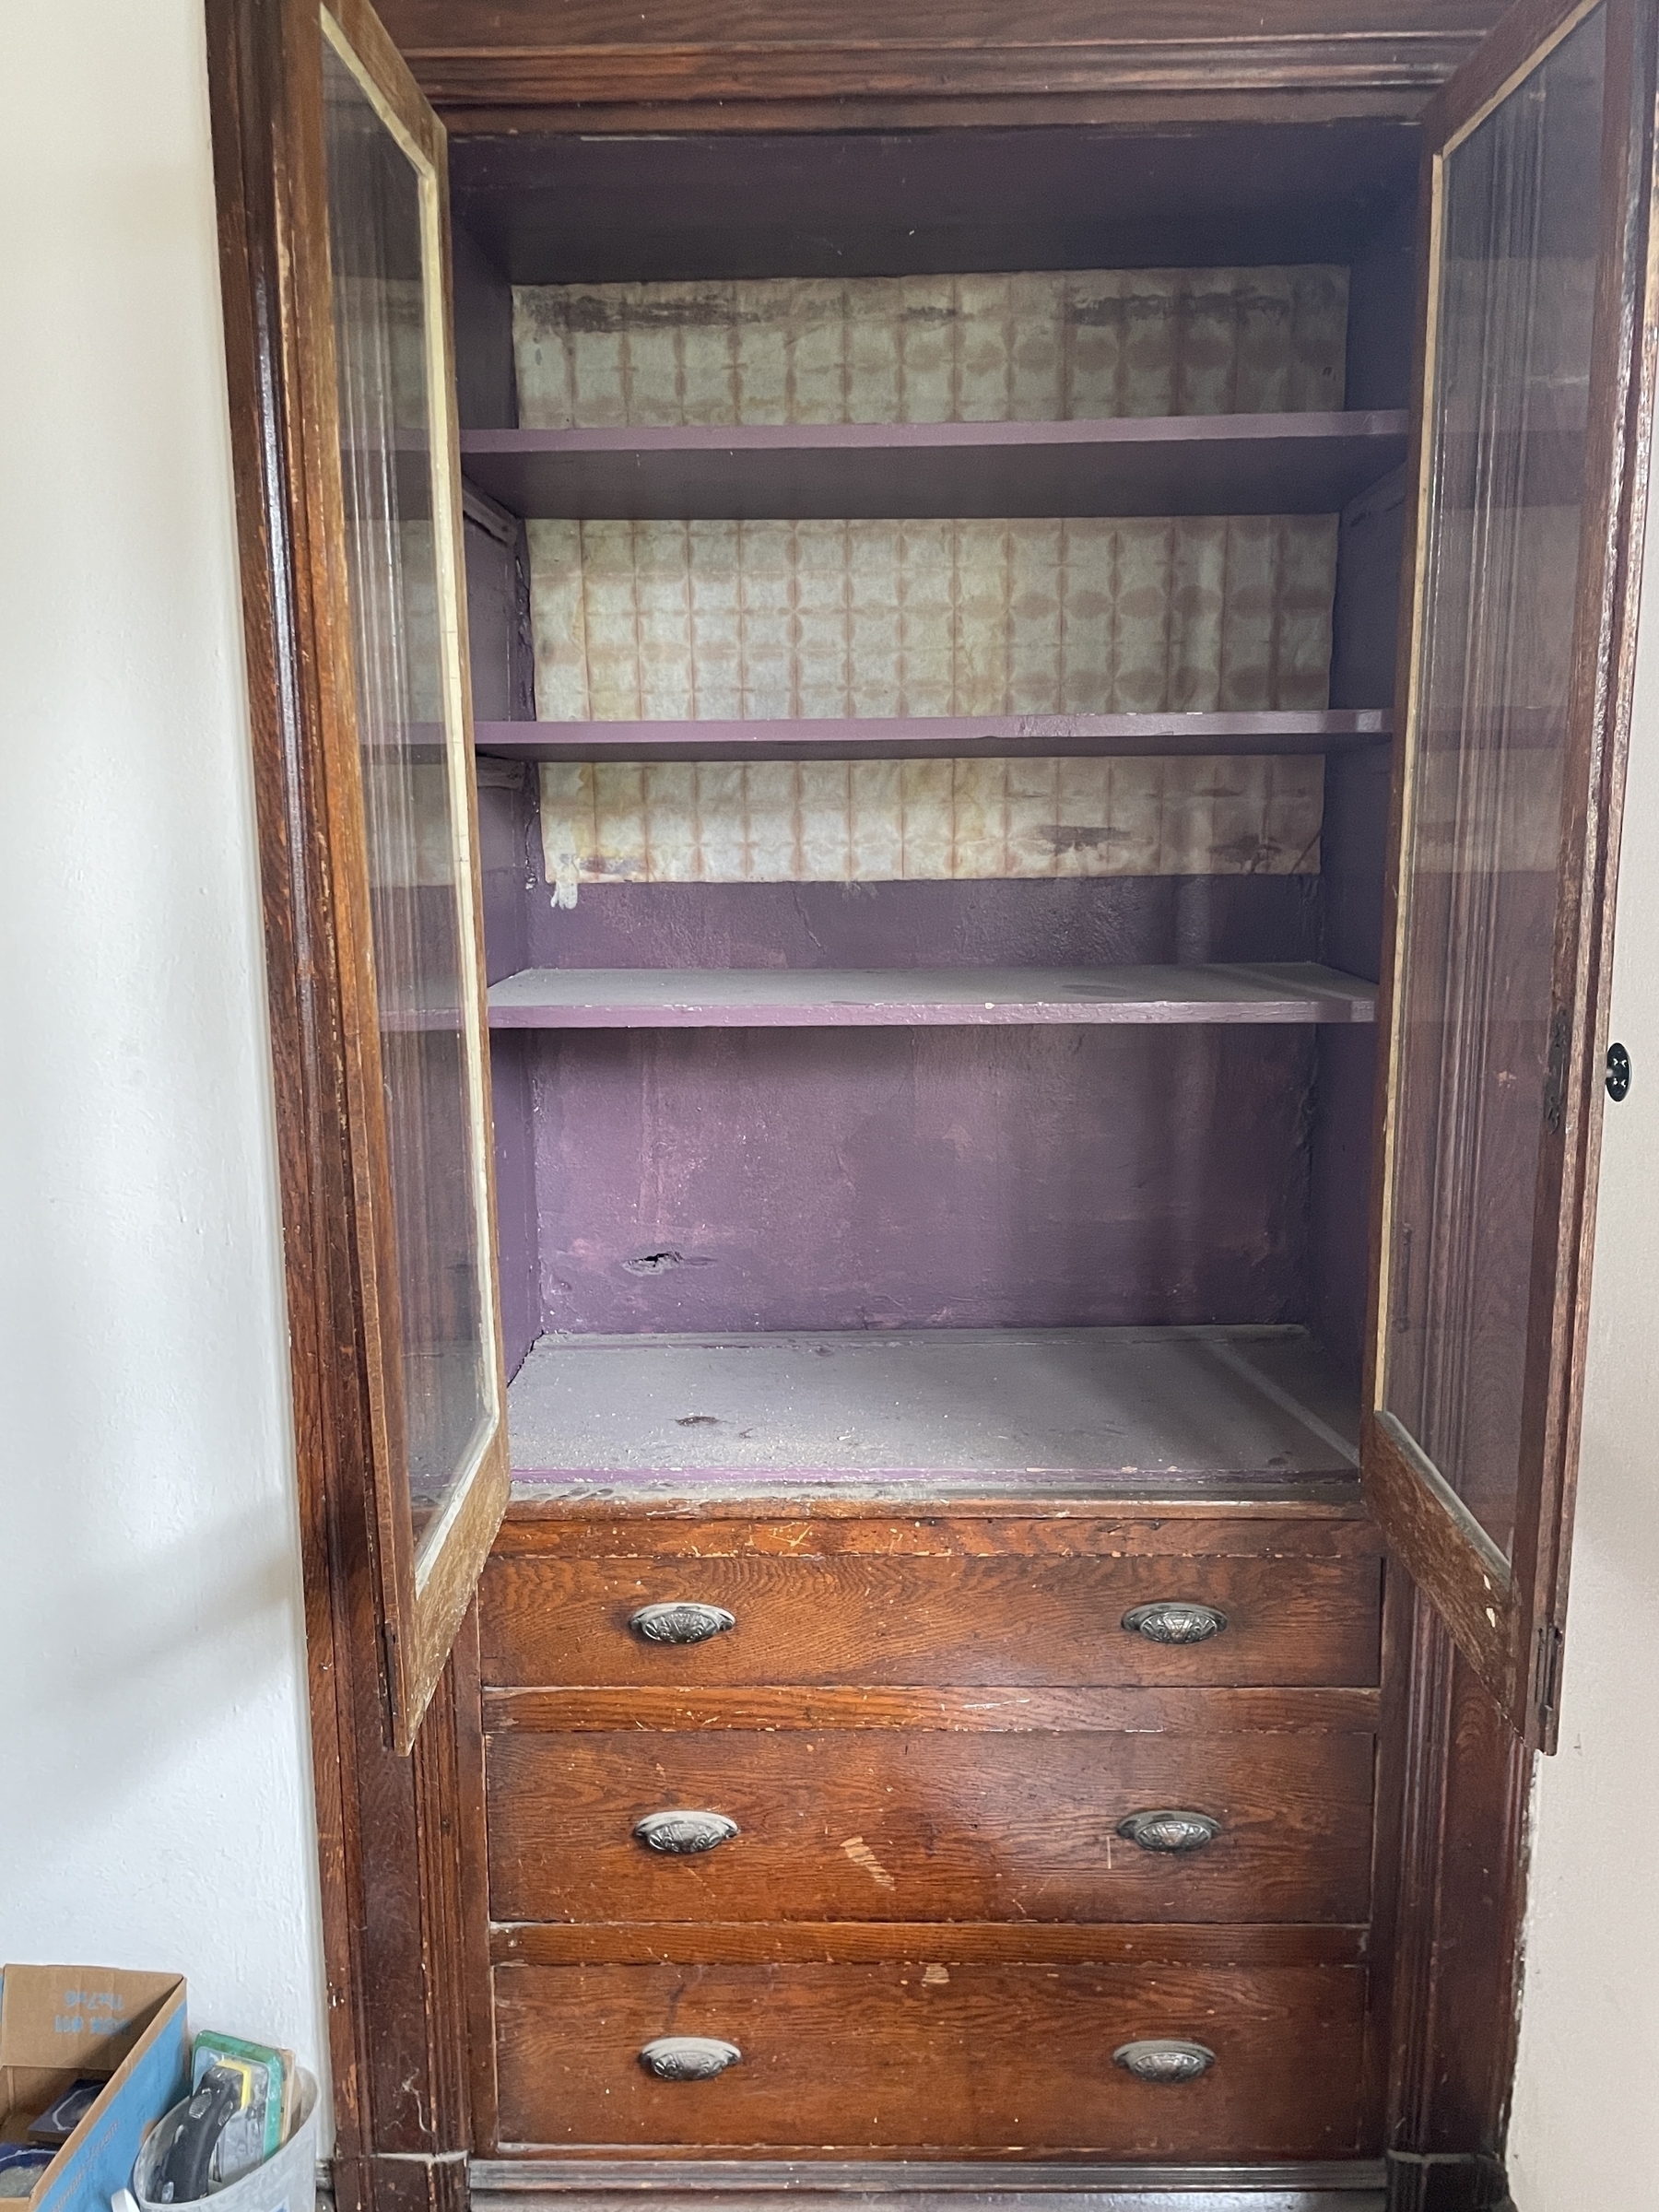
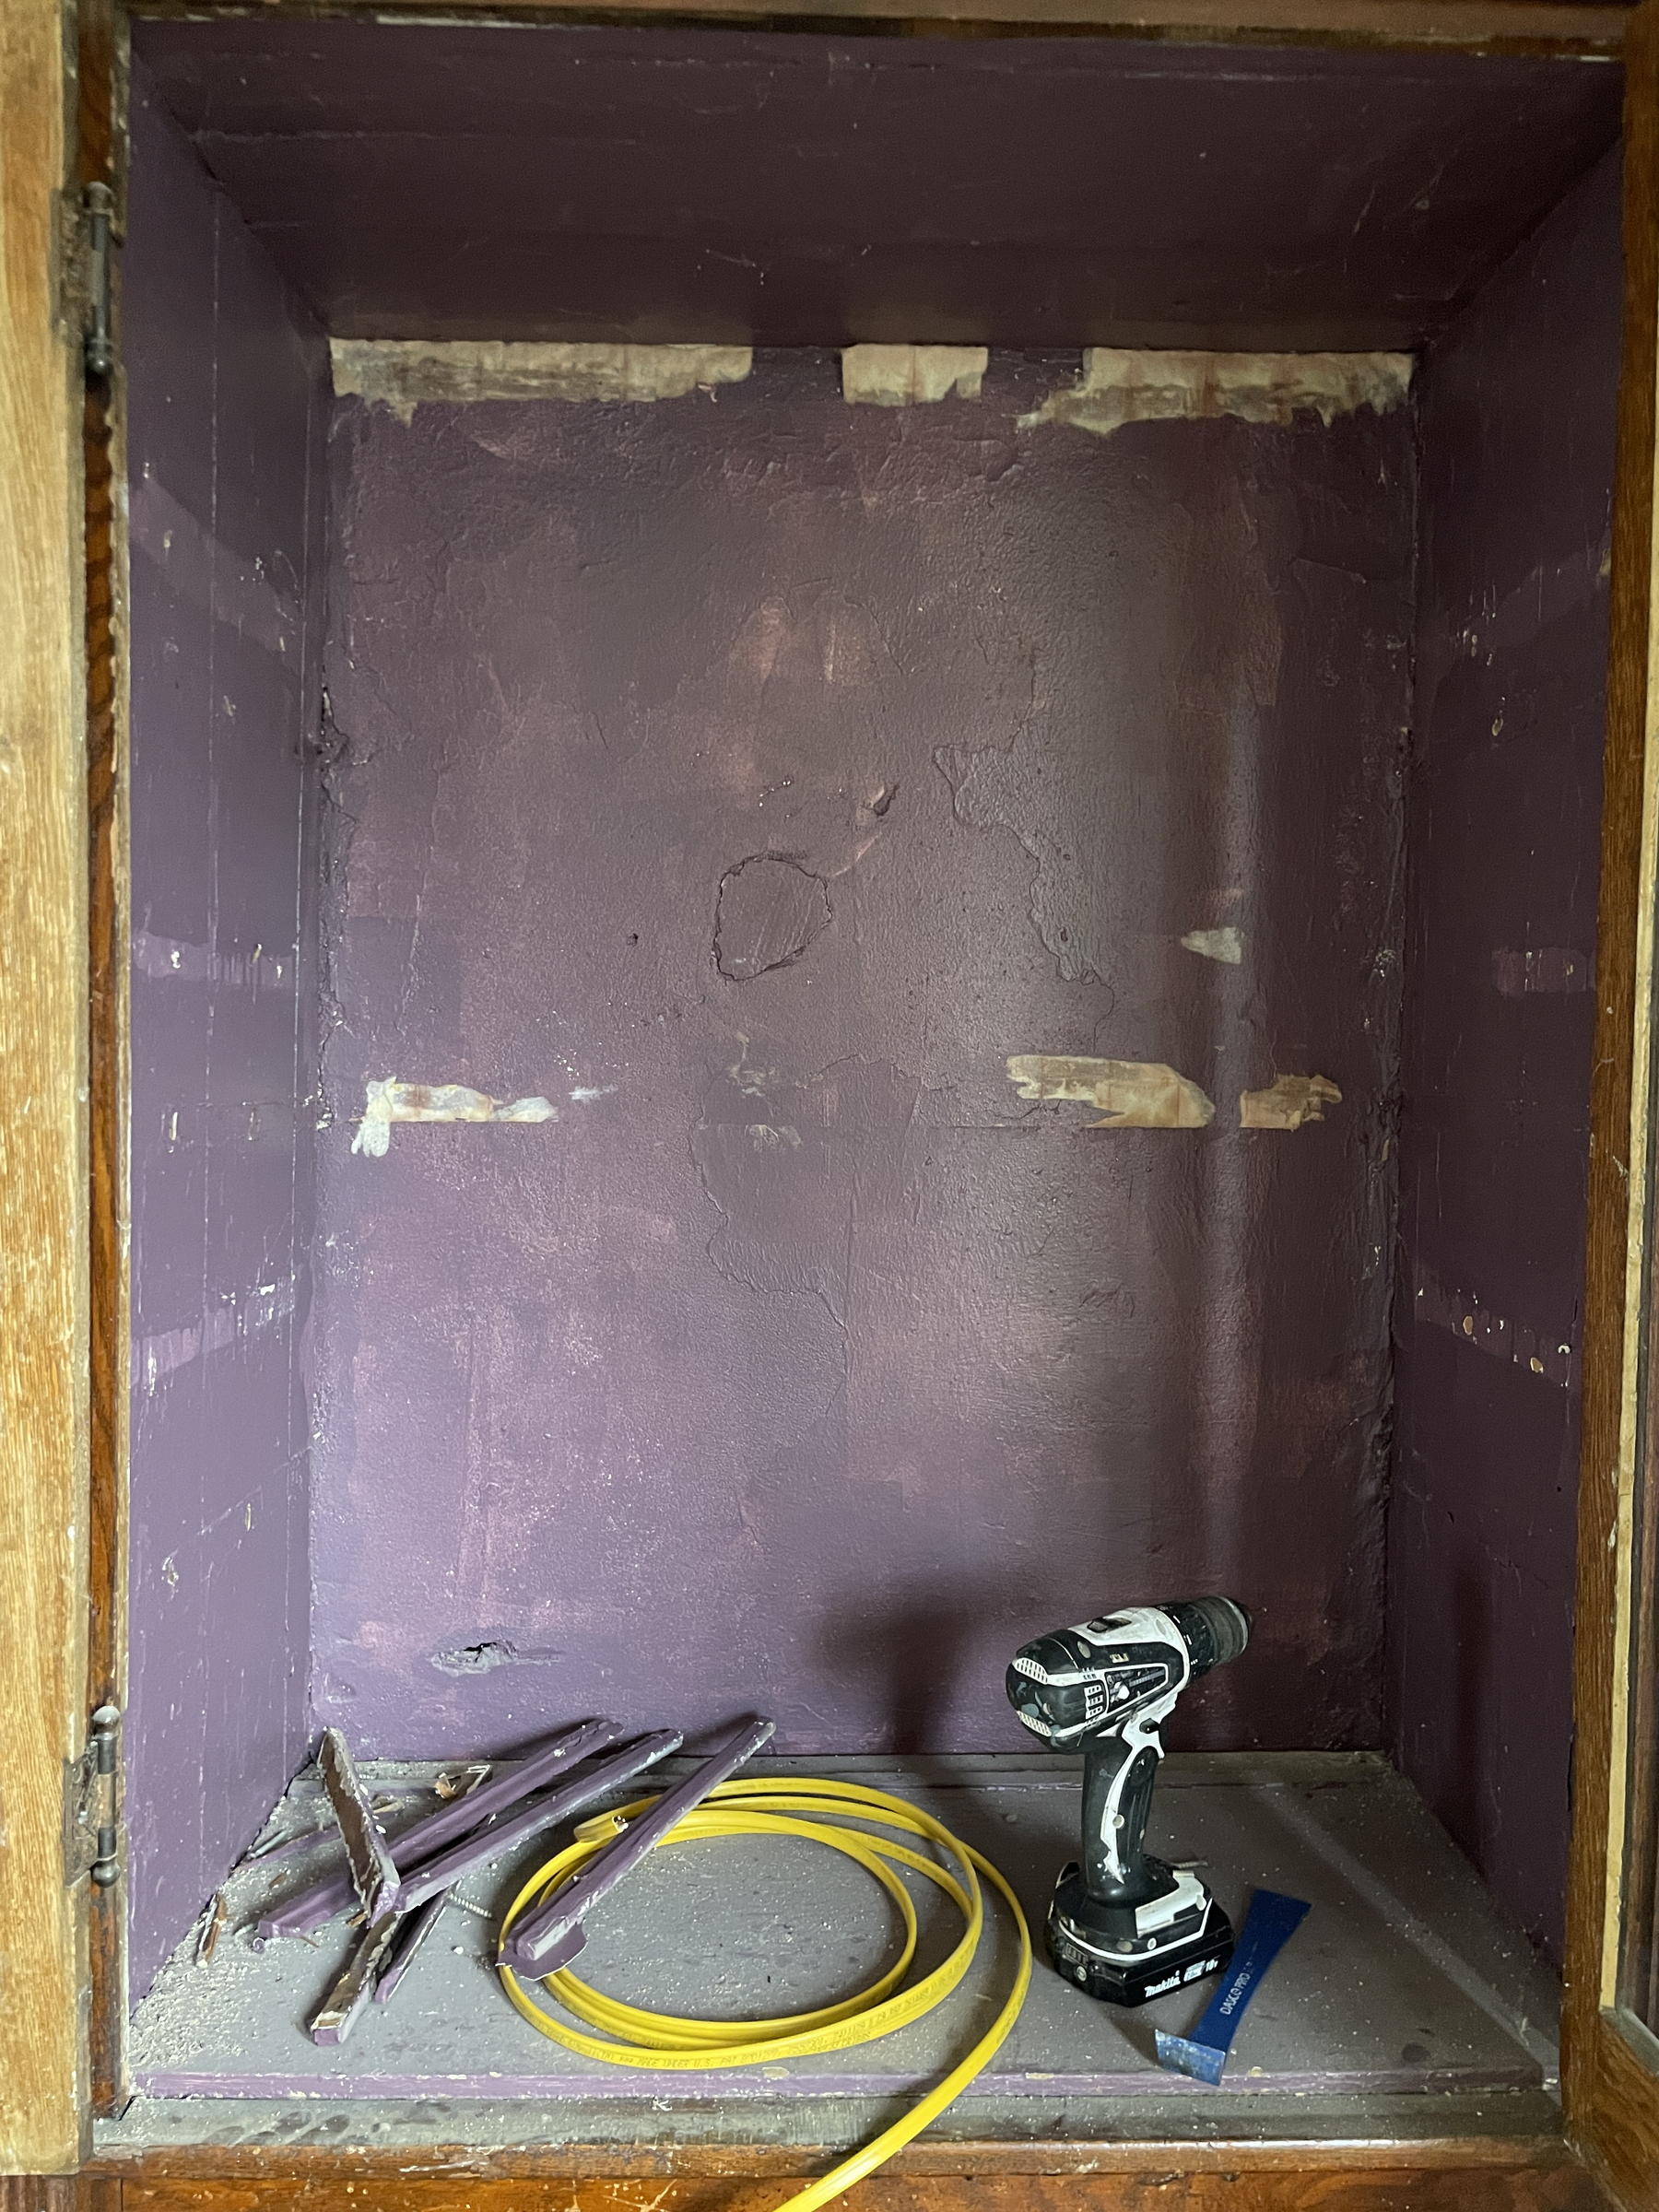
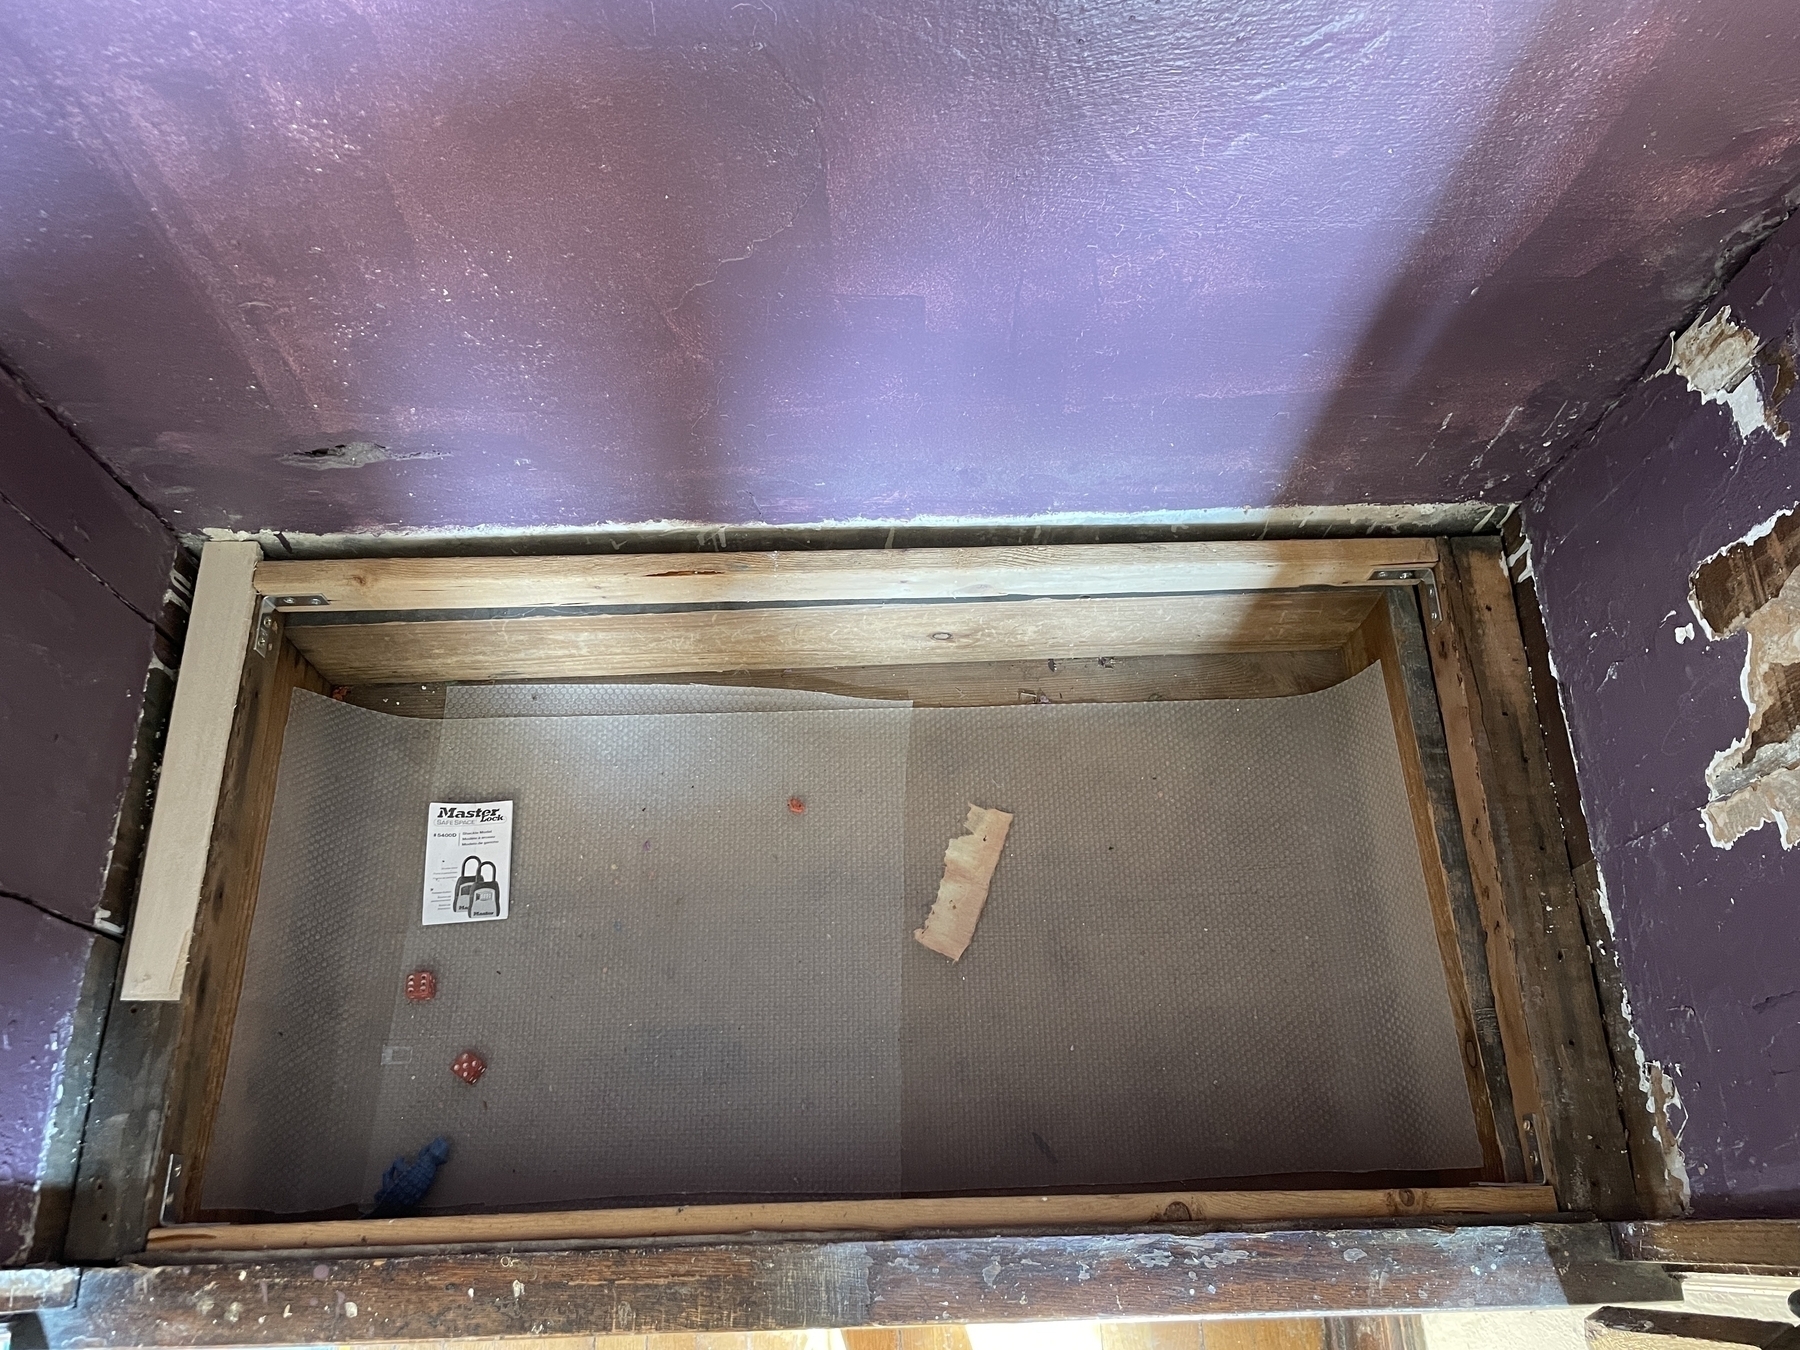
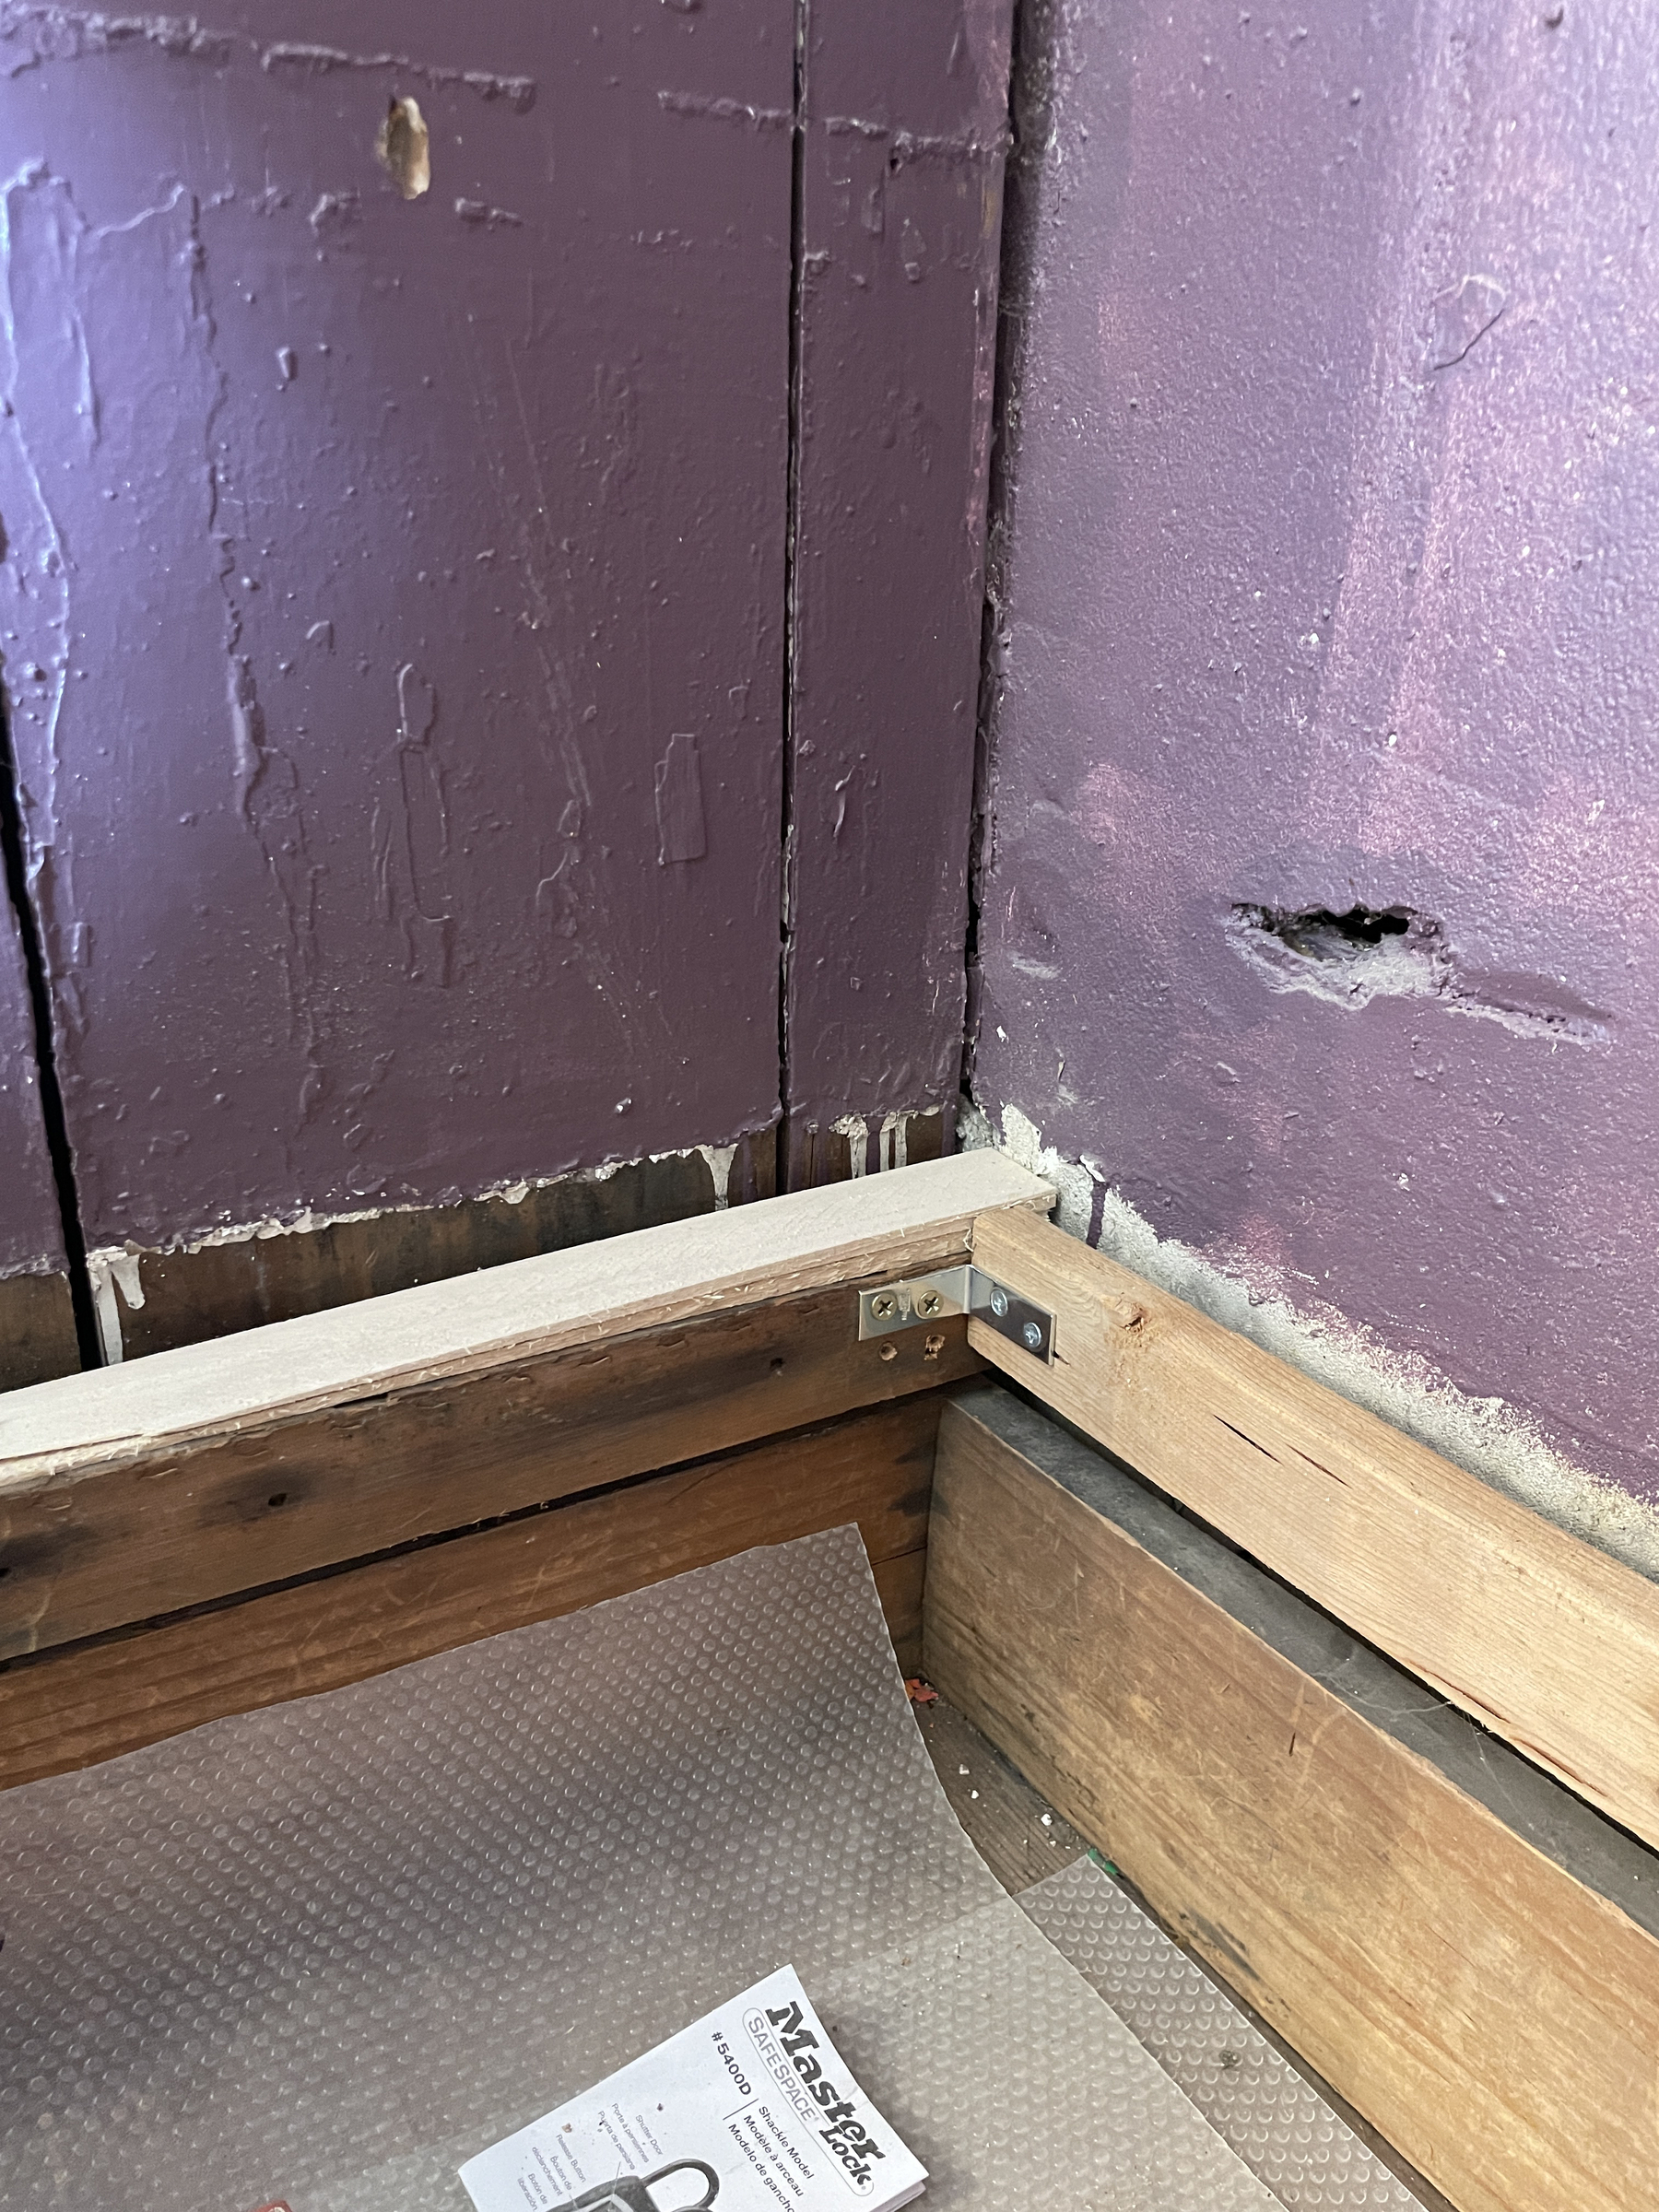
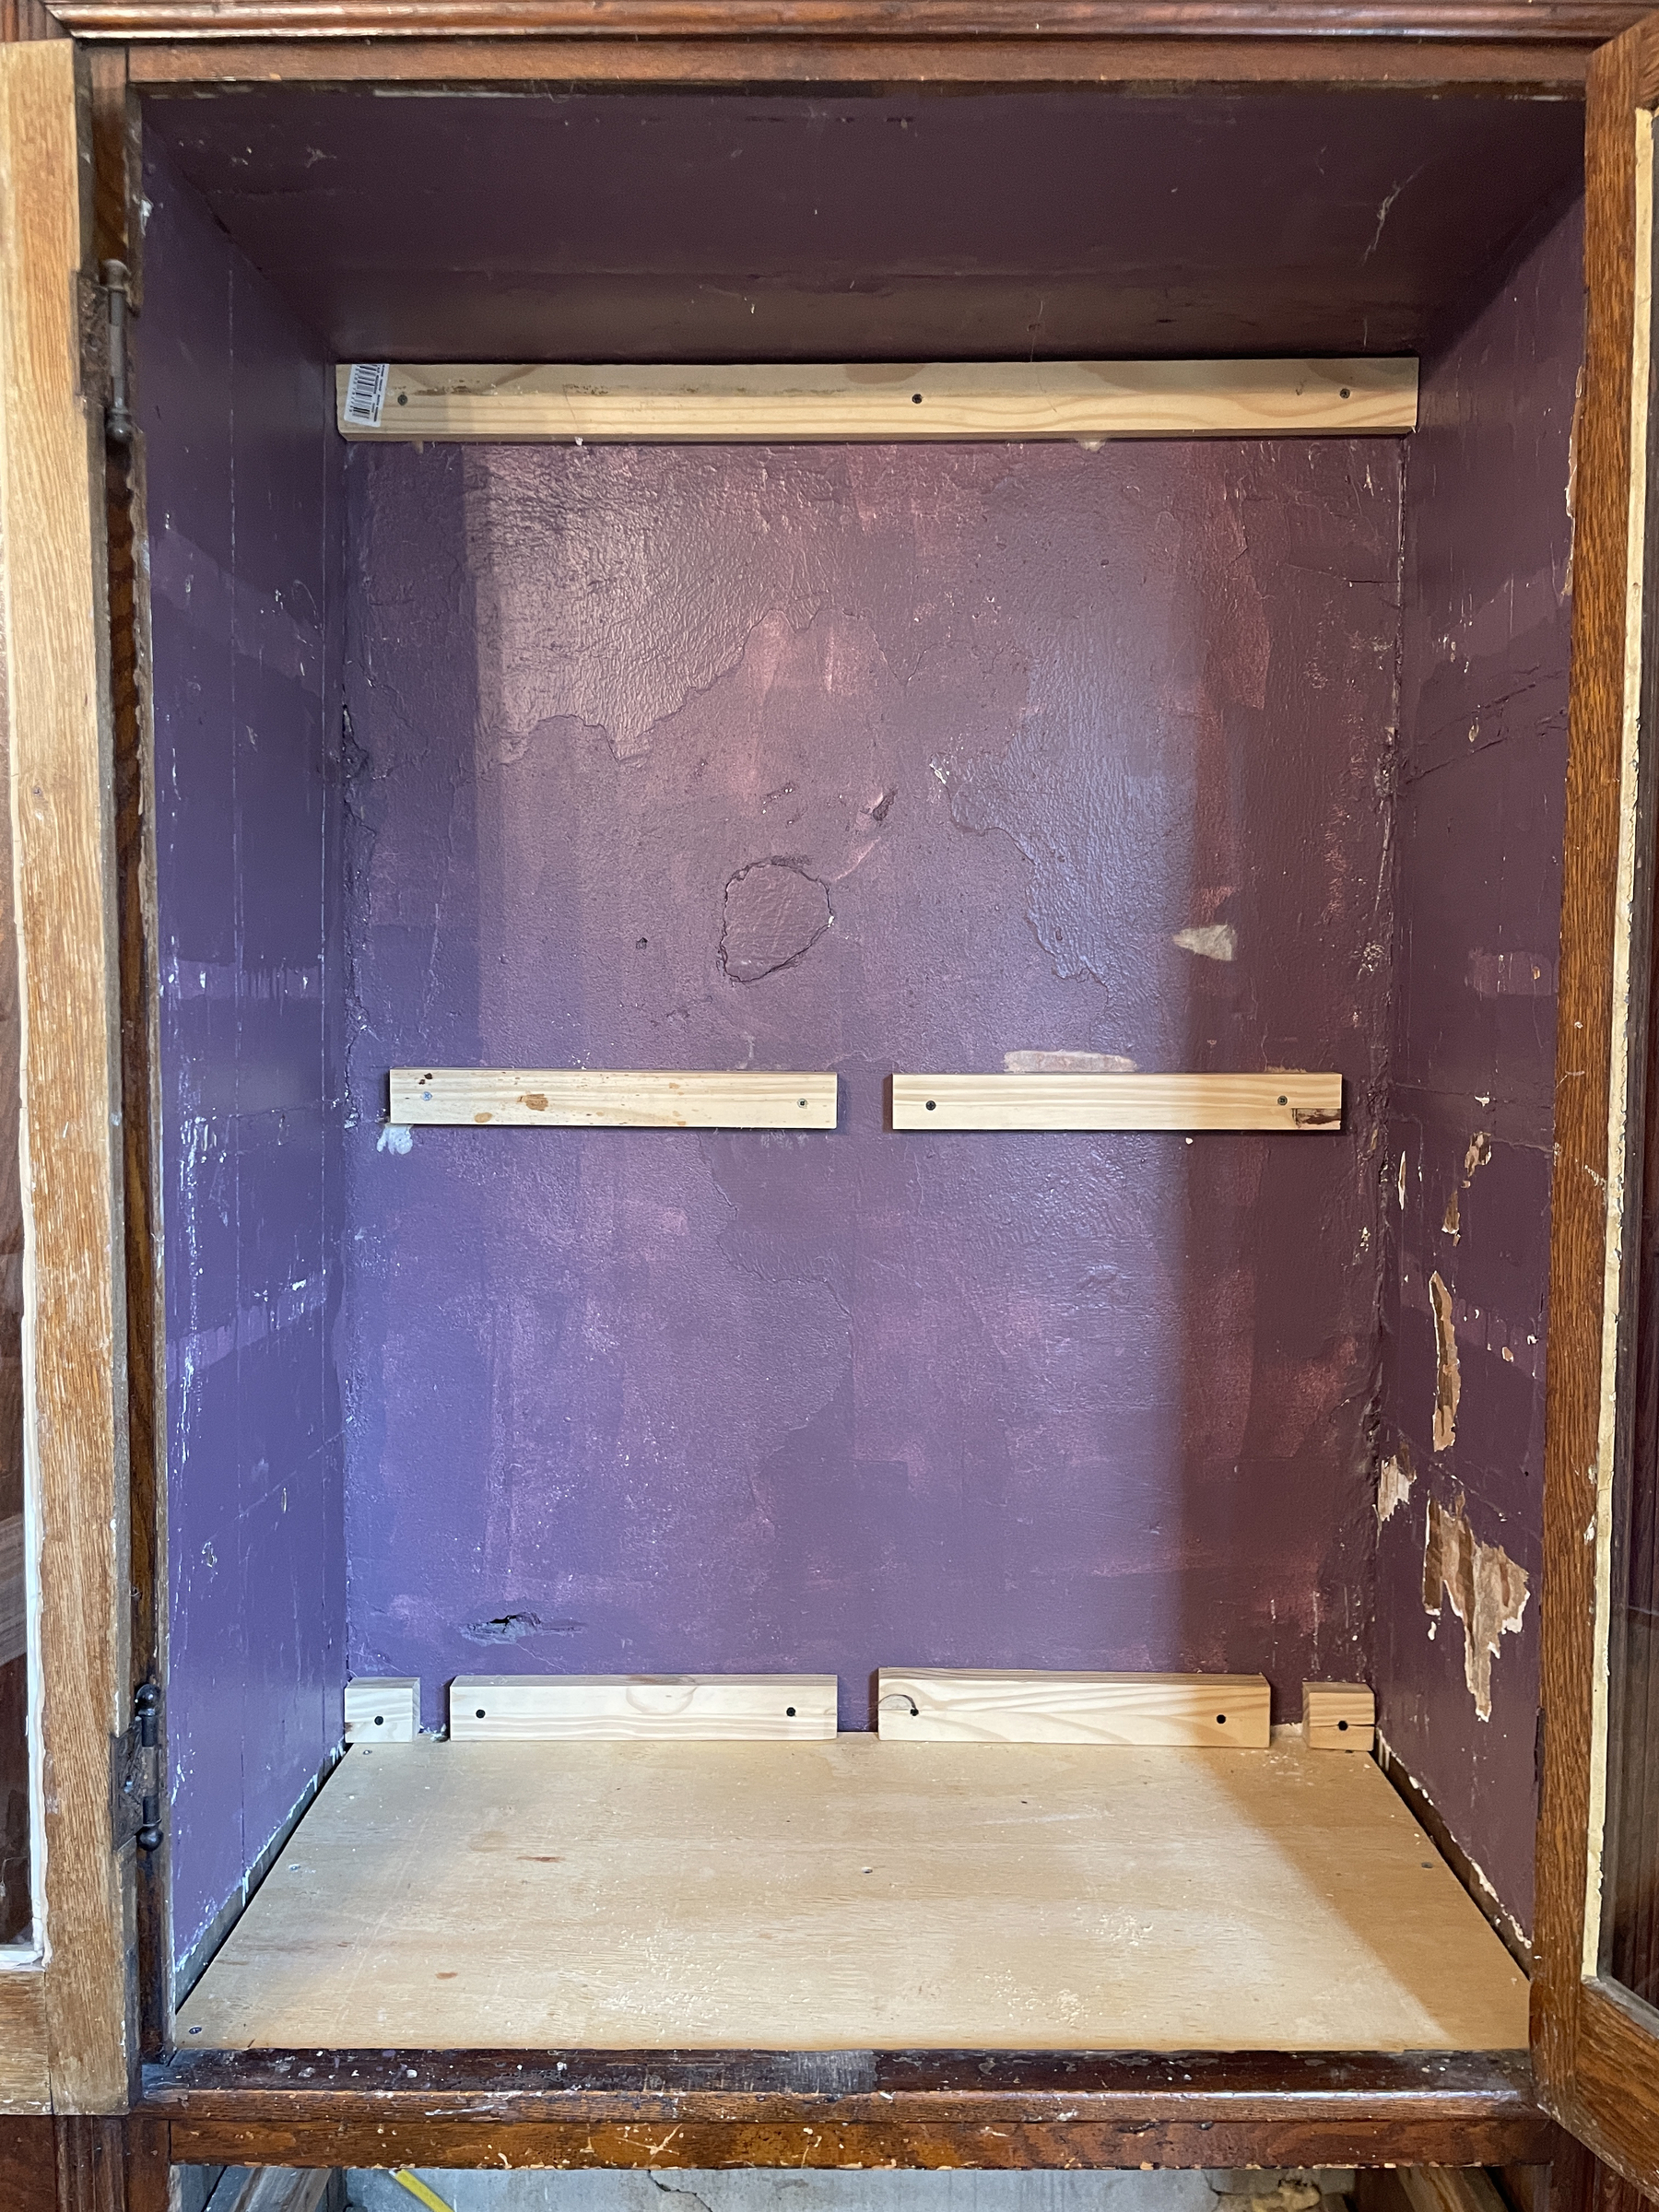
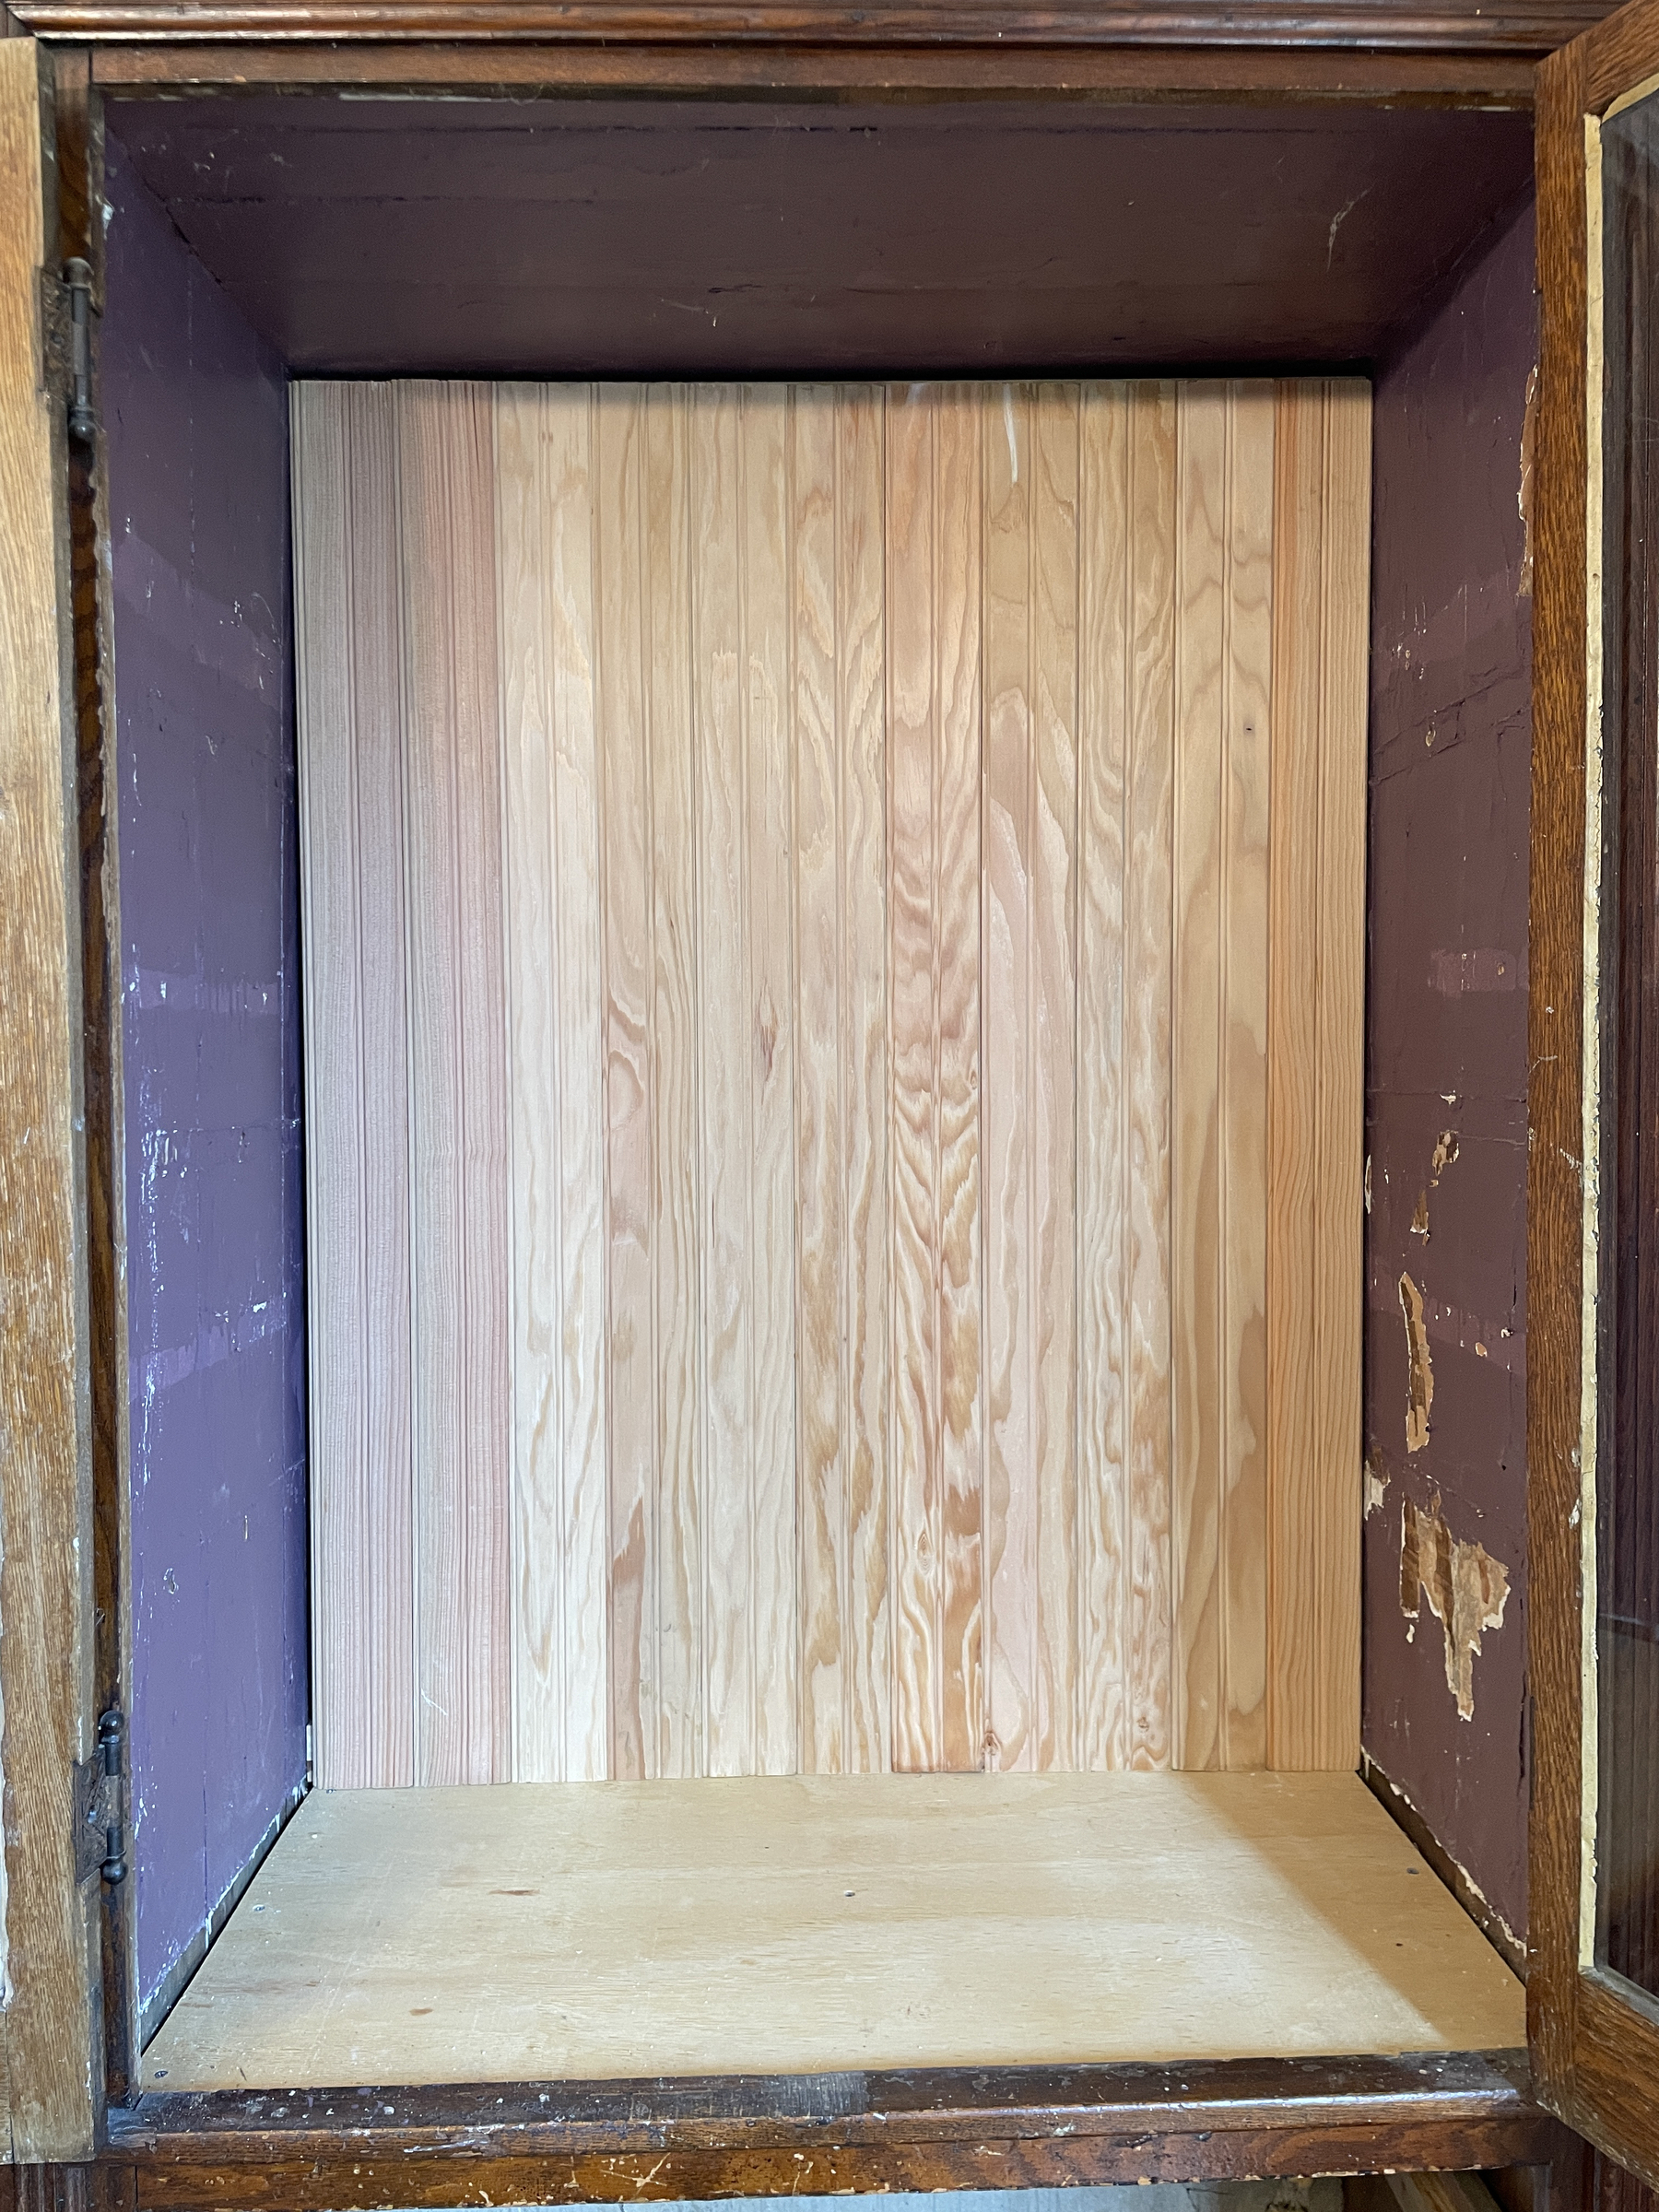
Began work this week on making the built-in china cabinet something one might want to actually use. Currently, the interior cabinet is an ugly mess of painted, papered, and plastered over yuk. We are fixing that. Here’s the before pictures and the current progress so far…
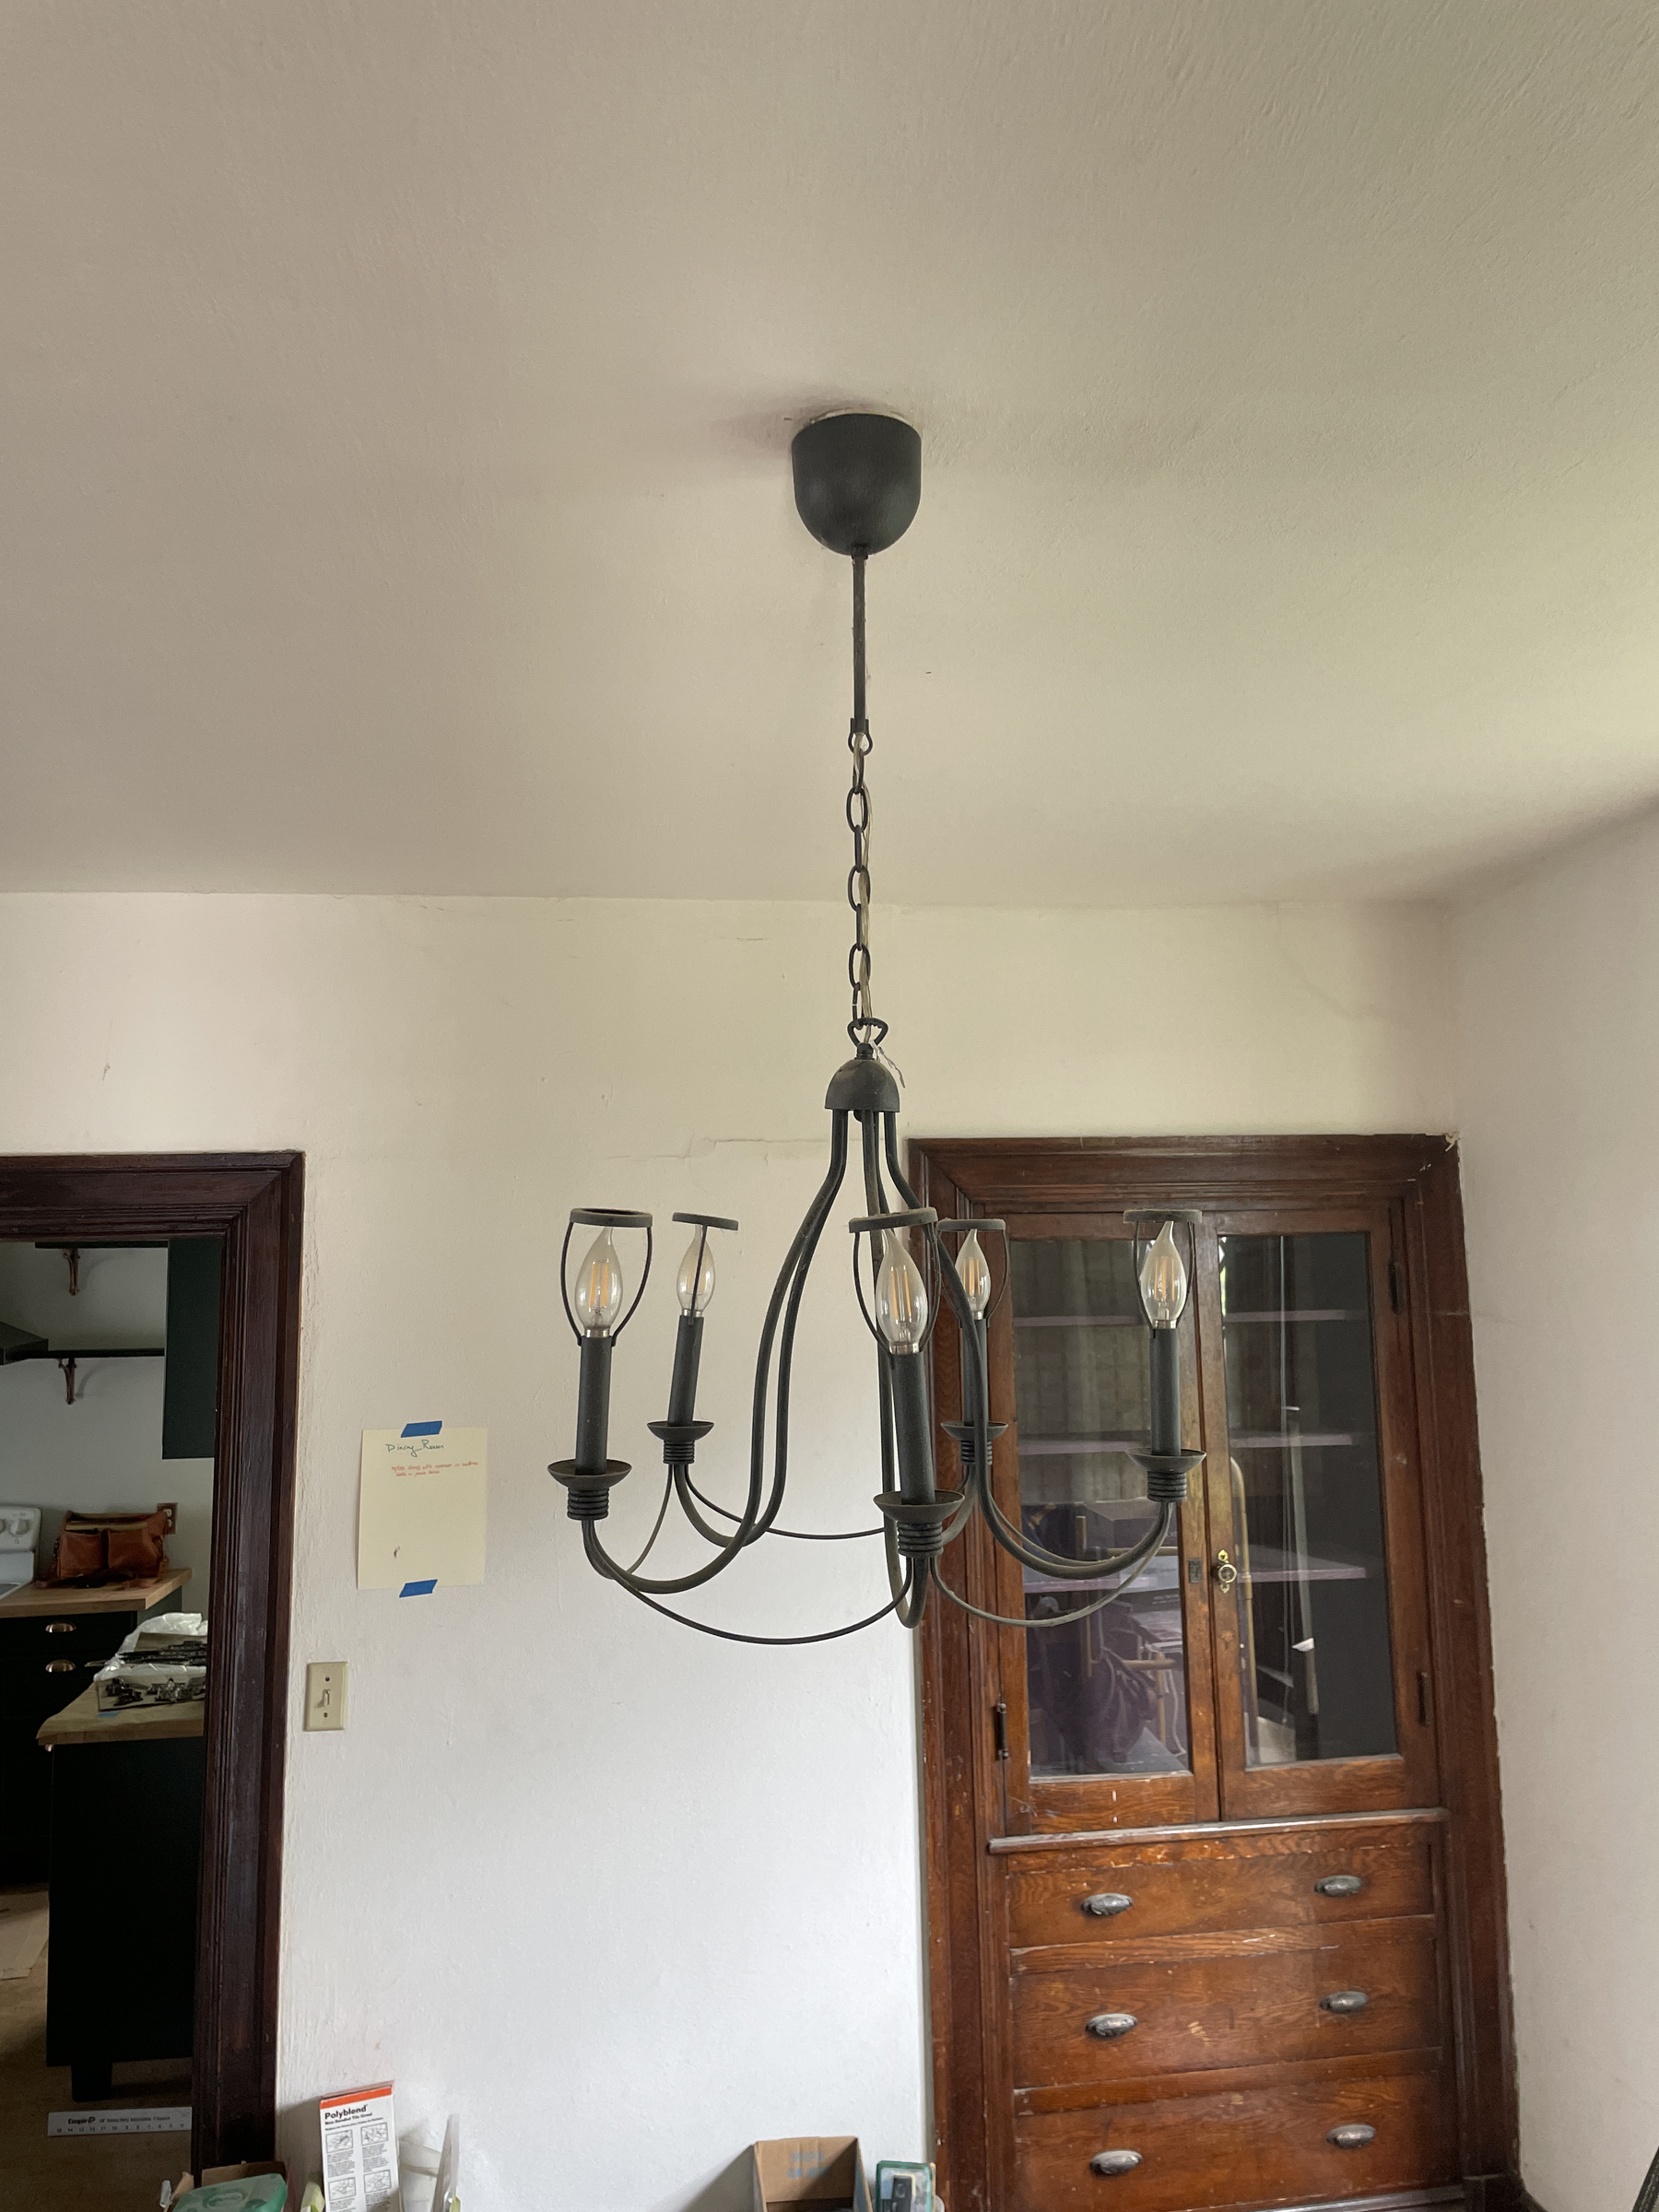
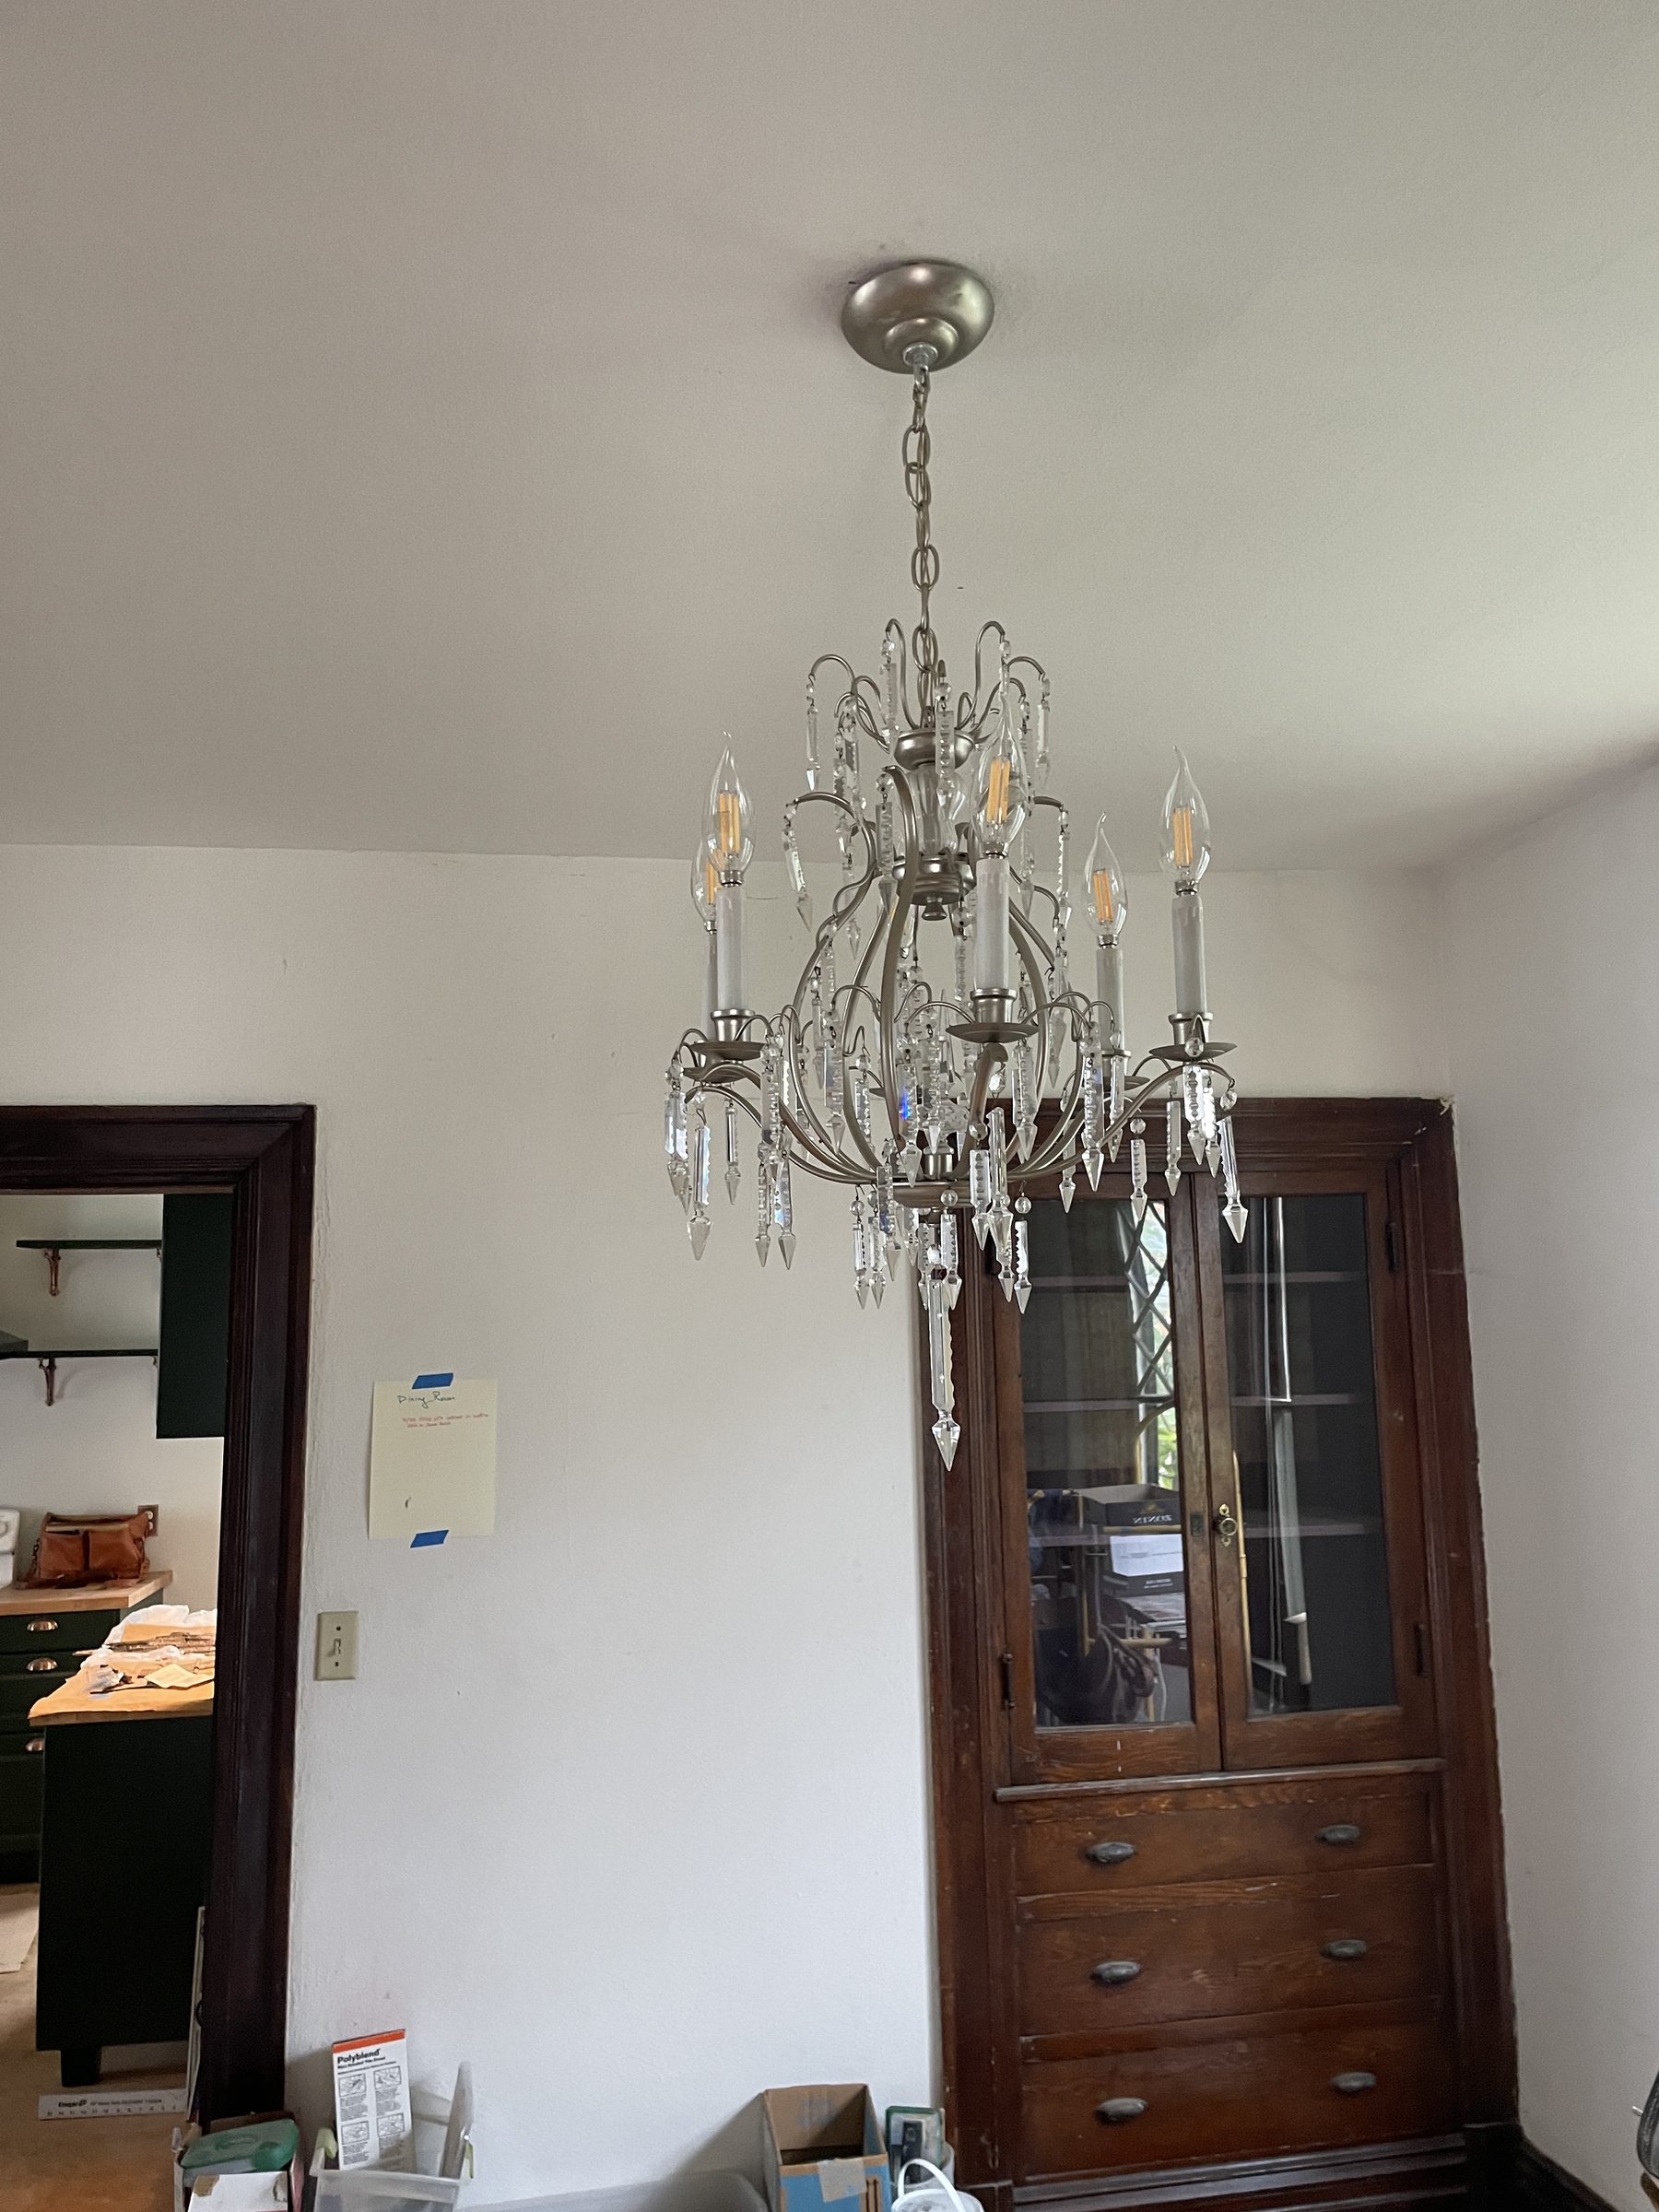
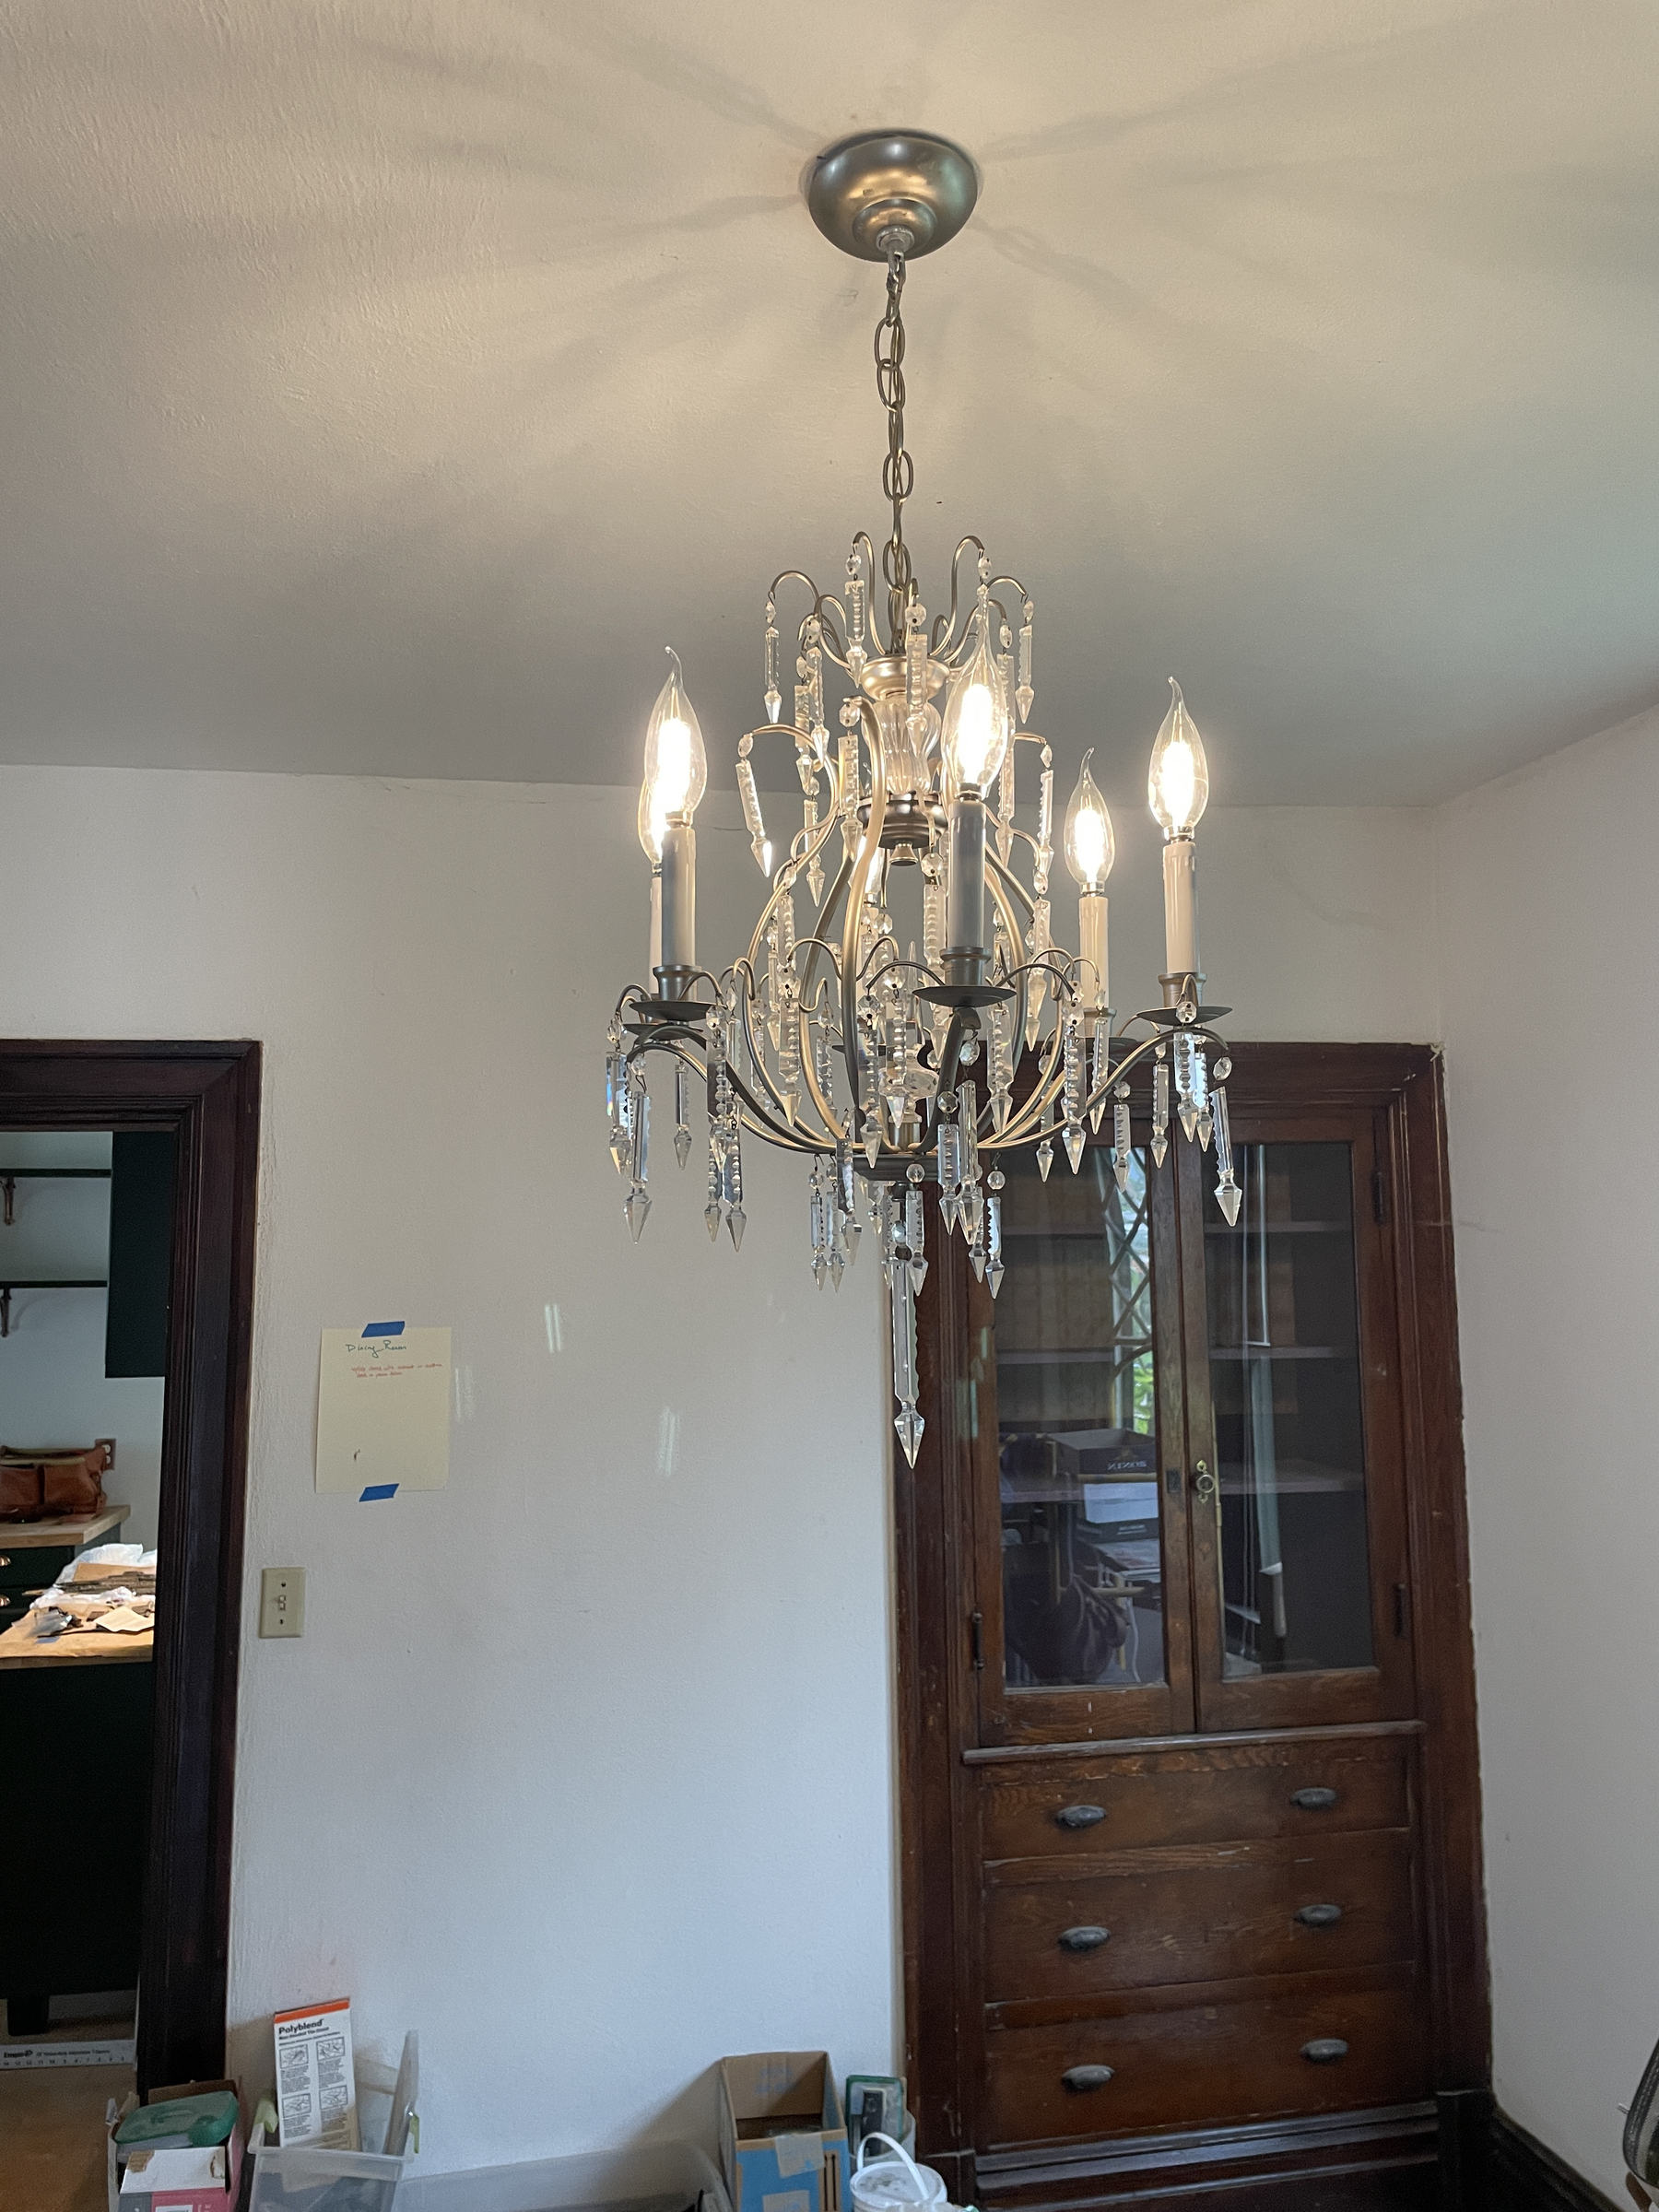
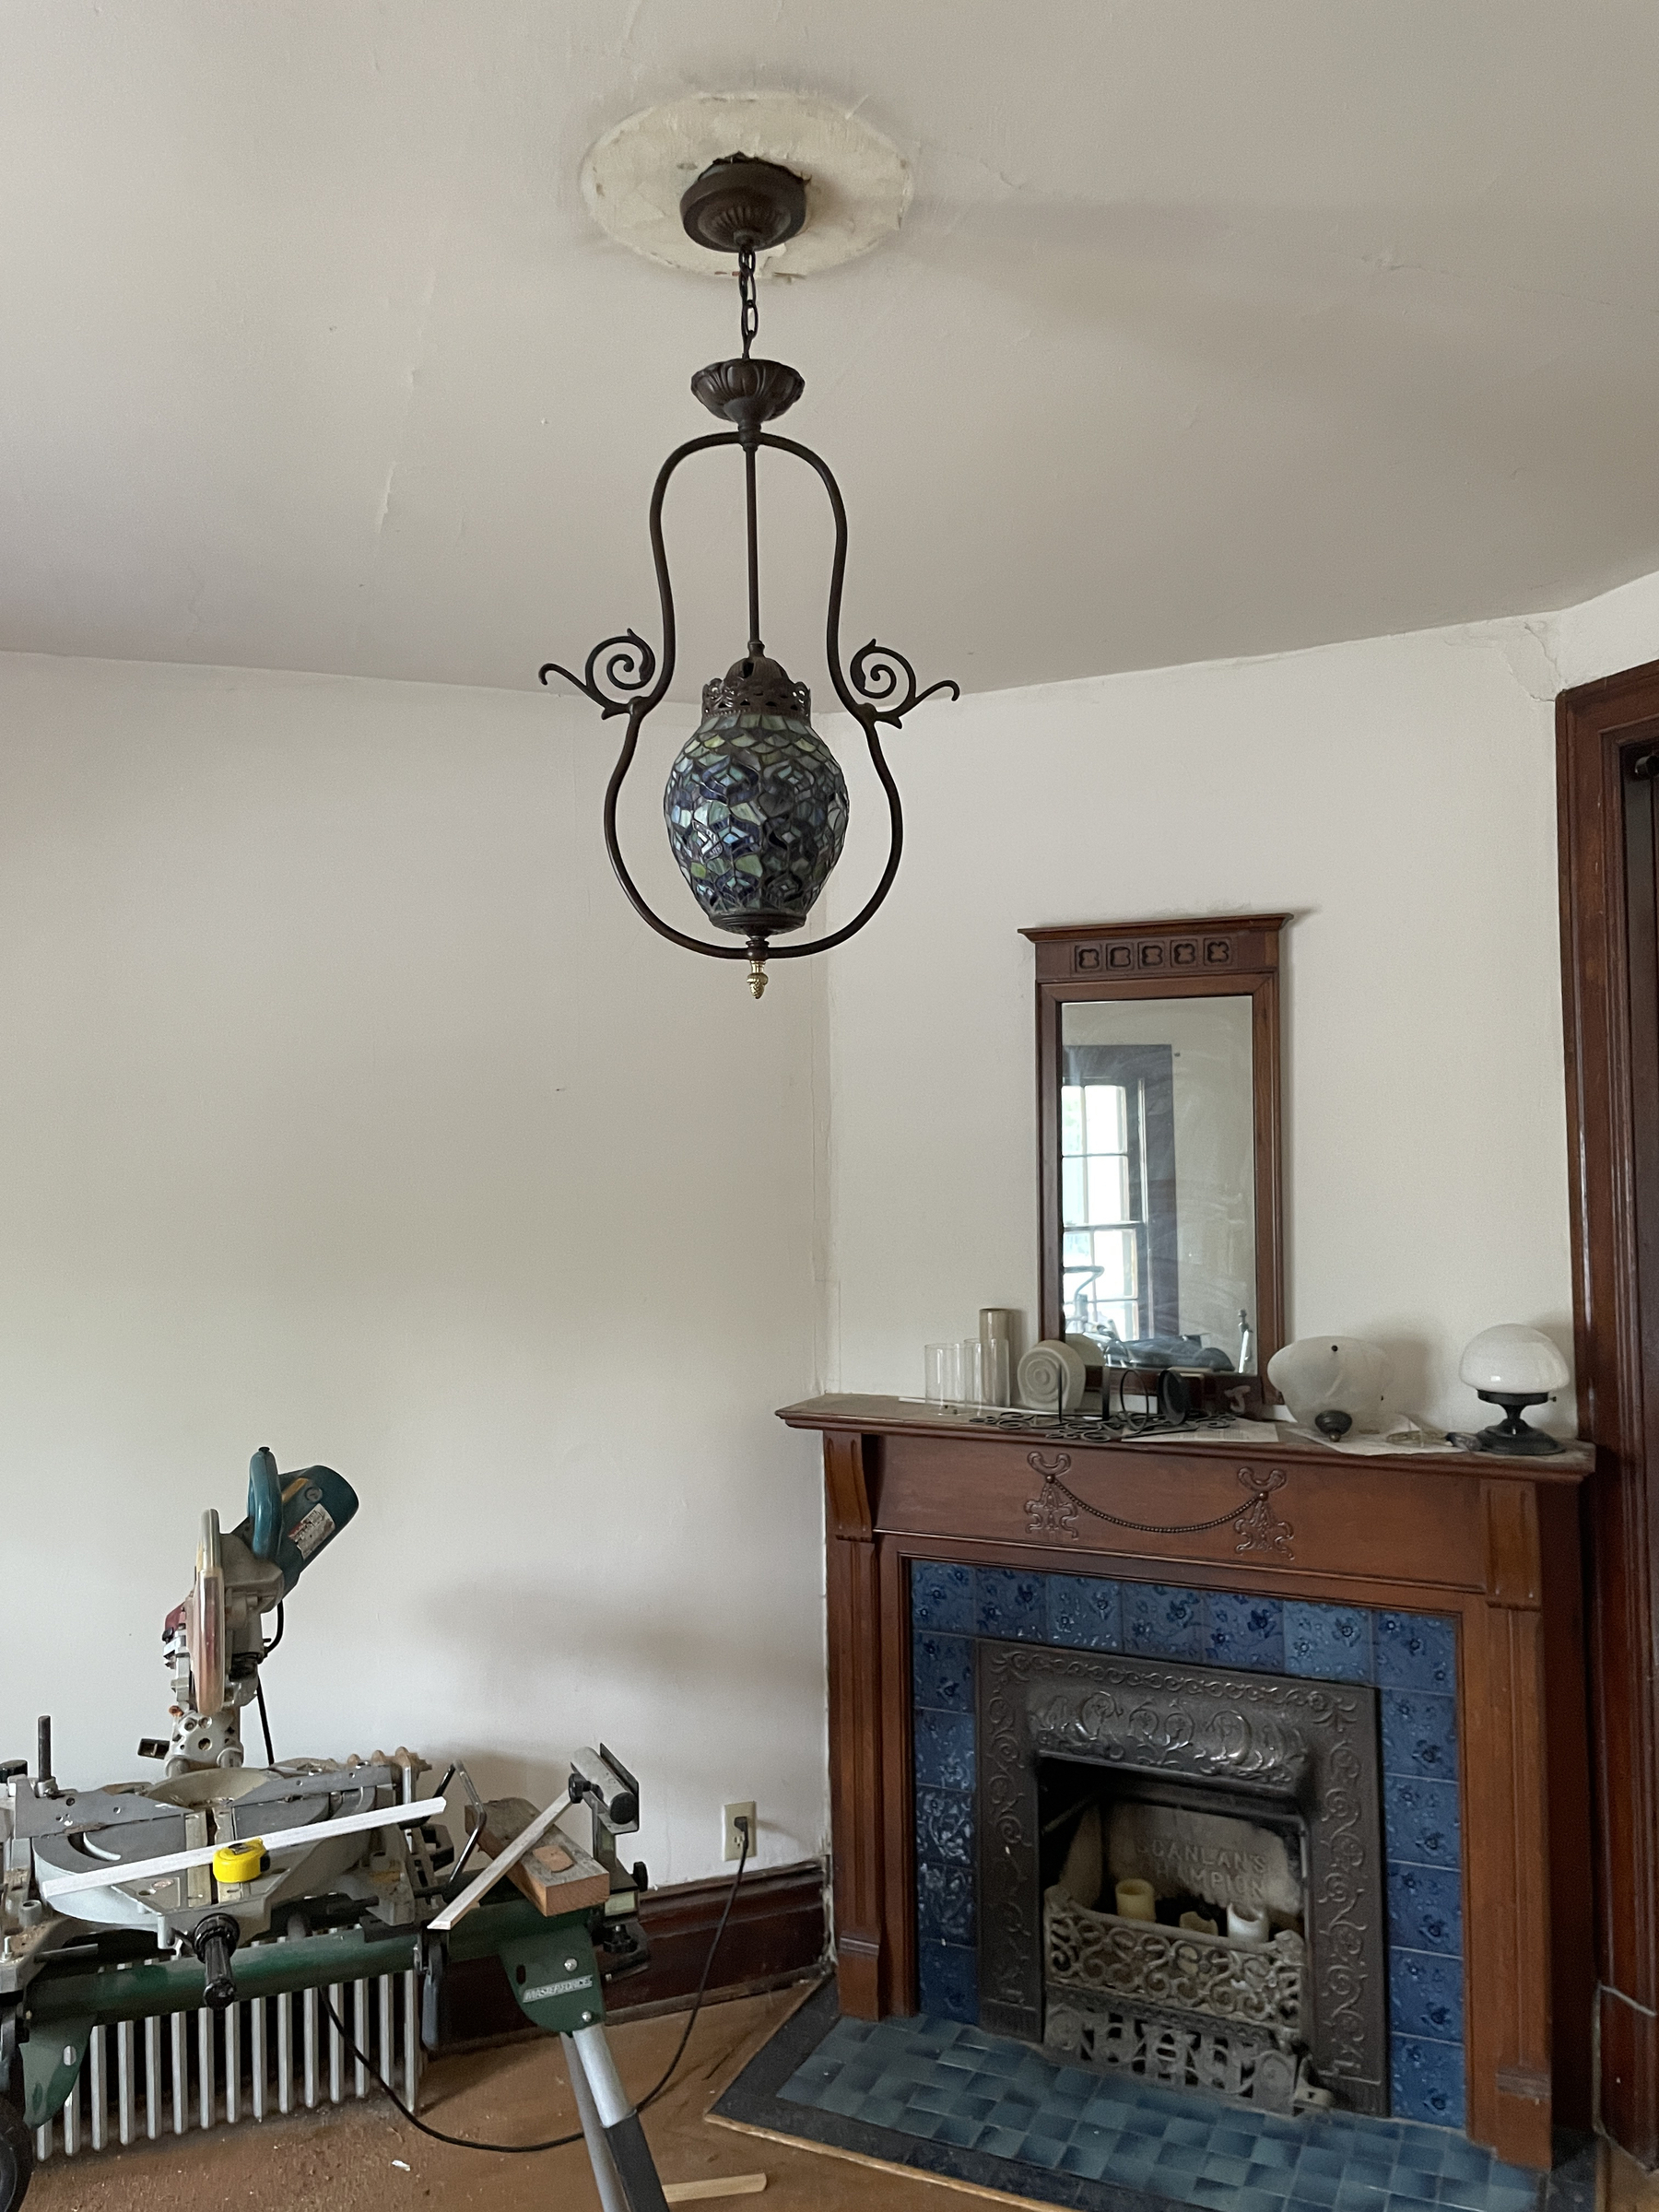
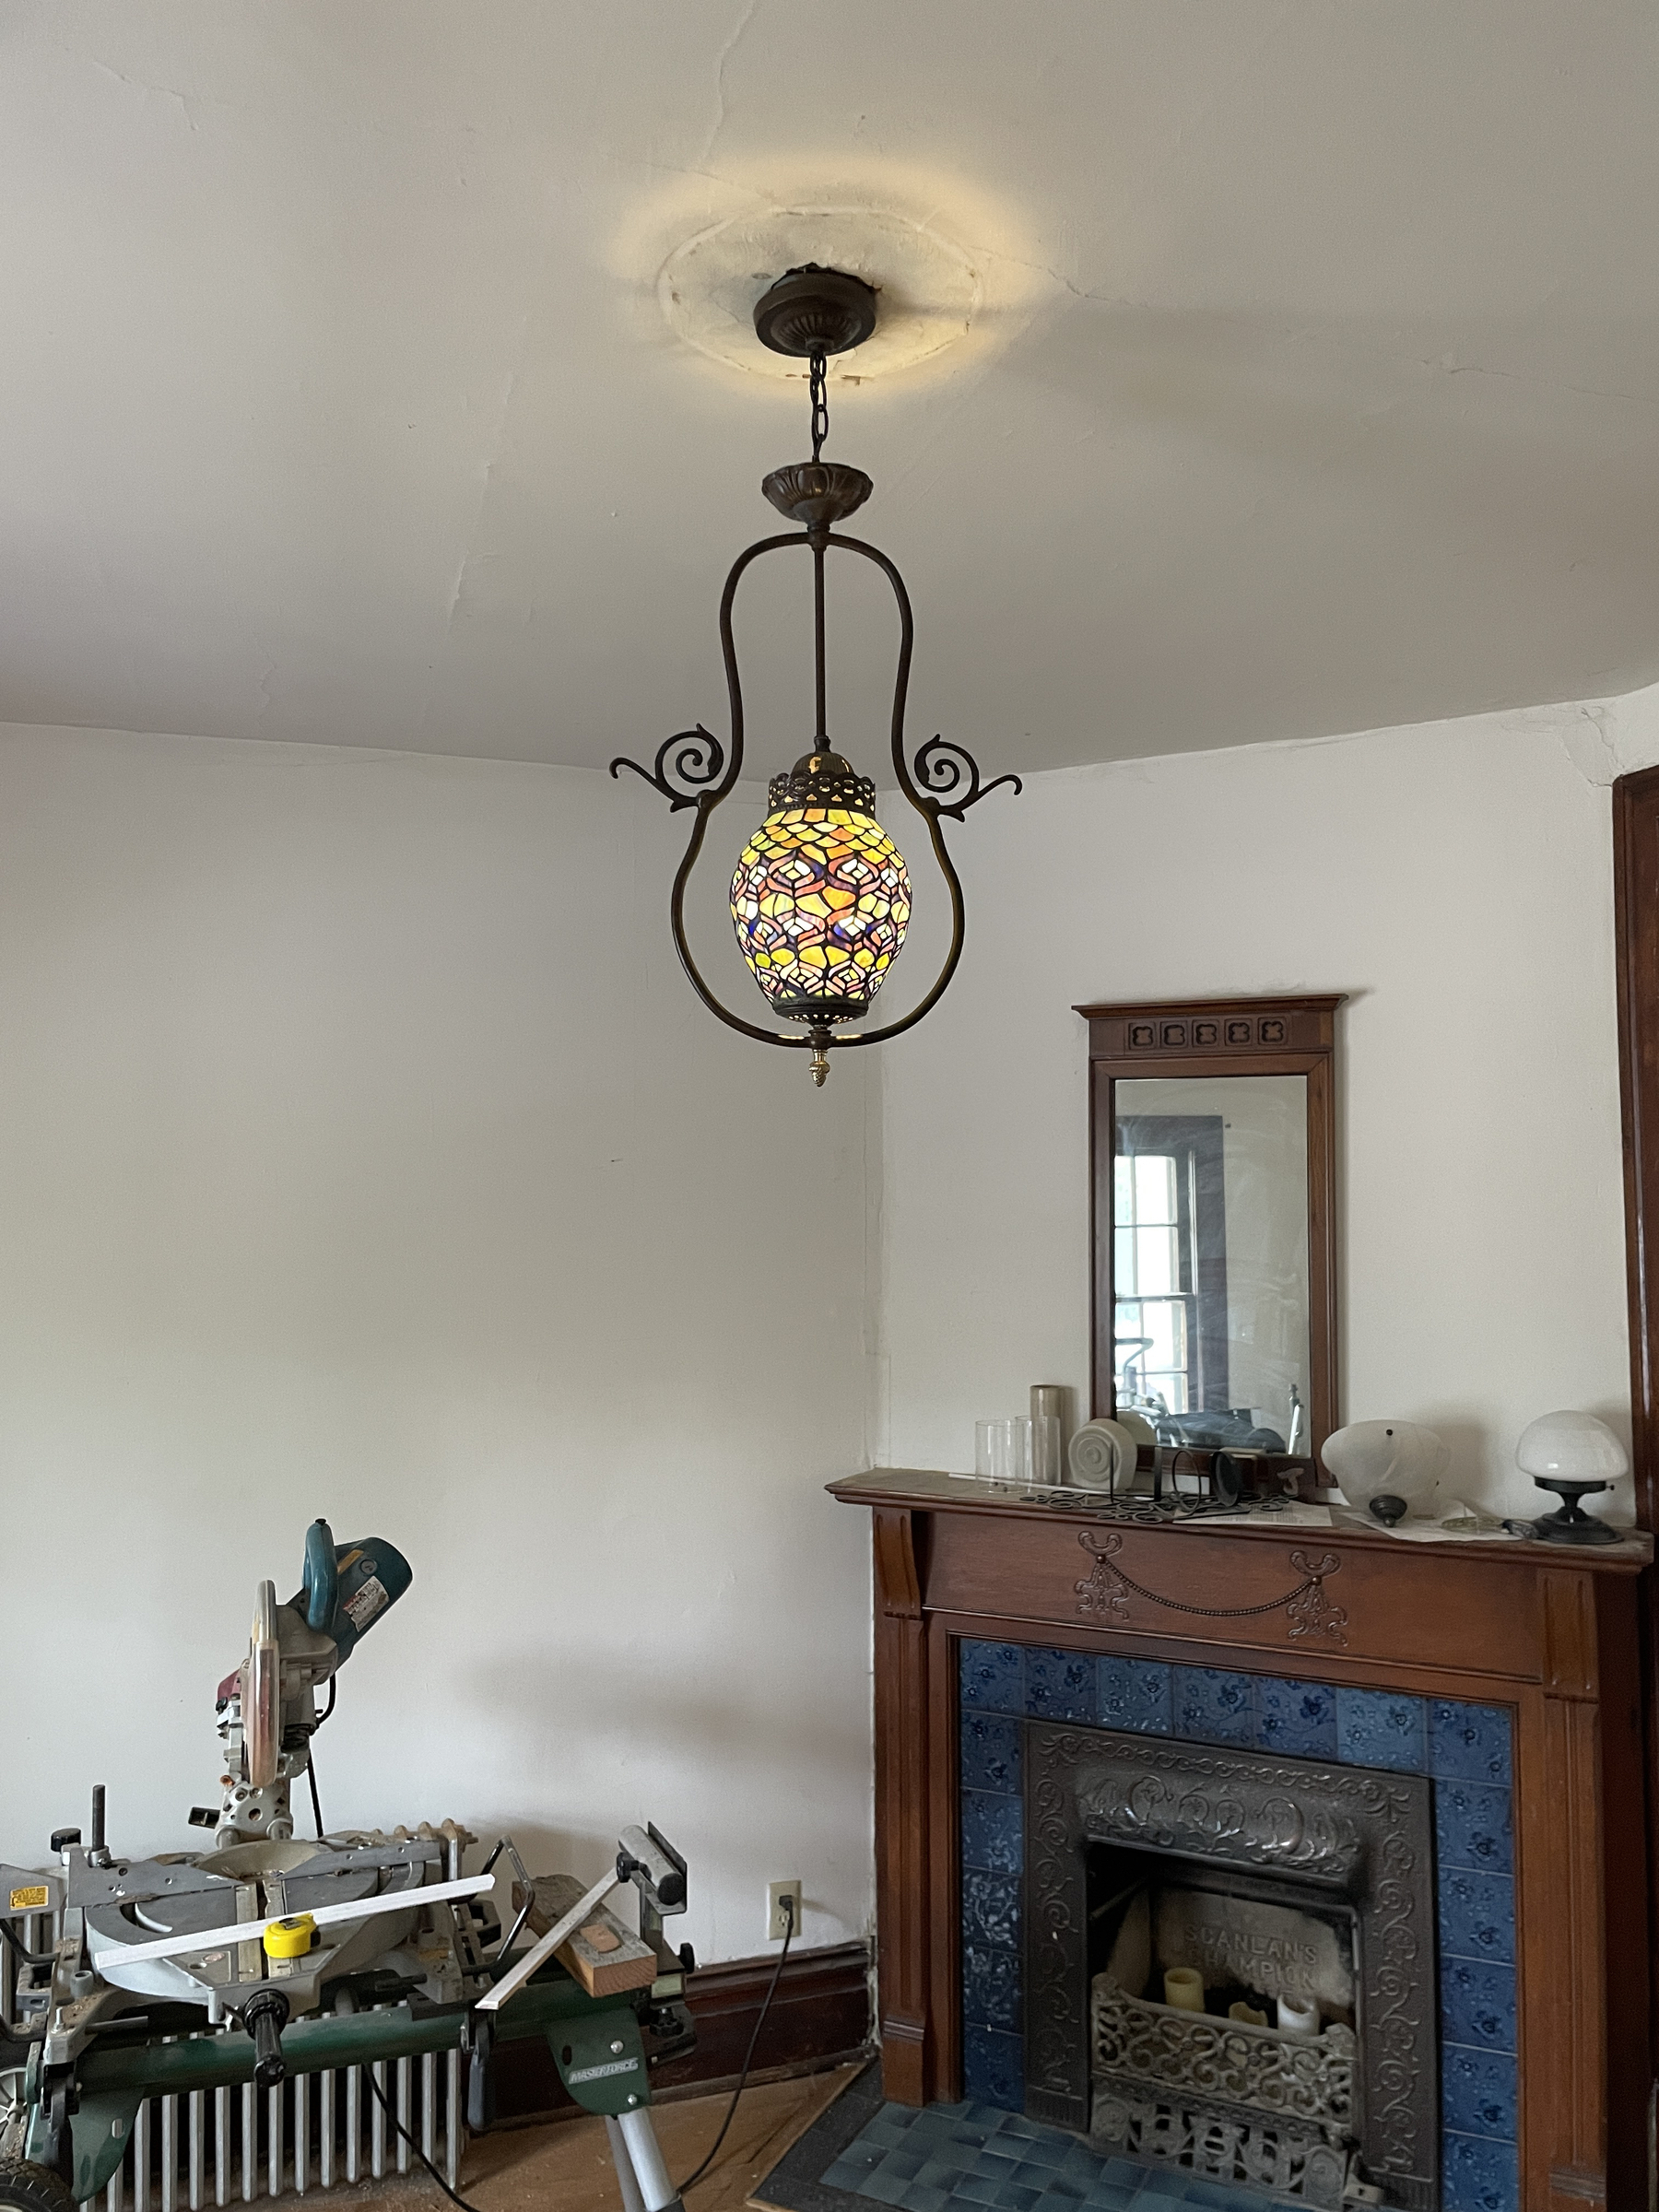
Swapped out some lights on the first floor today. Here’s a before and after of the dining room chandelier. Bonus, the new stained glass fixture in the parlor.