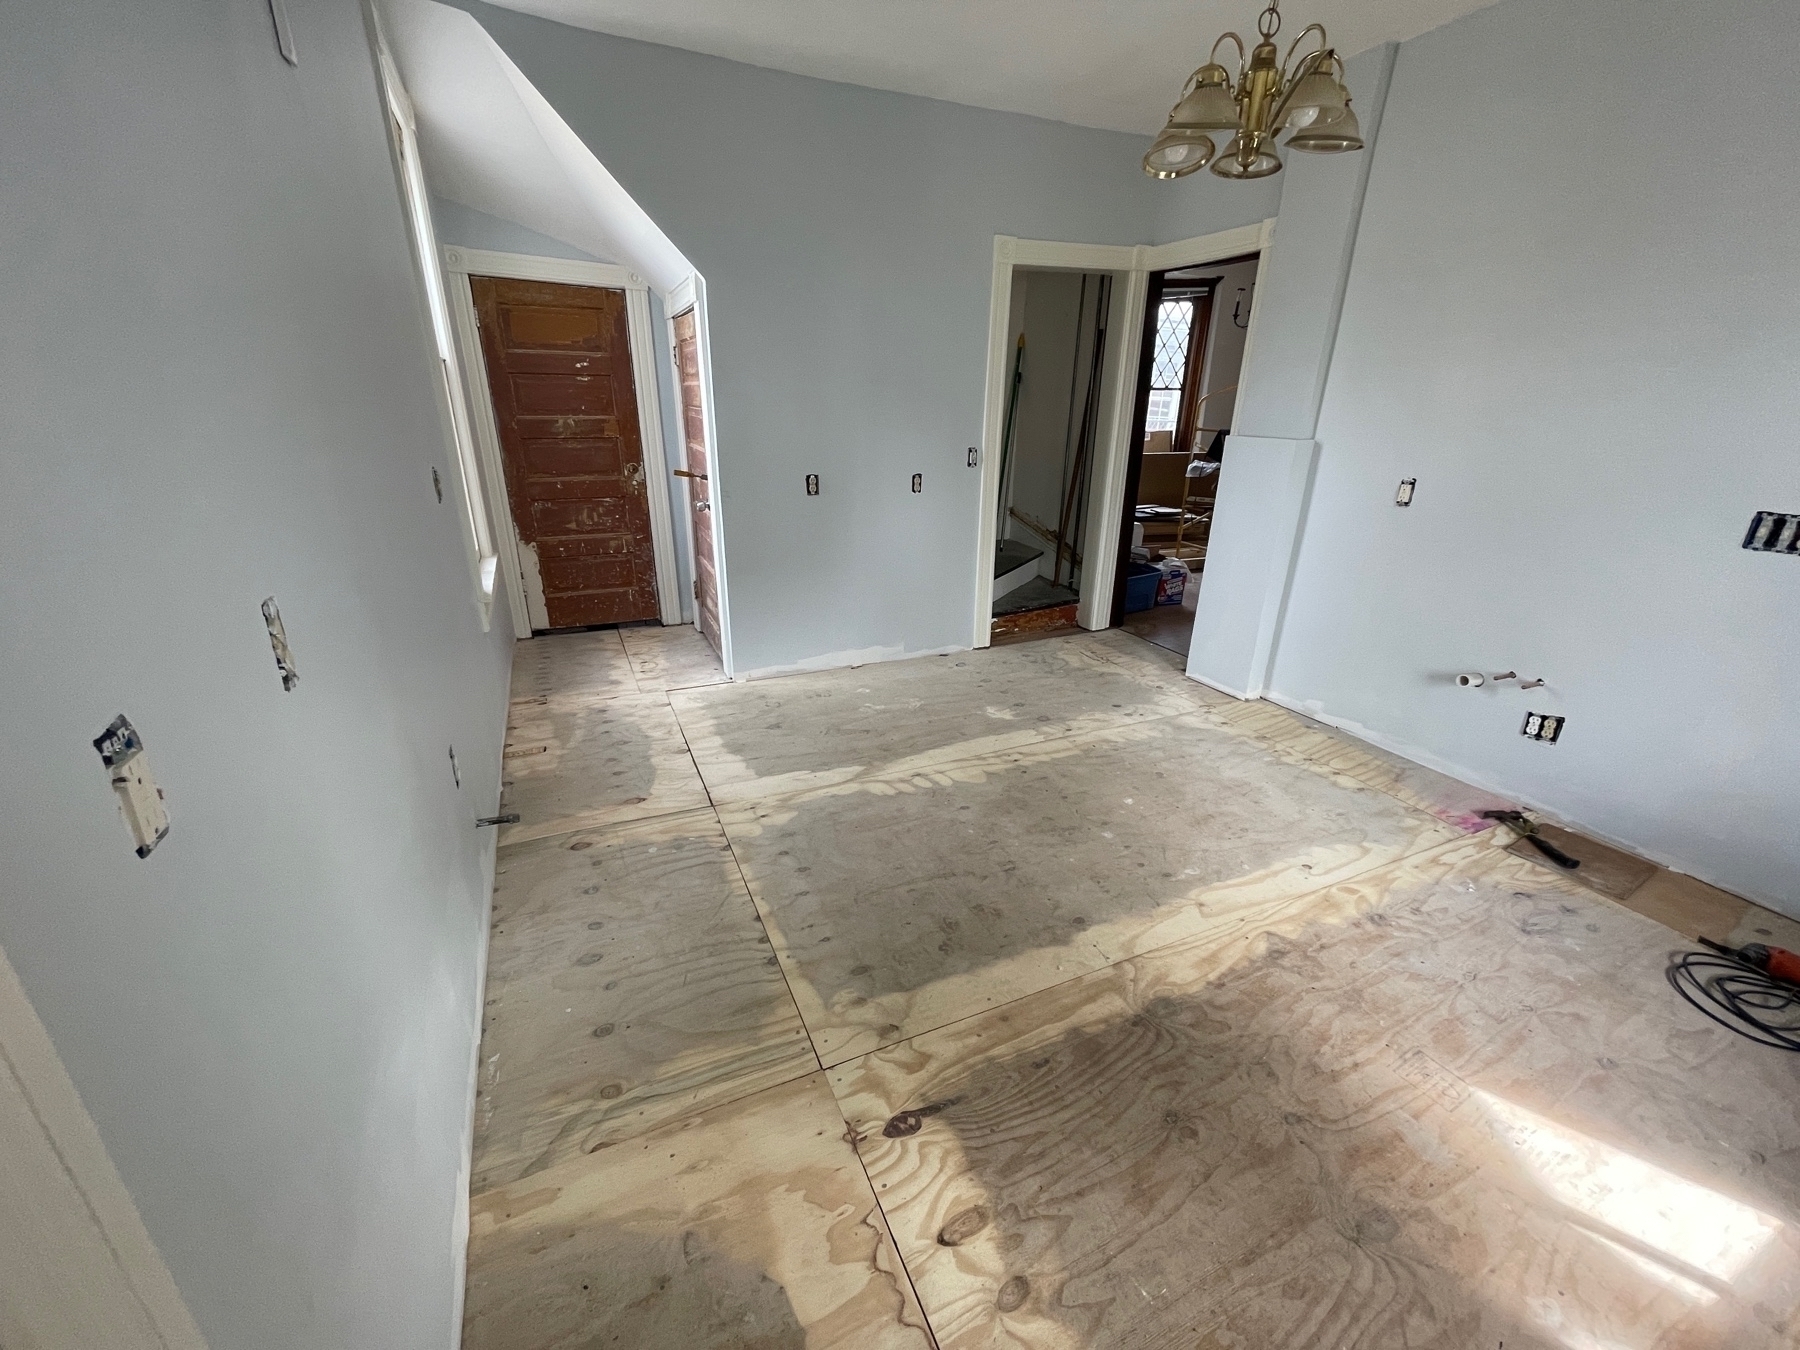
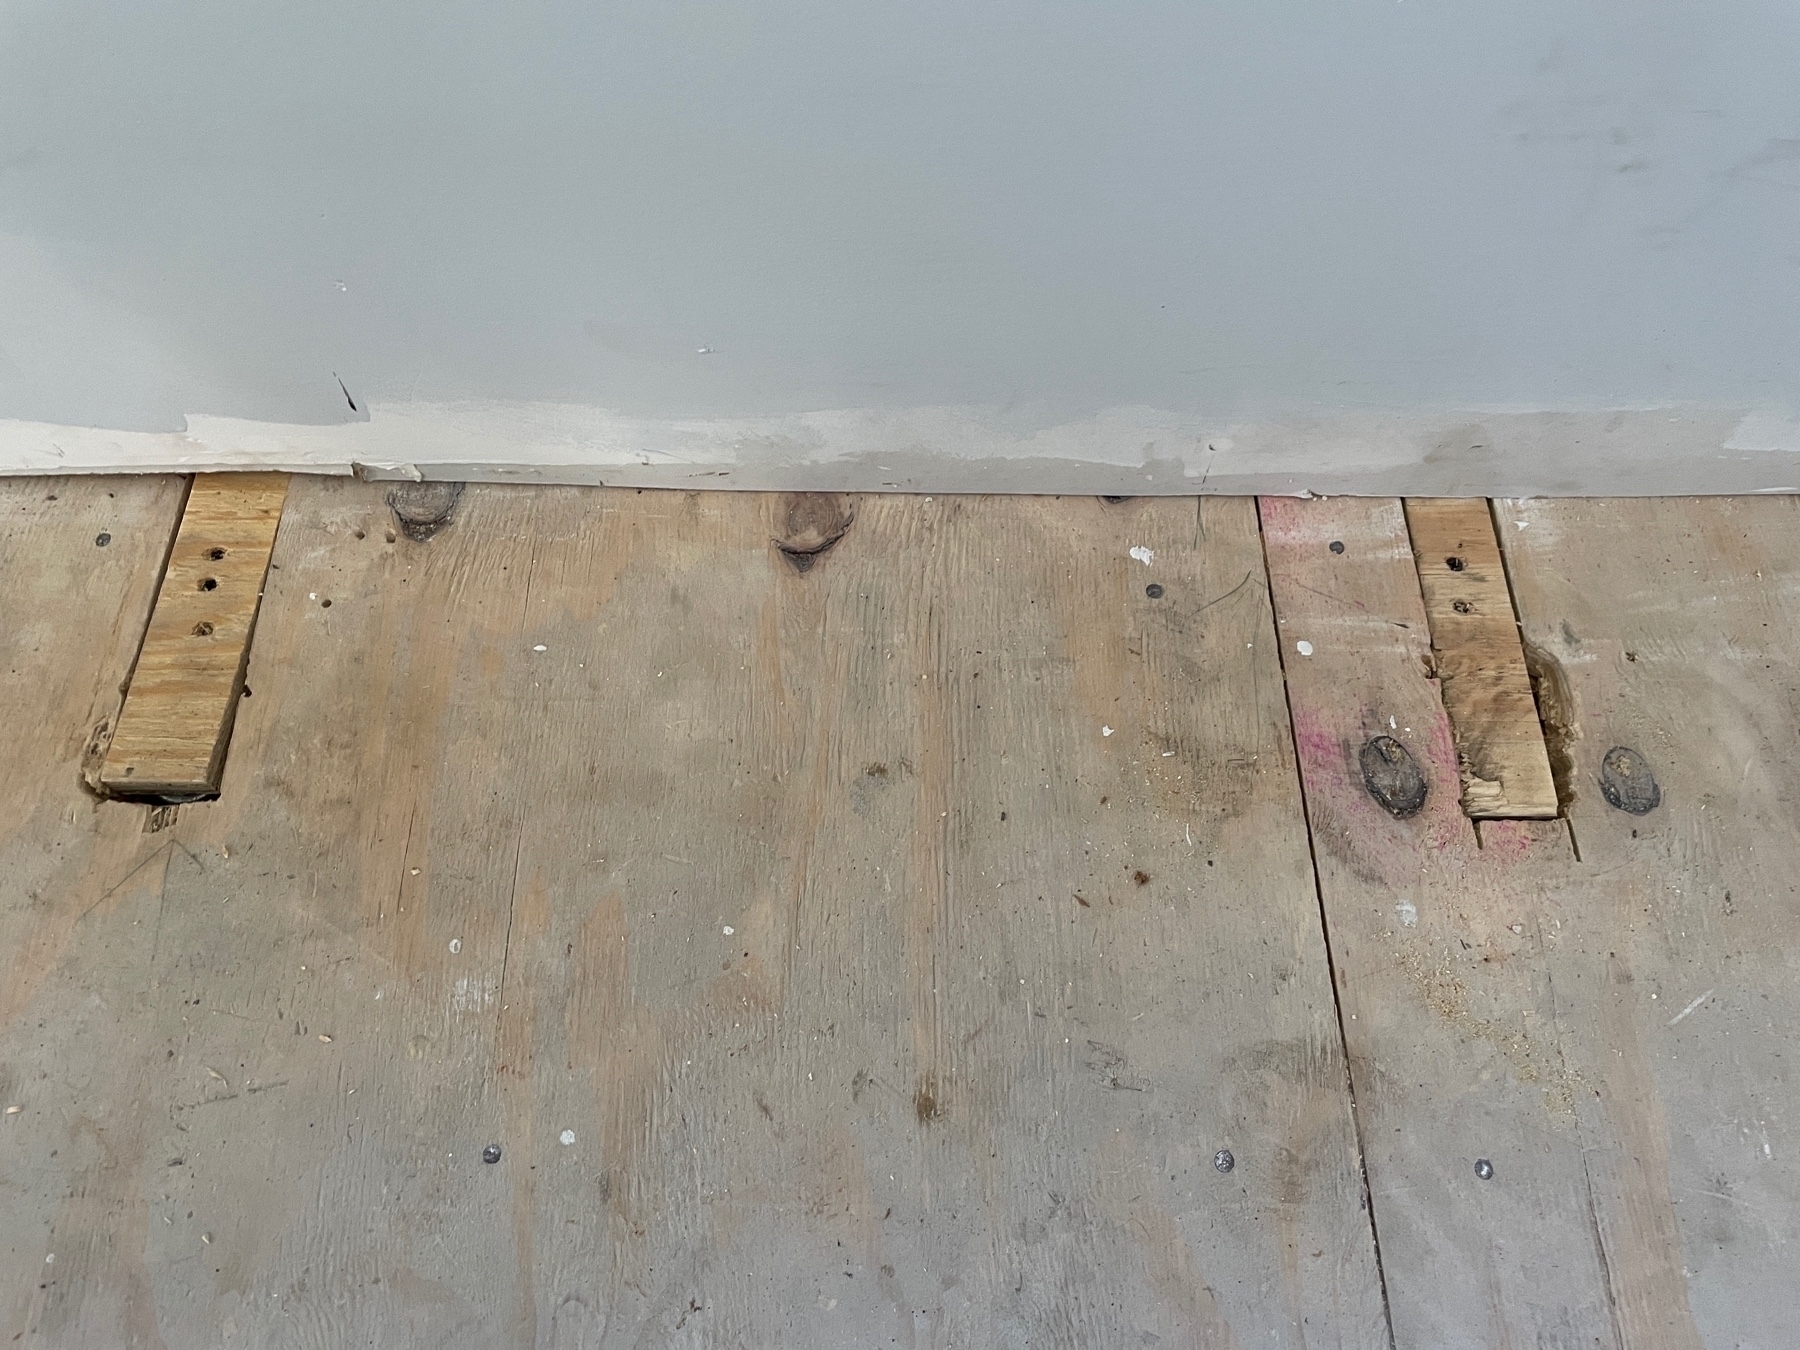
Kitchen flooring started today with some prep work. Sanding the seems to make sure everything is even.
I worked on capping and covering some radiator pipes that will not end up being needed.

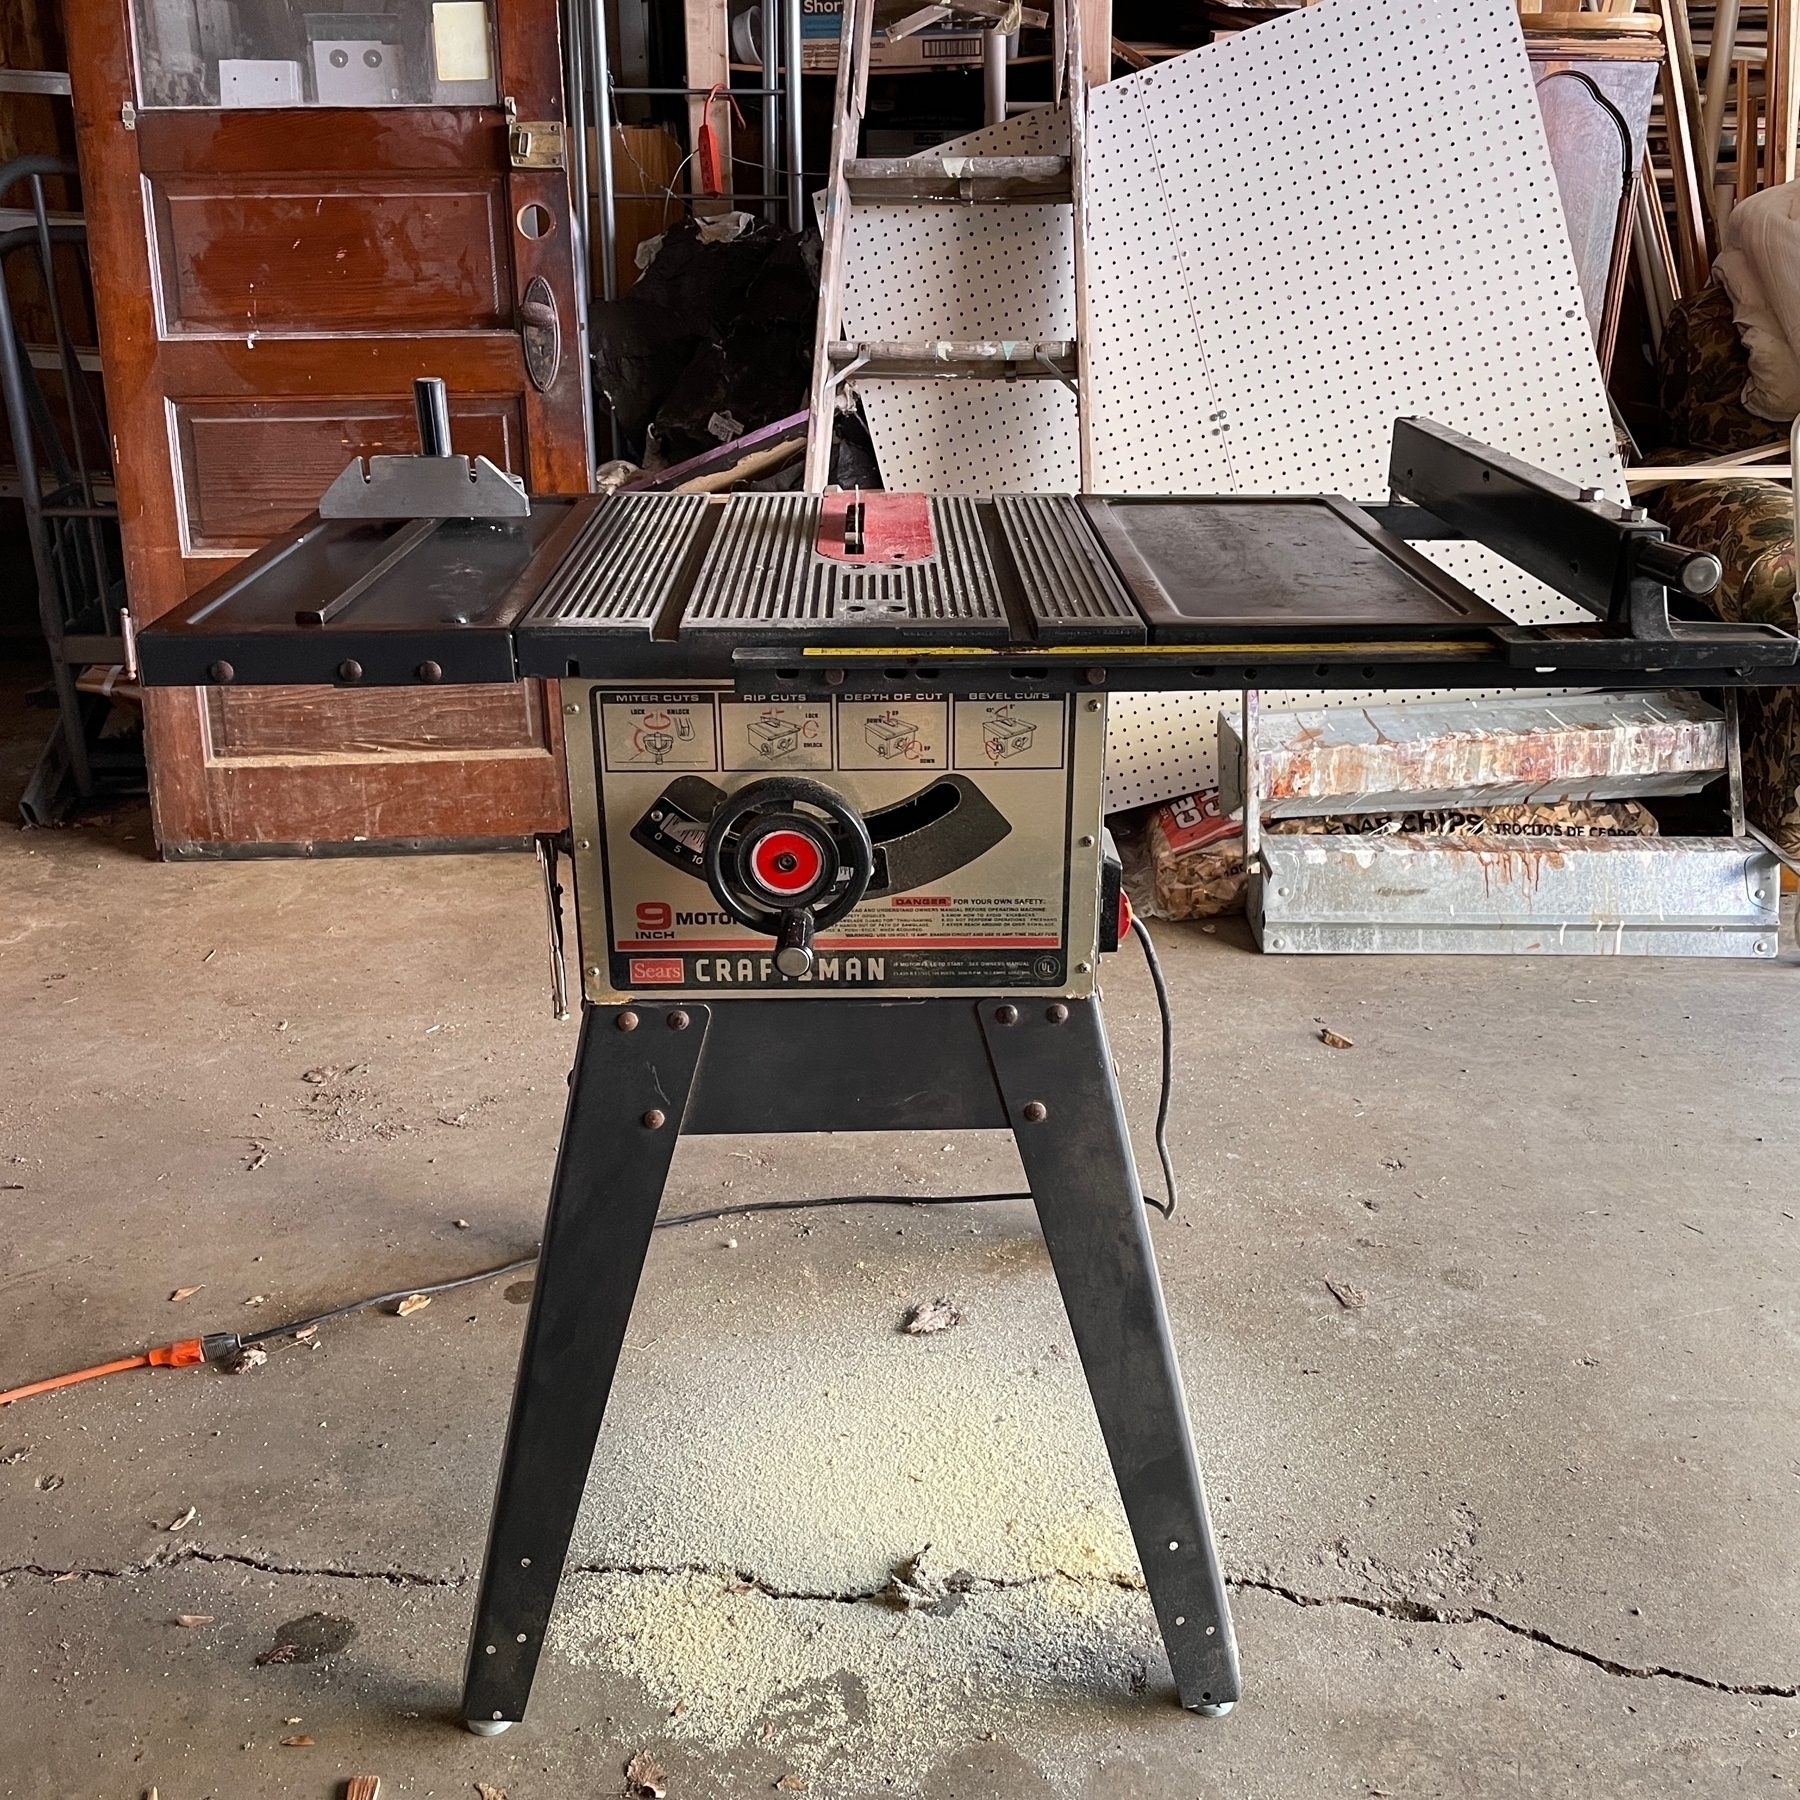
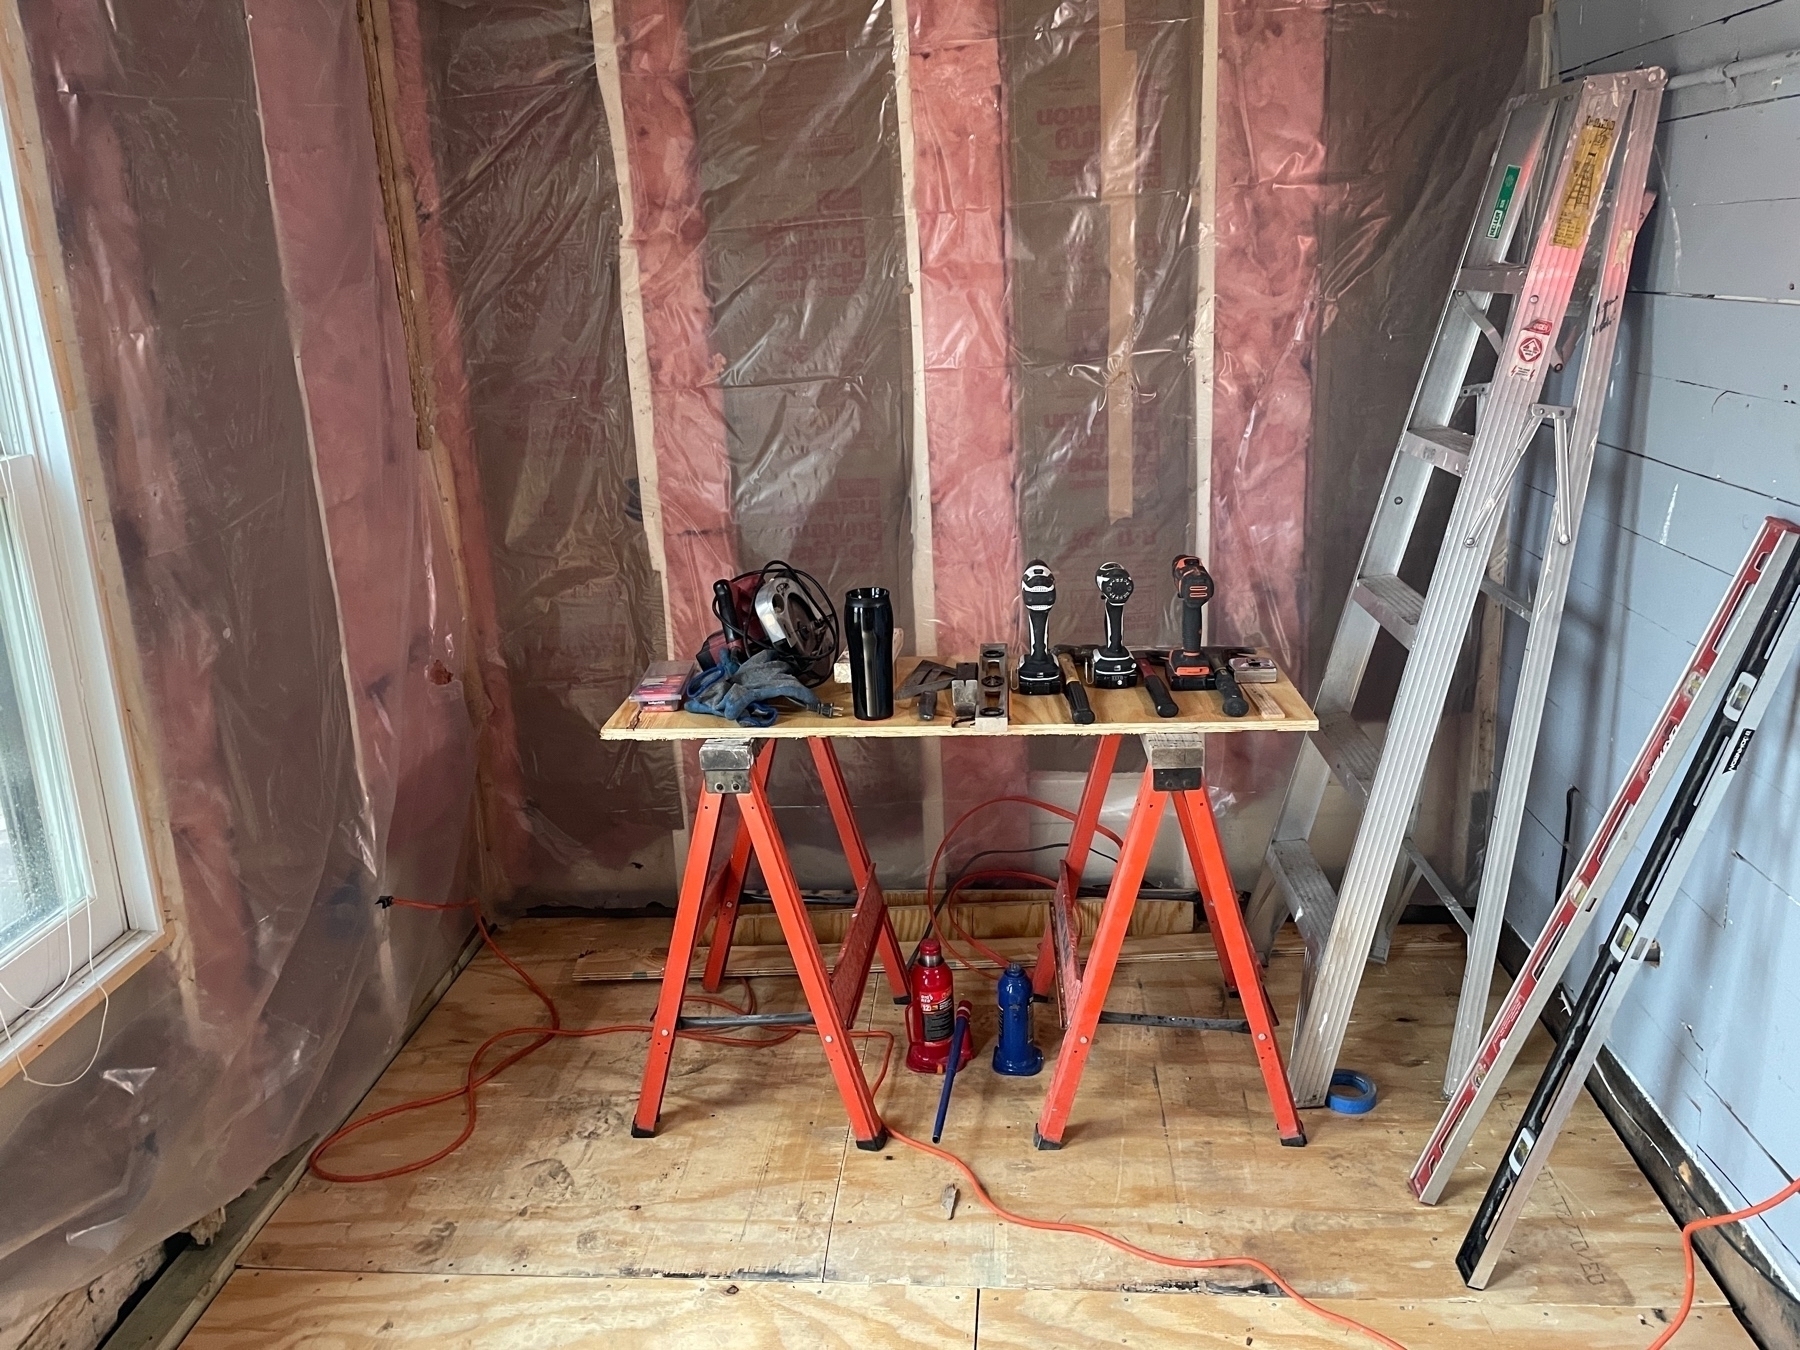
Had to pull out the big old guns (table saw pictured, sliding miter saw not pictured) for today’s step building. Most of this was Jason’s handiwork. I provided the tools and learned a few things.
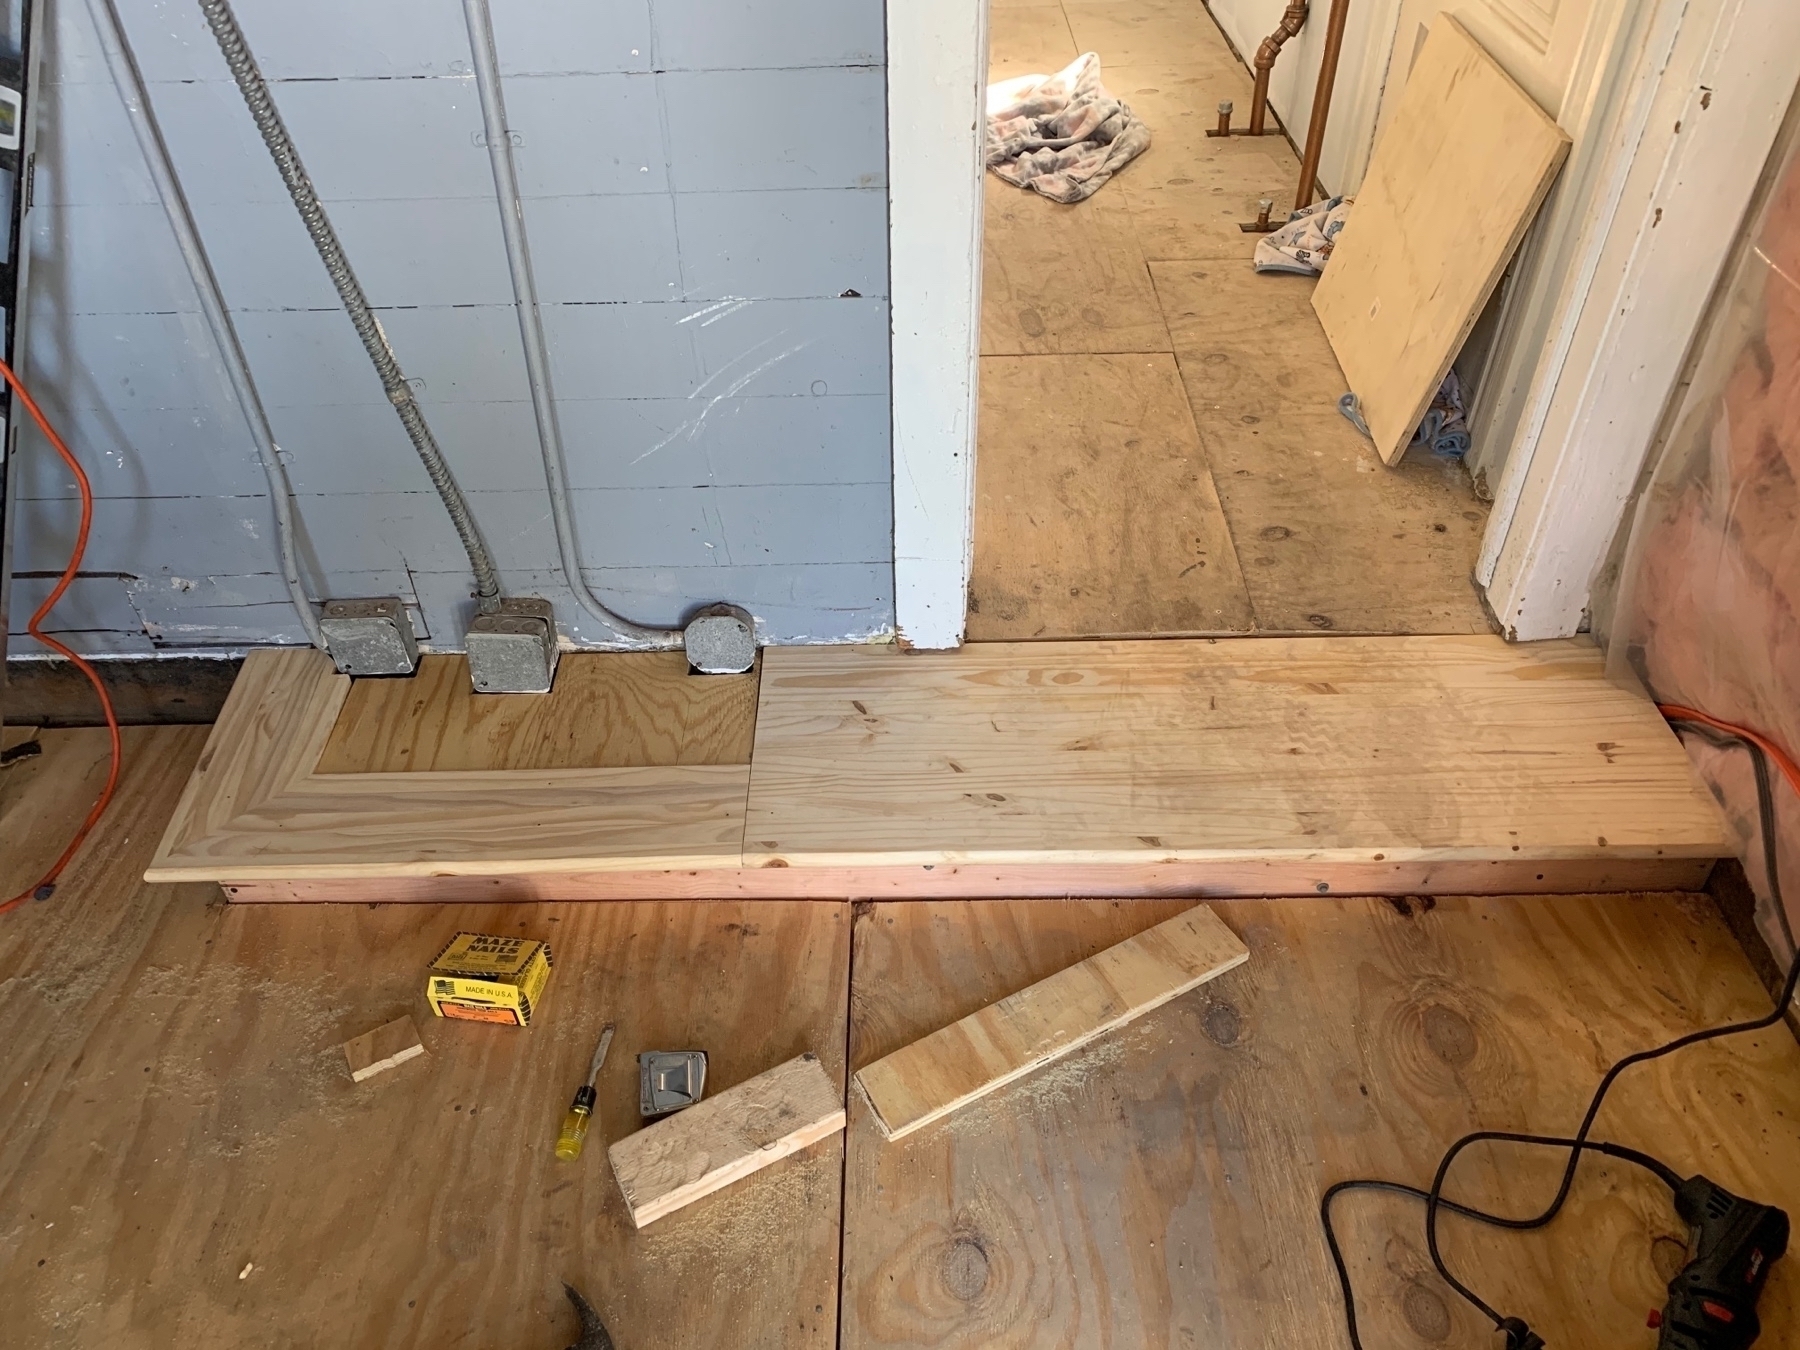
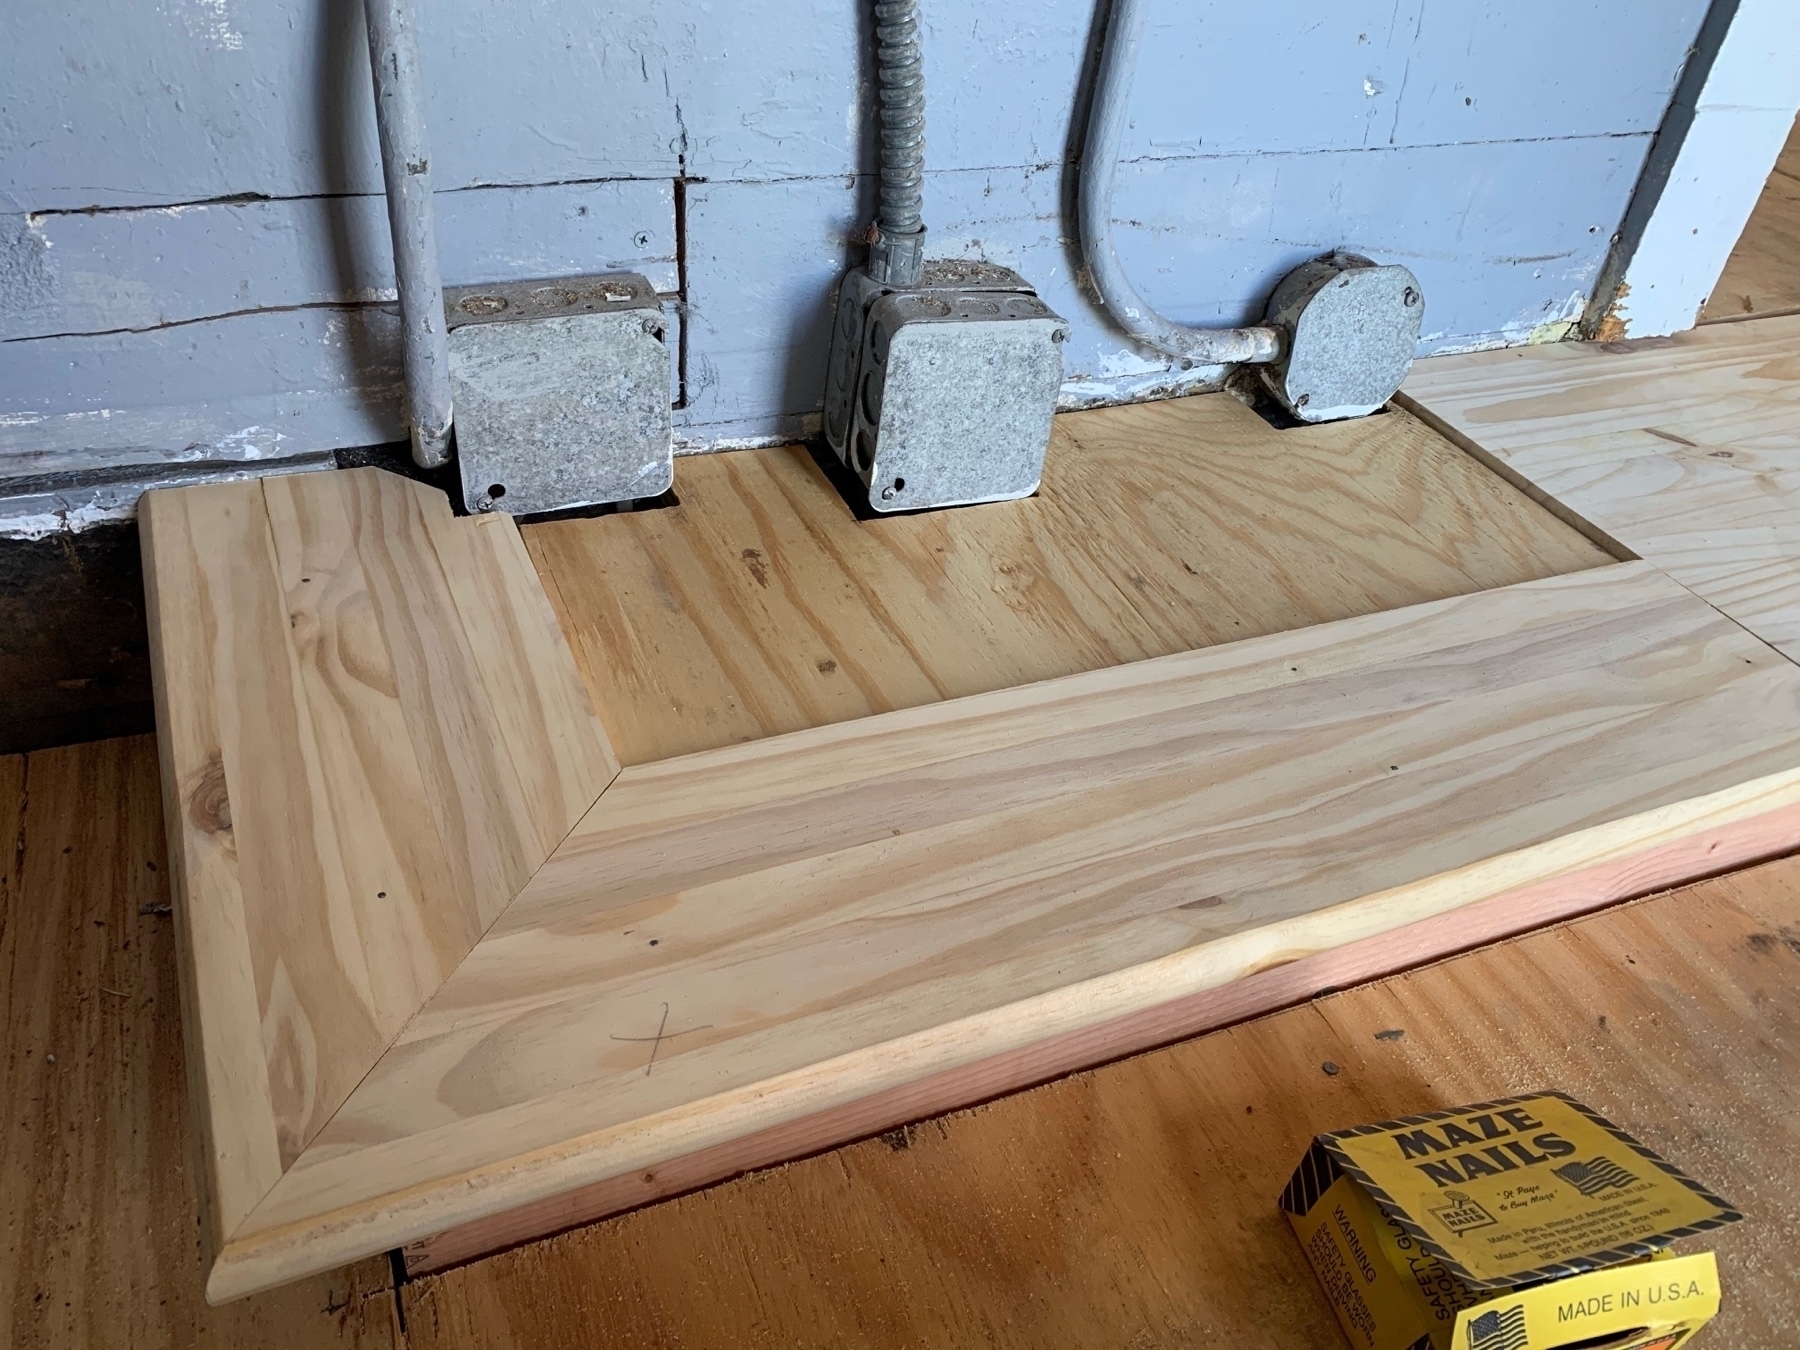
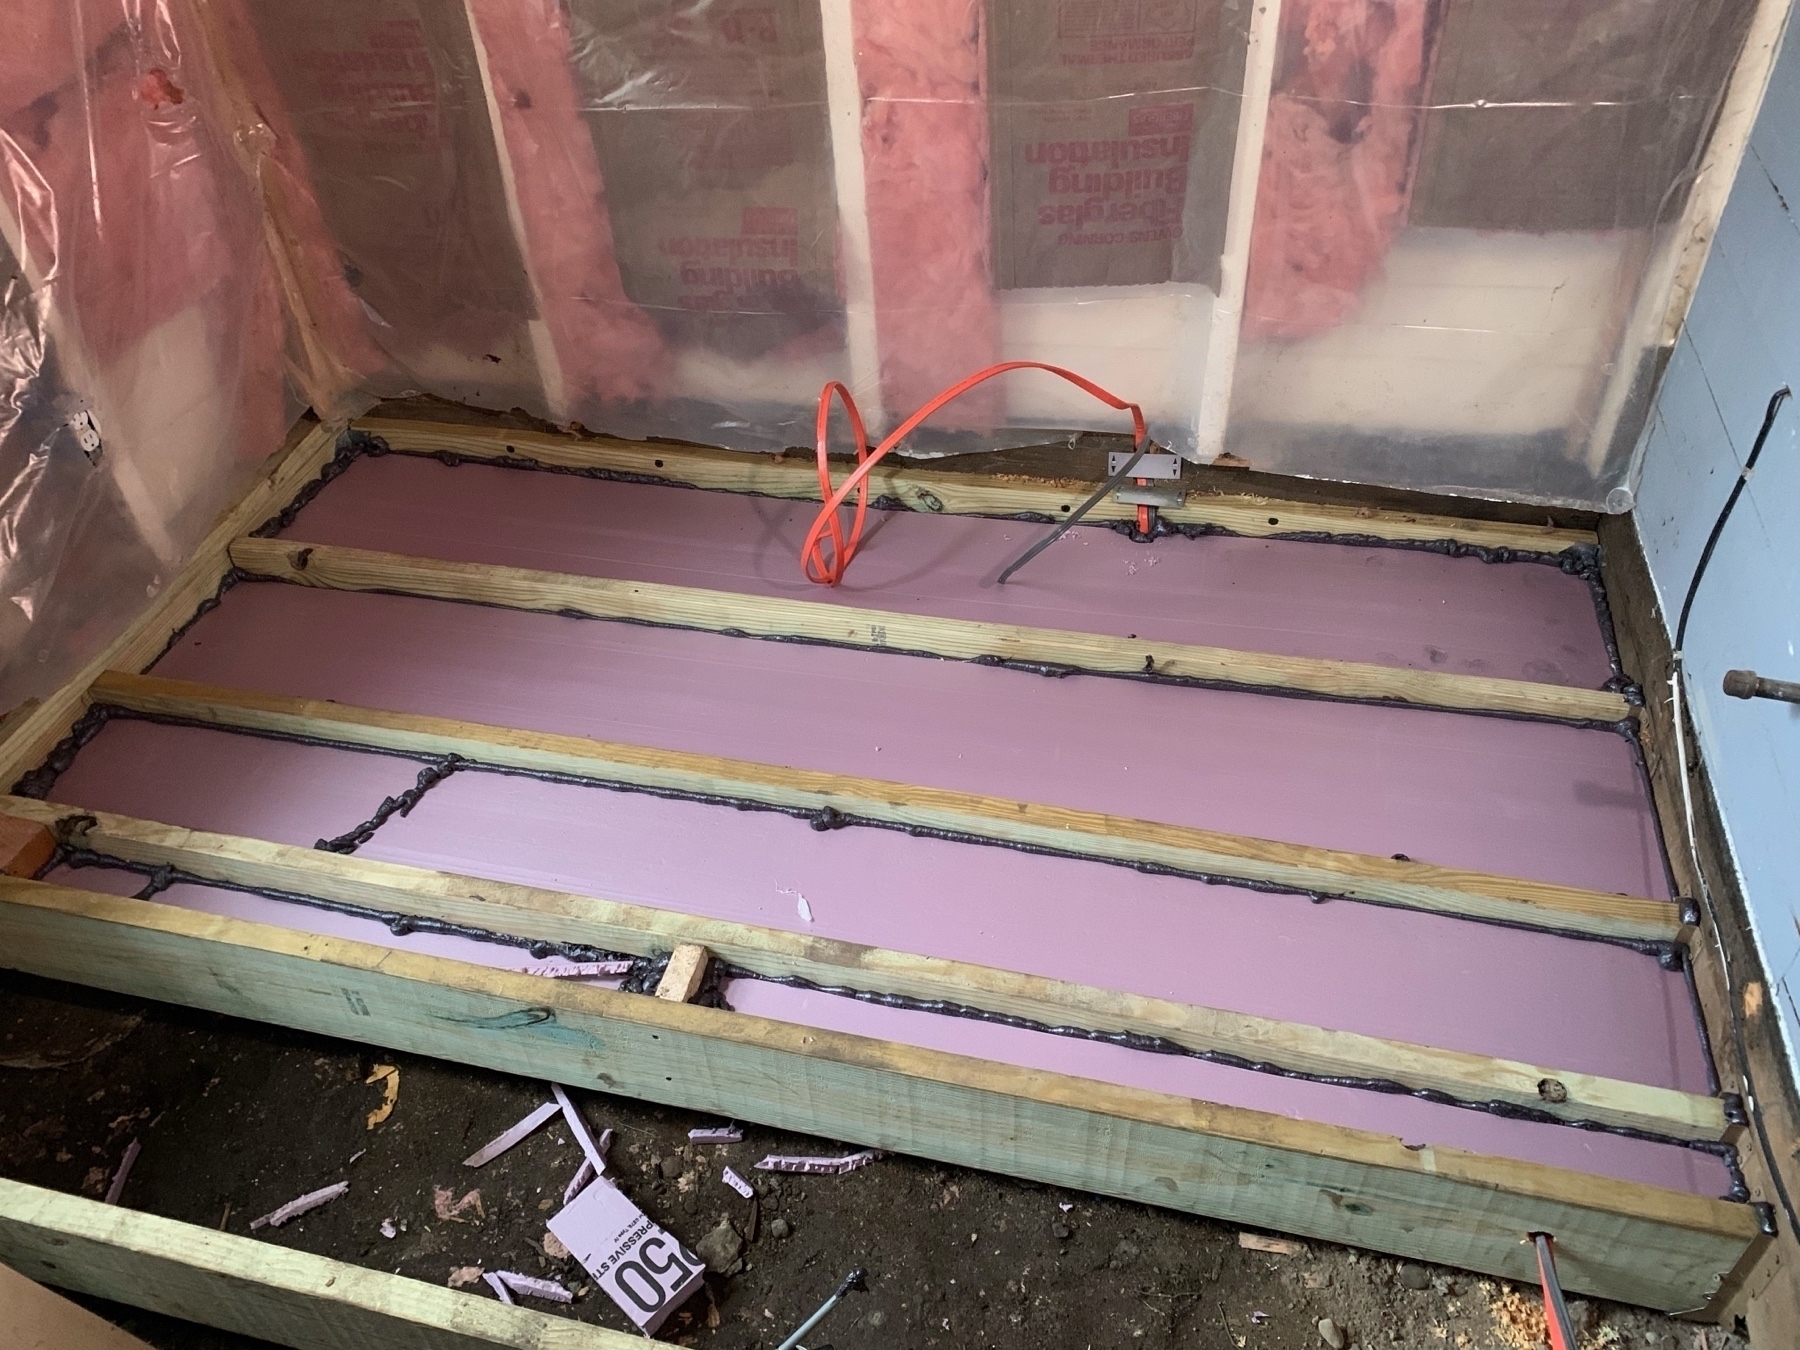
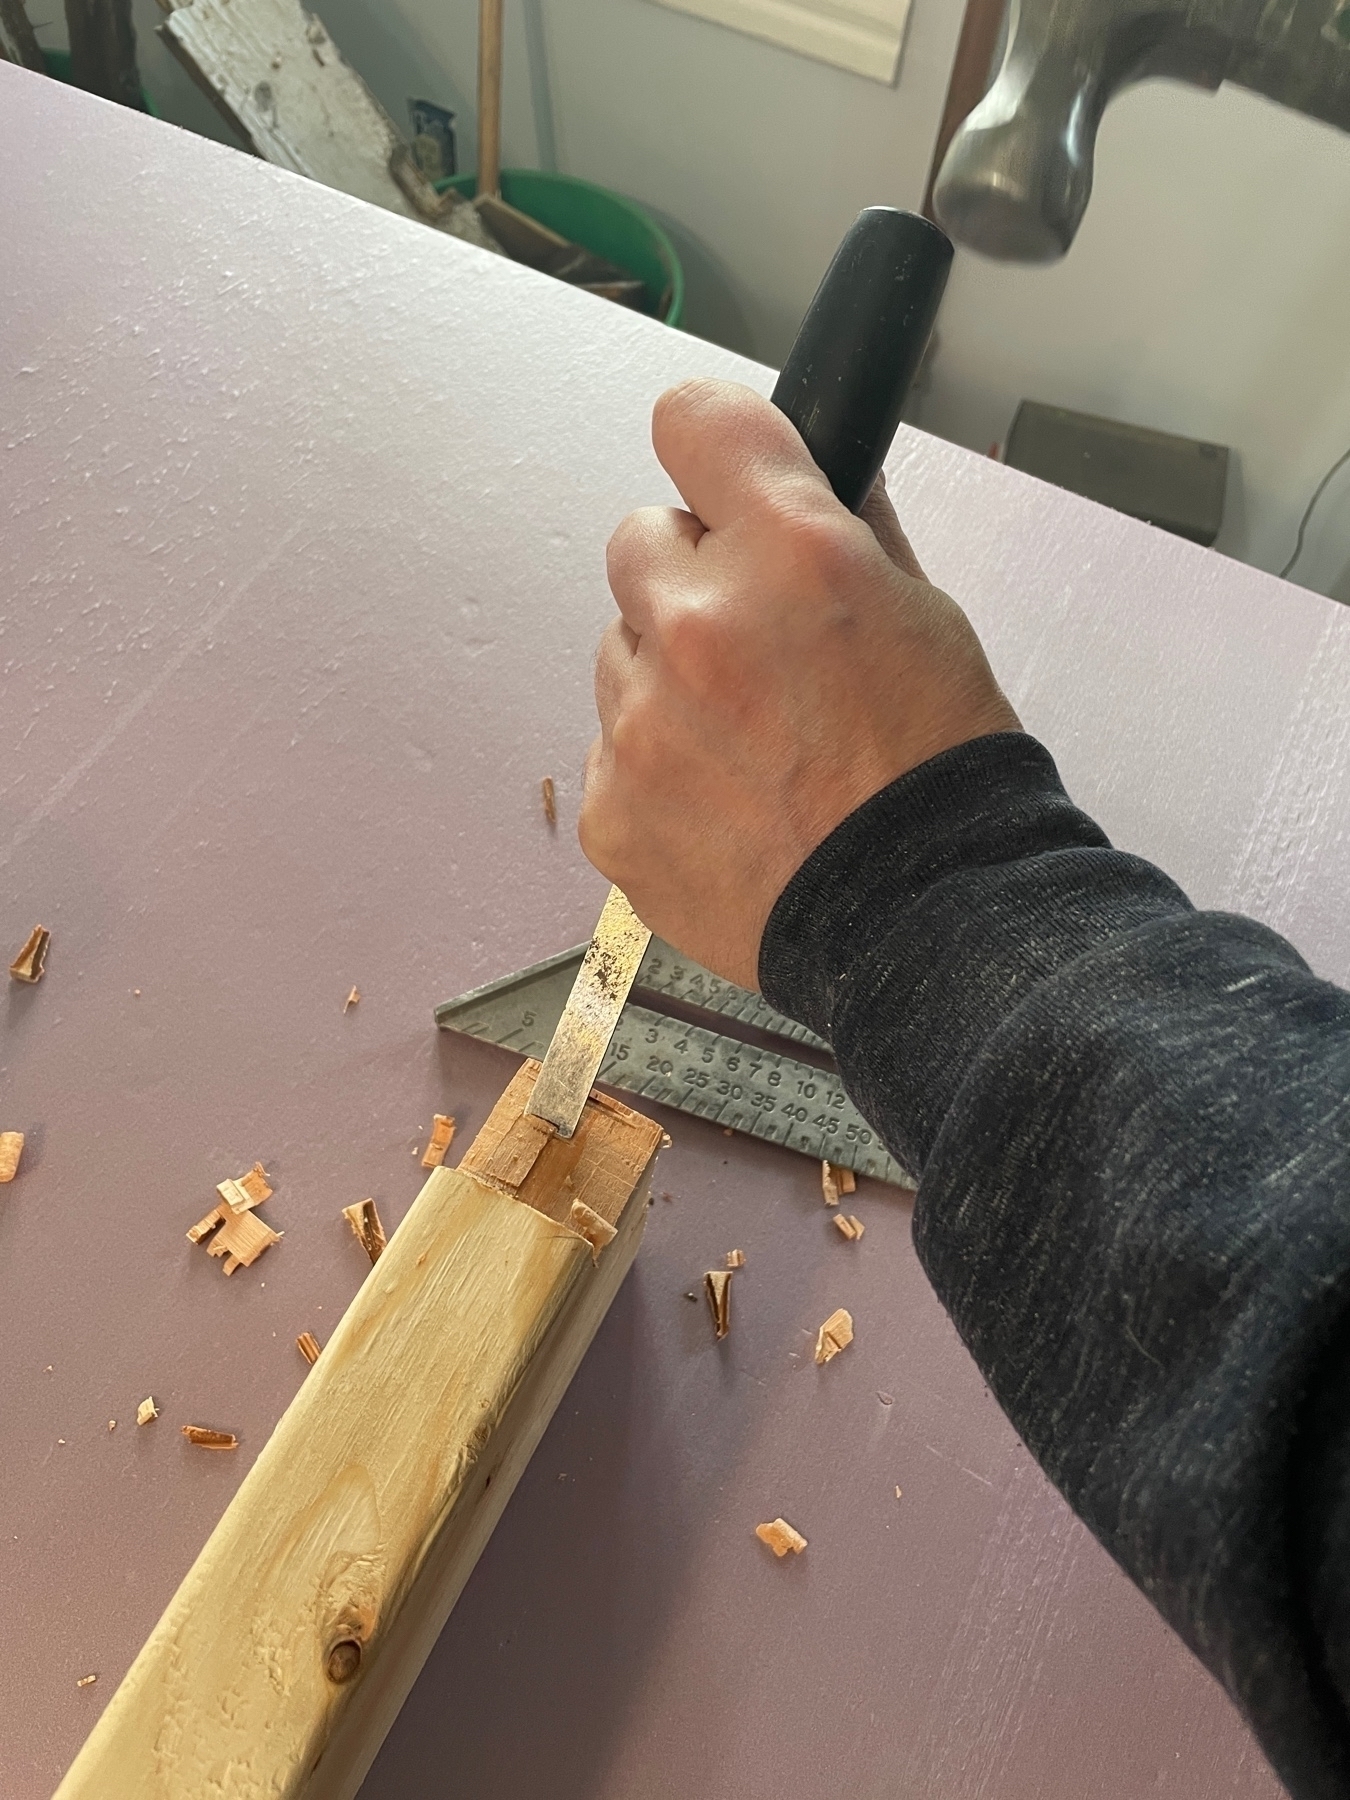
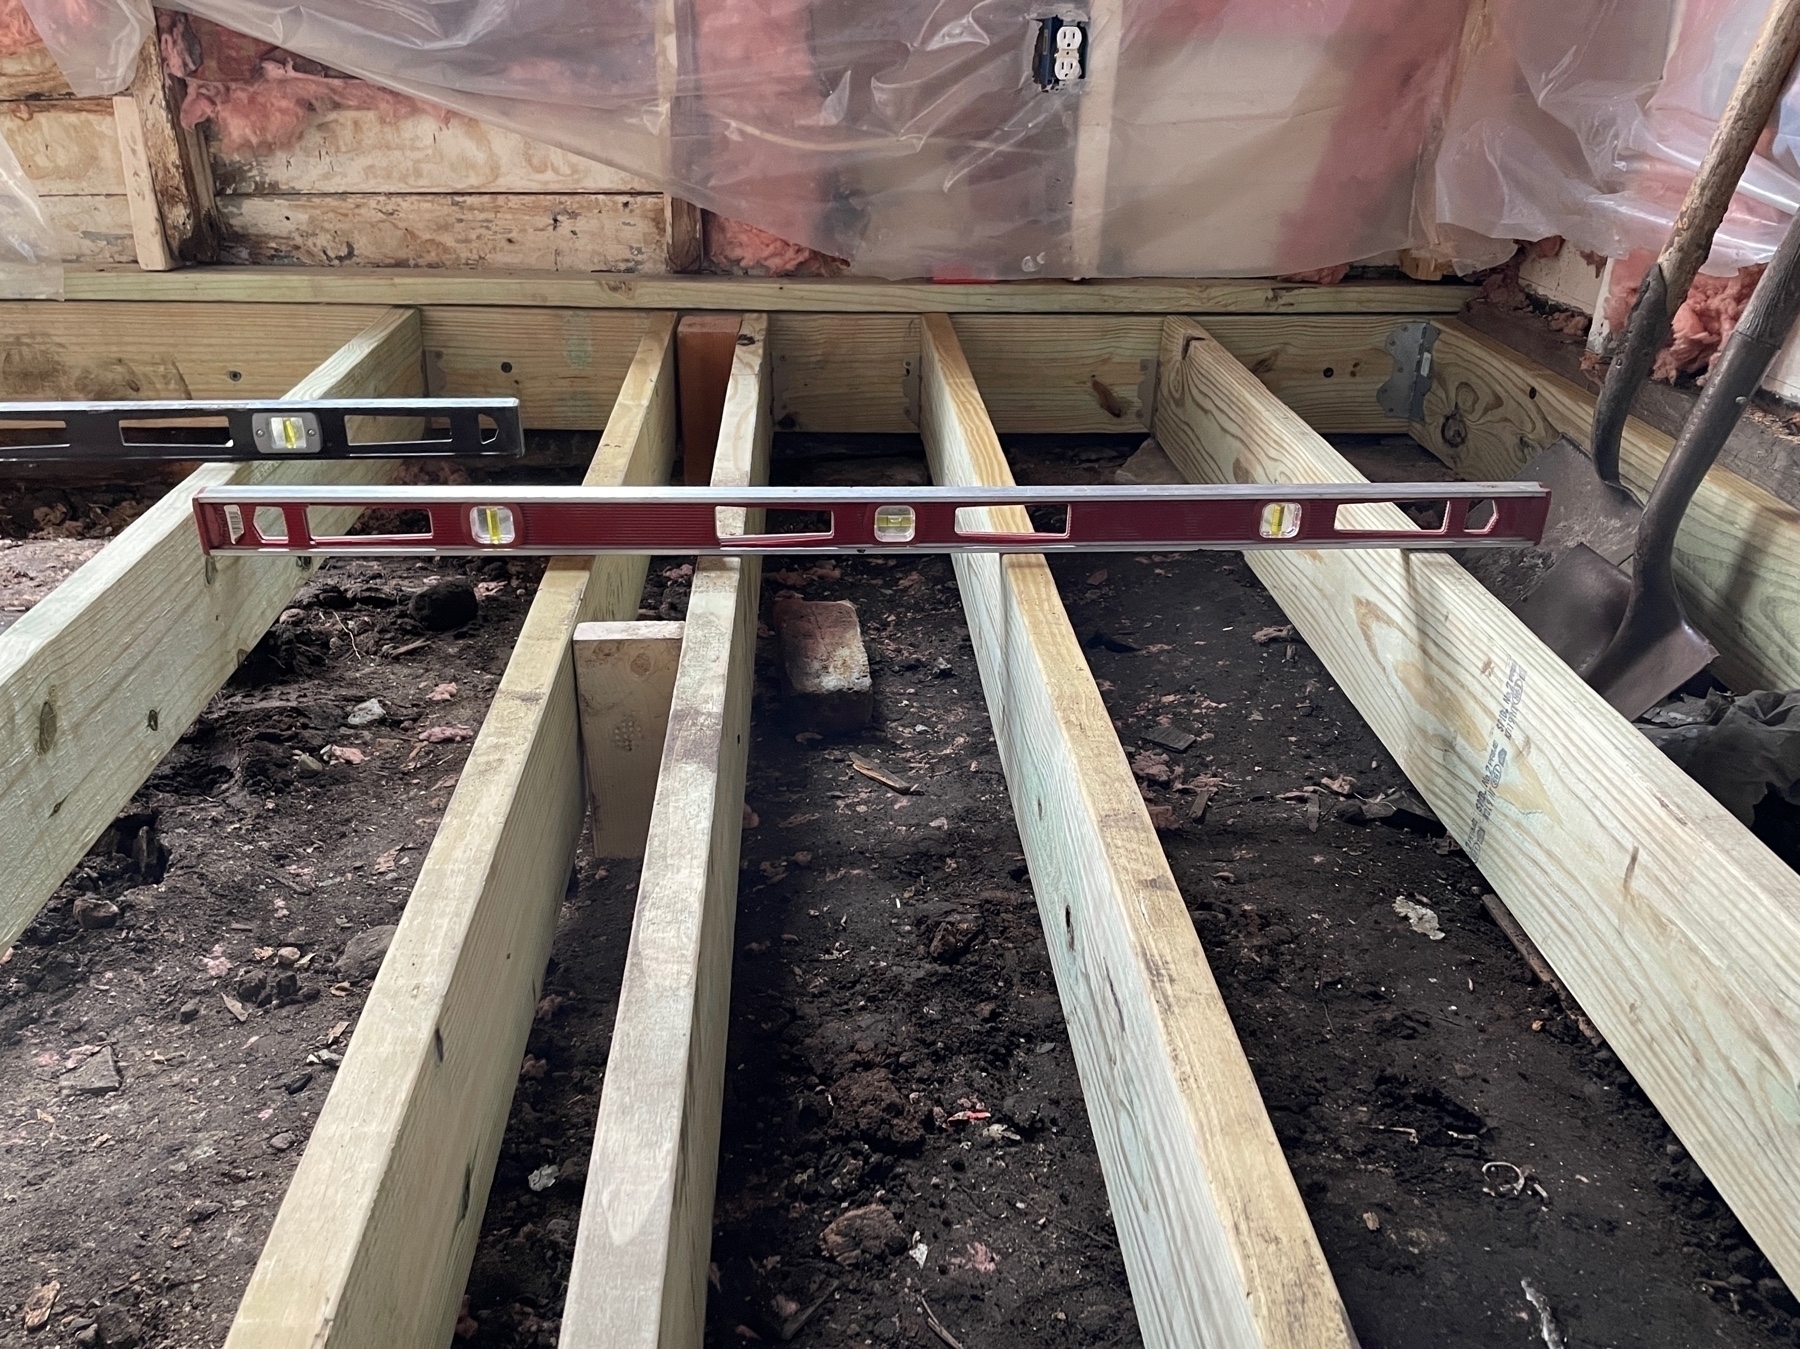
Making good mudroom progress. Floor is now insulated and installed. We cut, chiseled, and installed a step from the kitchen to the mudroom to account for the new height difference now that the floor has been leveled.
Rebuilding The Mudroom
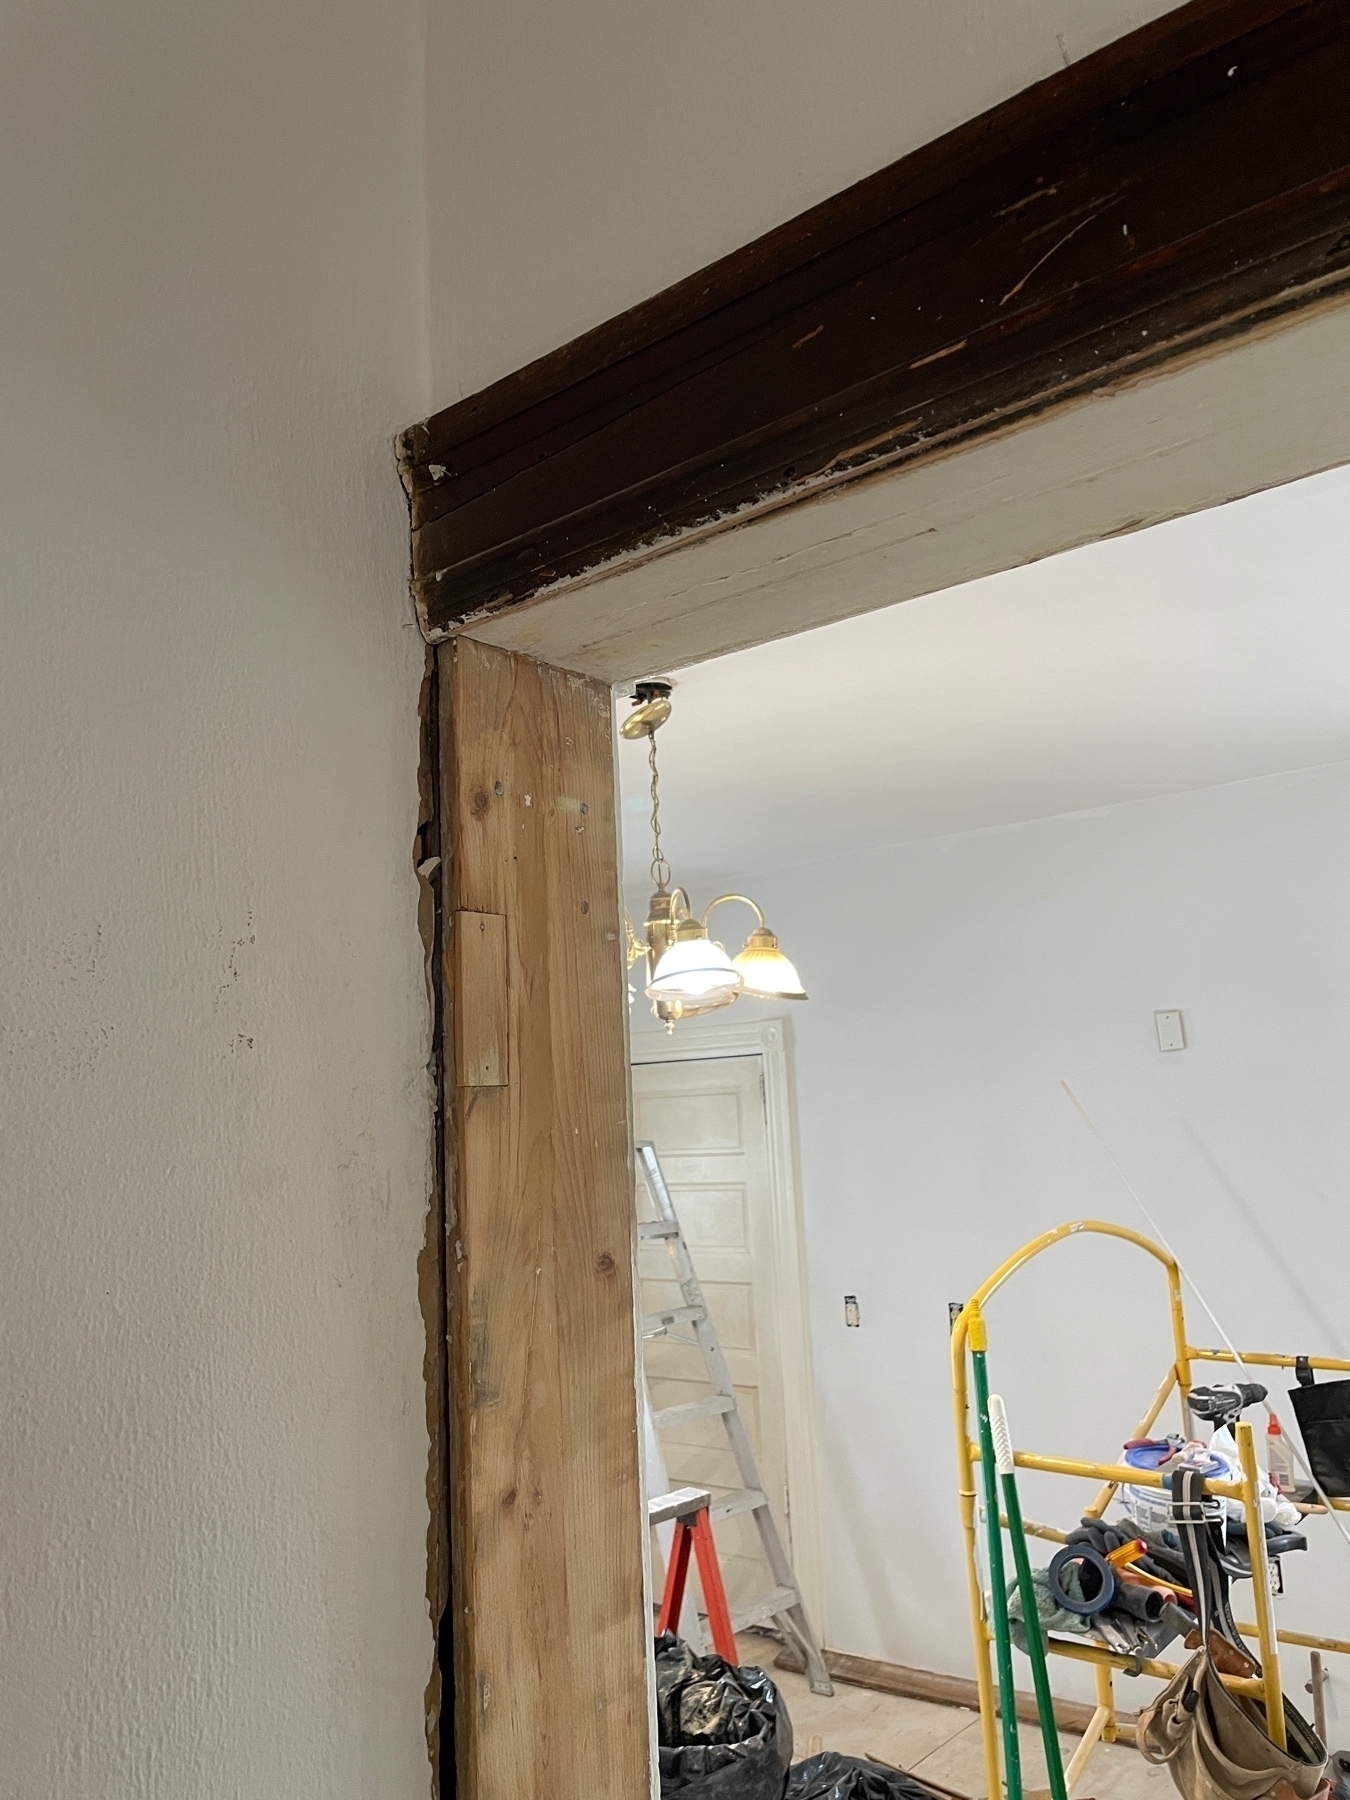
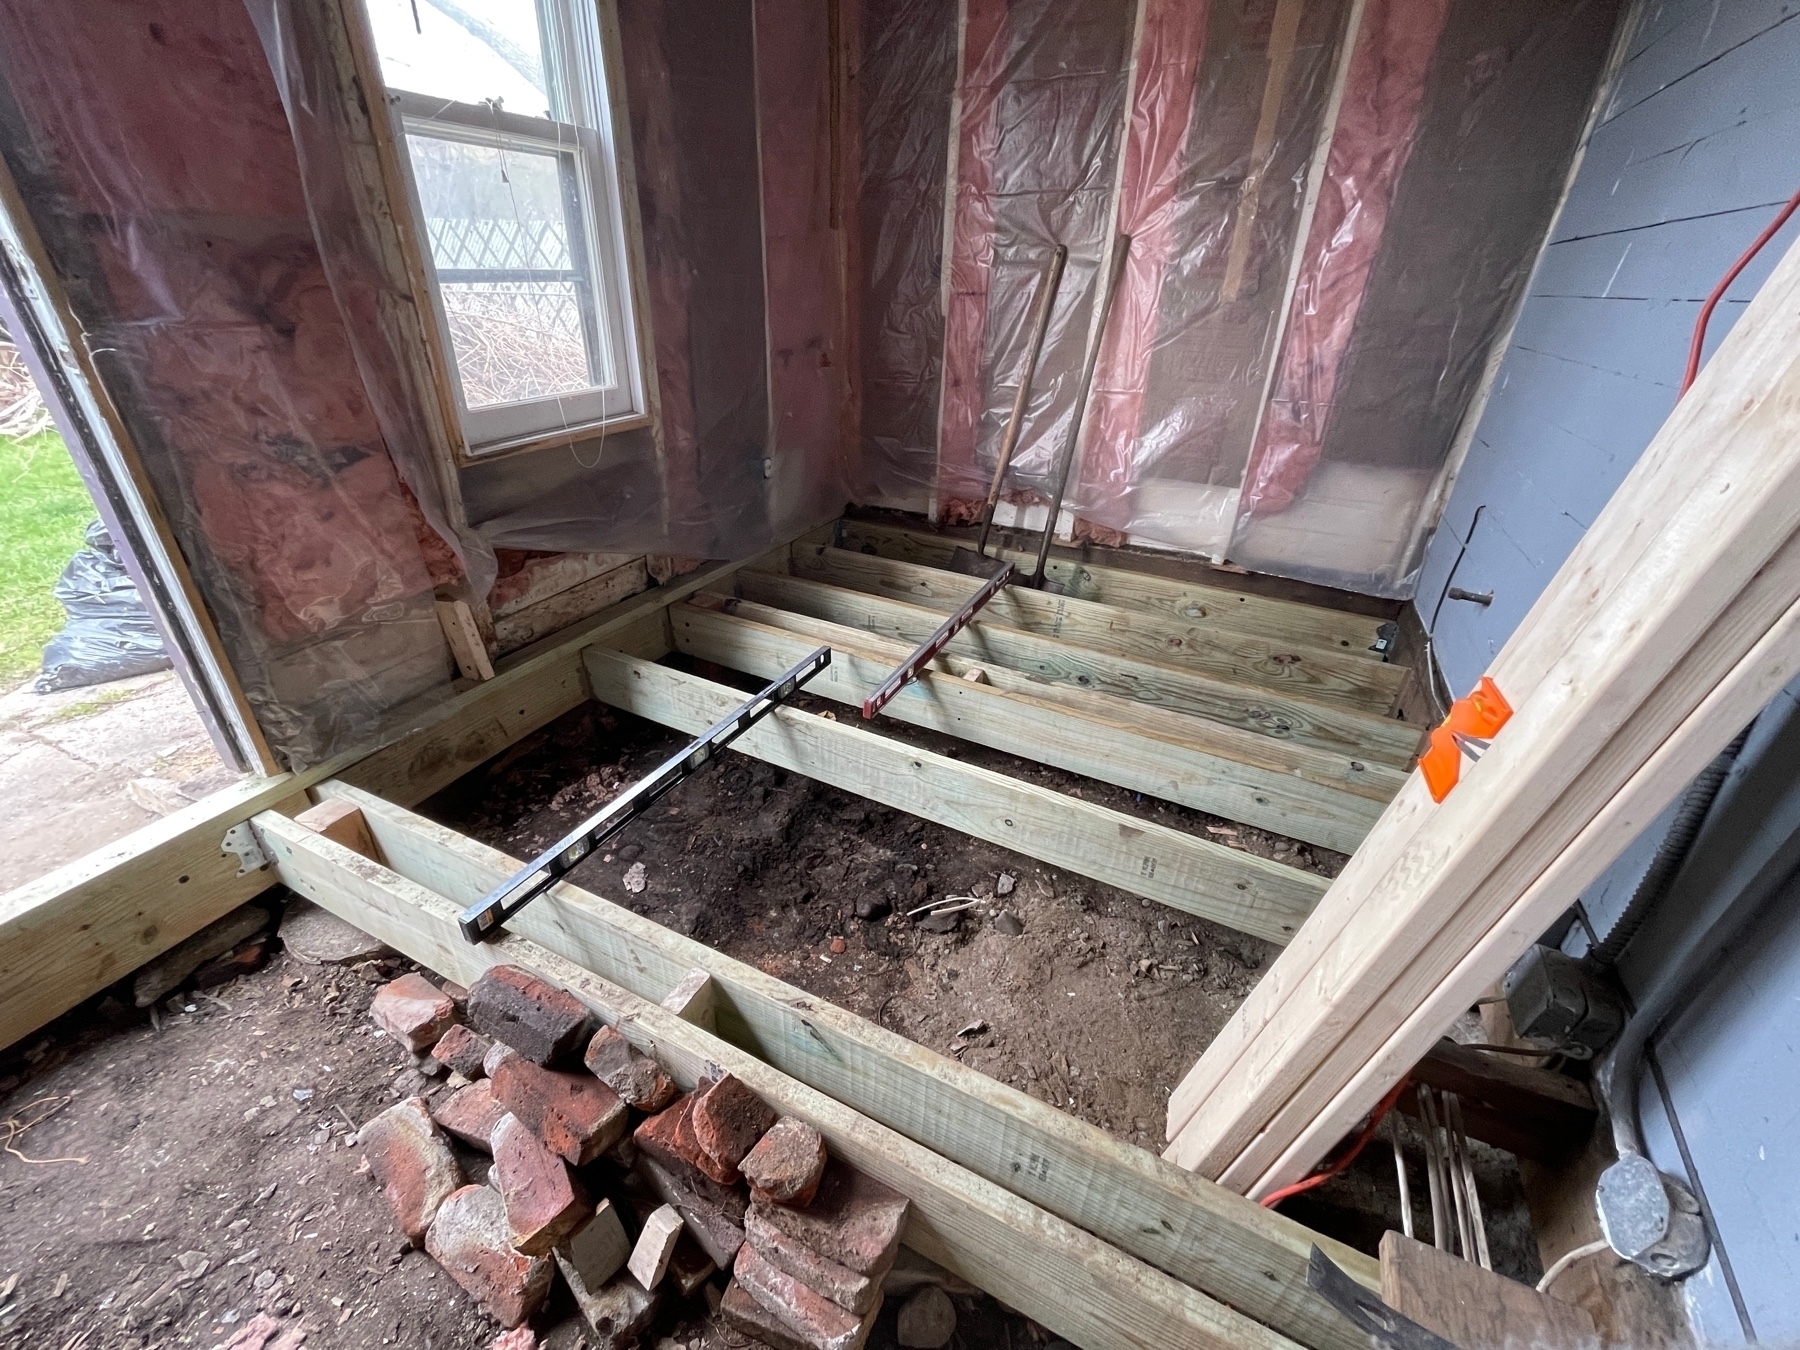
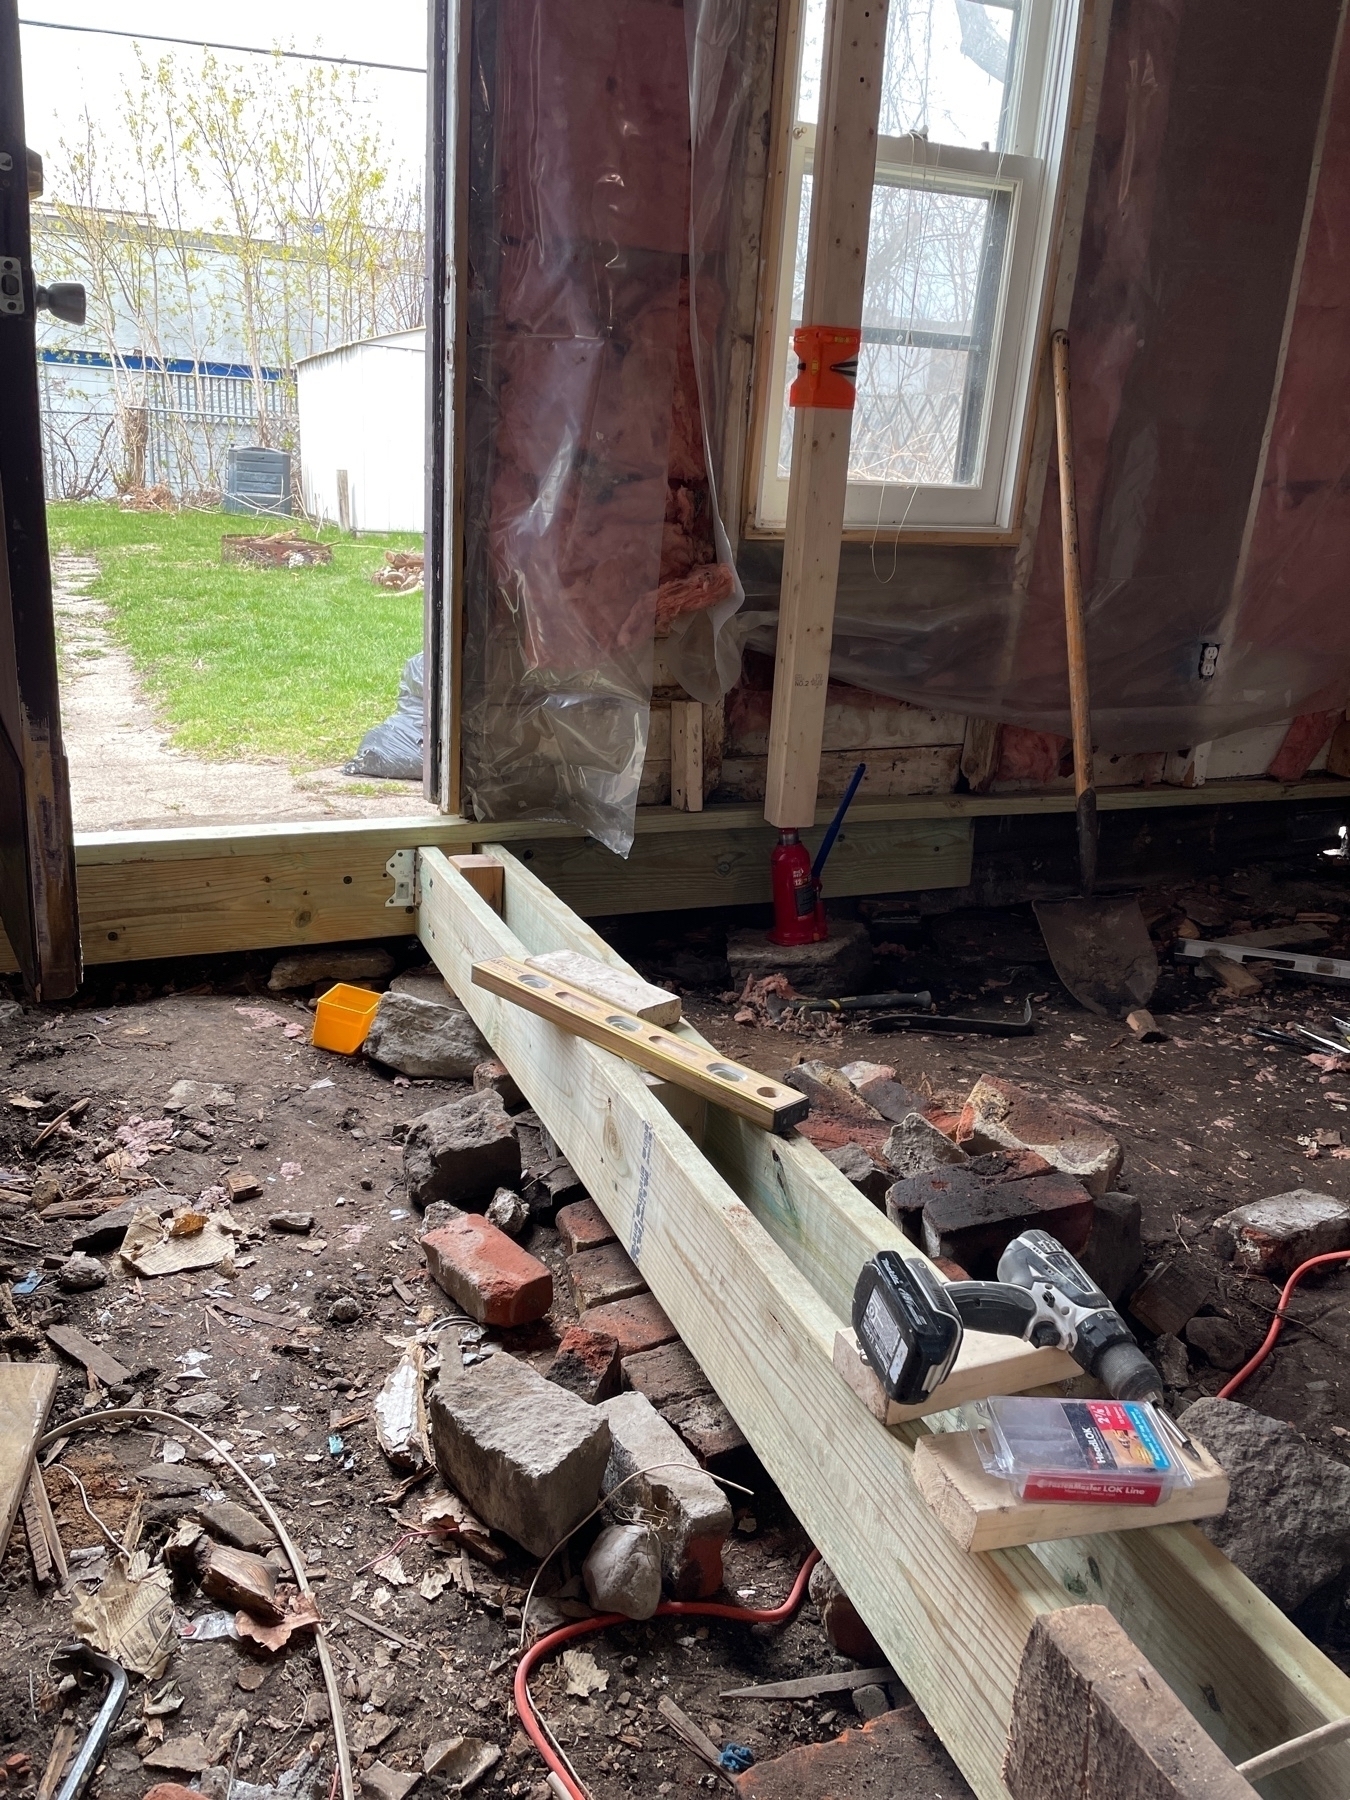
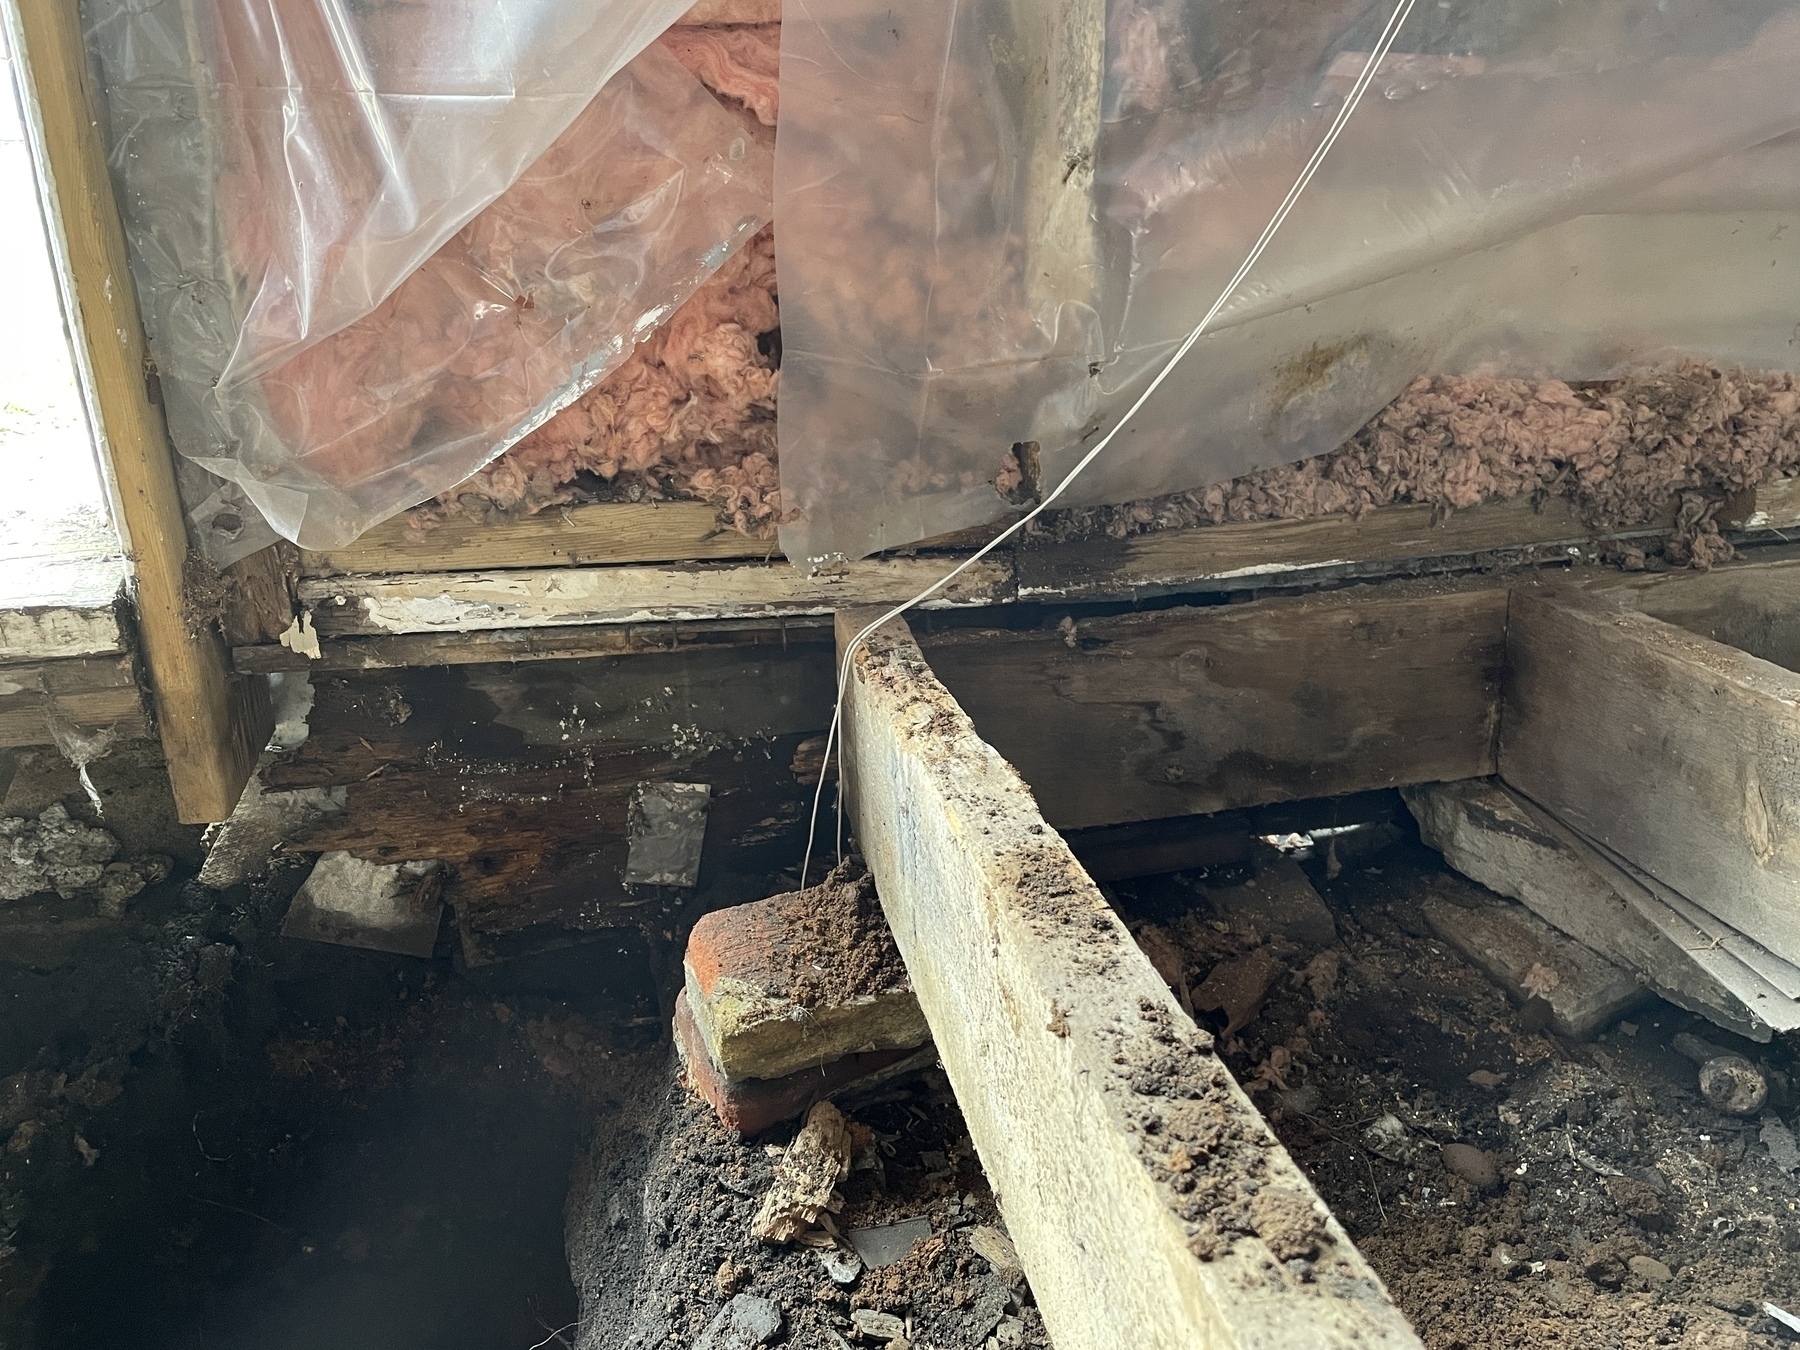
Today’s work focused on begining the repair/rebuld of the mudroom. As you may recall, this started with trying to figure out why the roof line in that area had a sag in it.
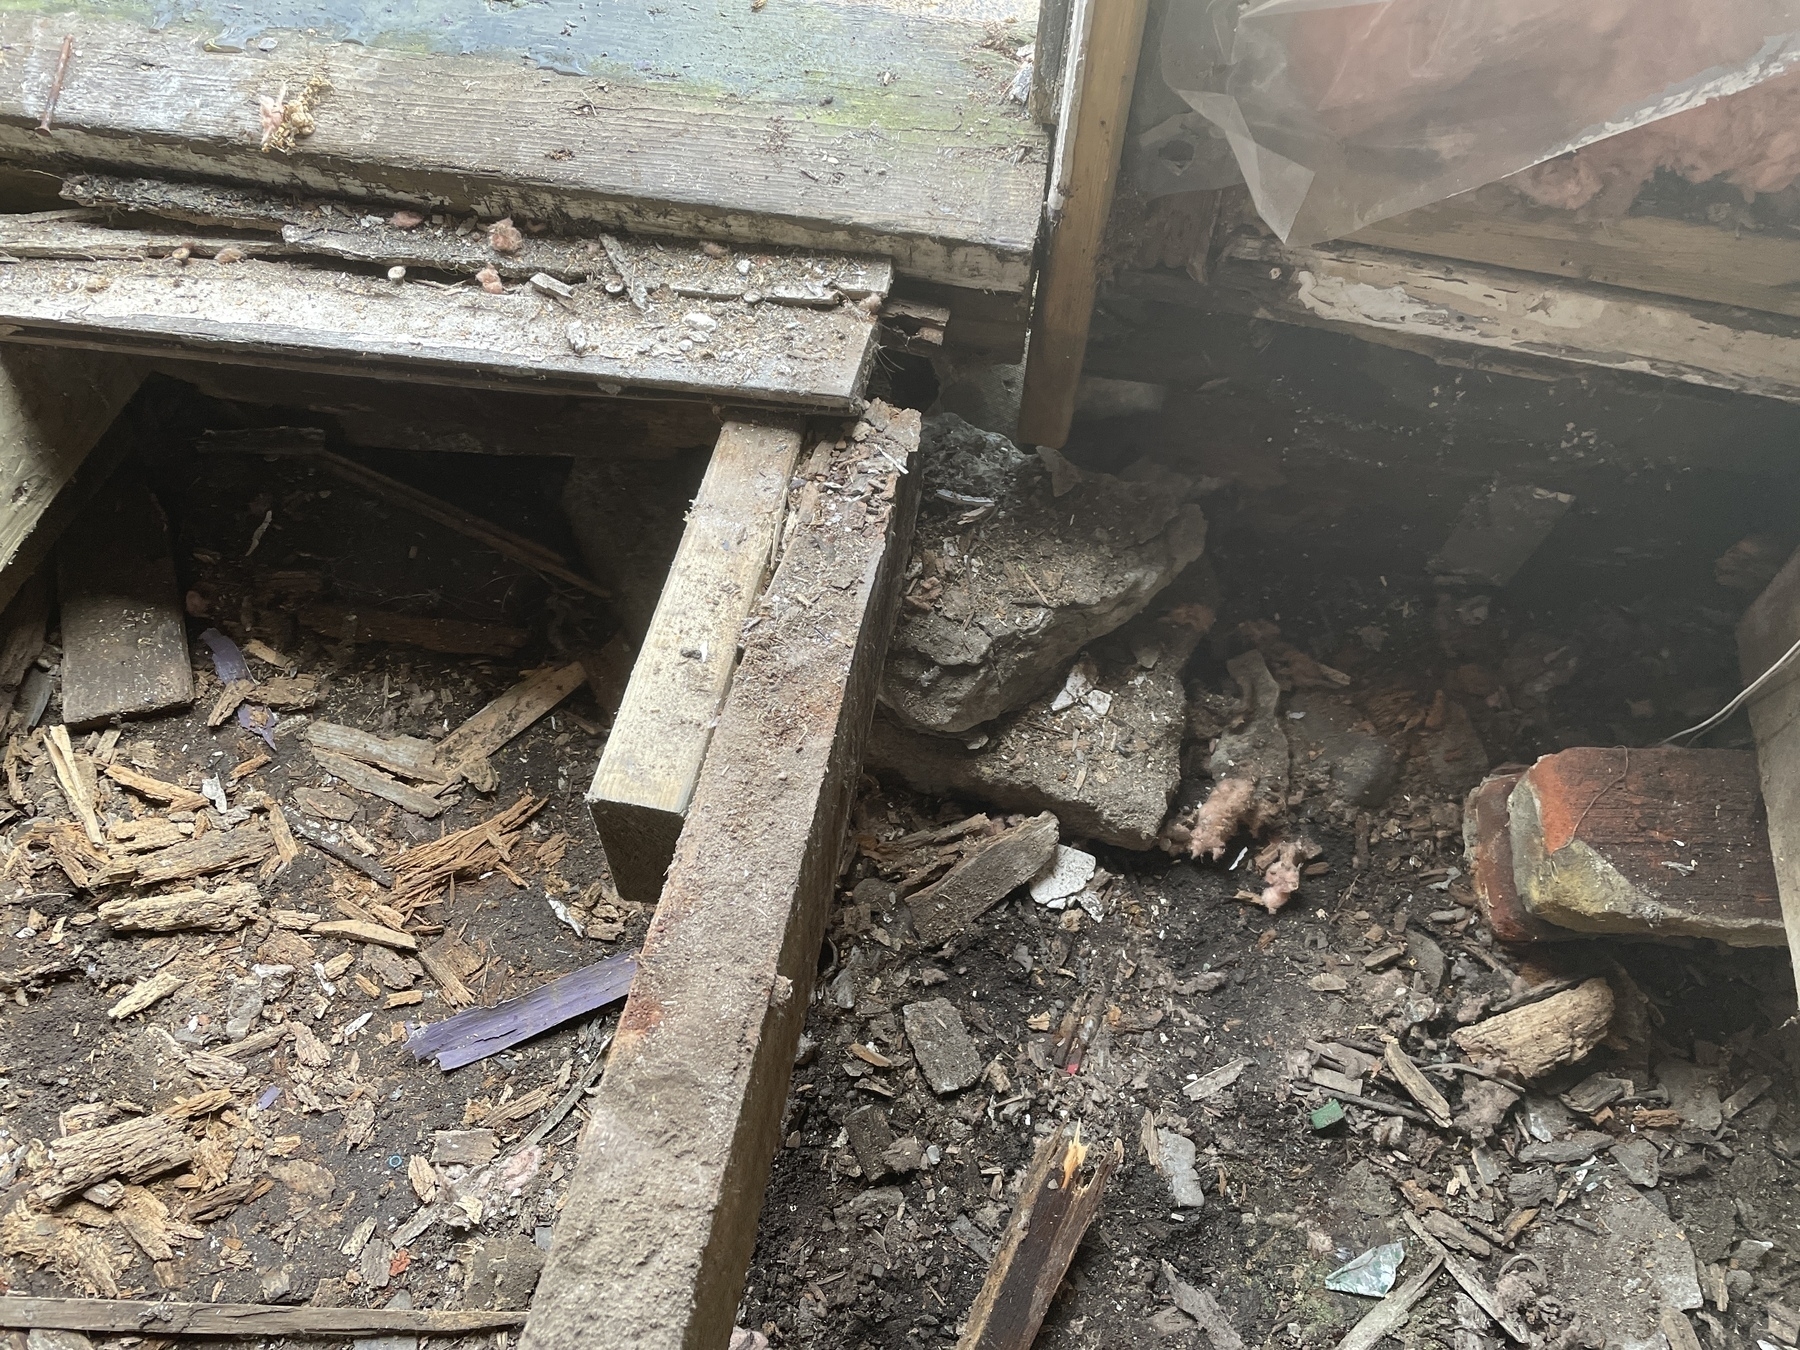
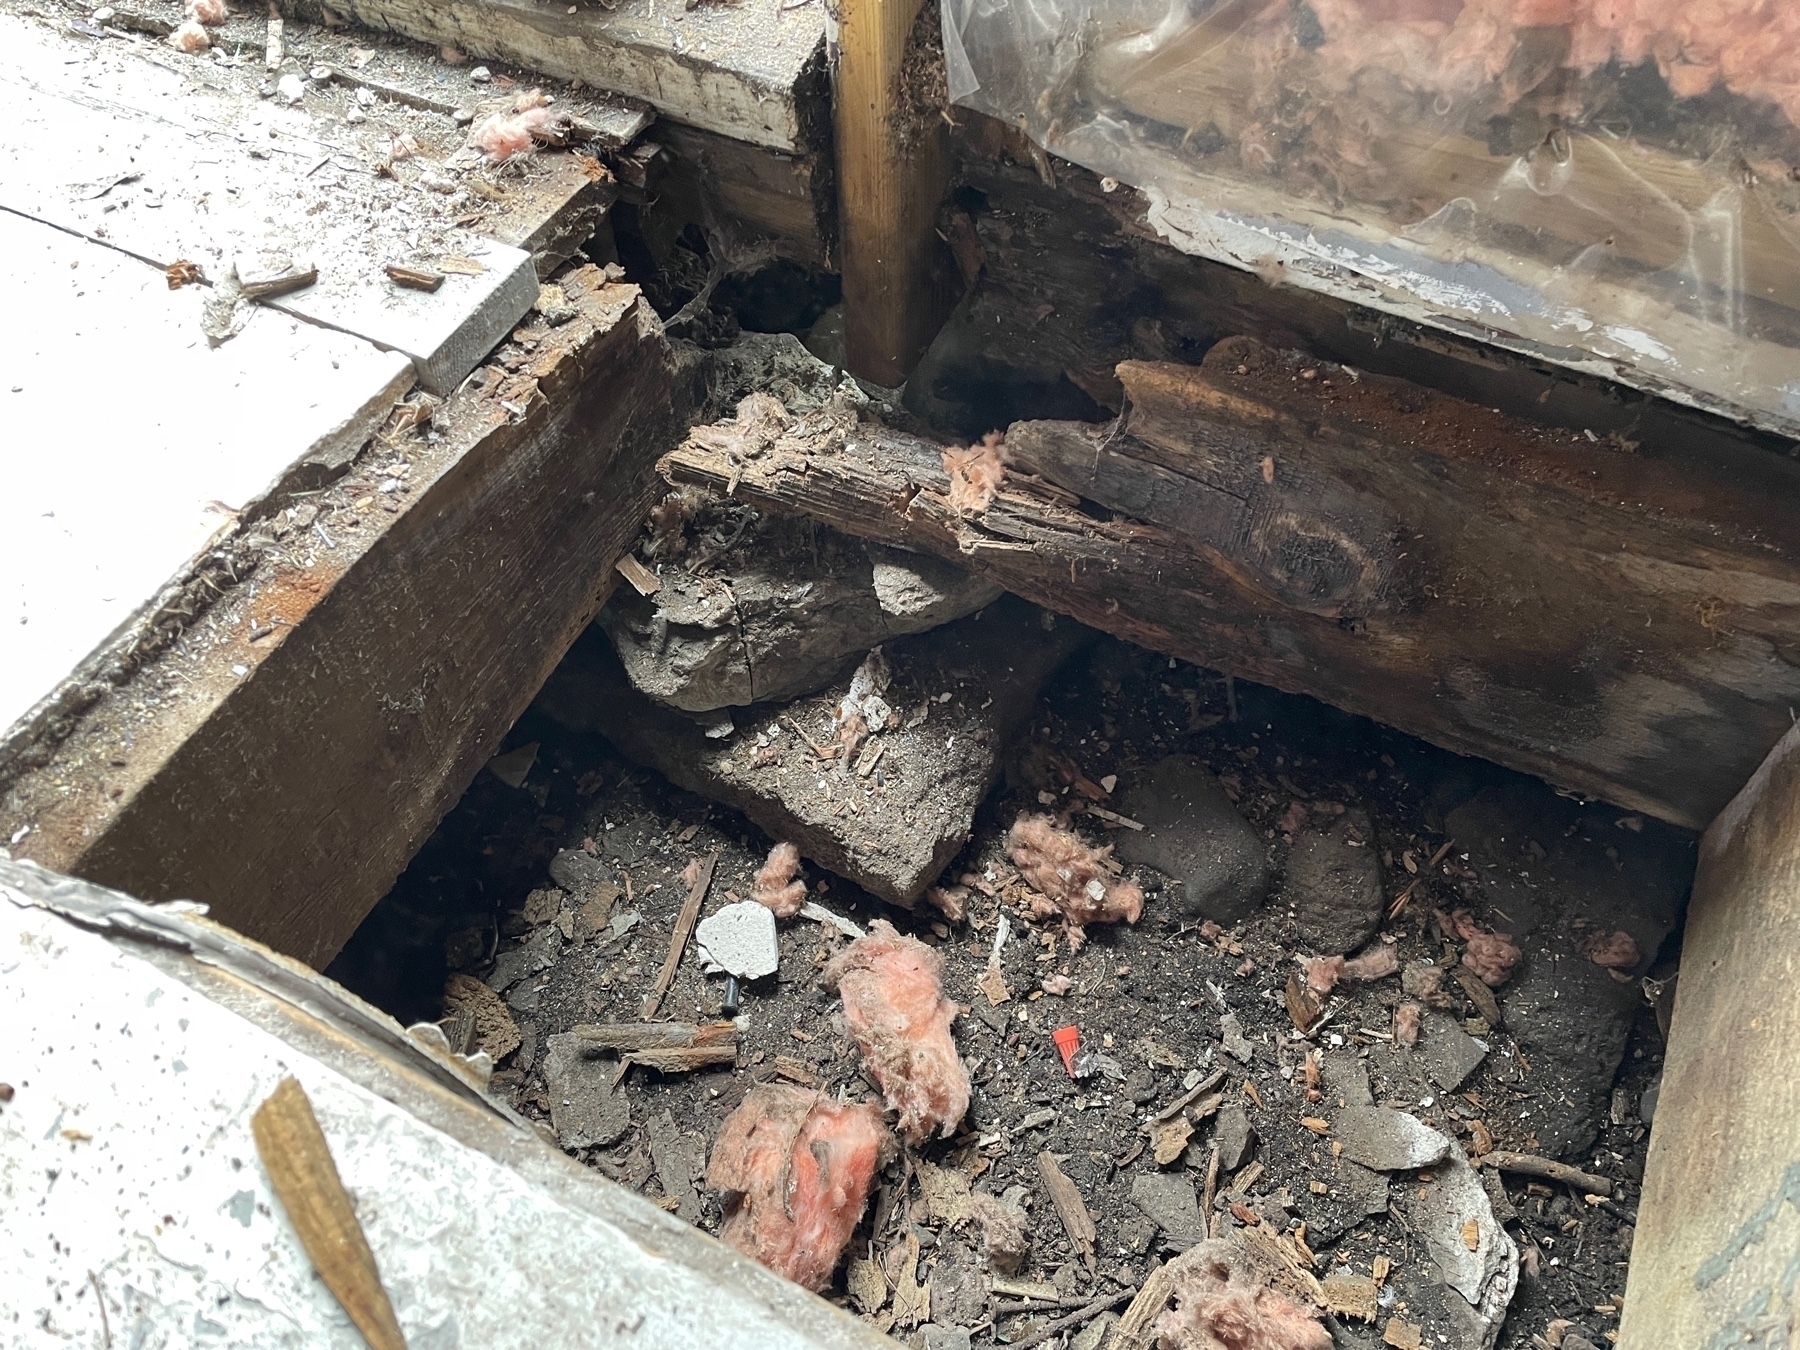
Well, it turns out it was because that room, having at first been a porch in an earlier life, has no proper foundation so water and moisture was able to get in under the floor and rot out many of the supporting beams — most importantly the main beam at the base of that wall. Thus, there was litterally nothing supporting the main walls where the rot was — especially around the door frame. Hence, the roof sag. So, today was about solving that.
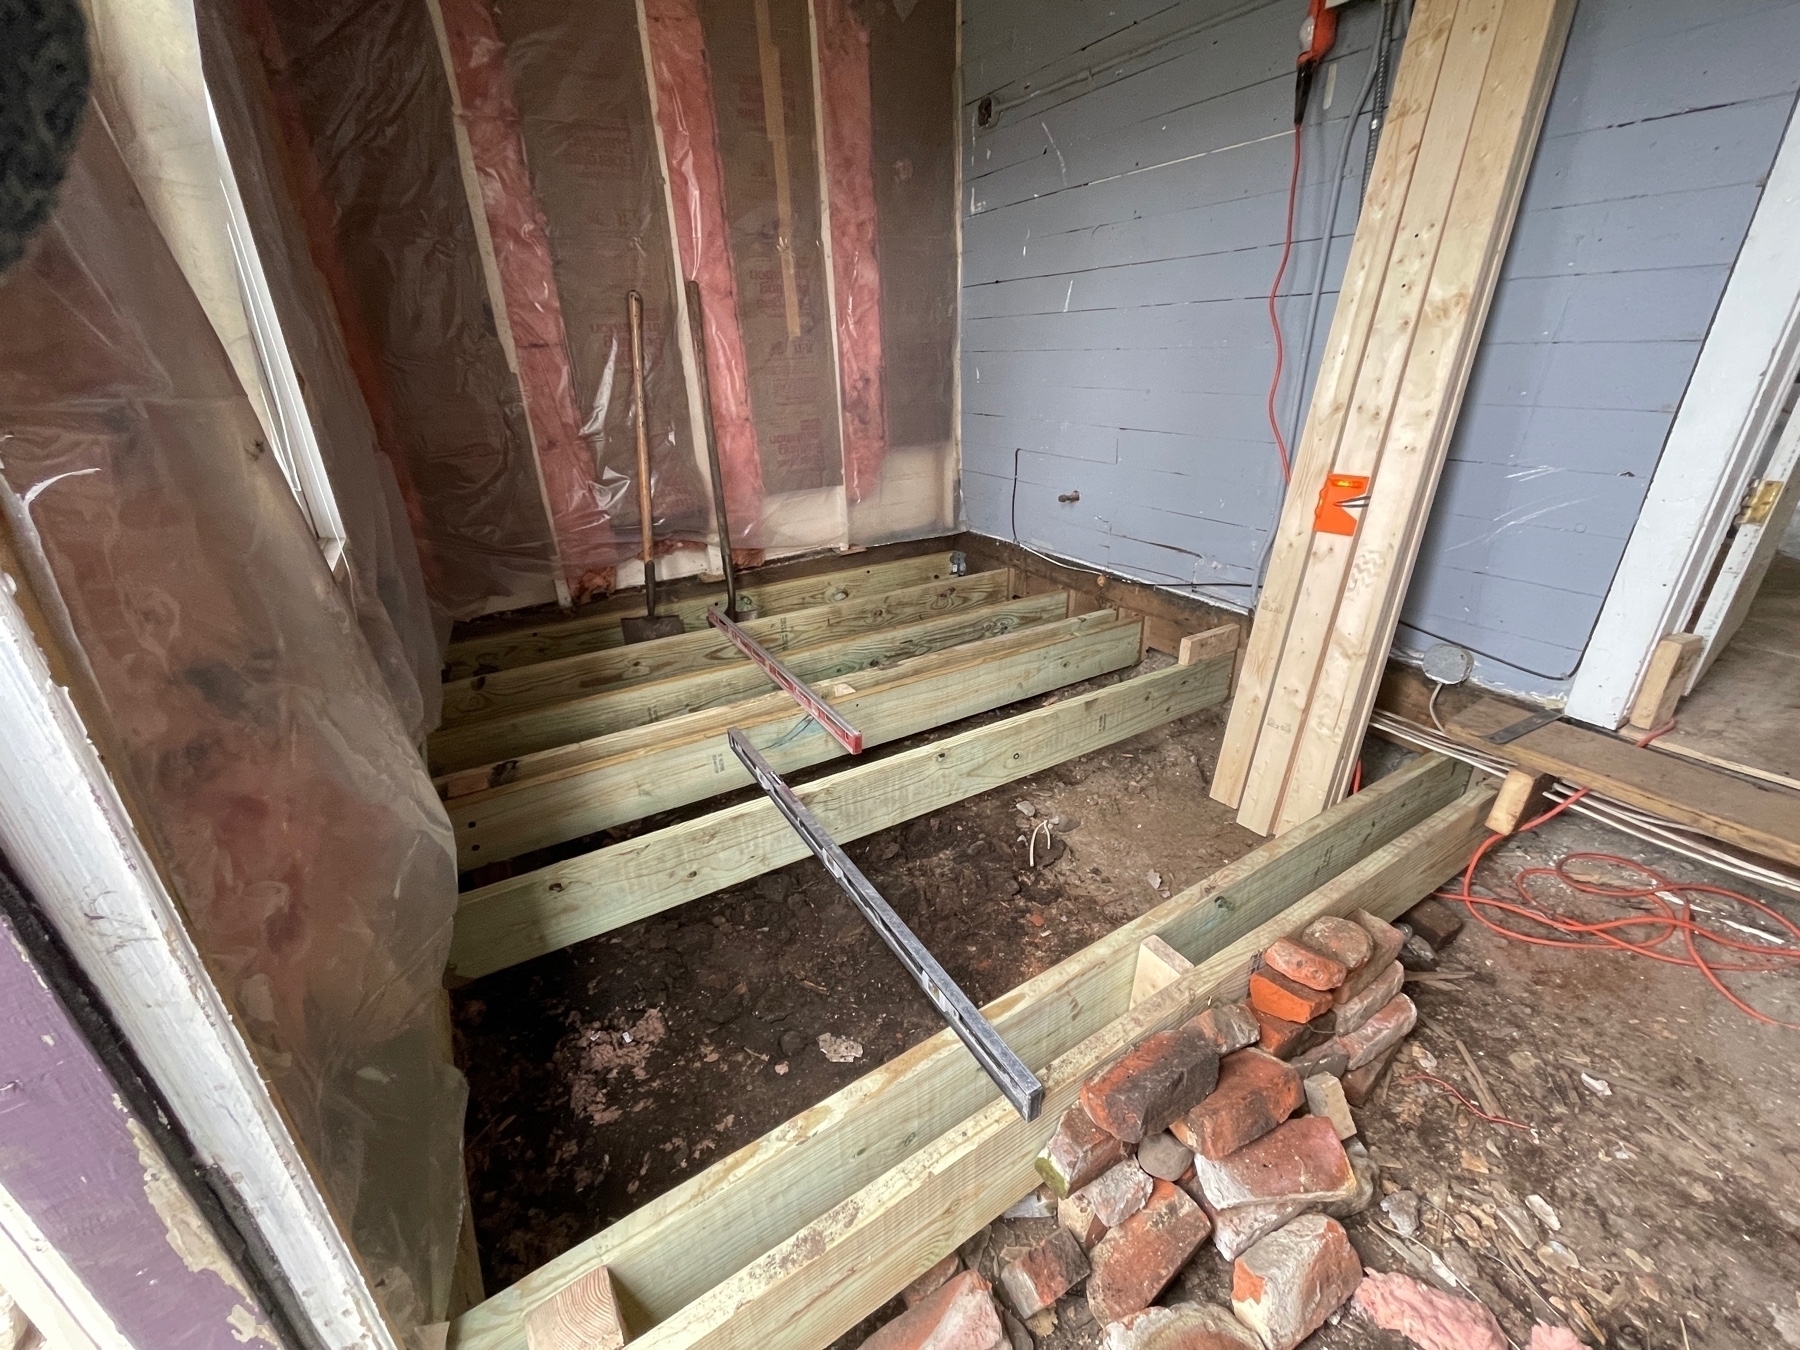
We cut away the problem beams and elminated rotted portions on the existing beams.
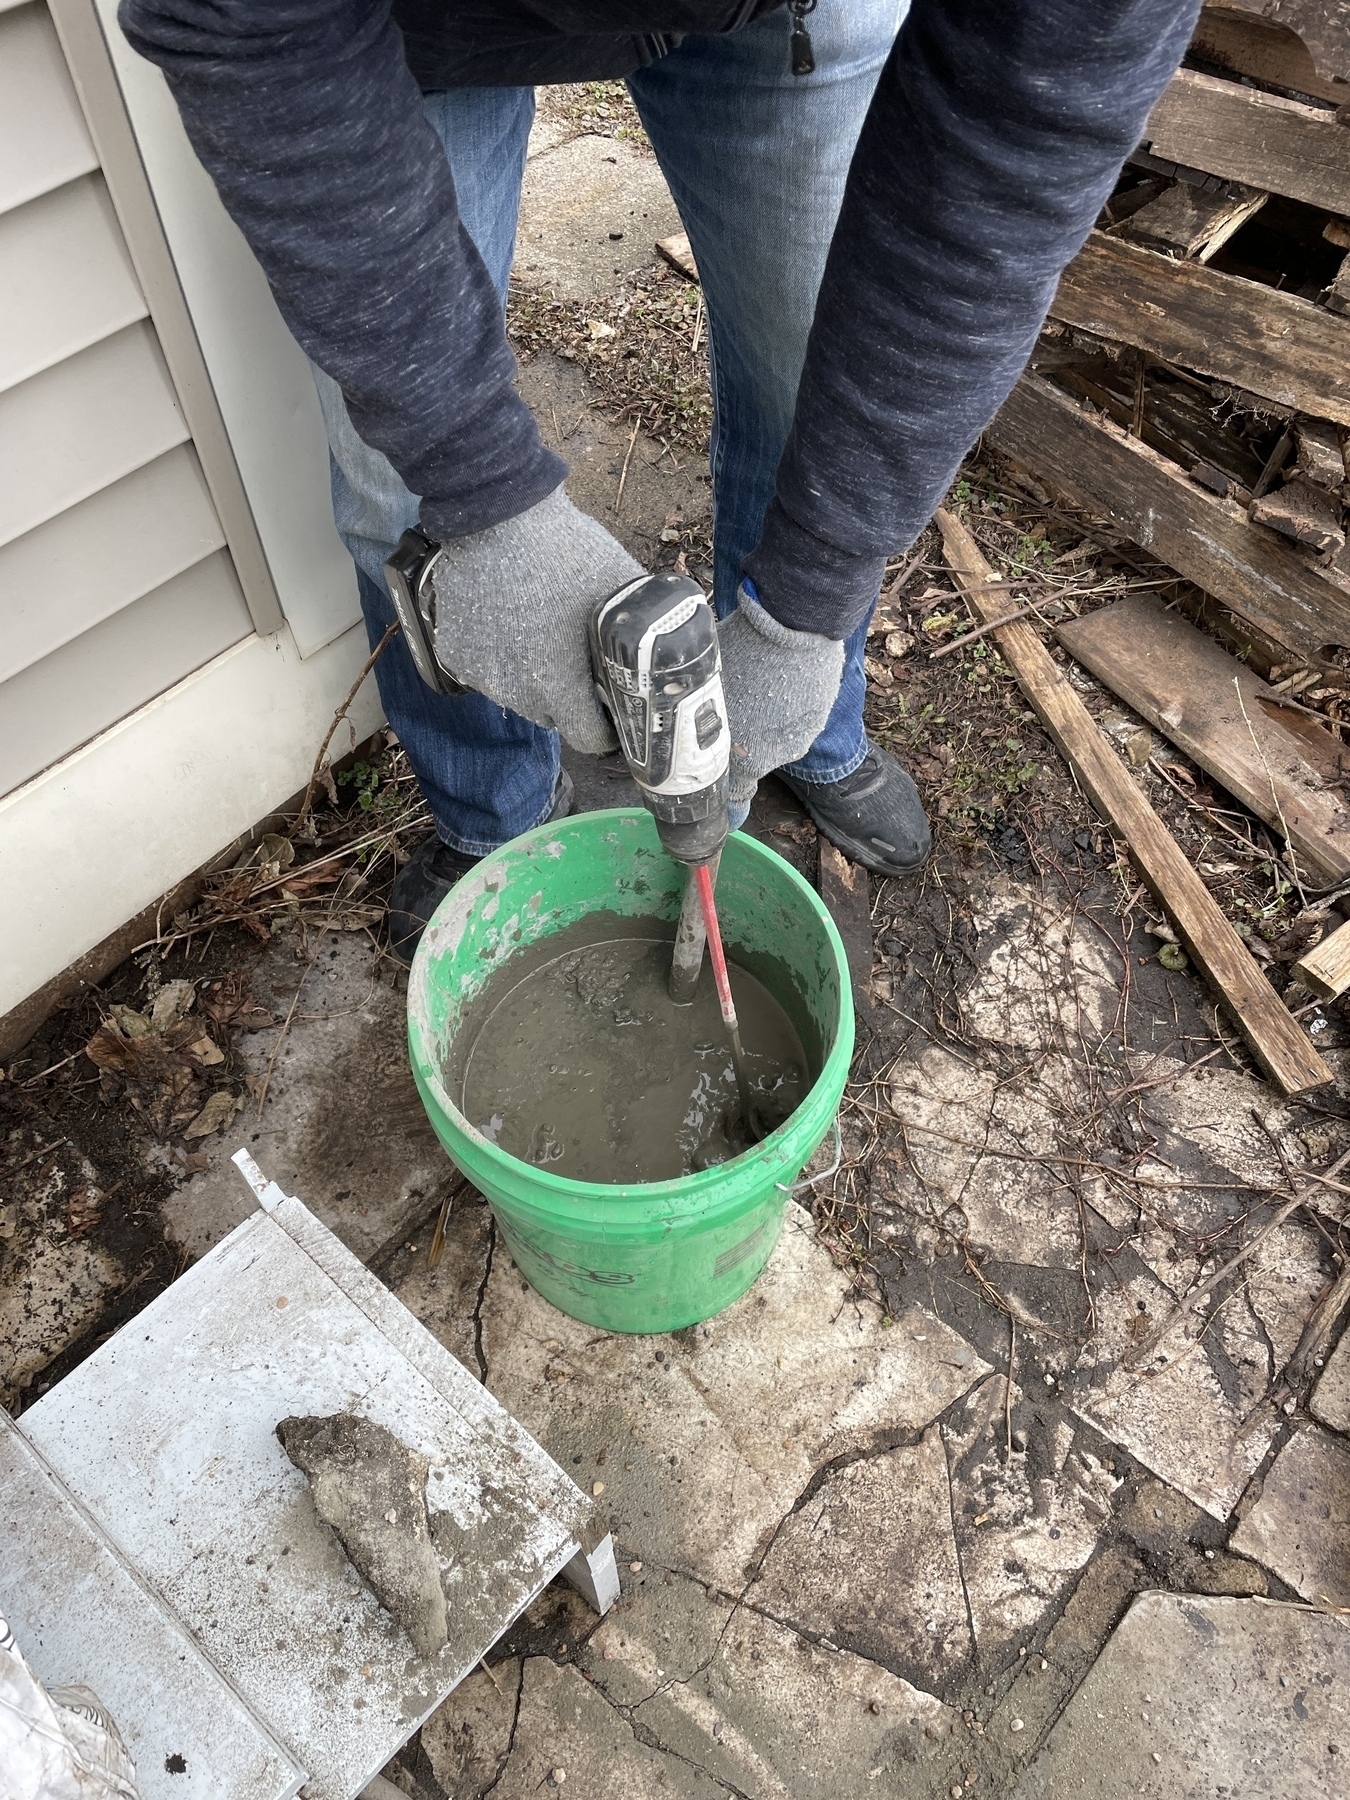
Then we dug a deep hole to accomidate a 12 inch concrete form. Mixed and filled that with concrete. That will provide a strong footing on one side of the door.
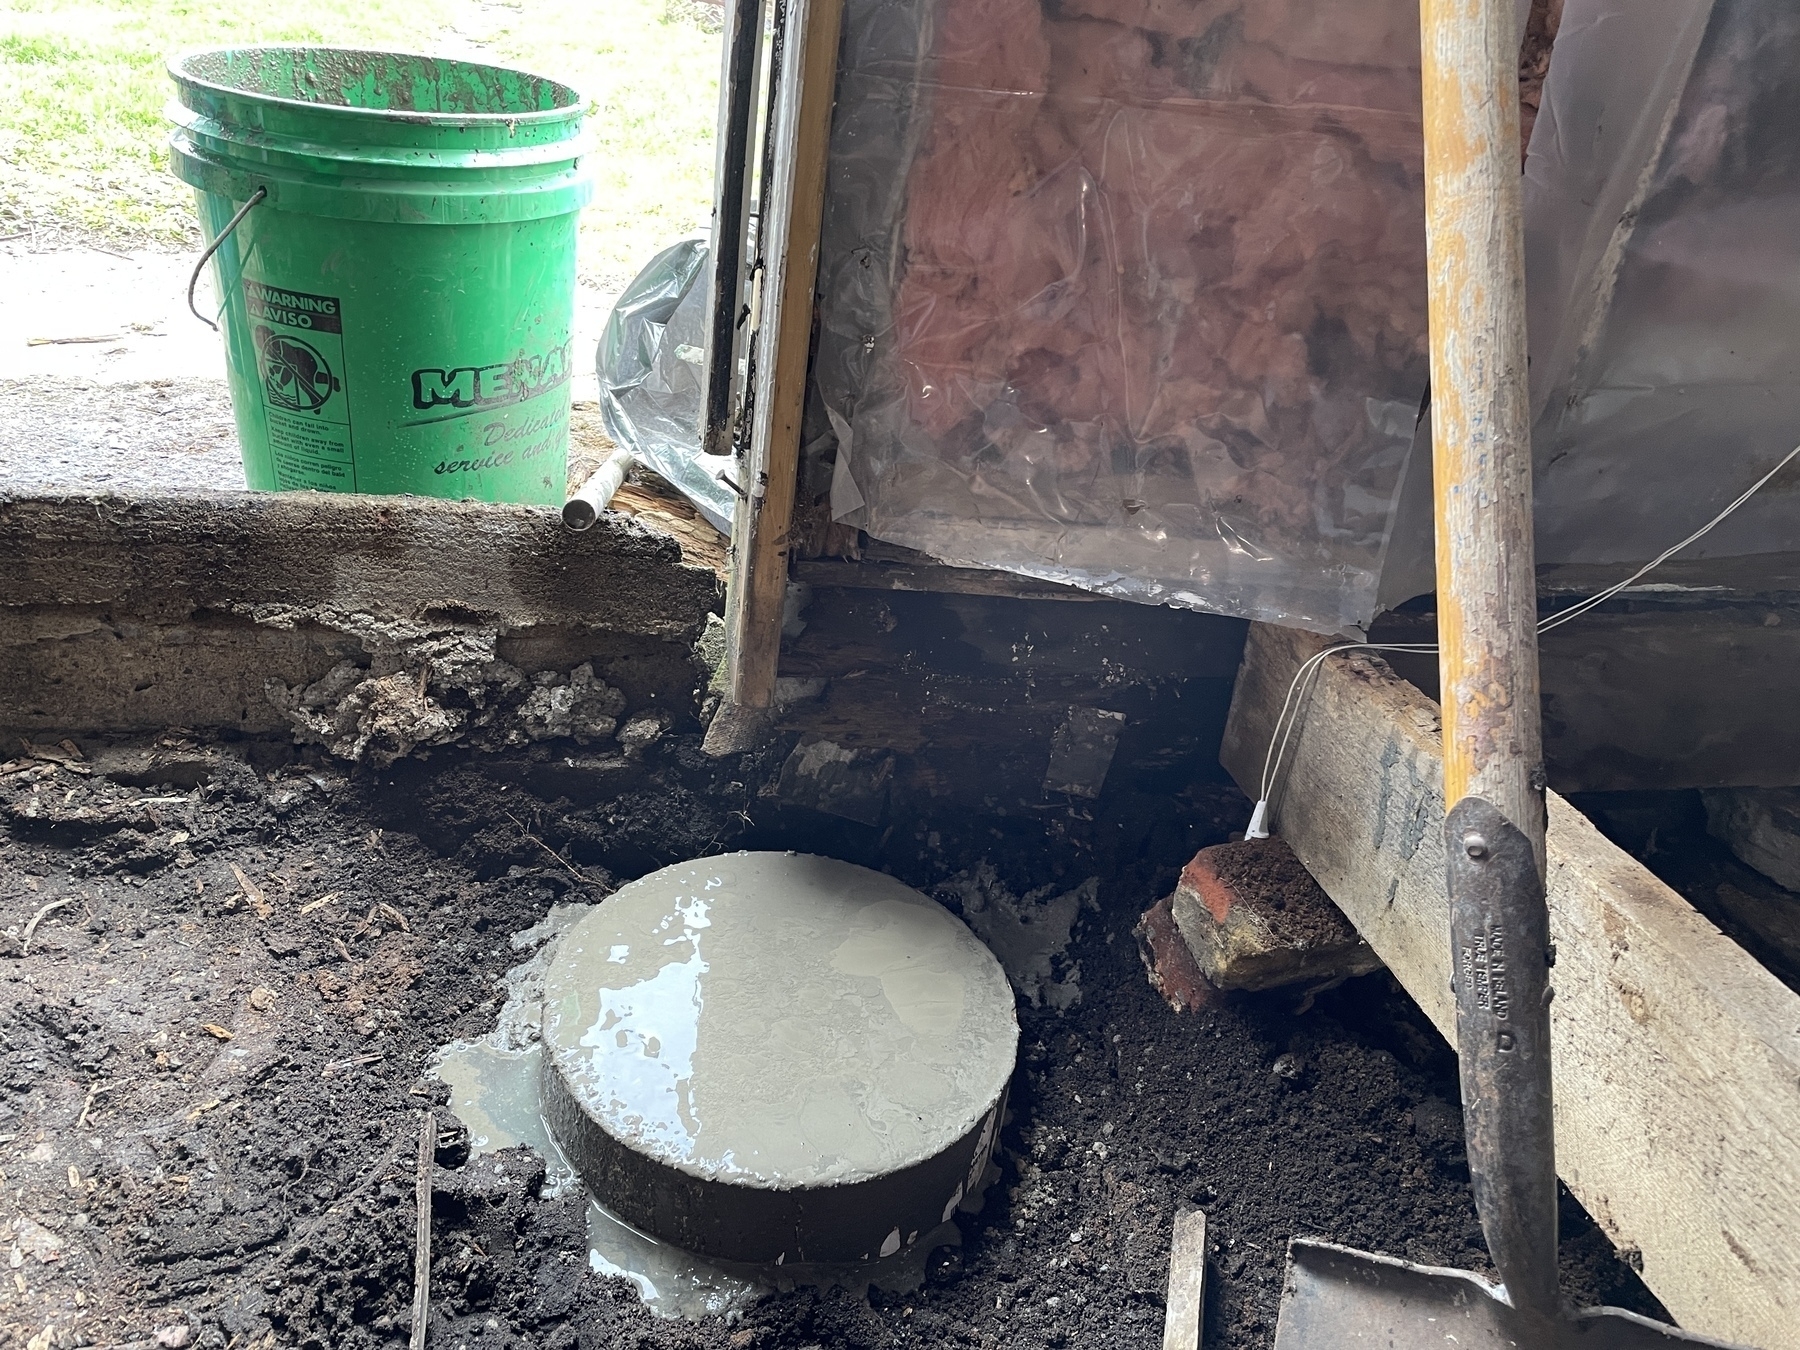
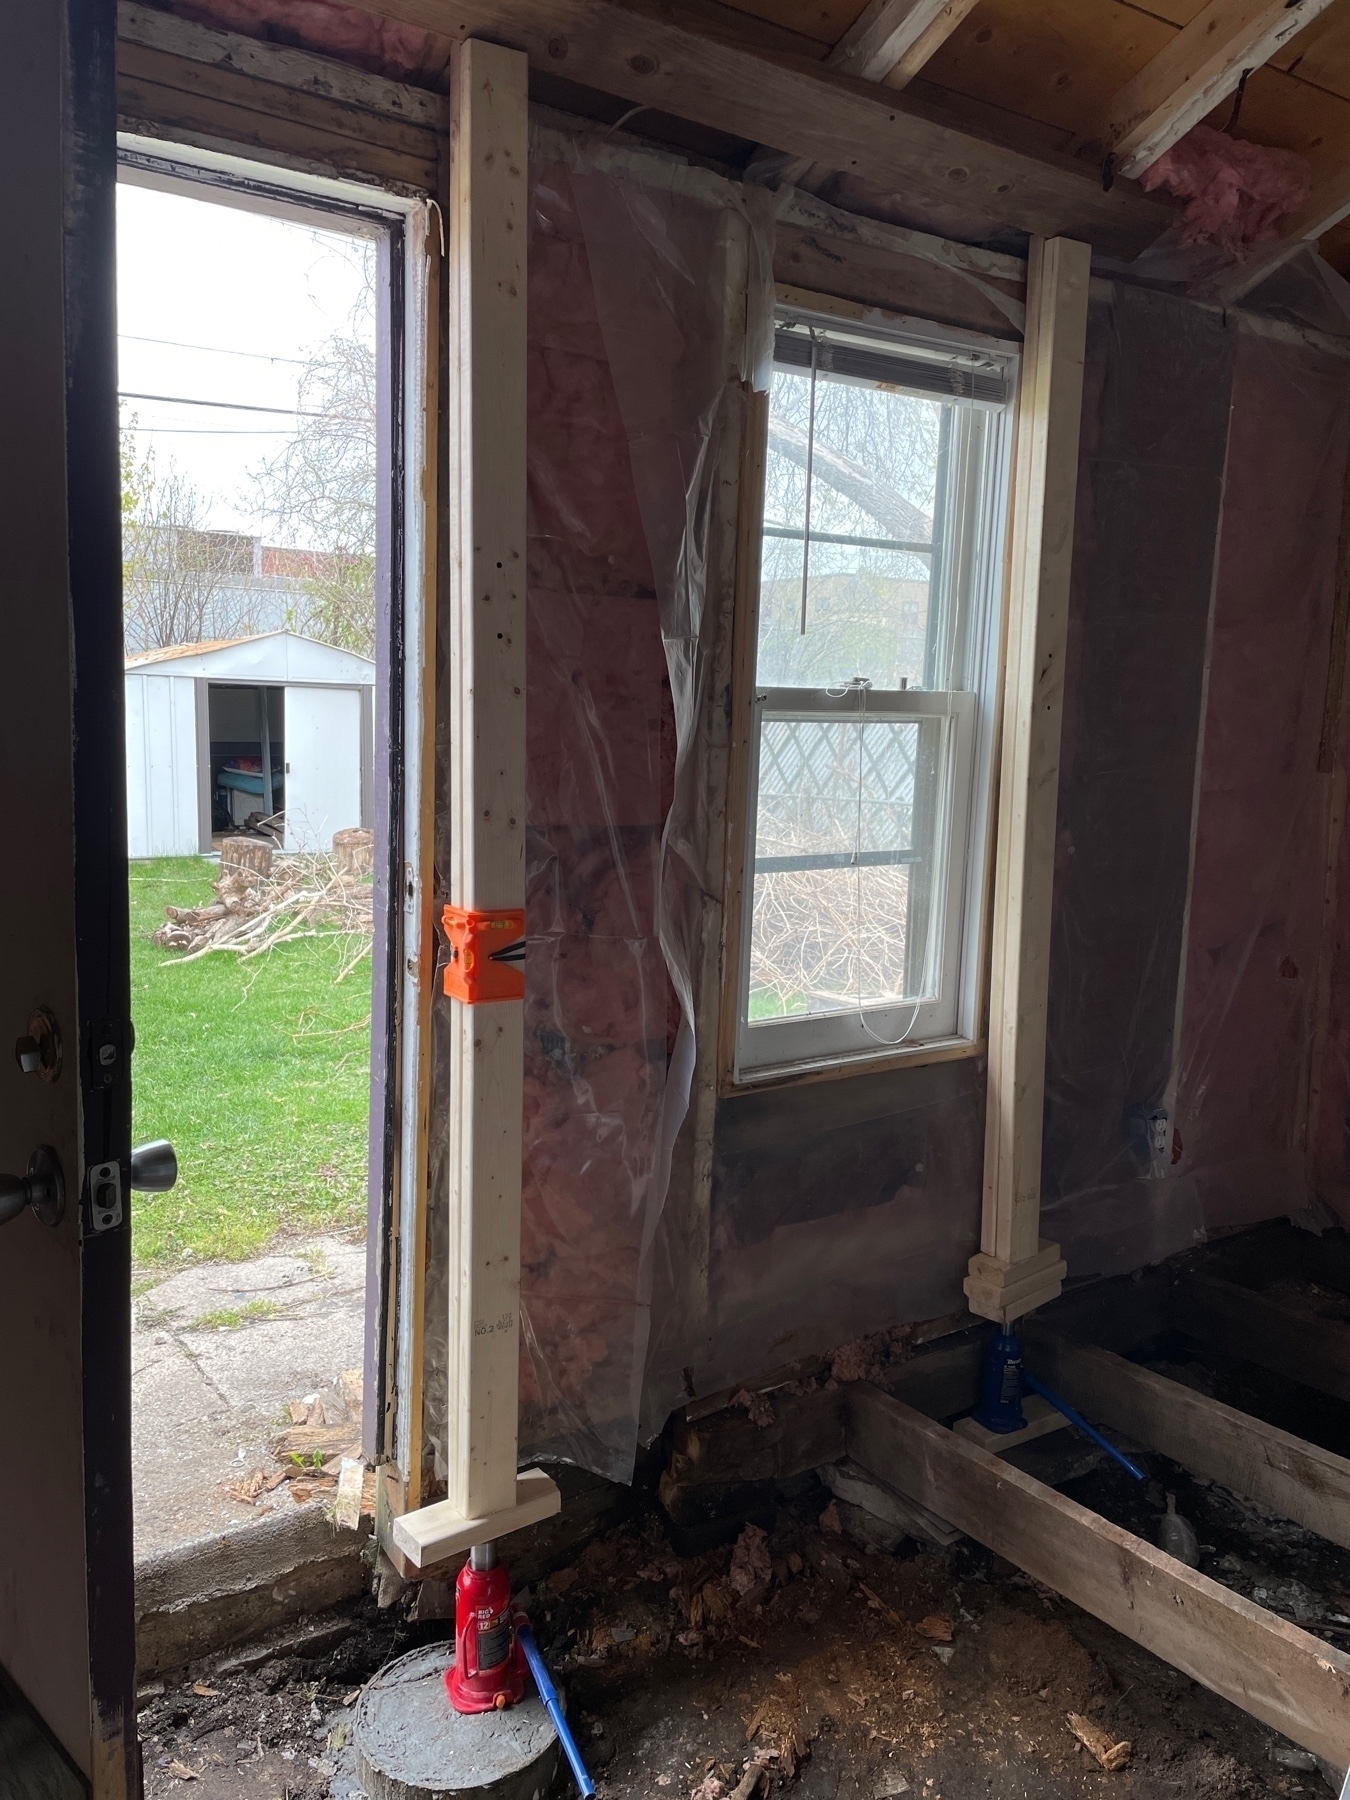
This will not only provide strength for the new beam going in. It will first provide a strong base for a jack — because we are going to jack up the roof in the hopes of taking presure off the wall to repair the primary beam underneath that wall that was (very) poorly and haphazardly supported in the first place. As it stands, it’s pretty much just a couple of rocks on either end that are suporting that entire room.
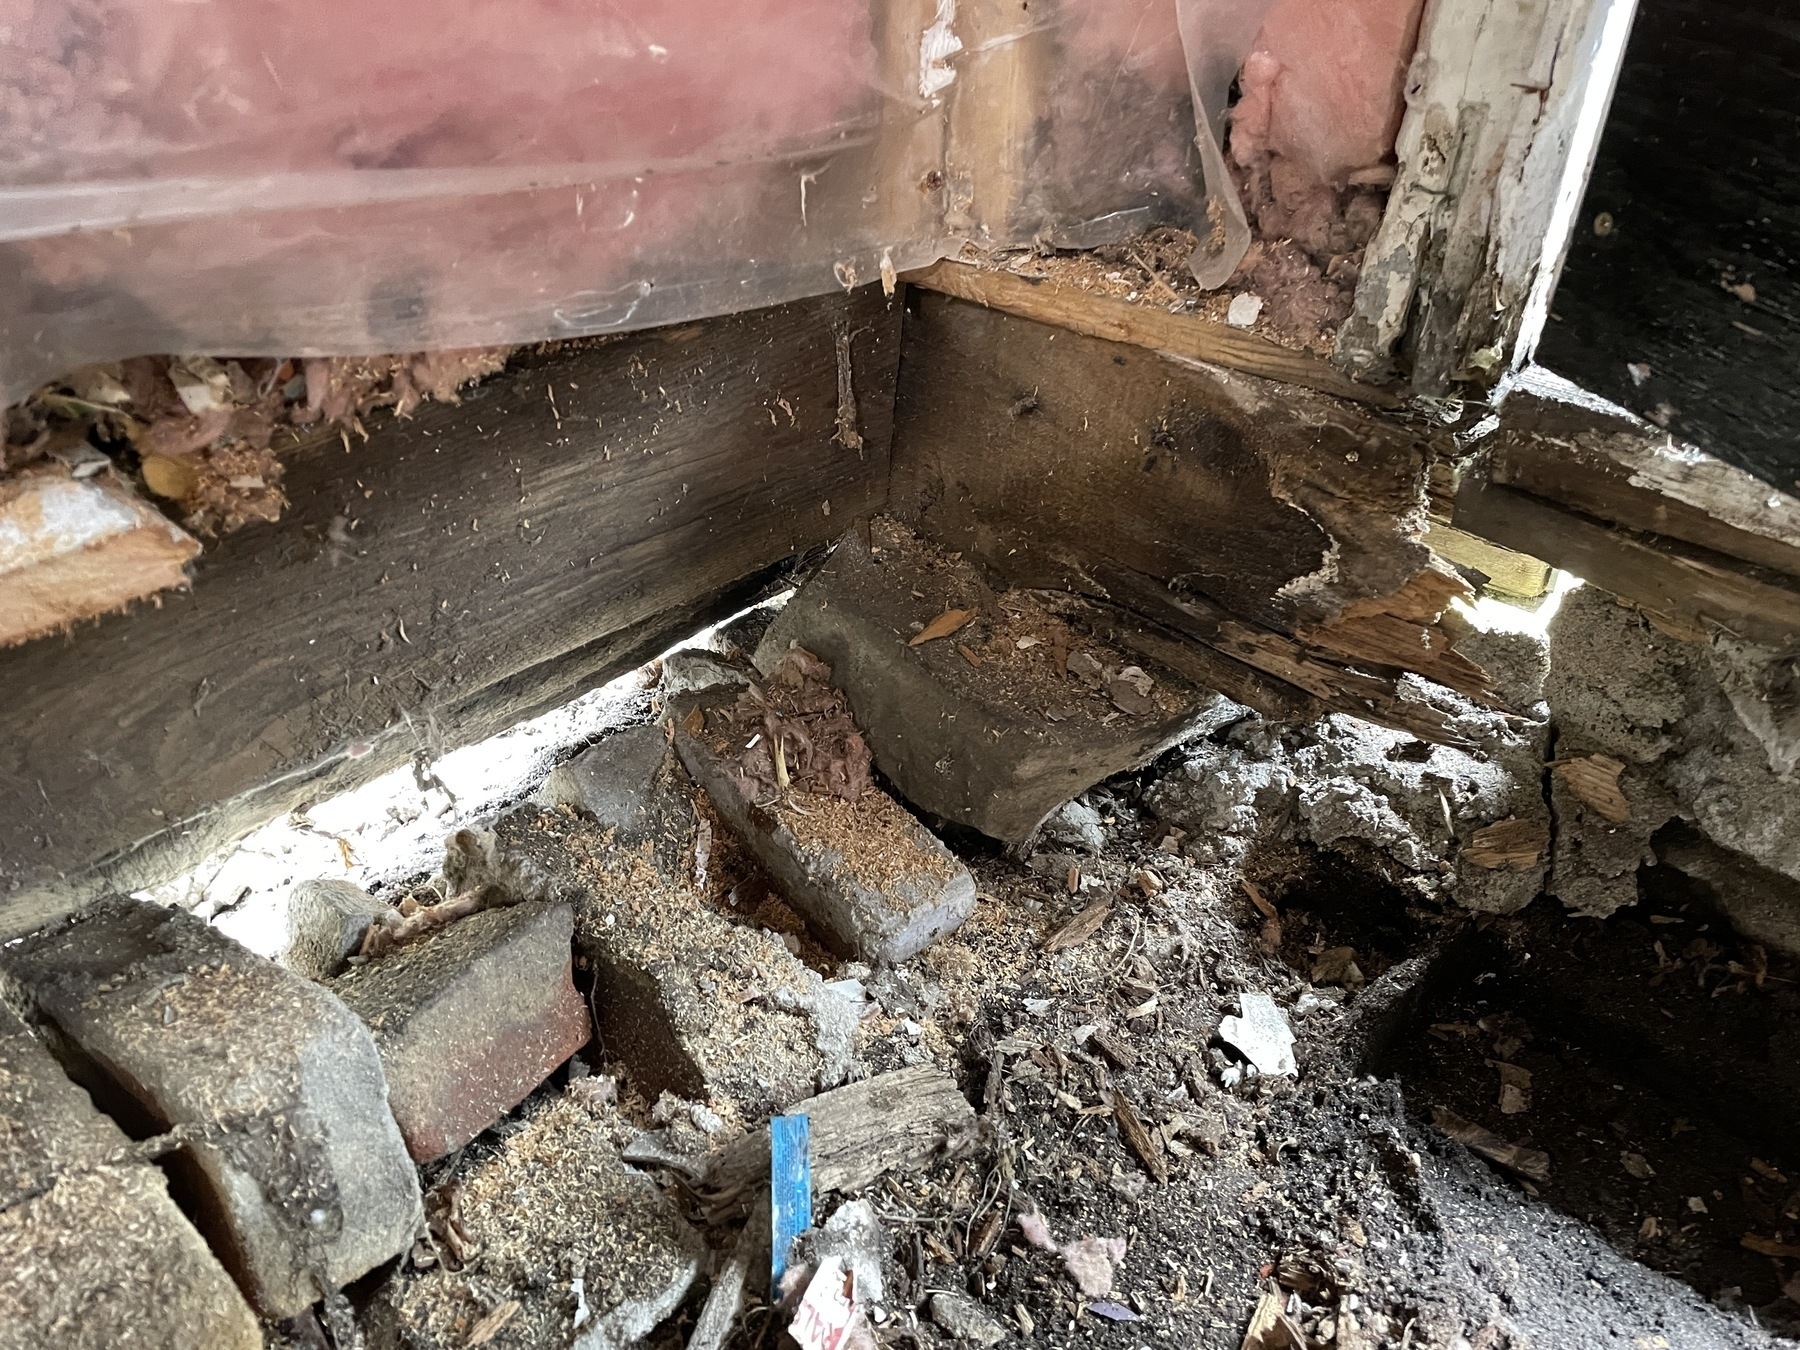
So, the plan is, after we jack the roof, to pour another footing in the corner on the other side of the door (where that rock now is) to get a proper base there. Then, we can proceed with repair and rebuild — starting with some new beams to support that wall.
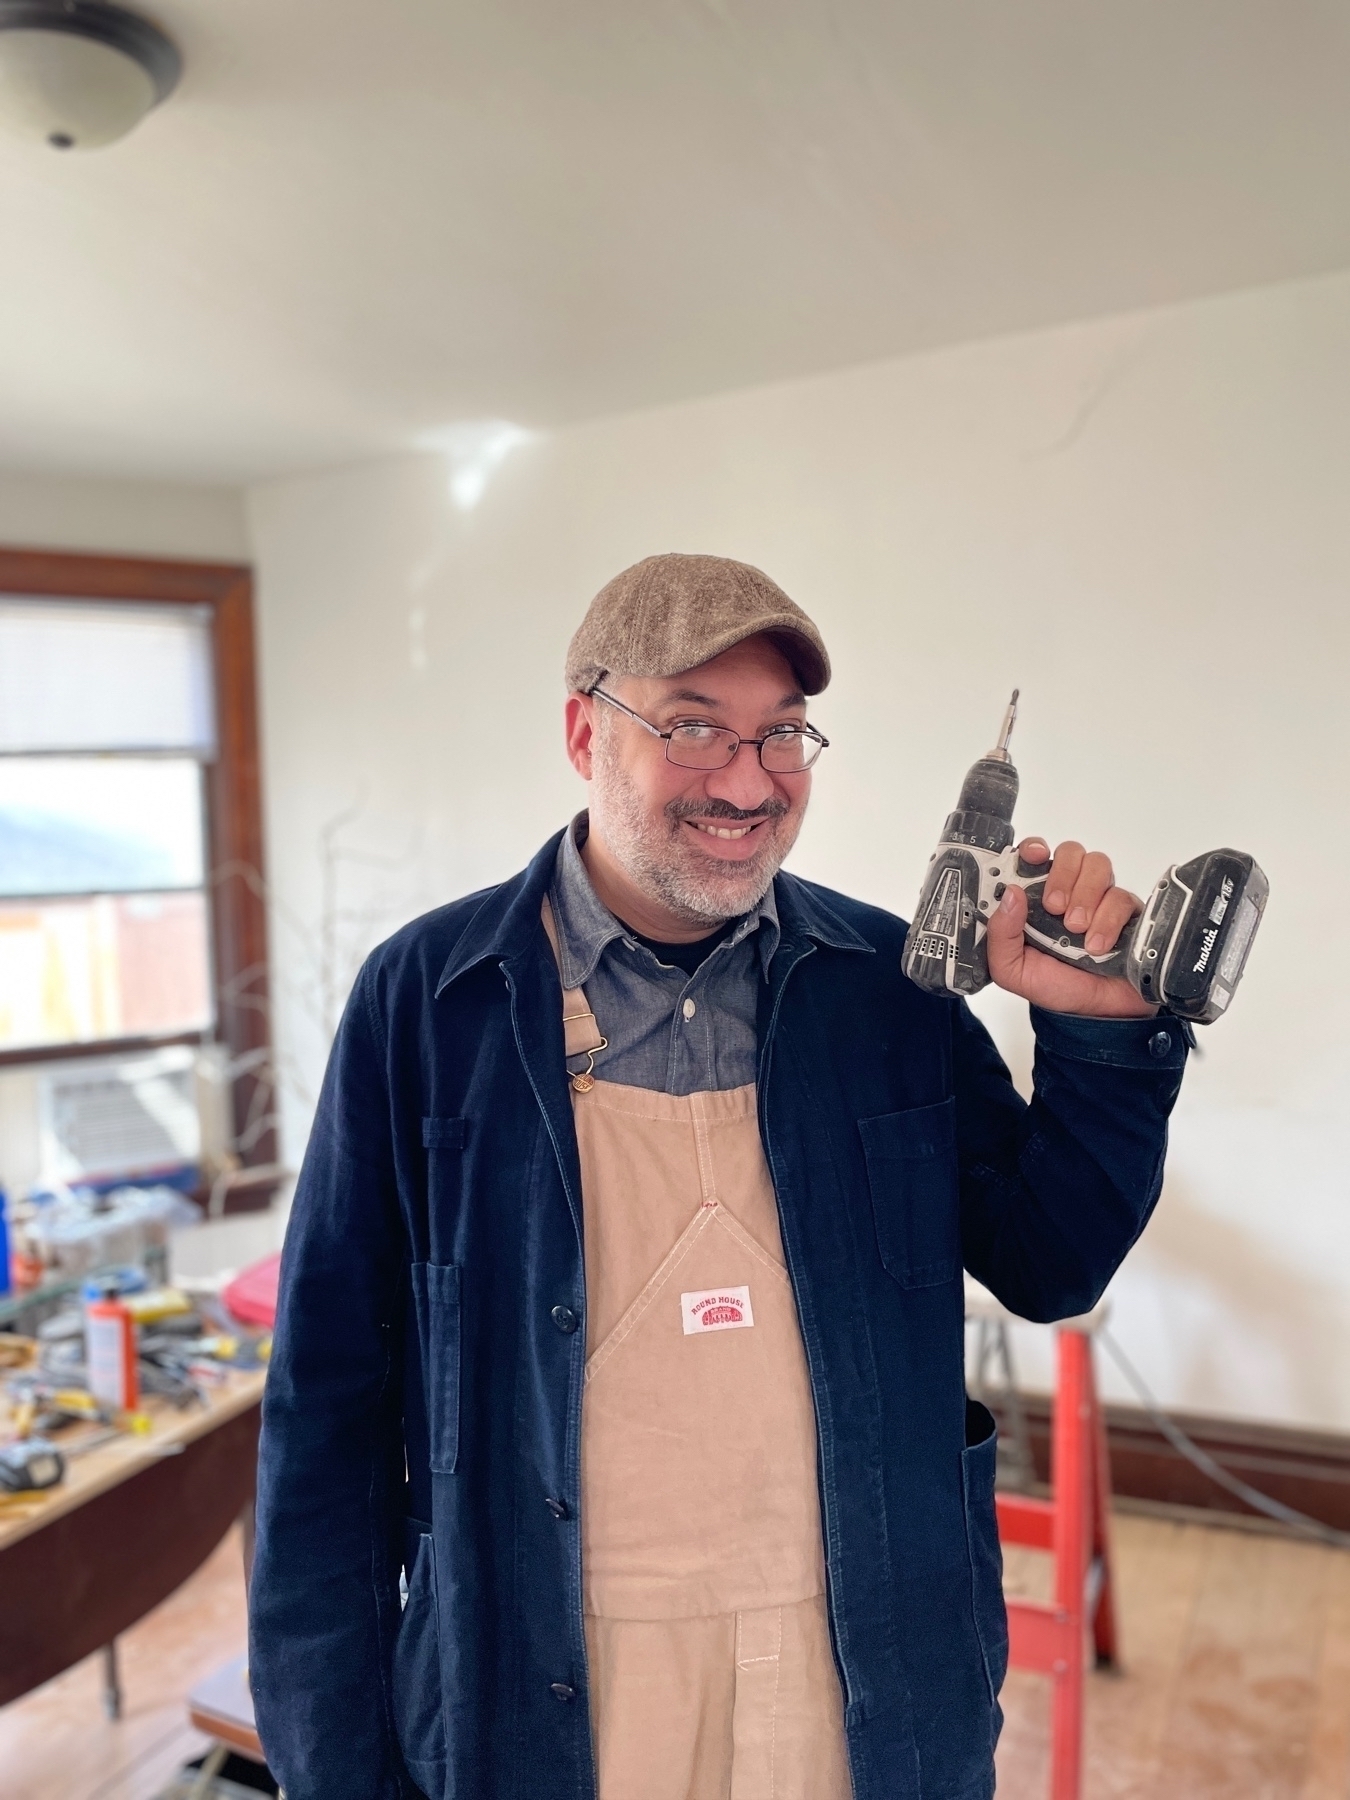
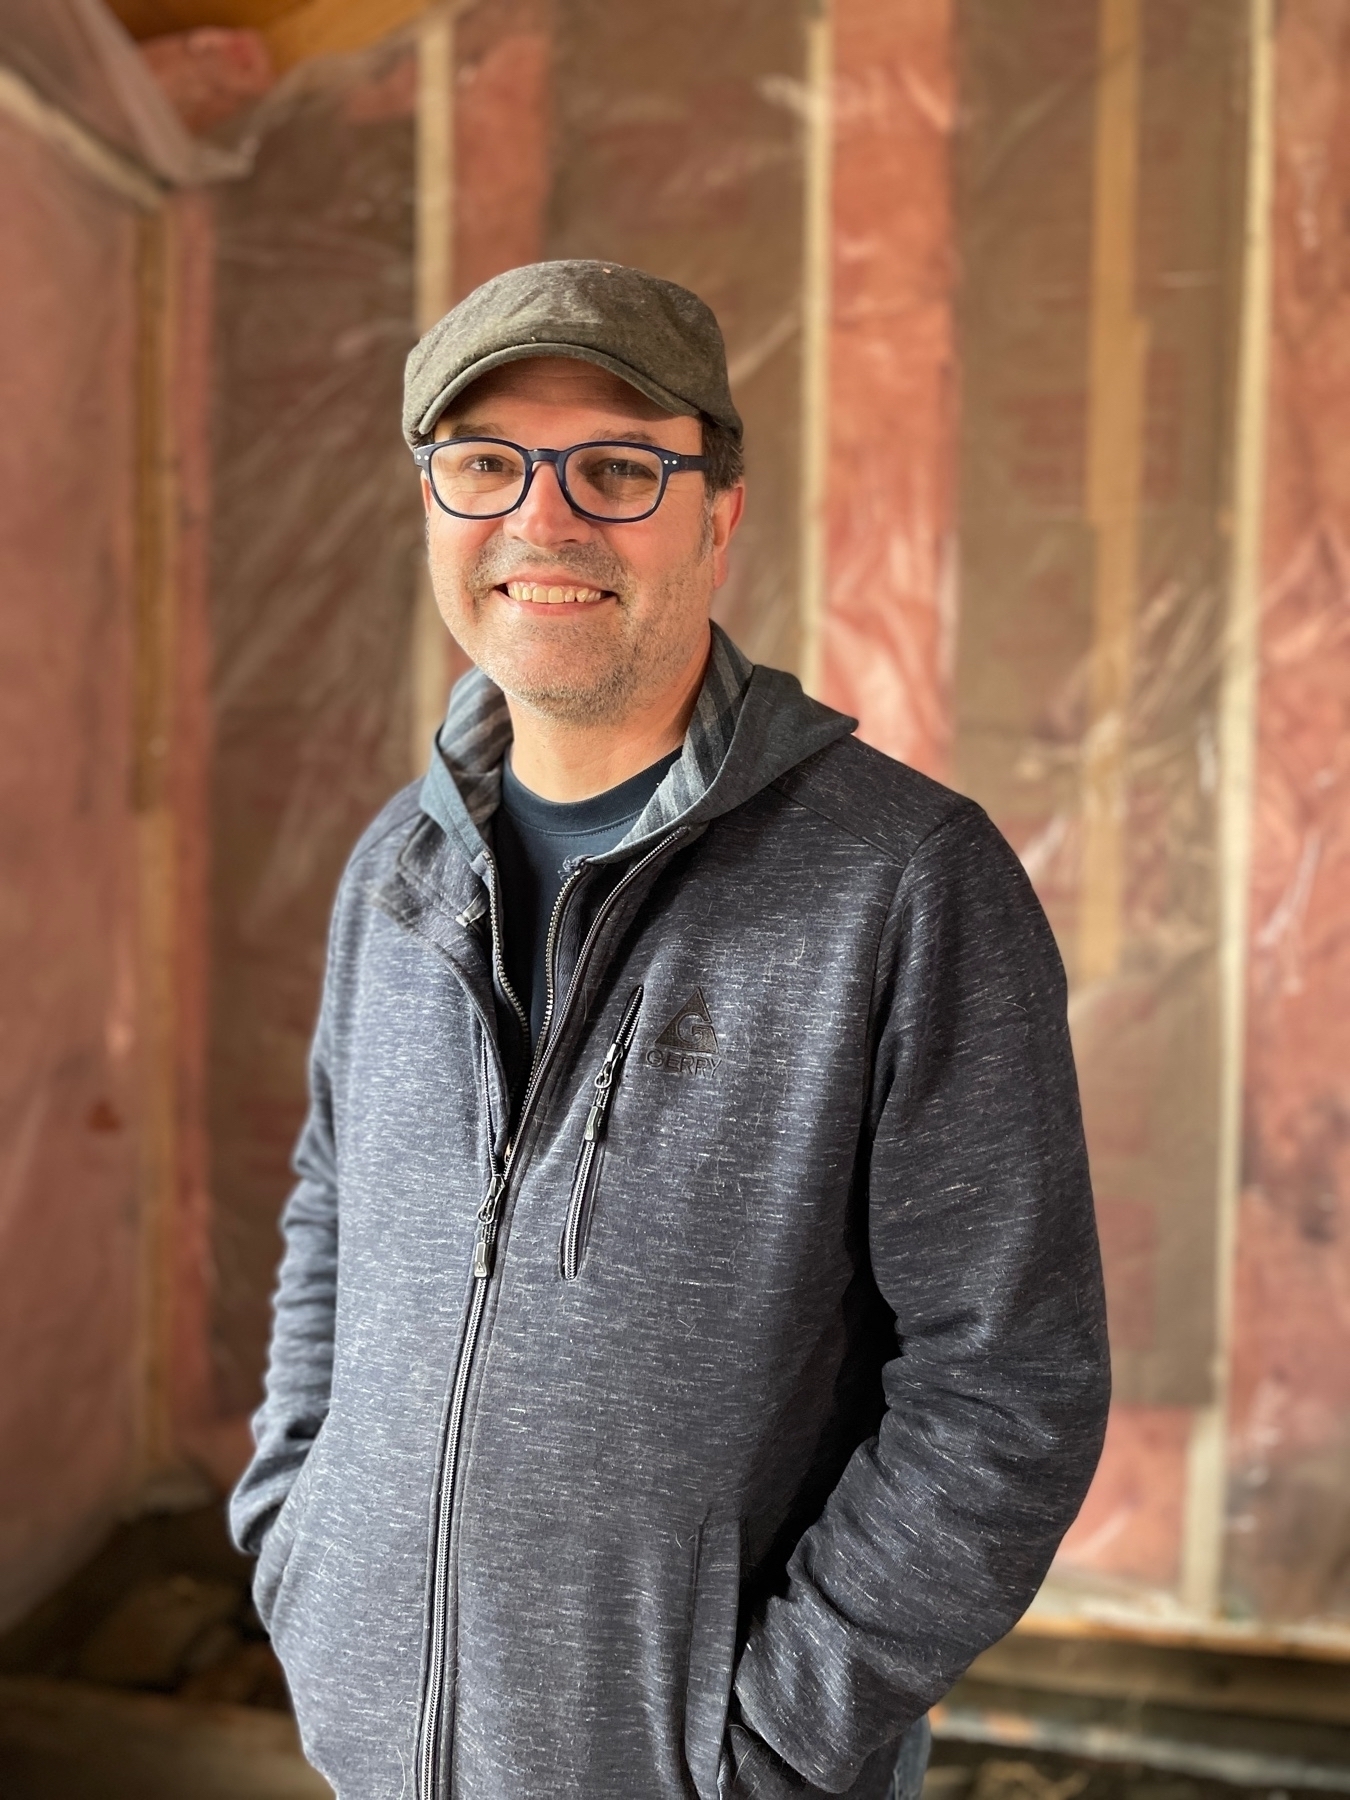
Meet Jason
You may have noticed I use “we” a lot when talking about the various projects here, especially The Hague House. The truth is, I’m not doing this work alone. I have help.
Meet Jason. He’s not only a dear long time friend and an even longer time friend of my wife’s, but I’ve also enlisted his help with restoring Hague. He brings a wealth of expertise and experience and knows way more about the construction side of things than I do. He also lives in an old house in the neighborhood like us so he’s no stranger to the unique challenges that sometimes brings. He also has a background as a visual artist and sculptor which brings a whole other level of skill to the table when it comes to a lot of the detail work restoration requires.
I really could not be doing any of this without him. I mean, I could muddle my way through but it would not be half of what we bring to it as a team. I’m so proud to have him working along side of me.
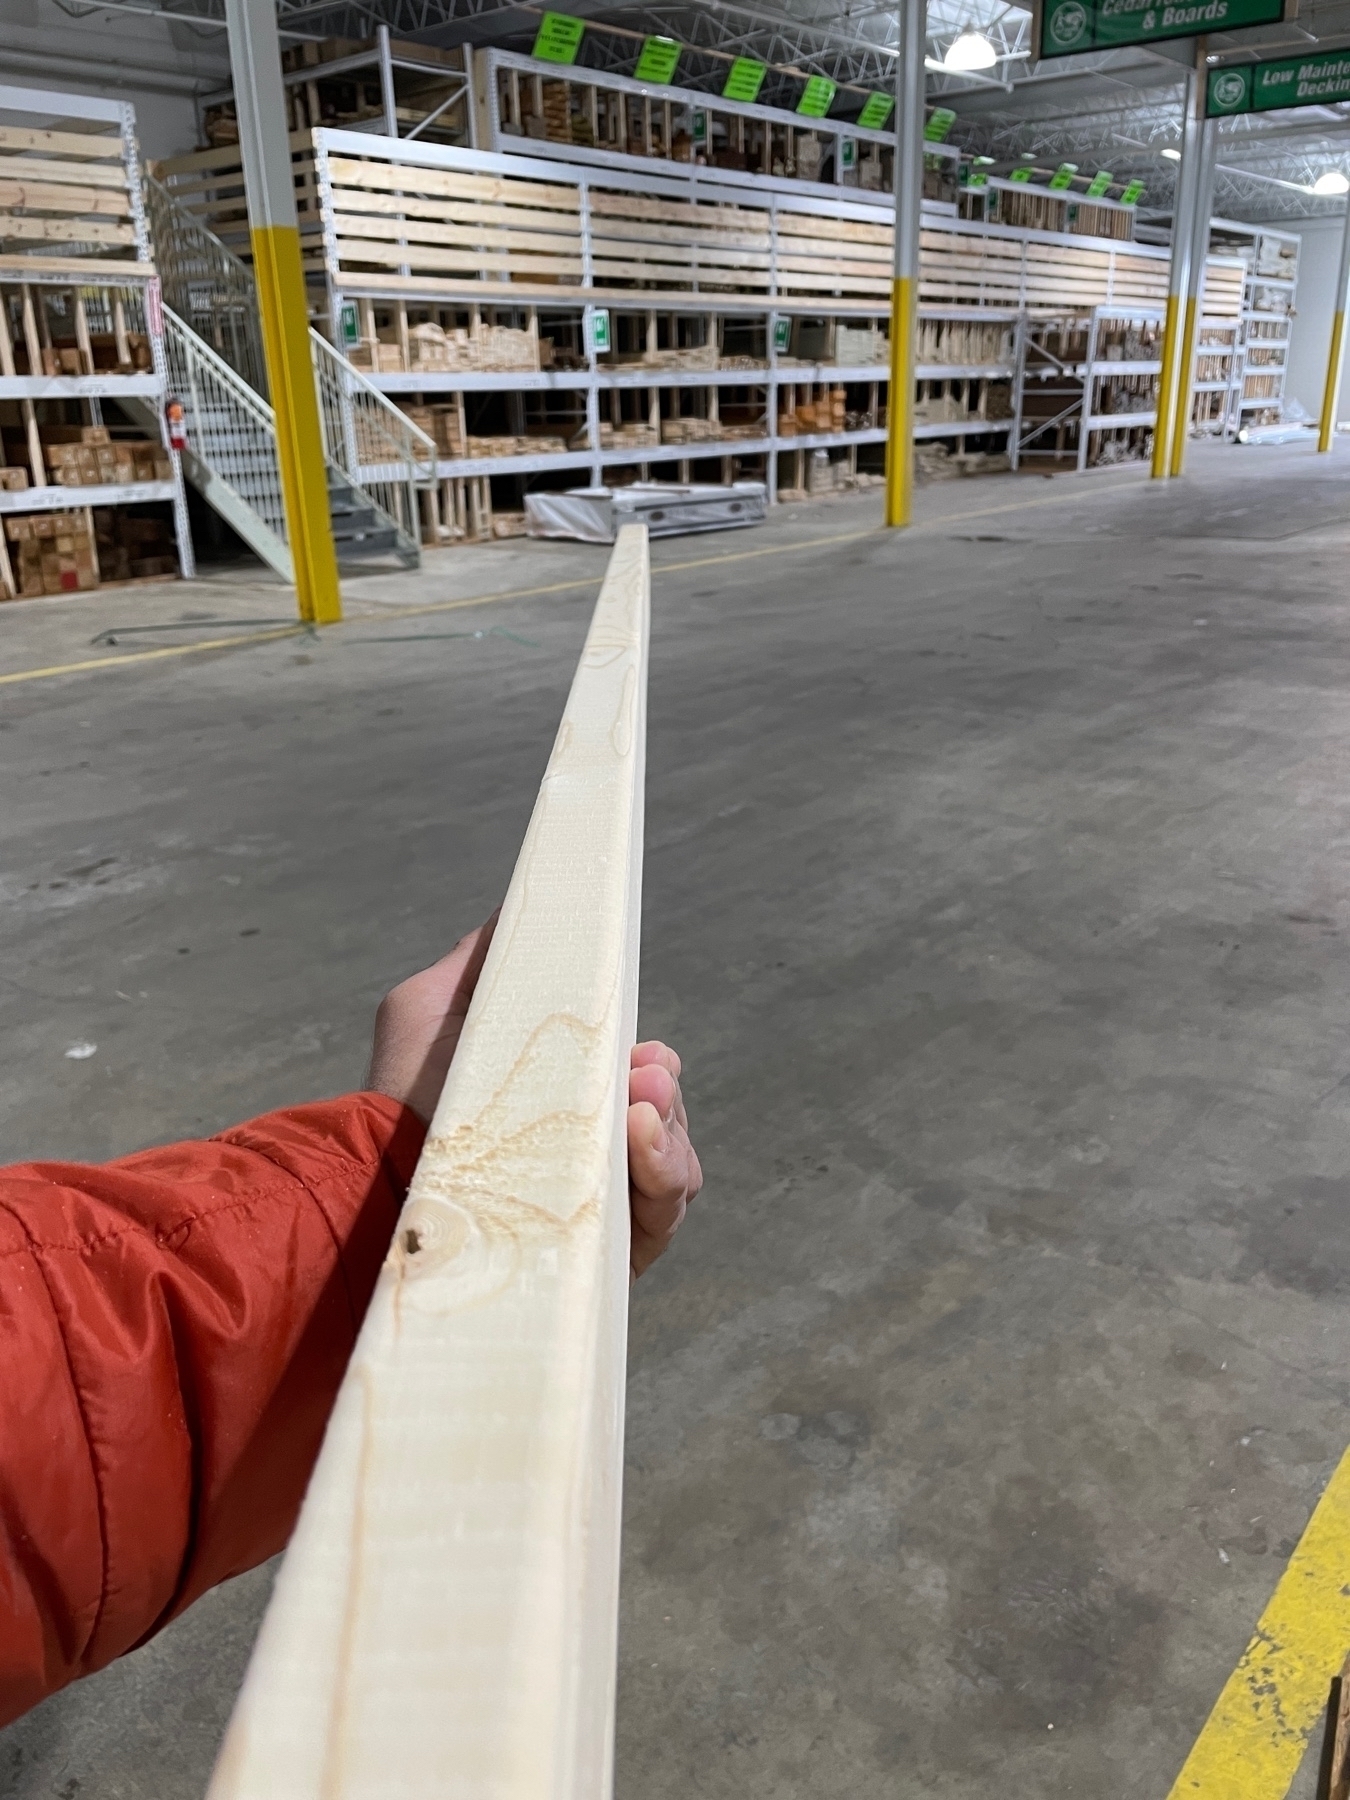
Pro tip: Not all boards in the stack at the lumber yard are created equal. Check each one to make sure it’s straight and without cracks or serious blemishes.
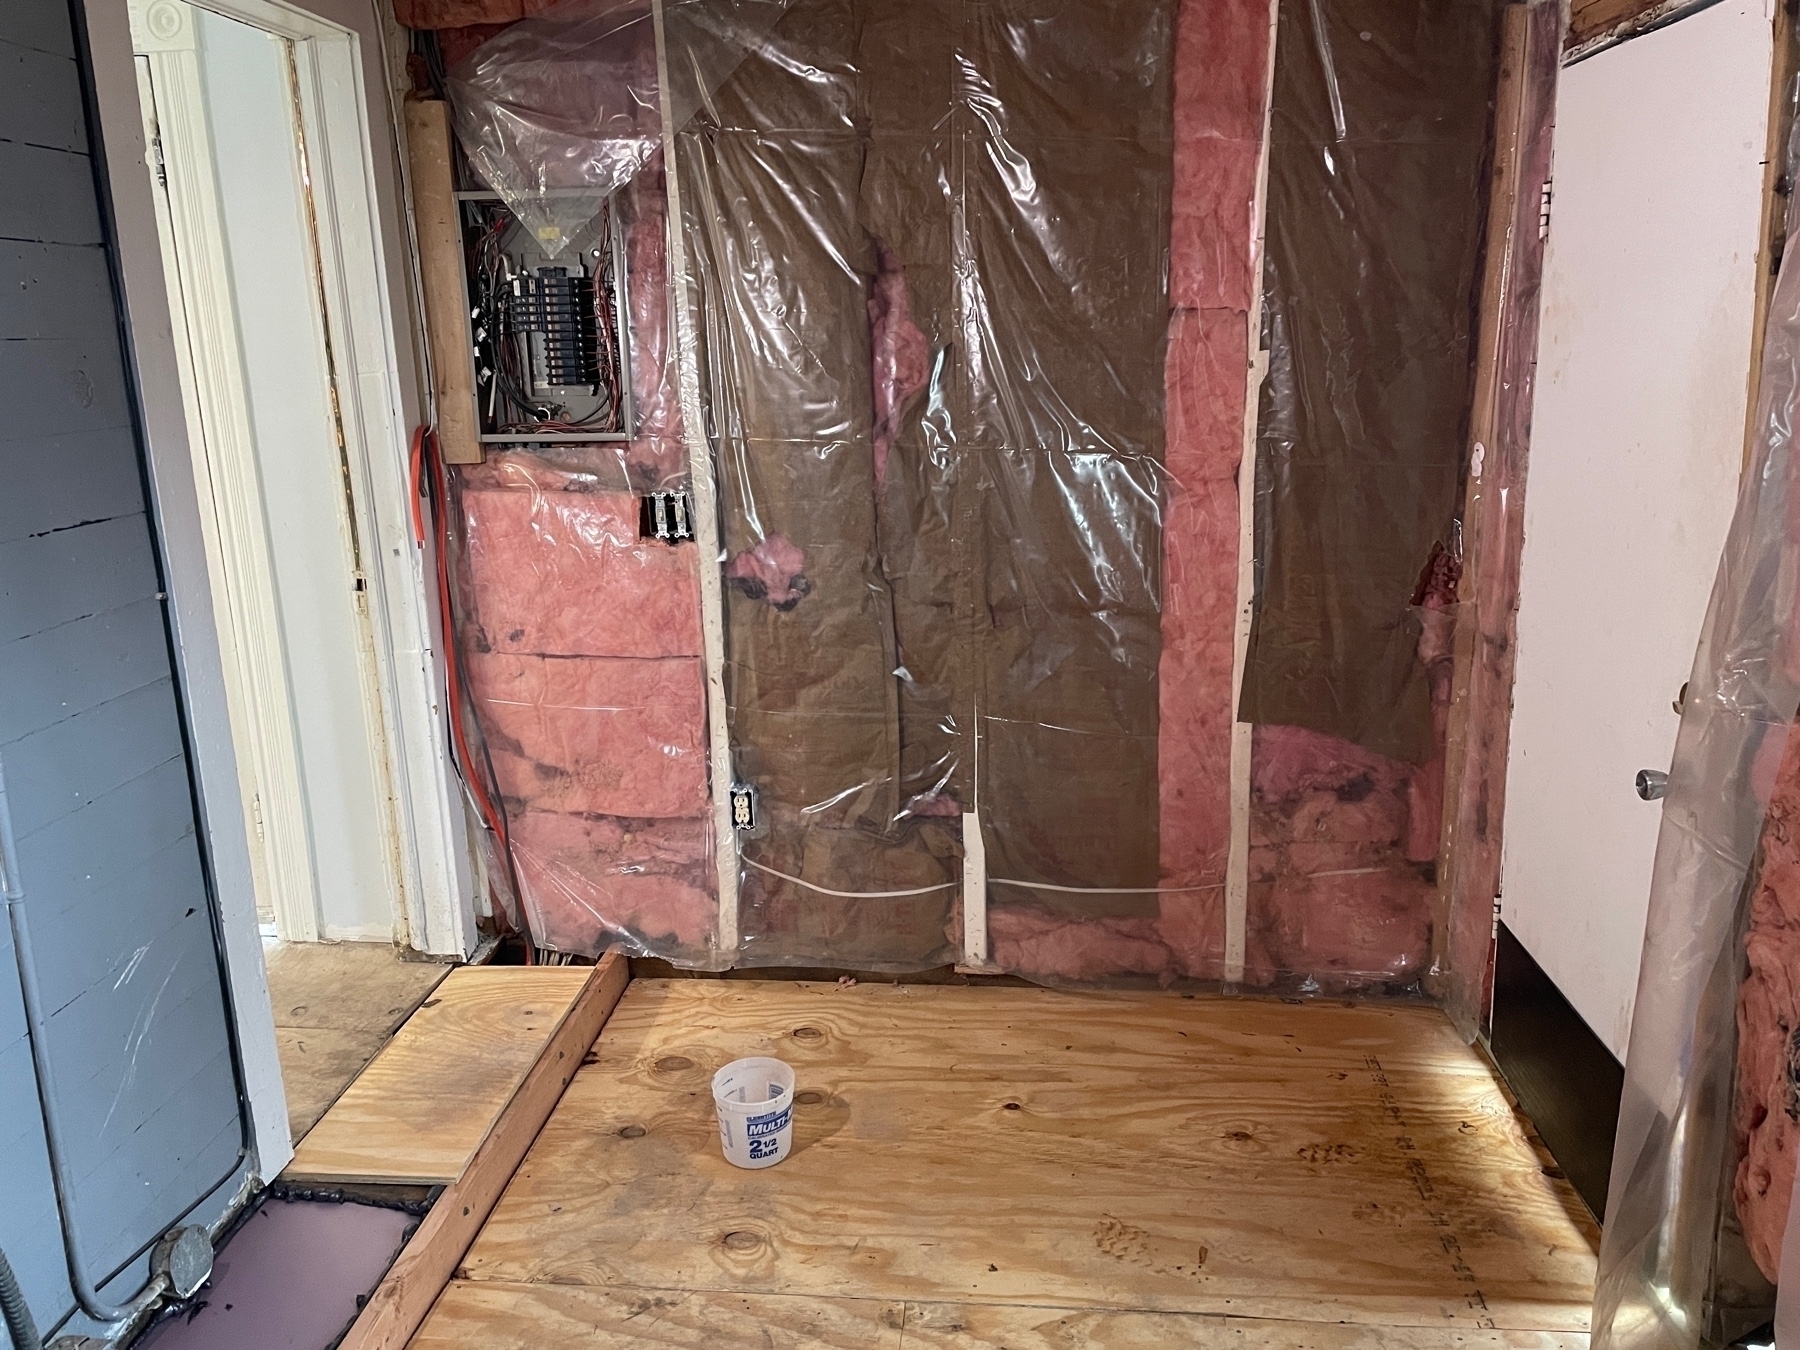
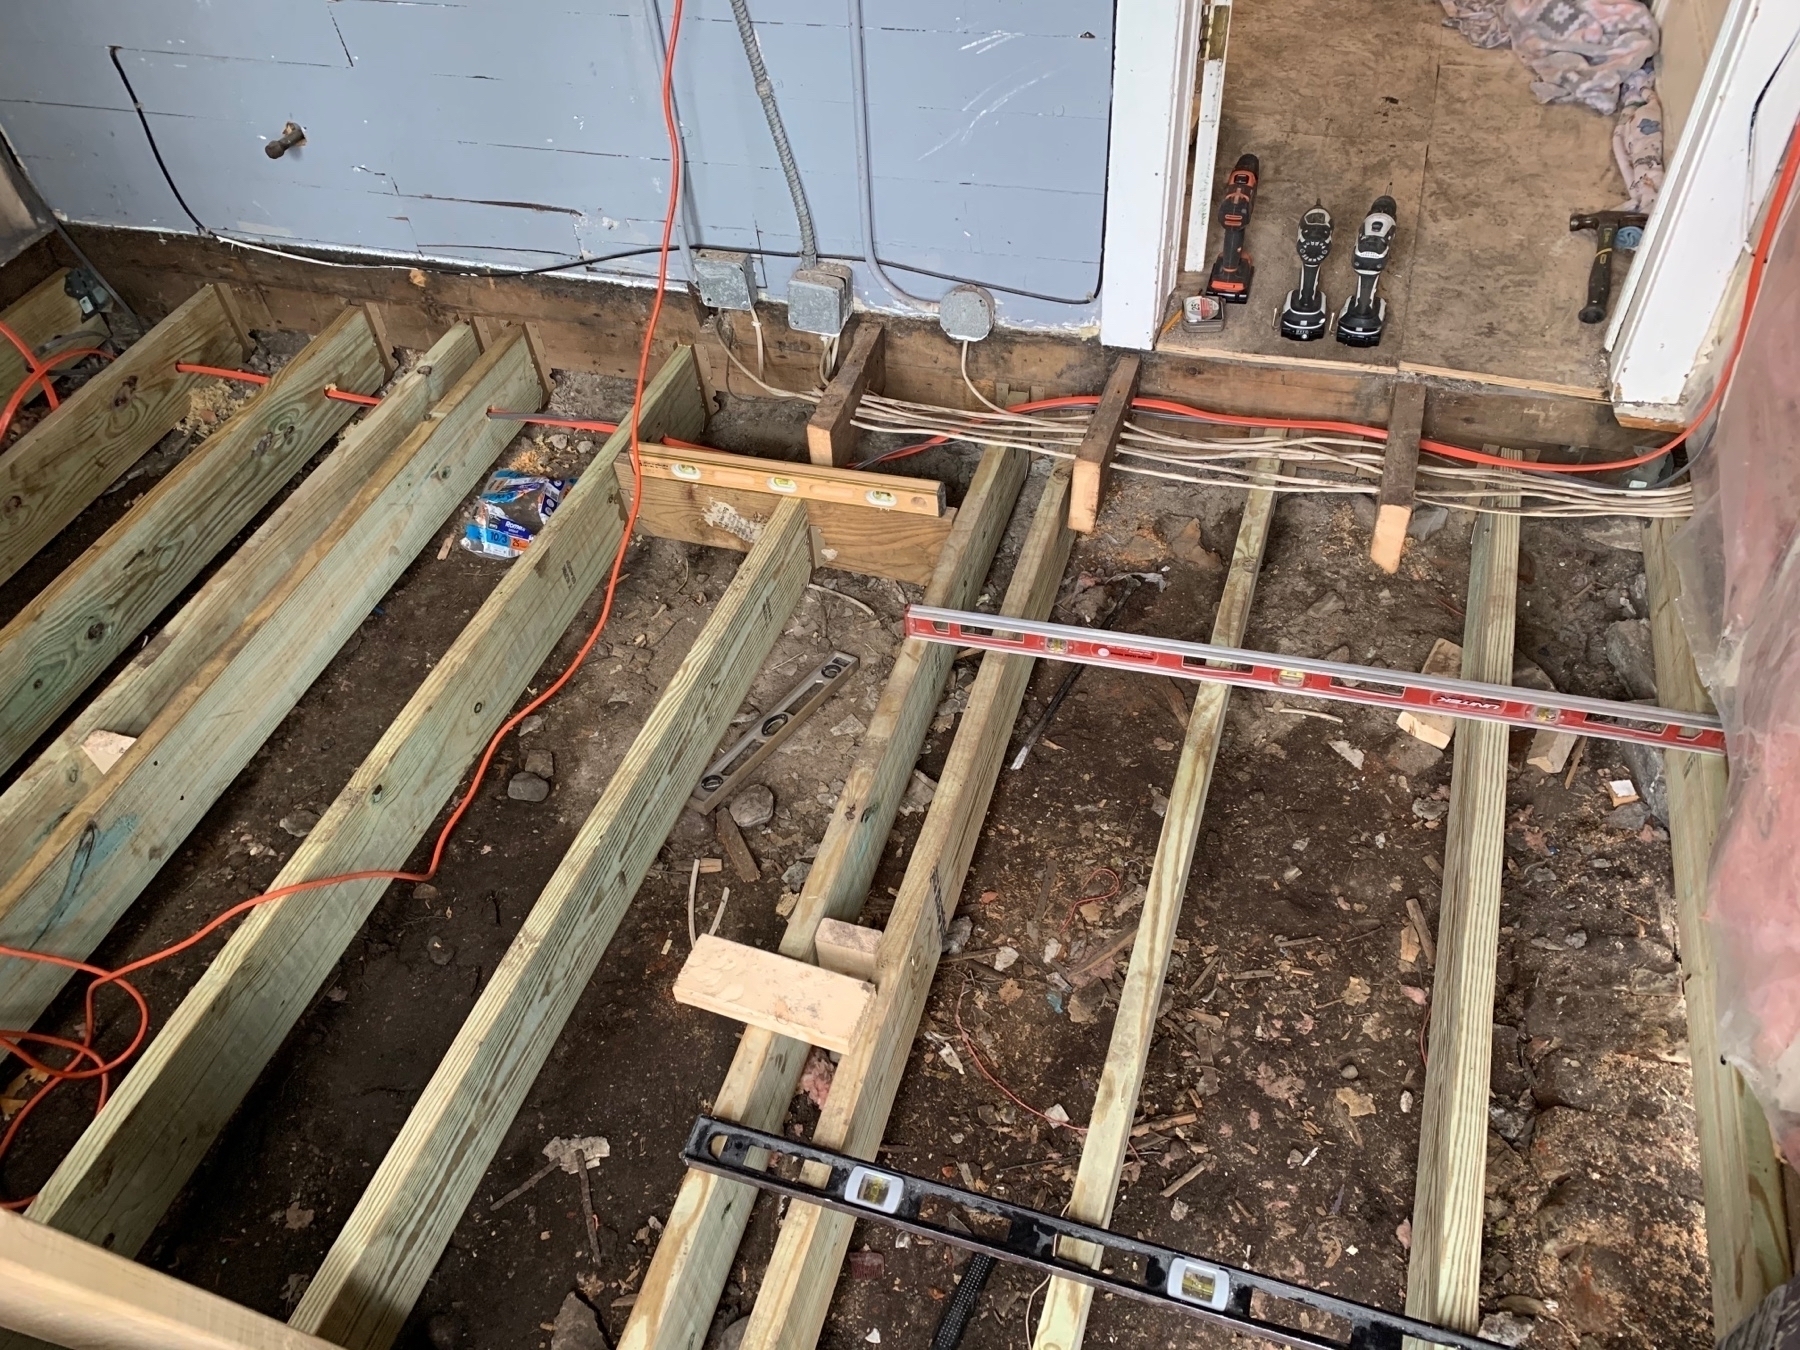
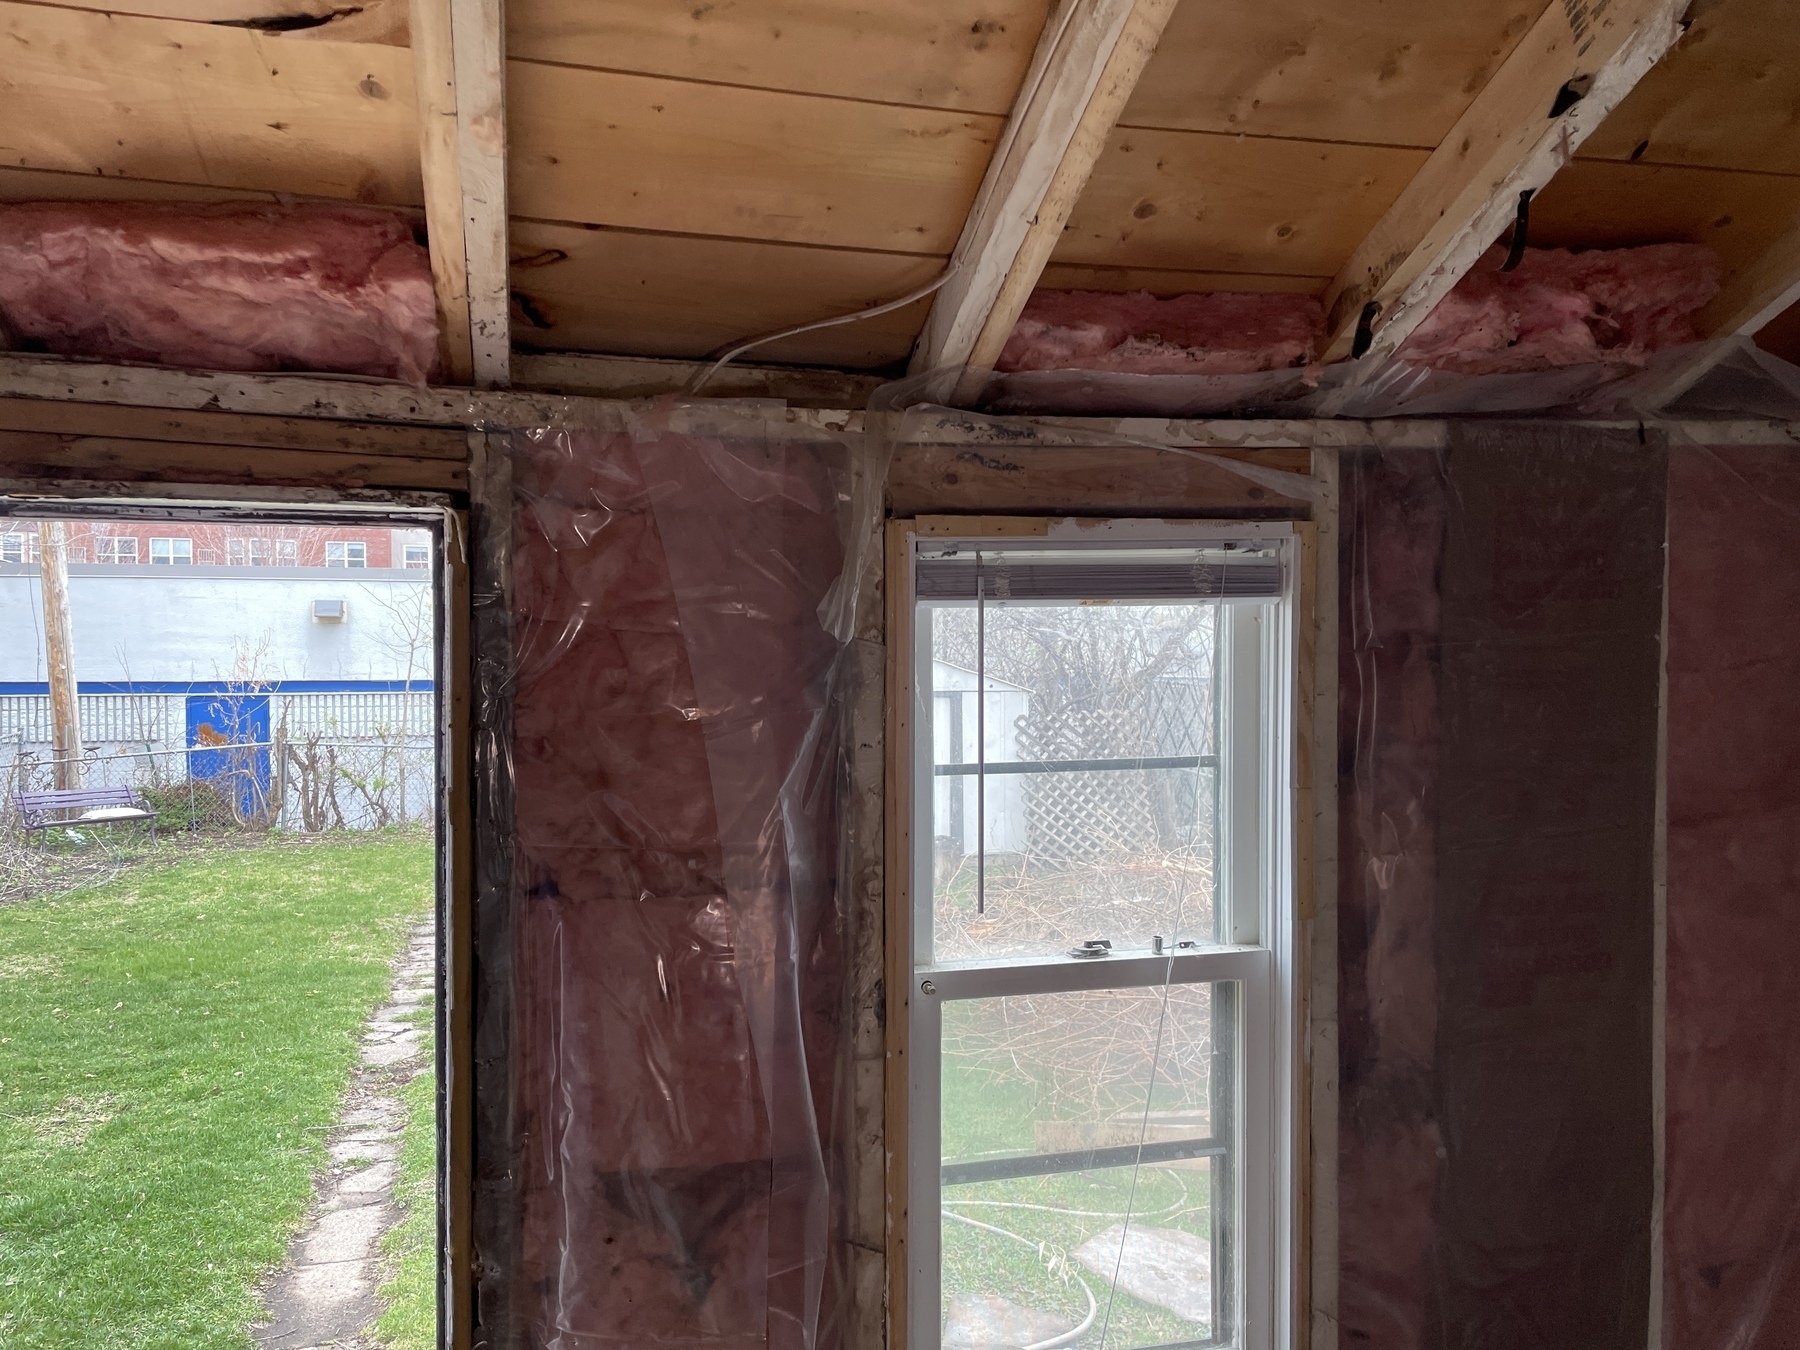
Here’s the mudroom demo complete. Now the work of fixing the roof and support problems and making the floor level and sturdy begins.
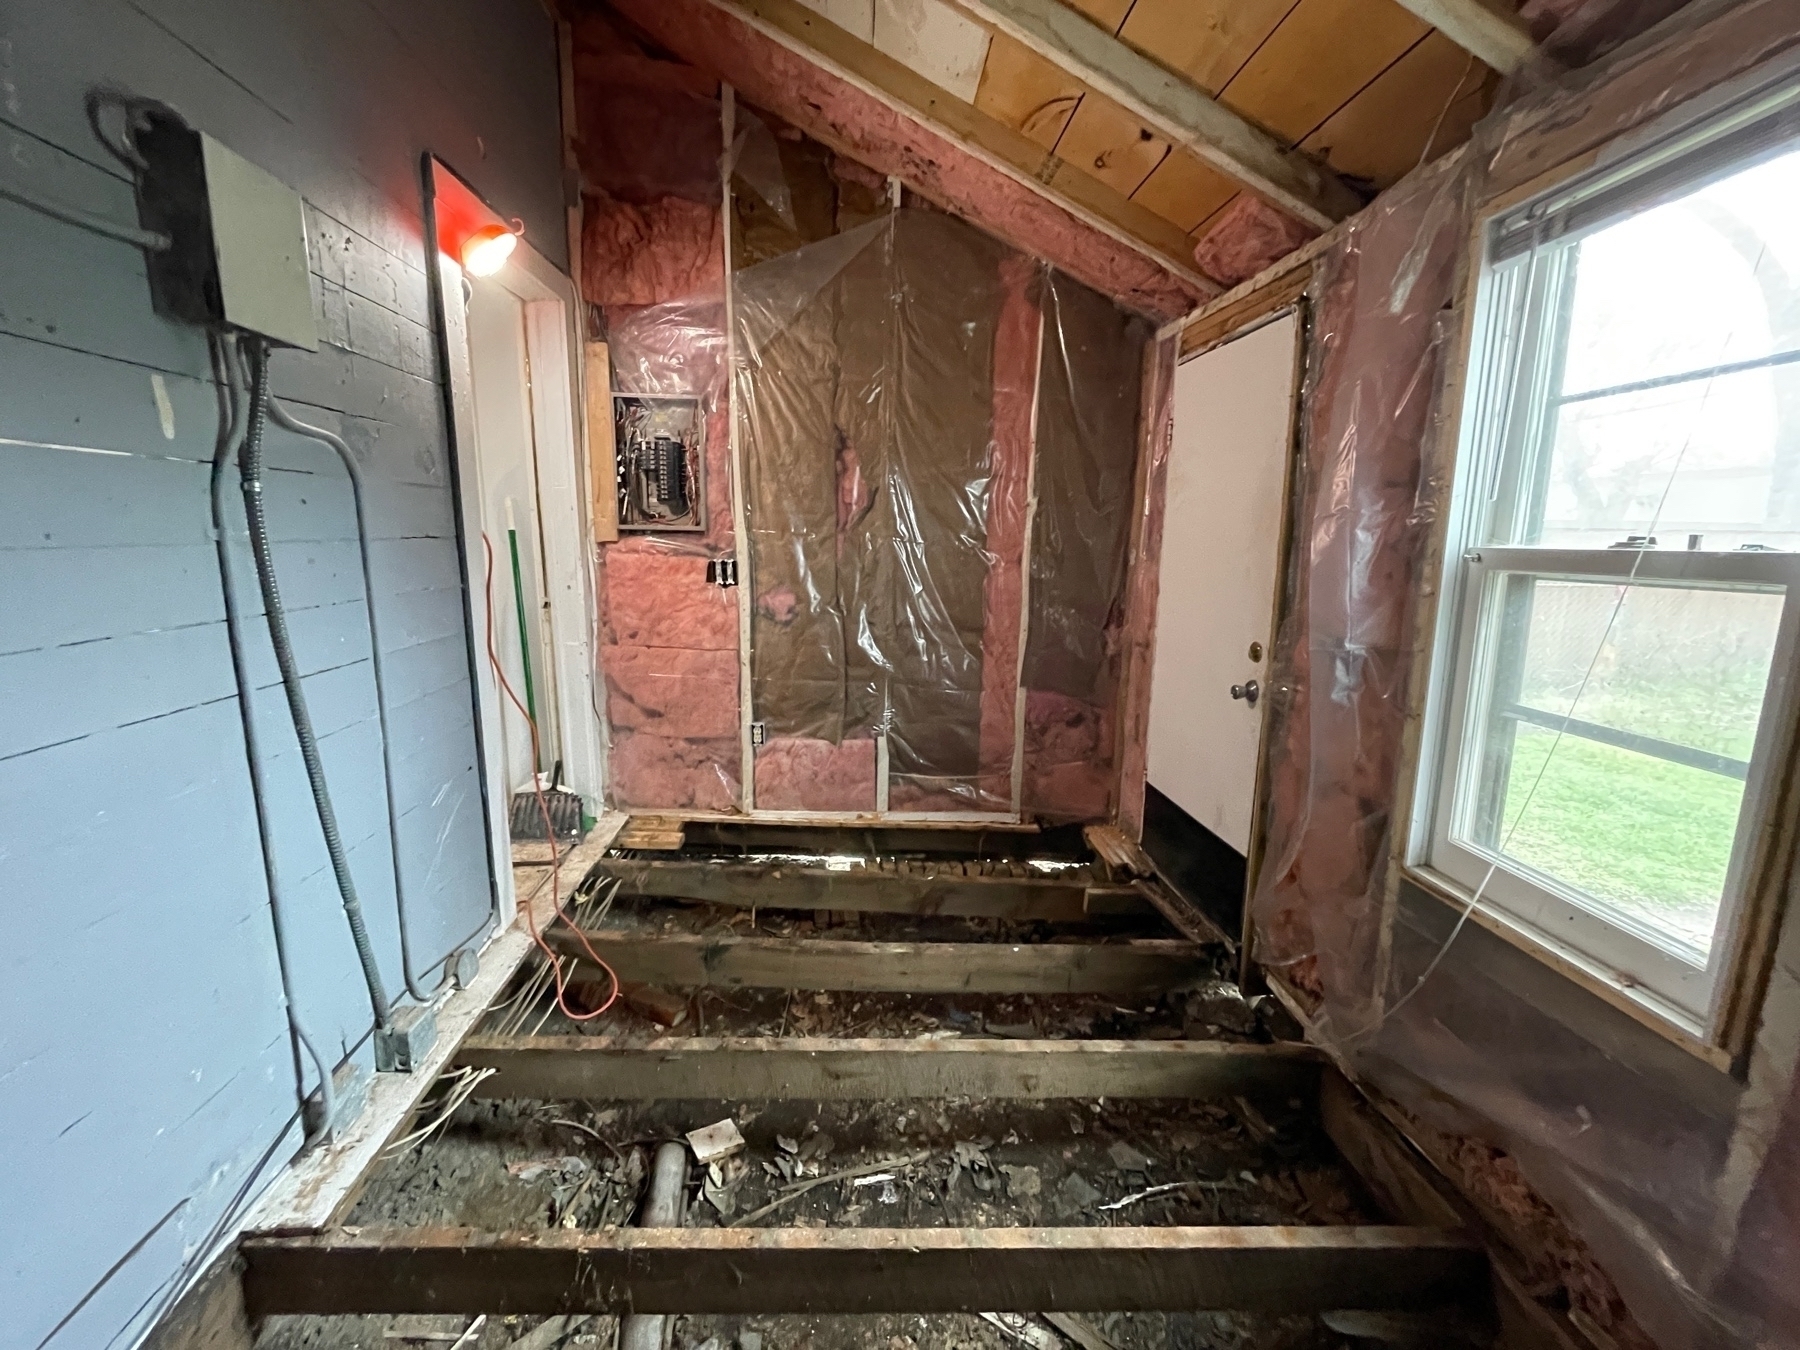
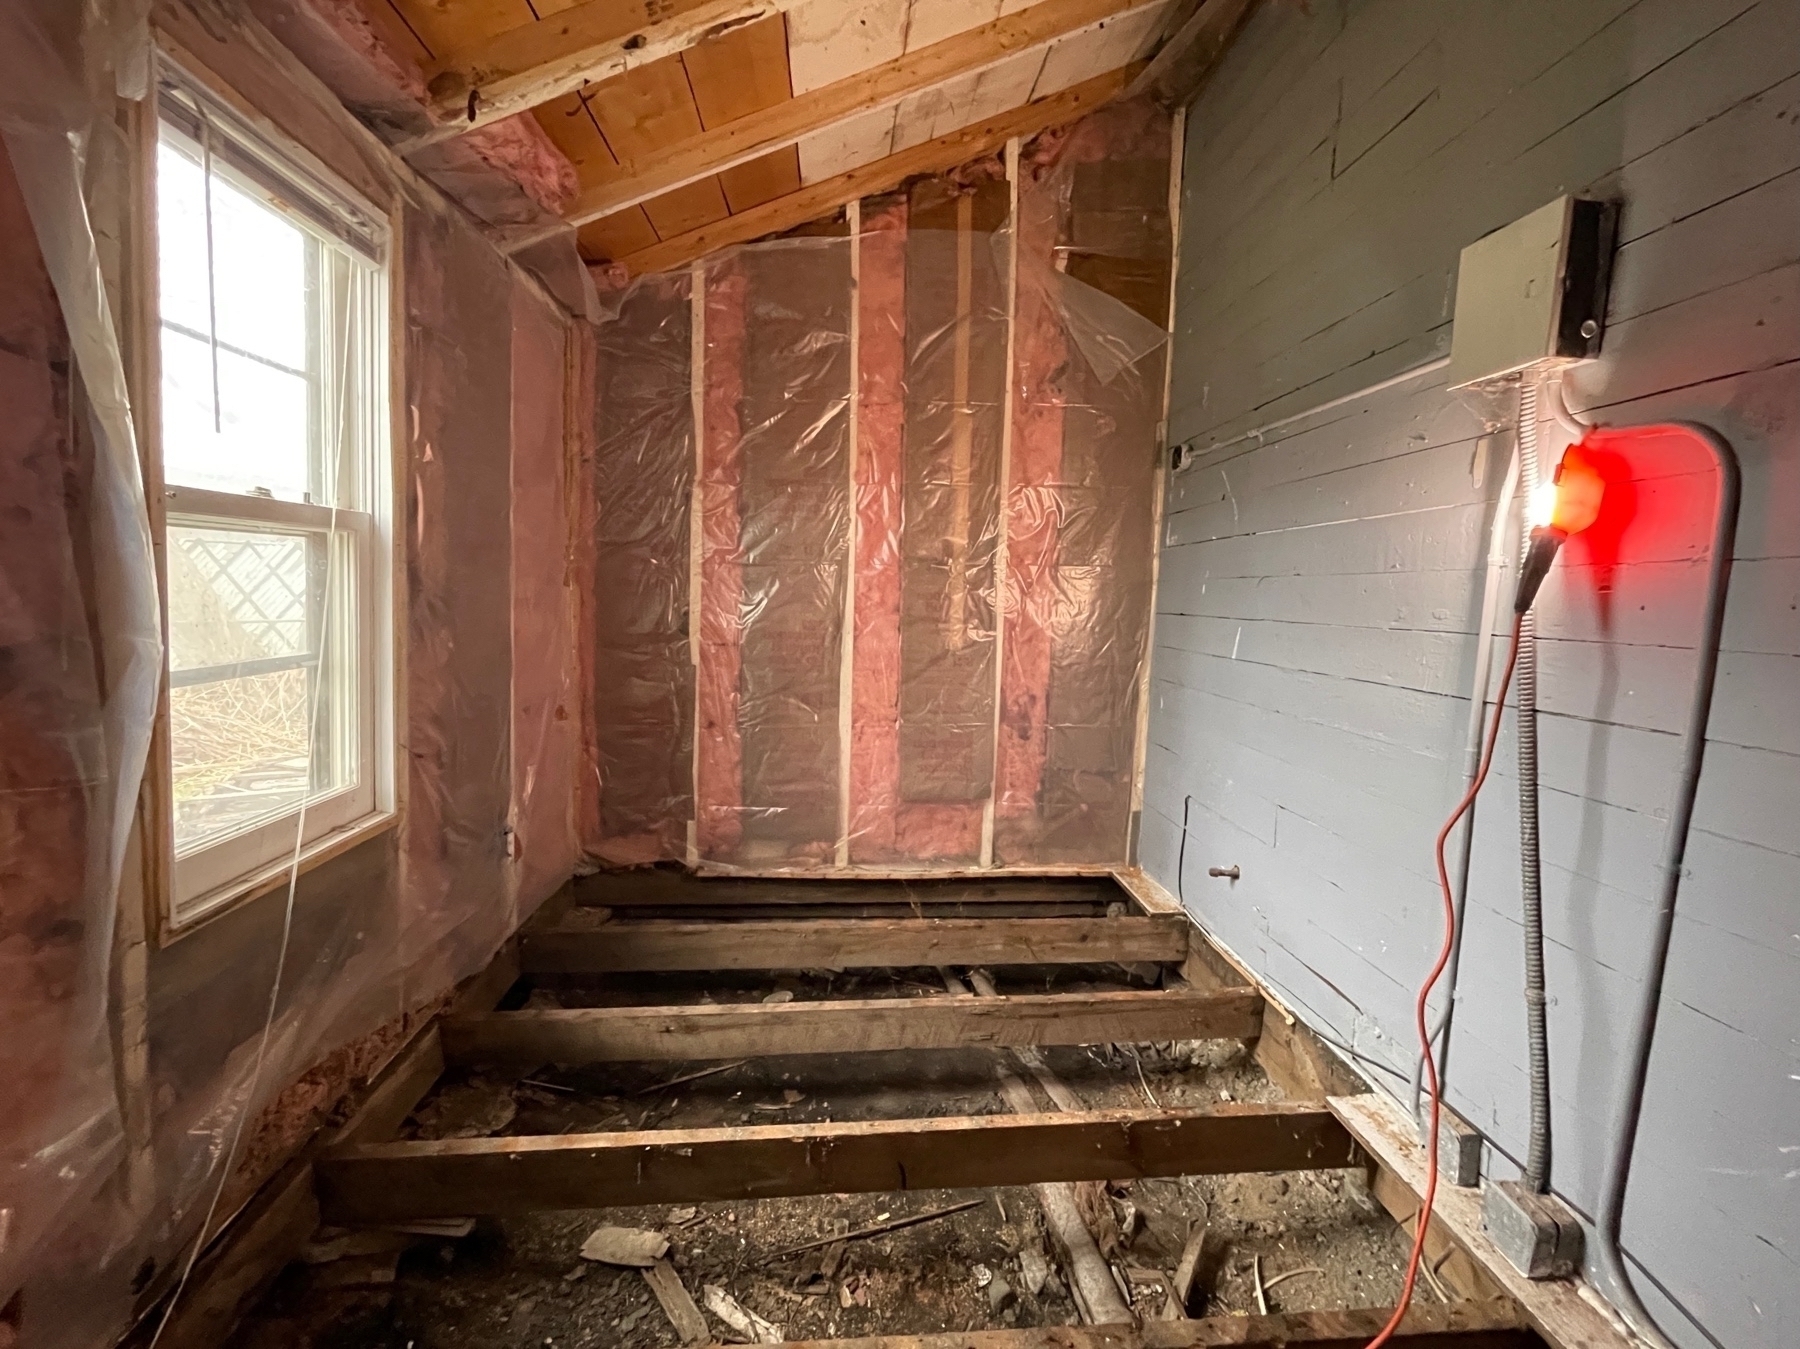
Demo of the mudroom continued today. We pulled up the floor in order to make it level and also figure out why the roof was sagging and it was squishy at the outside door.
We… Found the problem. The main support beam is completely rotted to the point of non-existence:
Update 03.30.2021
Things are moving along. Like any large project, everything has dependencies…
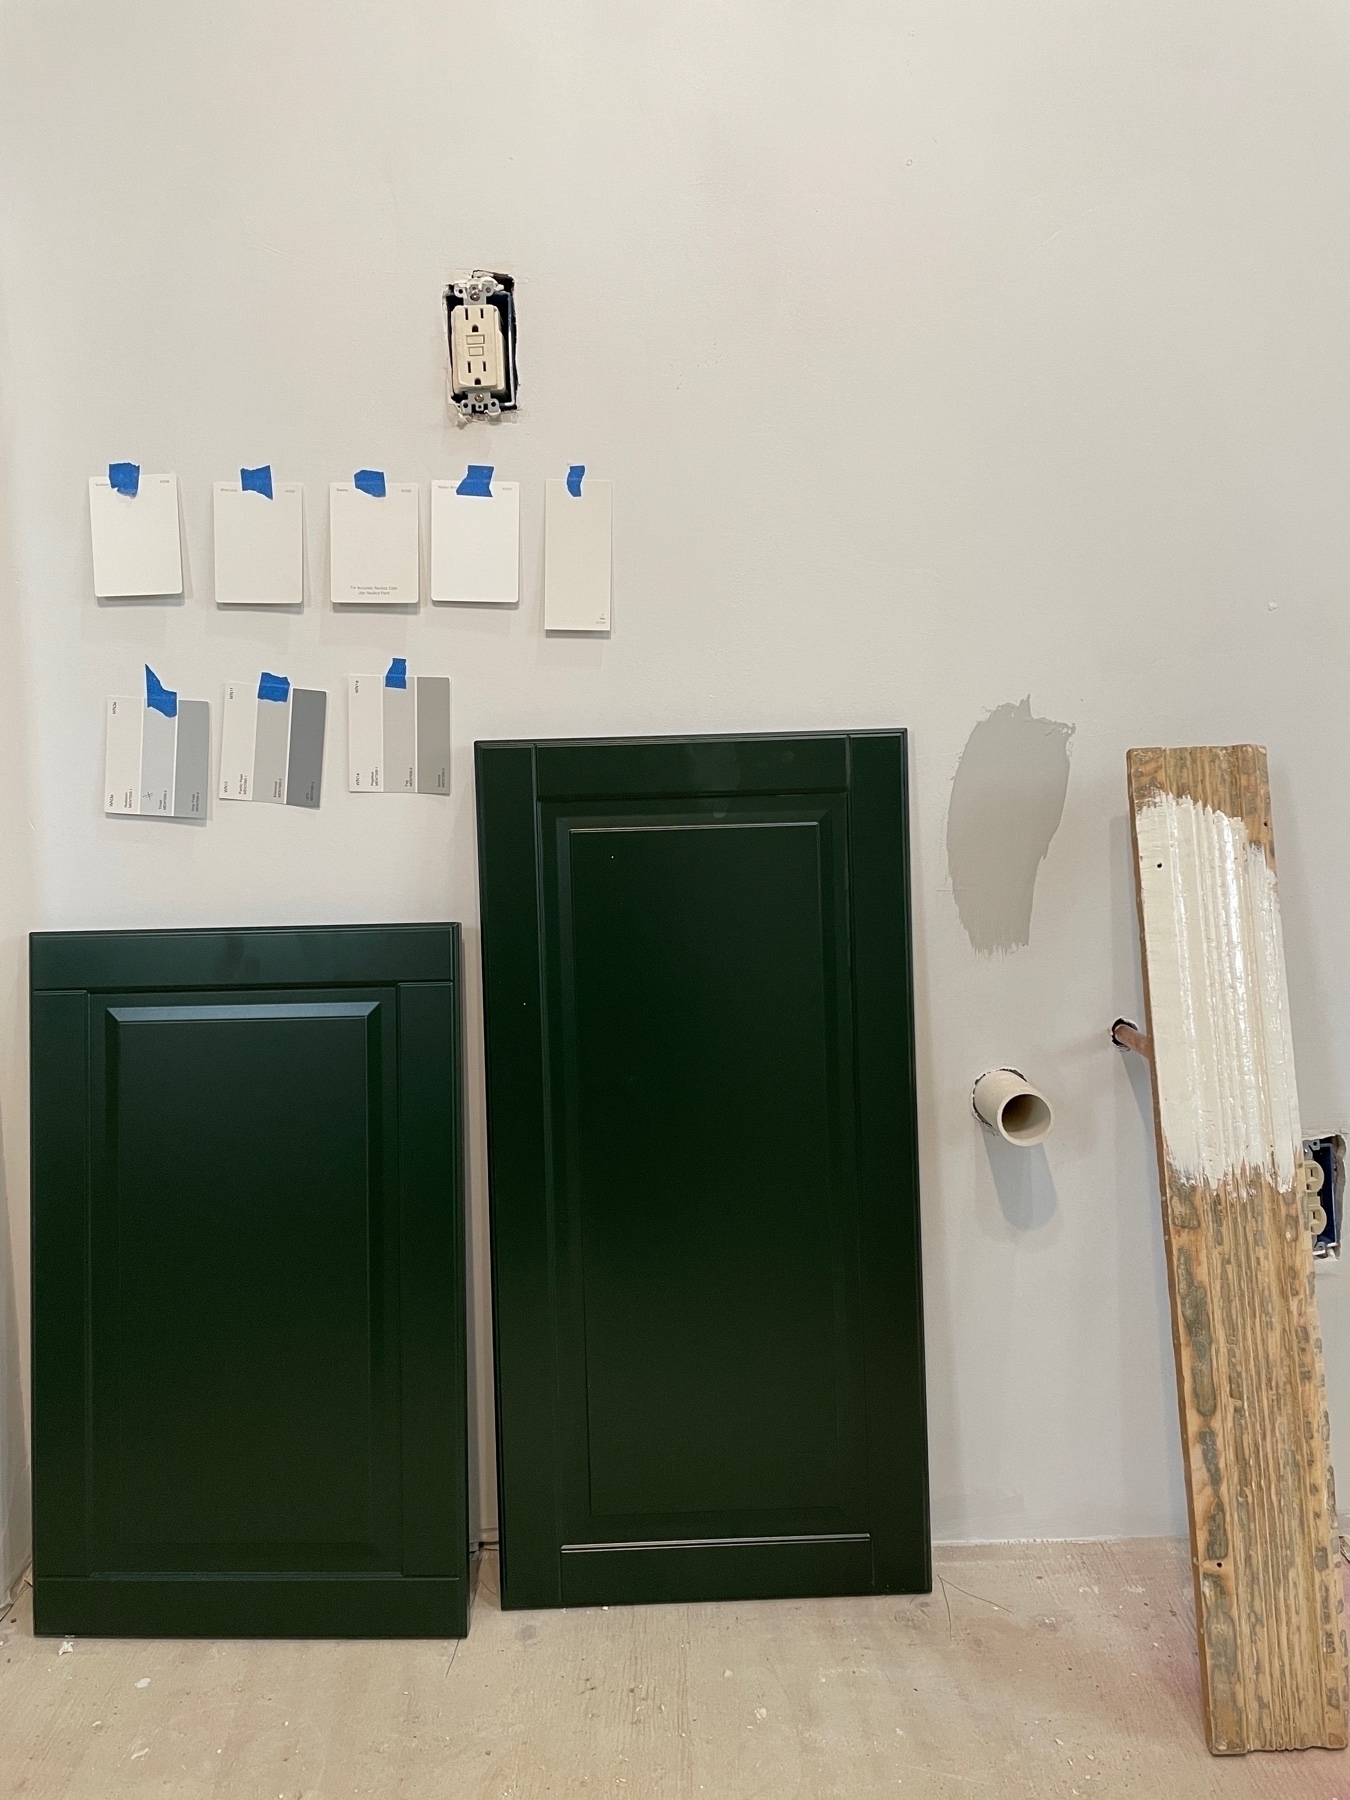
The Kitchen has been painted and is now ready for the flooring to go in. We can’t install the cabinetry until the flooring goes in and our flooring guy is not available until April, which means pretty much everything with the kitchen is on hold until then. The powder room (small bathroom off of the kitchen) is gutted but waiting until our plumber is available. No sense in doing the electrical in there until that happens. And, we are trying to chase down a phantom suspected leak.
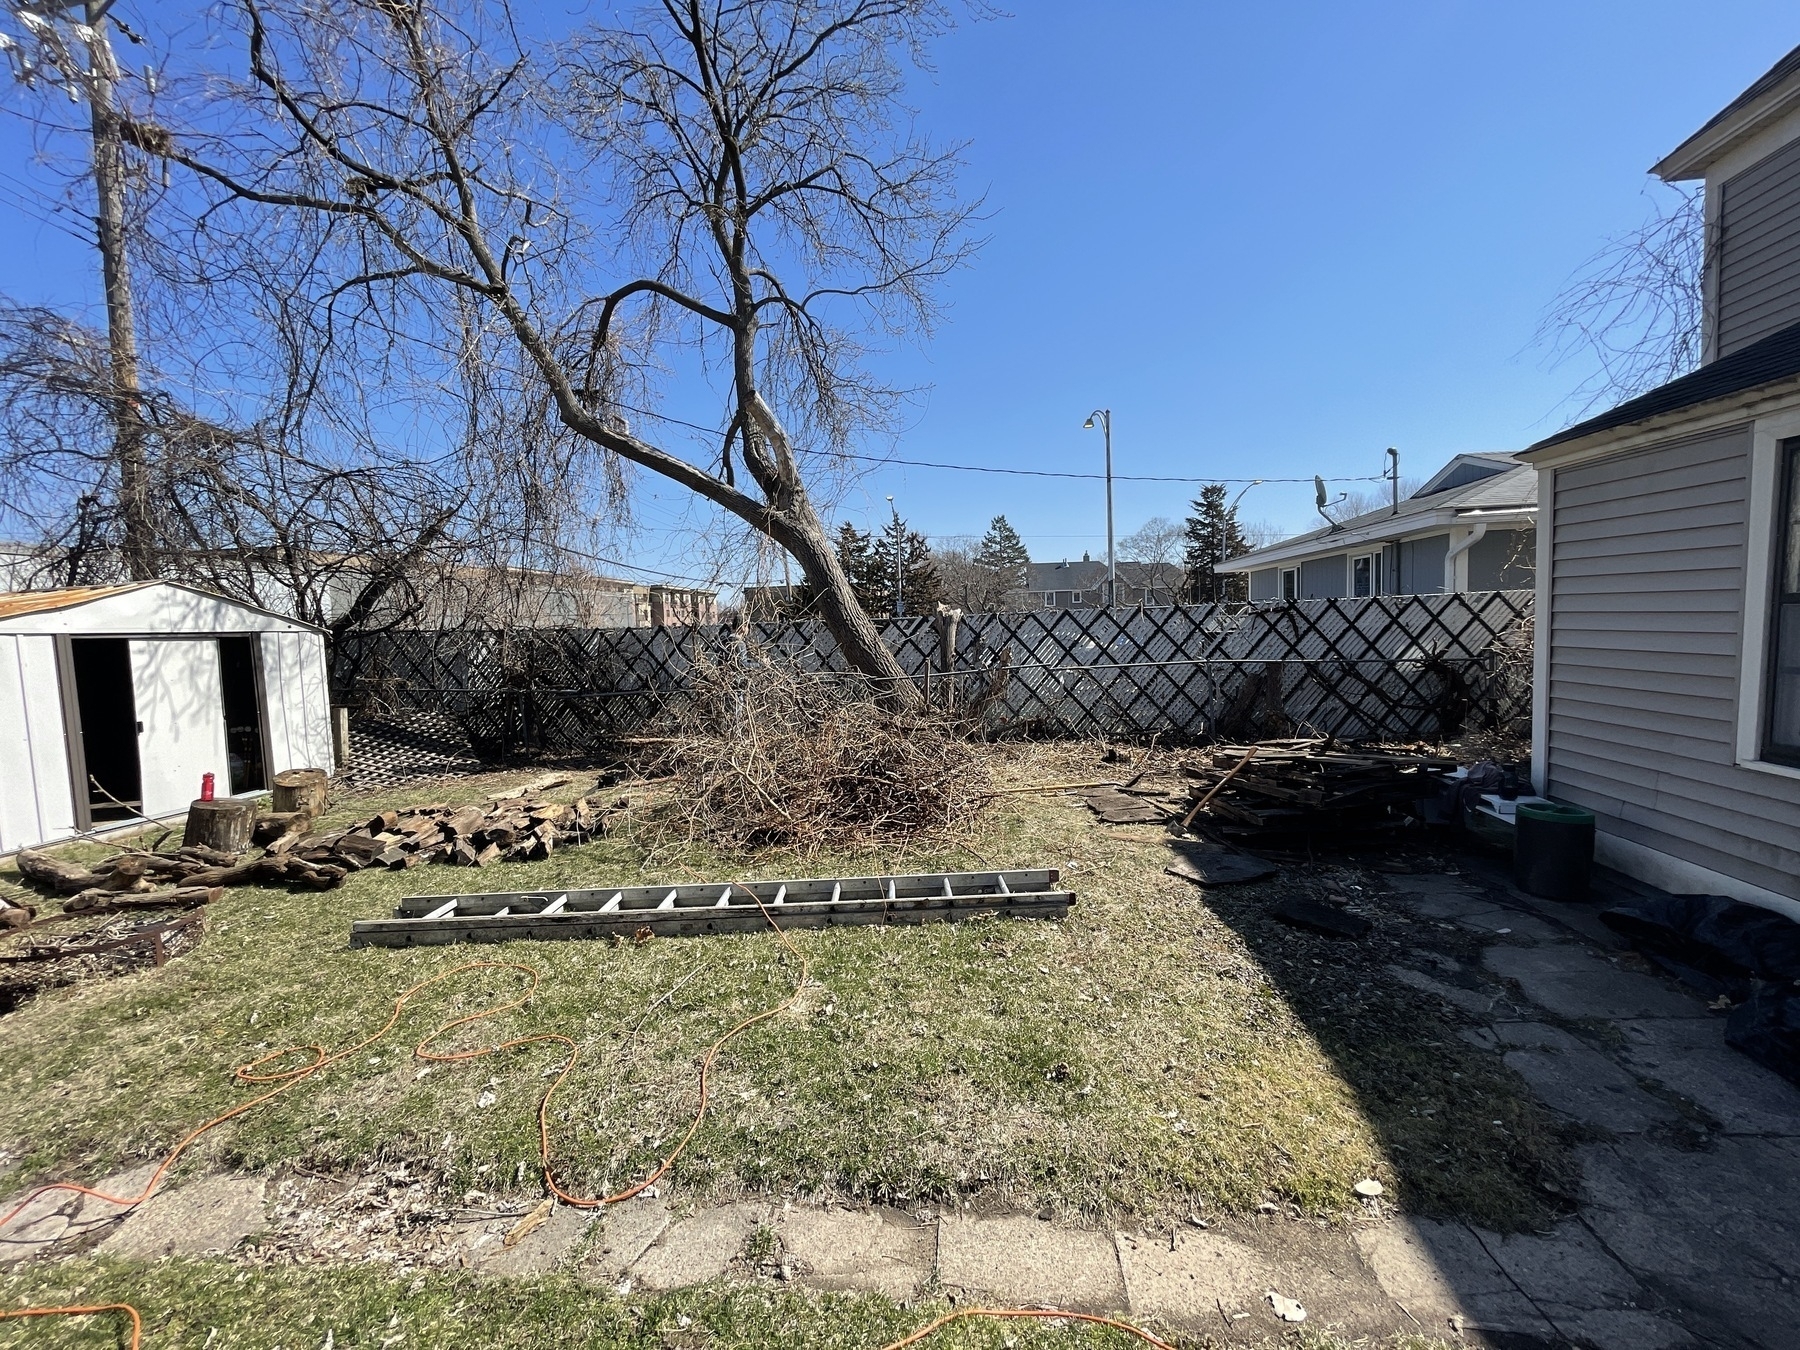
So, there’s a lot of other busy work there since the larger work is stalled. Yesterday, it was clearing overgrown vines and brush from the east side of the house. I failed to take a “before” pictuture because, as I’ve establish before, I really suck at remebering to do so. But here’s an “After”:
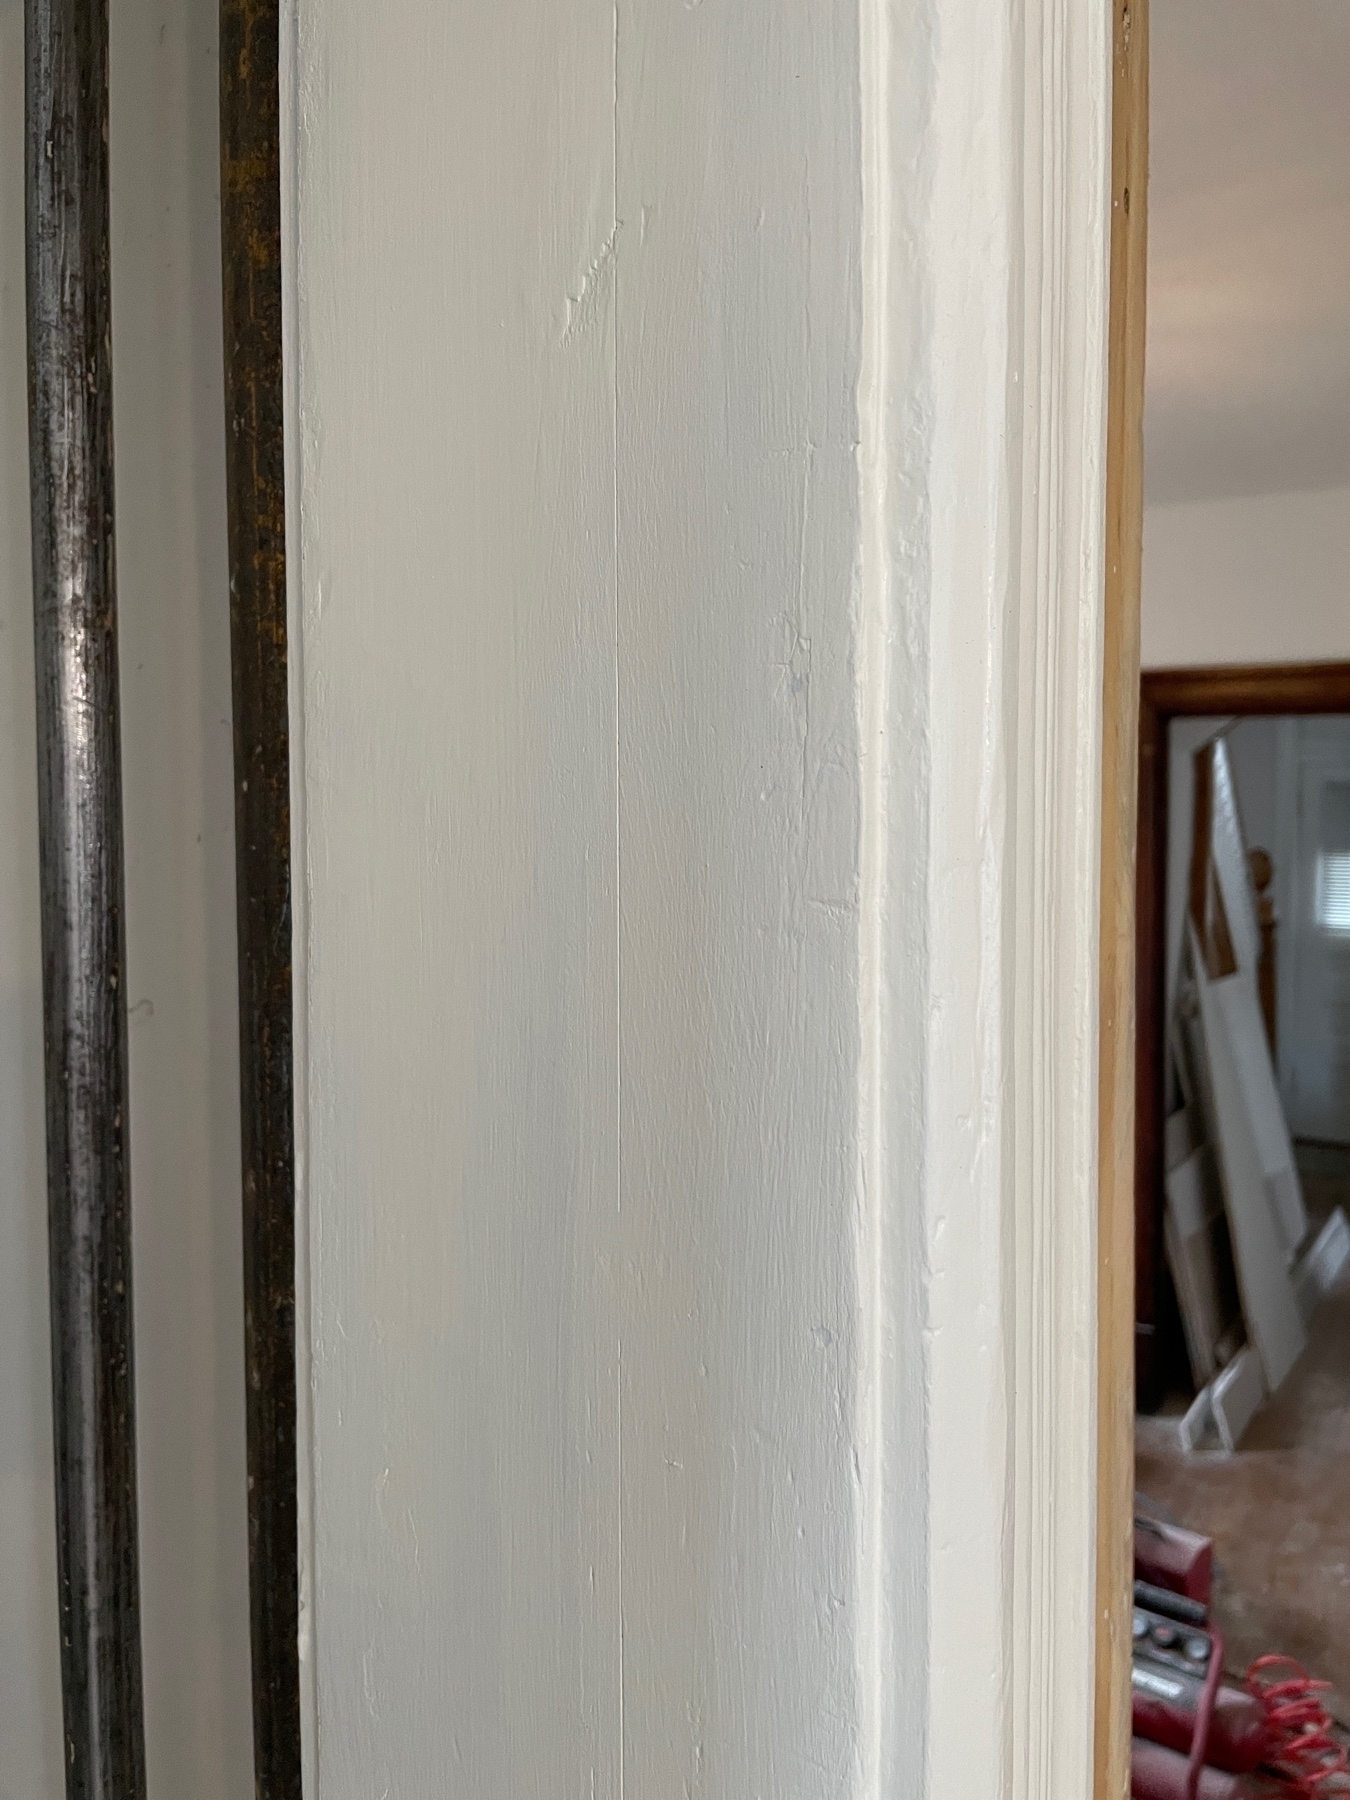
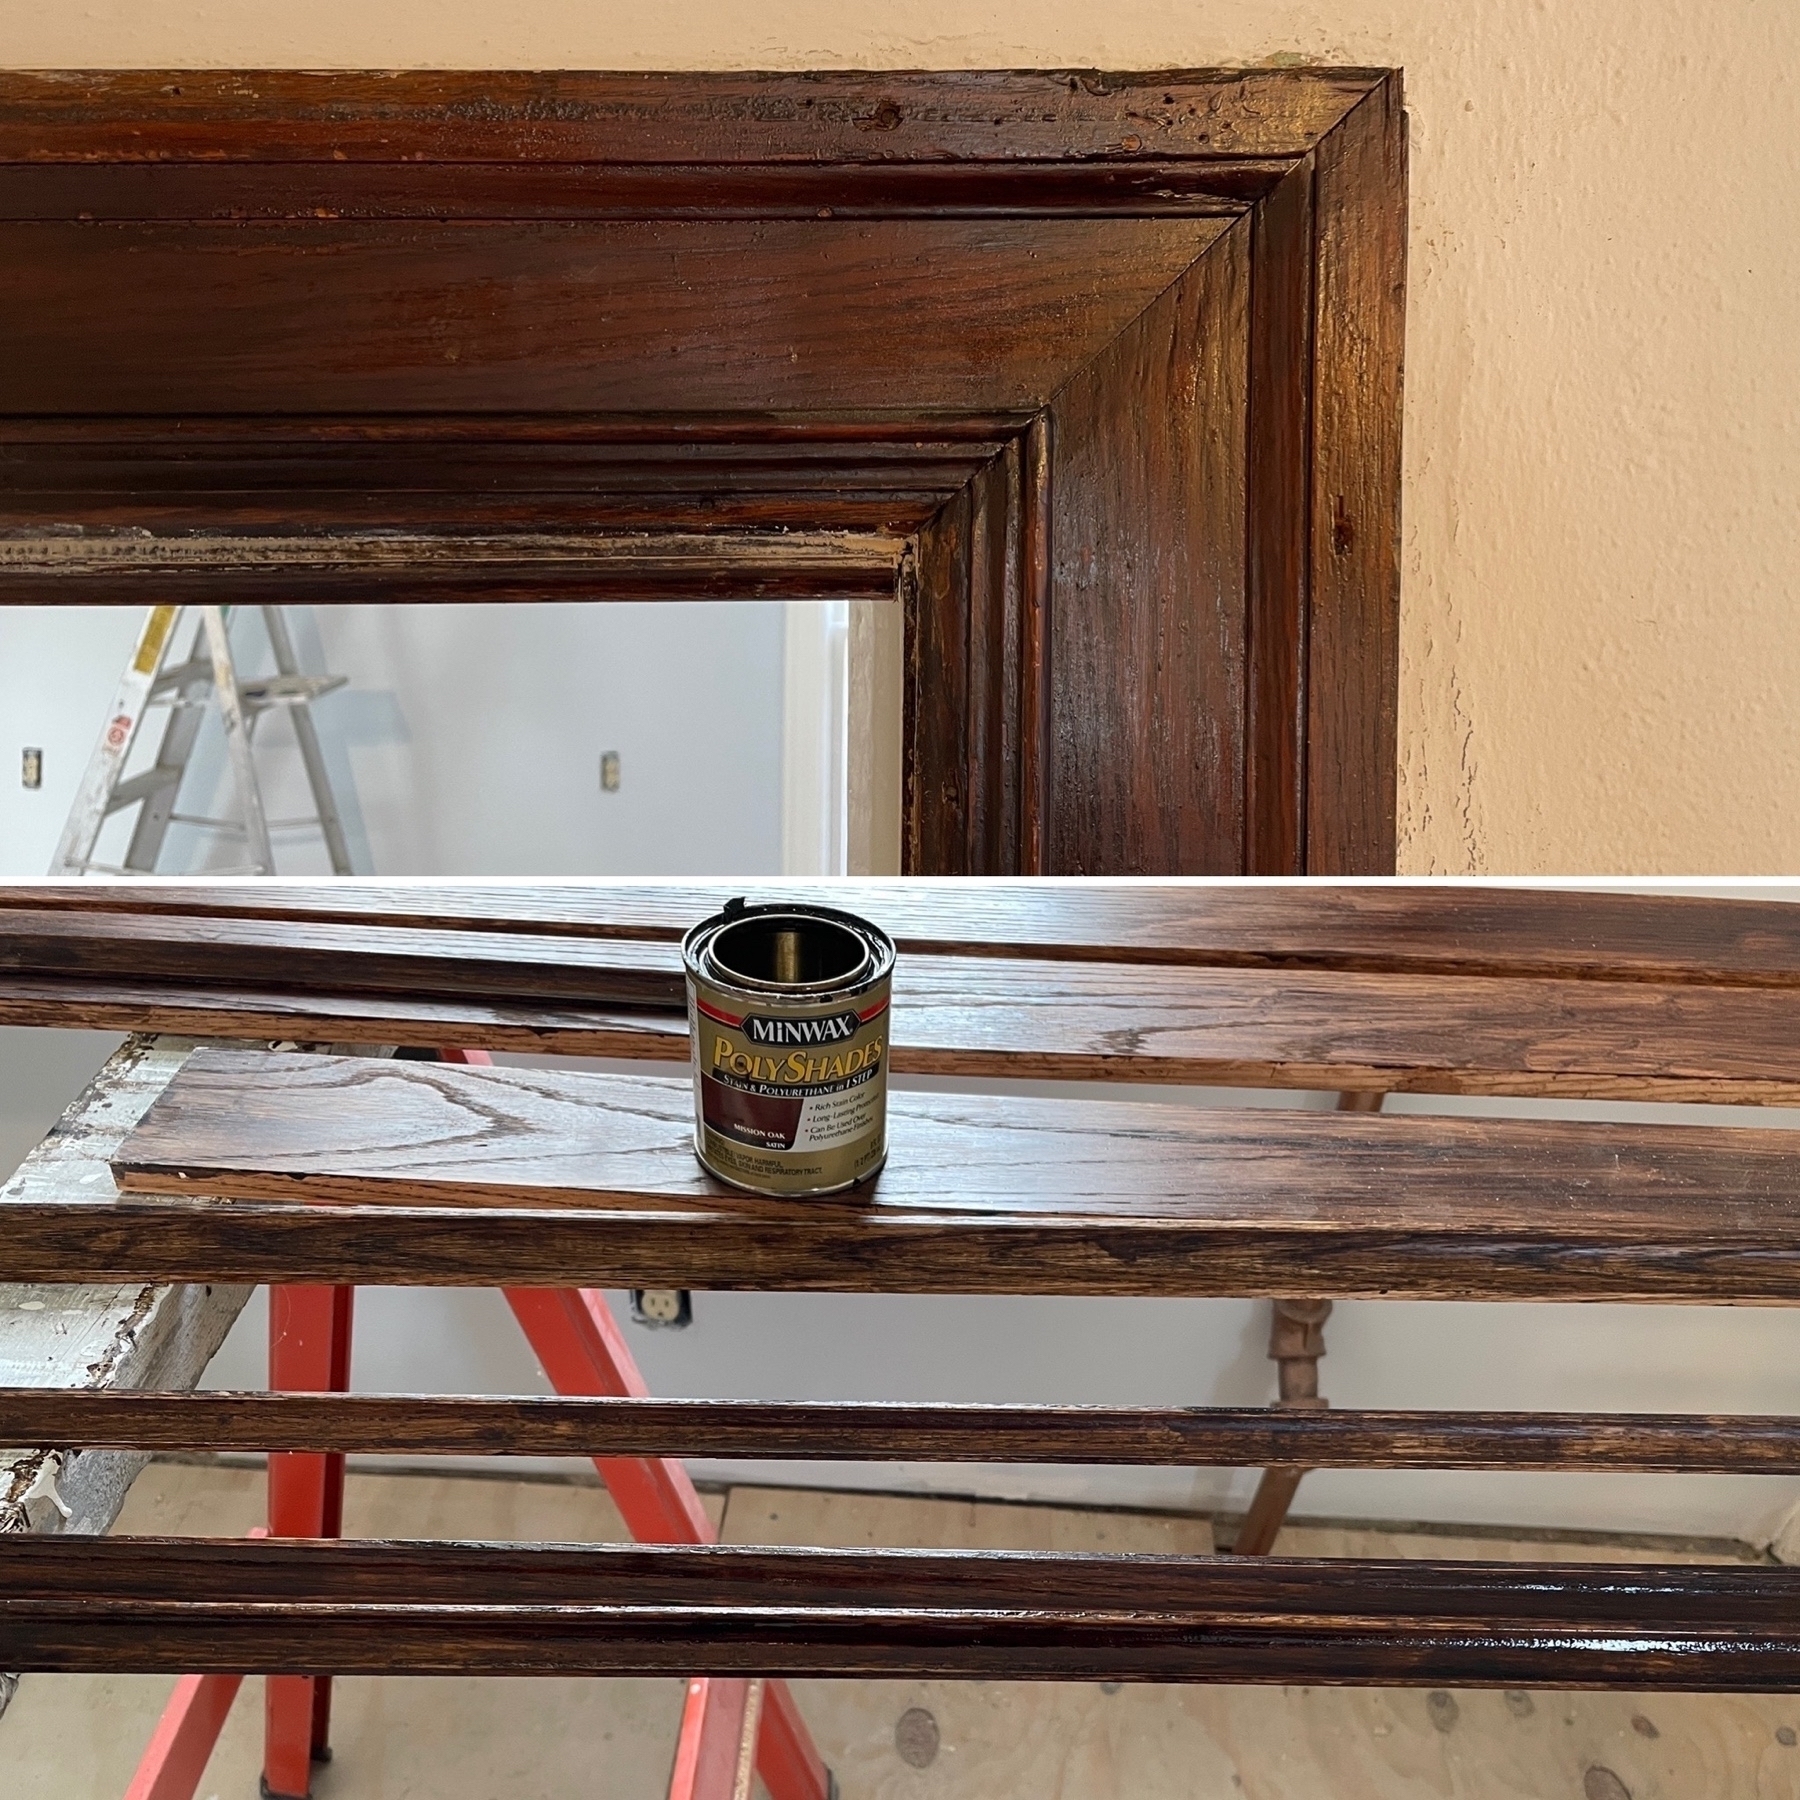
Matching new trim to old. Here the trick — ignore the directions. Forget everything you know about how to stain/varnish properly. In fact, do the opposite. Sand and don’t clean it. Brush on the stain and don’t wipe it. Do the 100 years of wrong and it’ll end up closer to right.
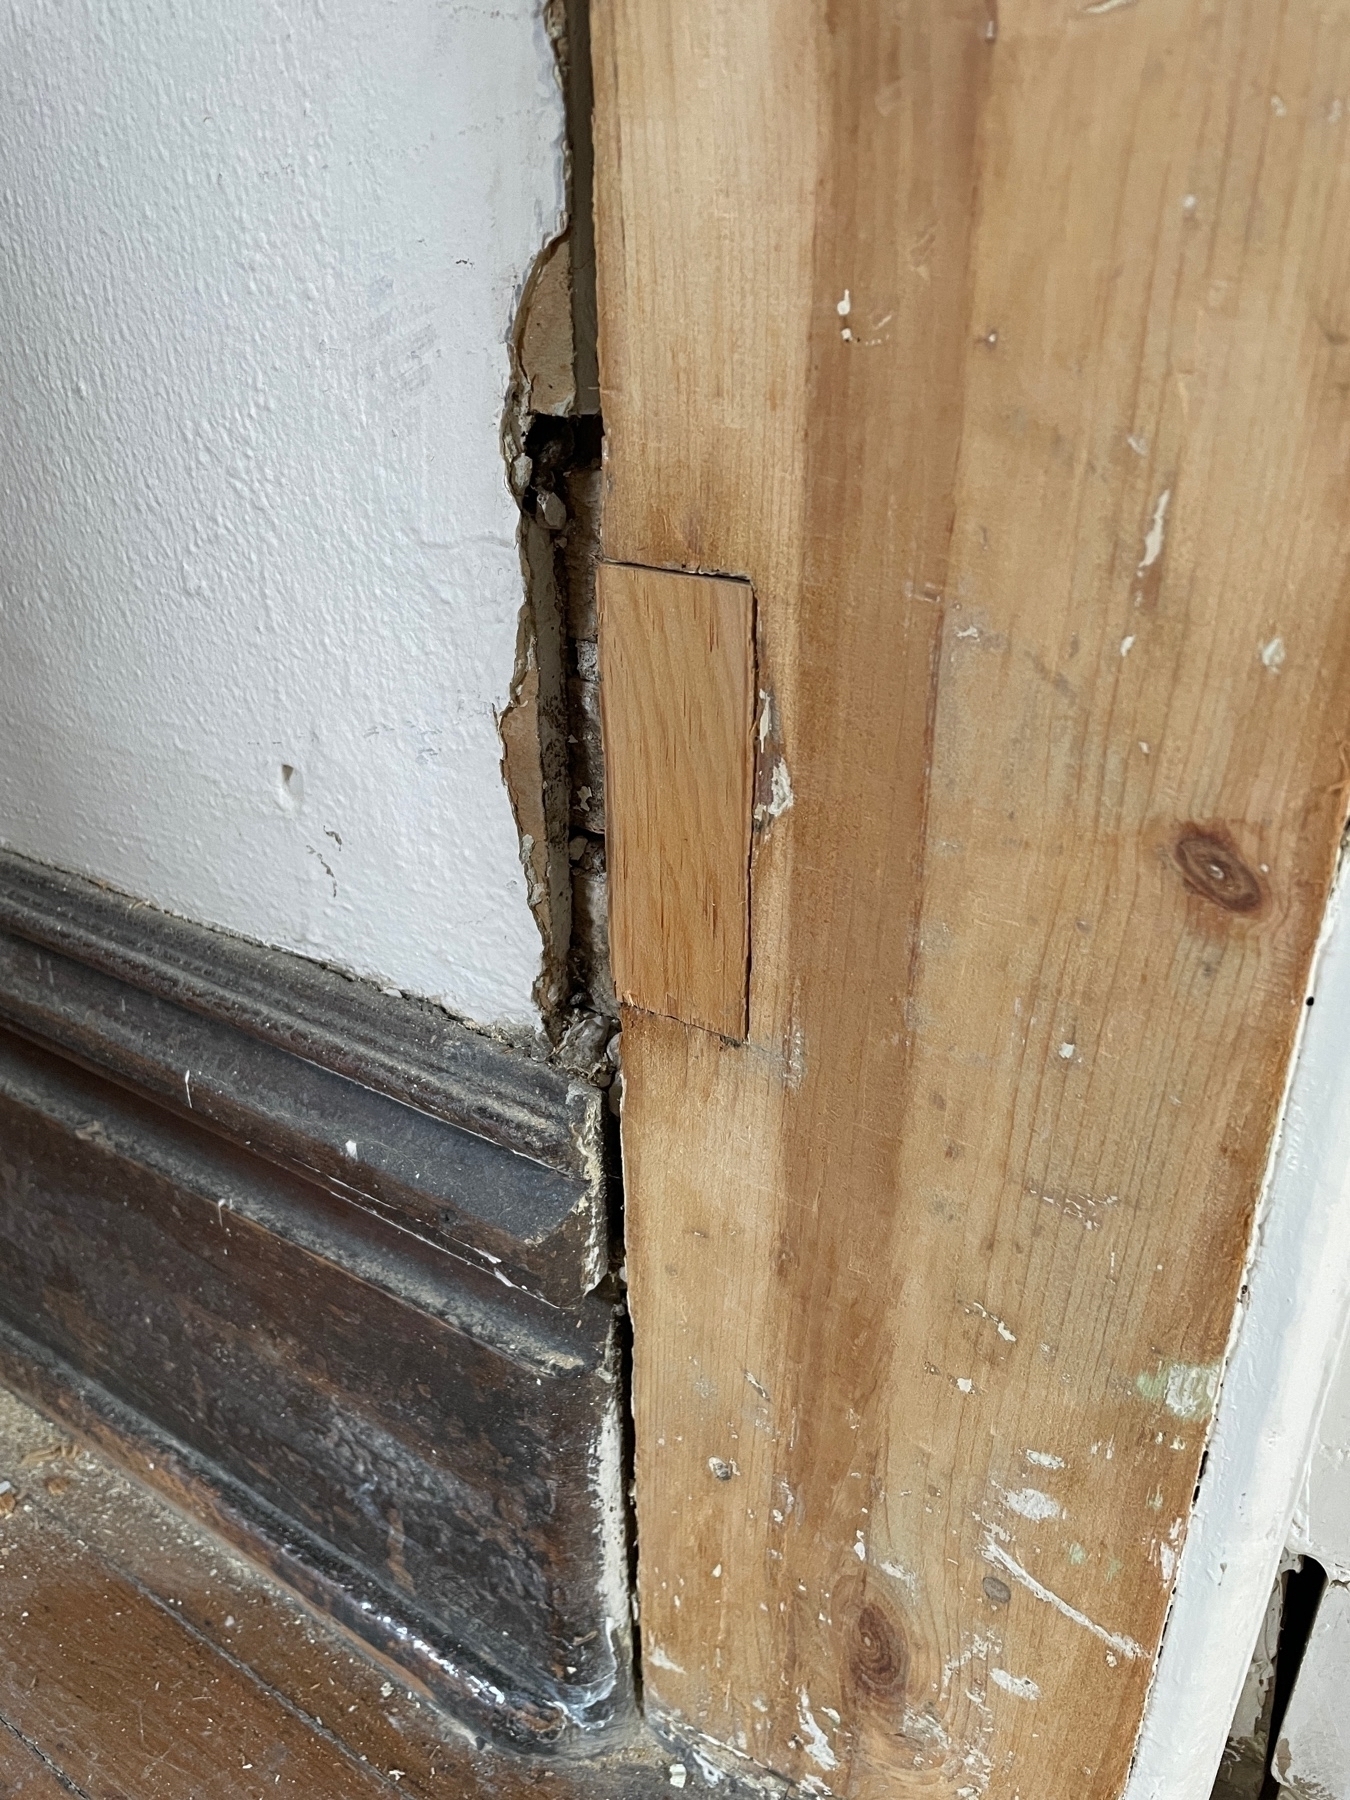
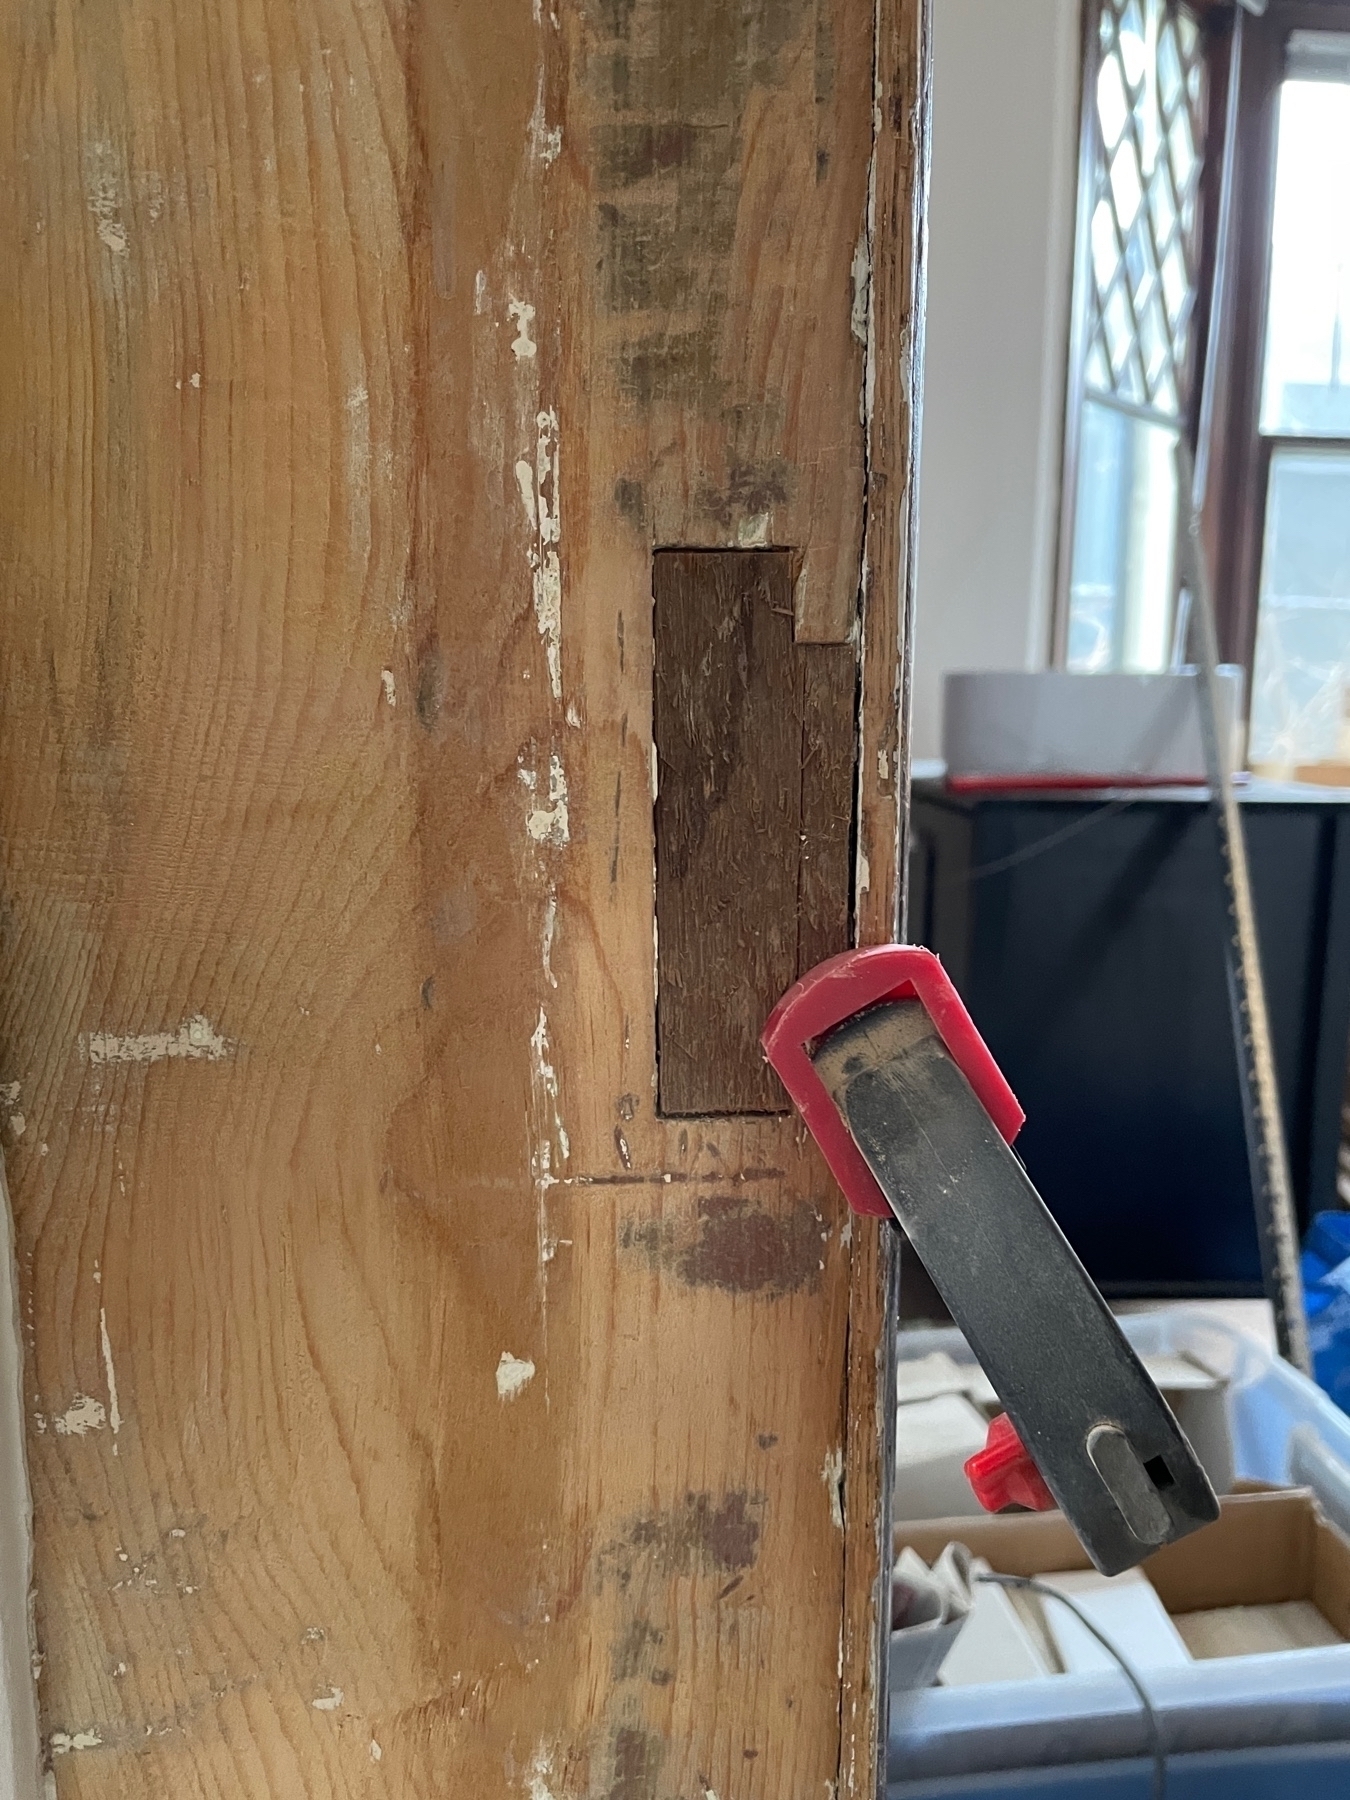
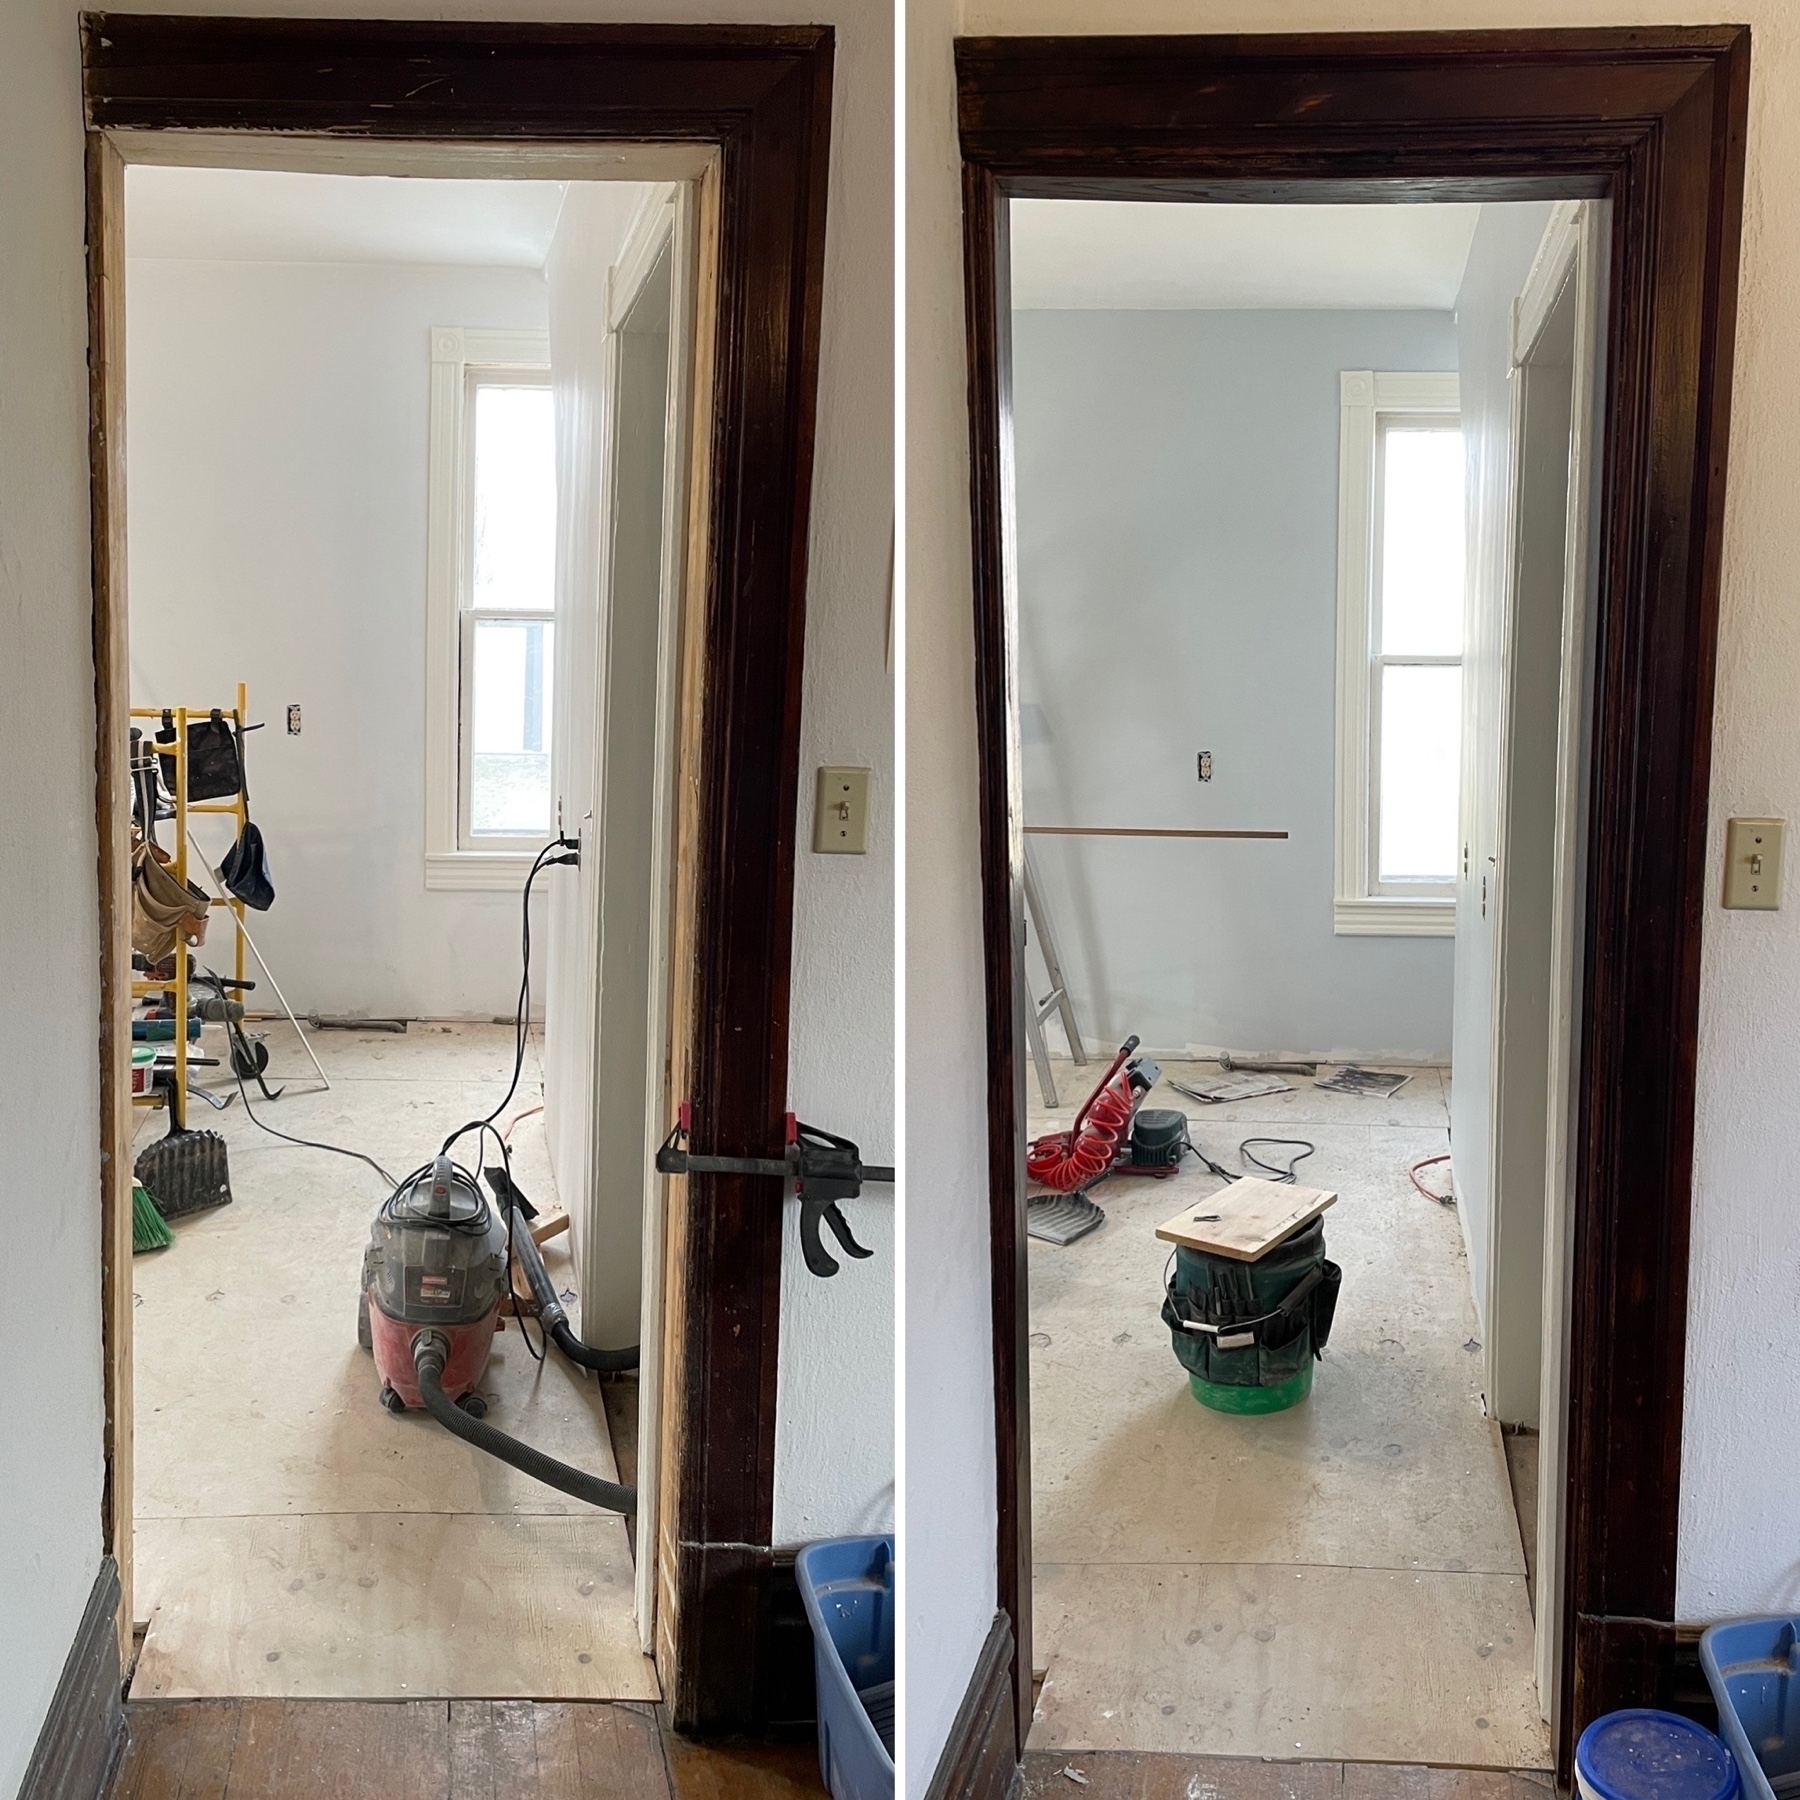
I’m pretty proud of how adept I’ve become at using a piece of scrap lathe to cover door henge and catch points. Once sanded and painted you can’t even tell they were there.