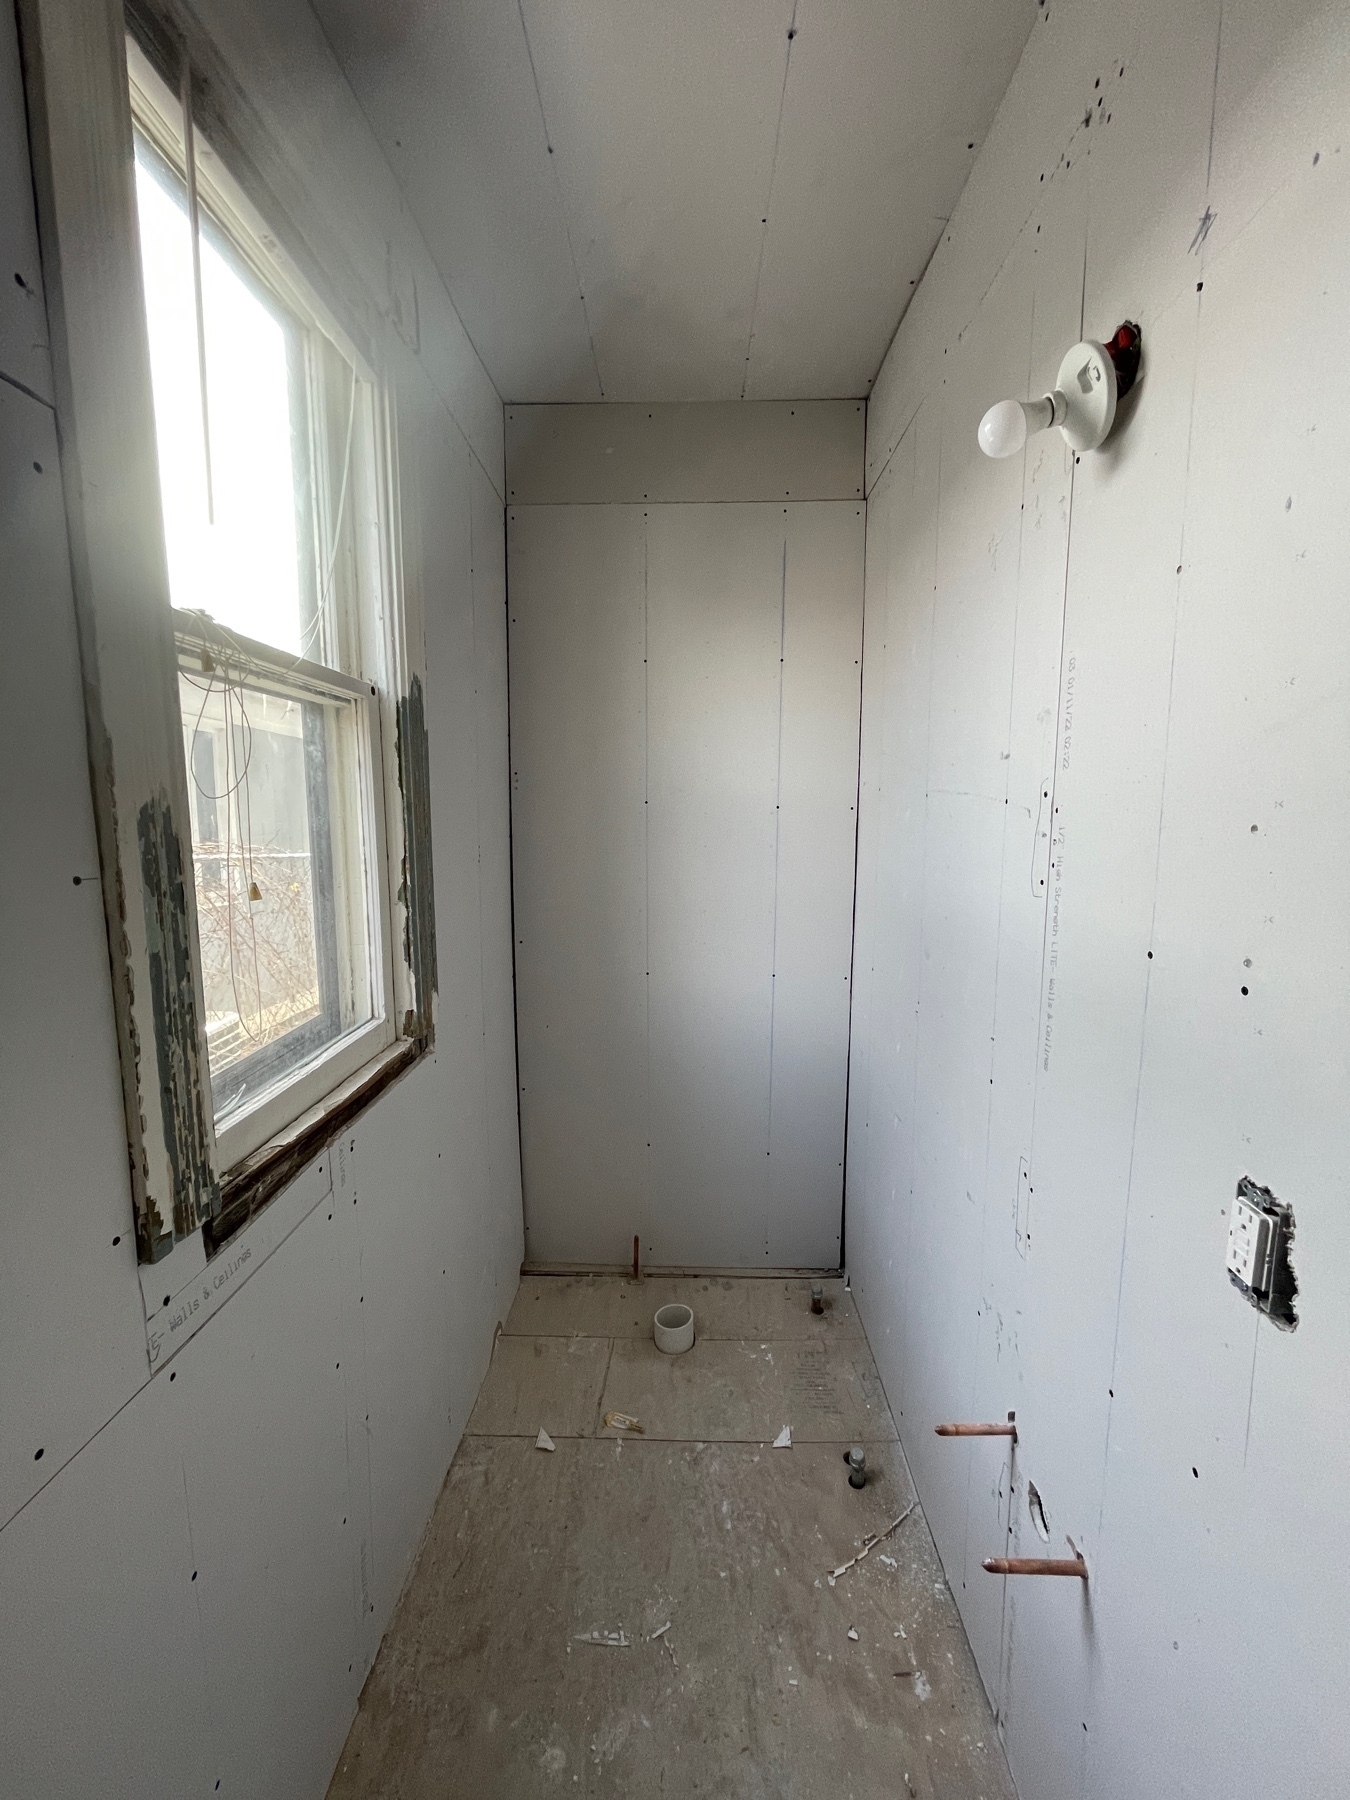
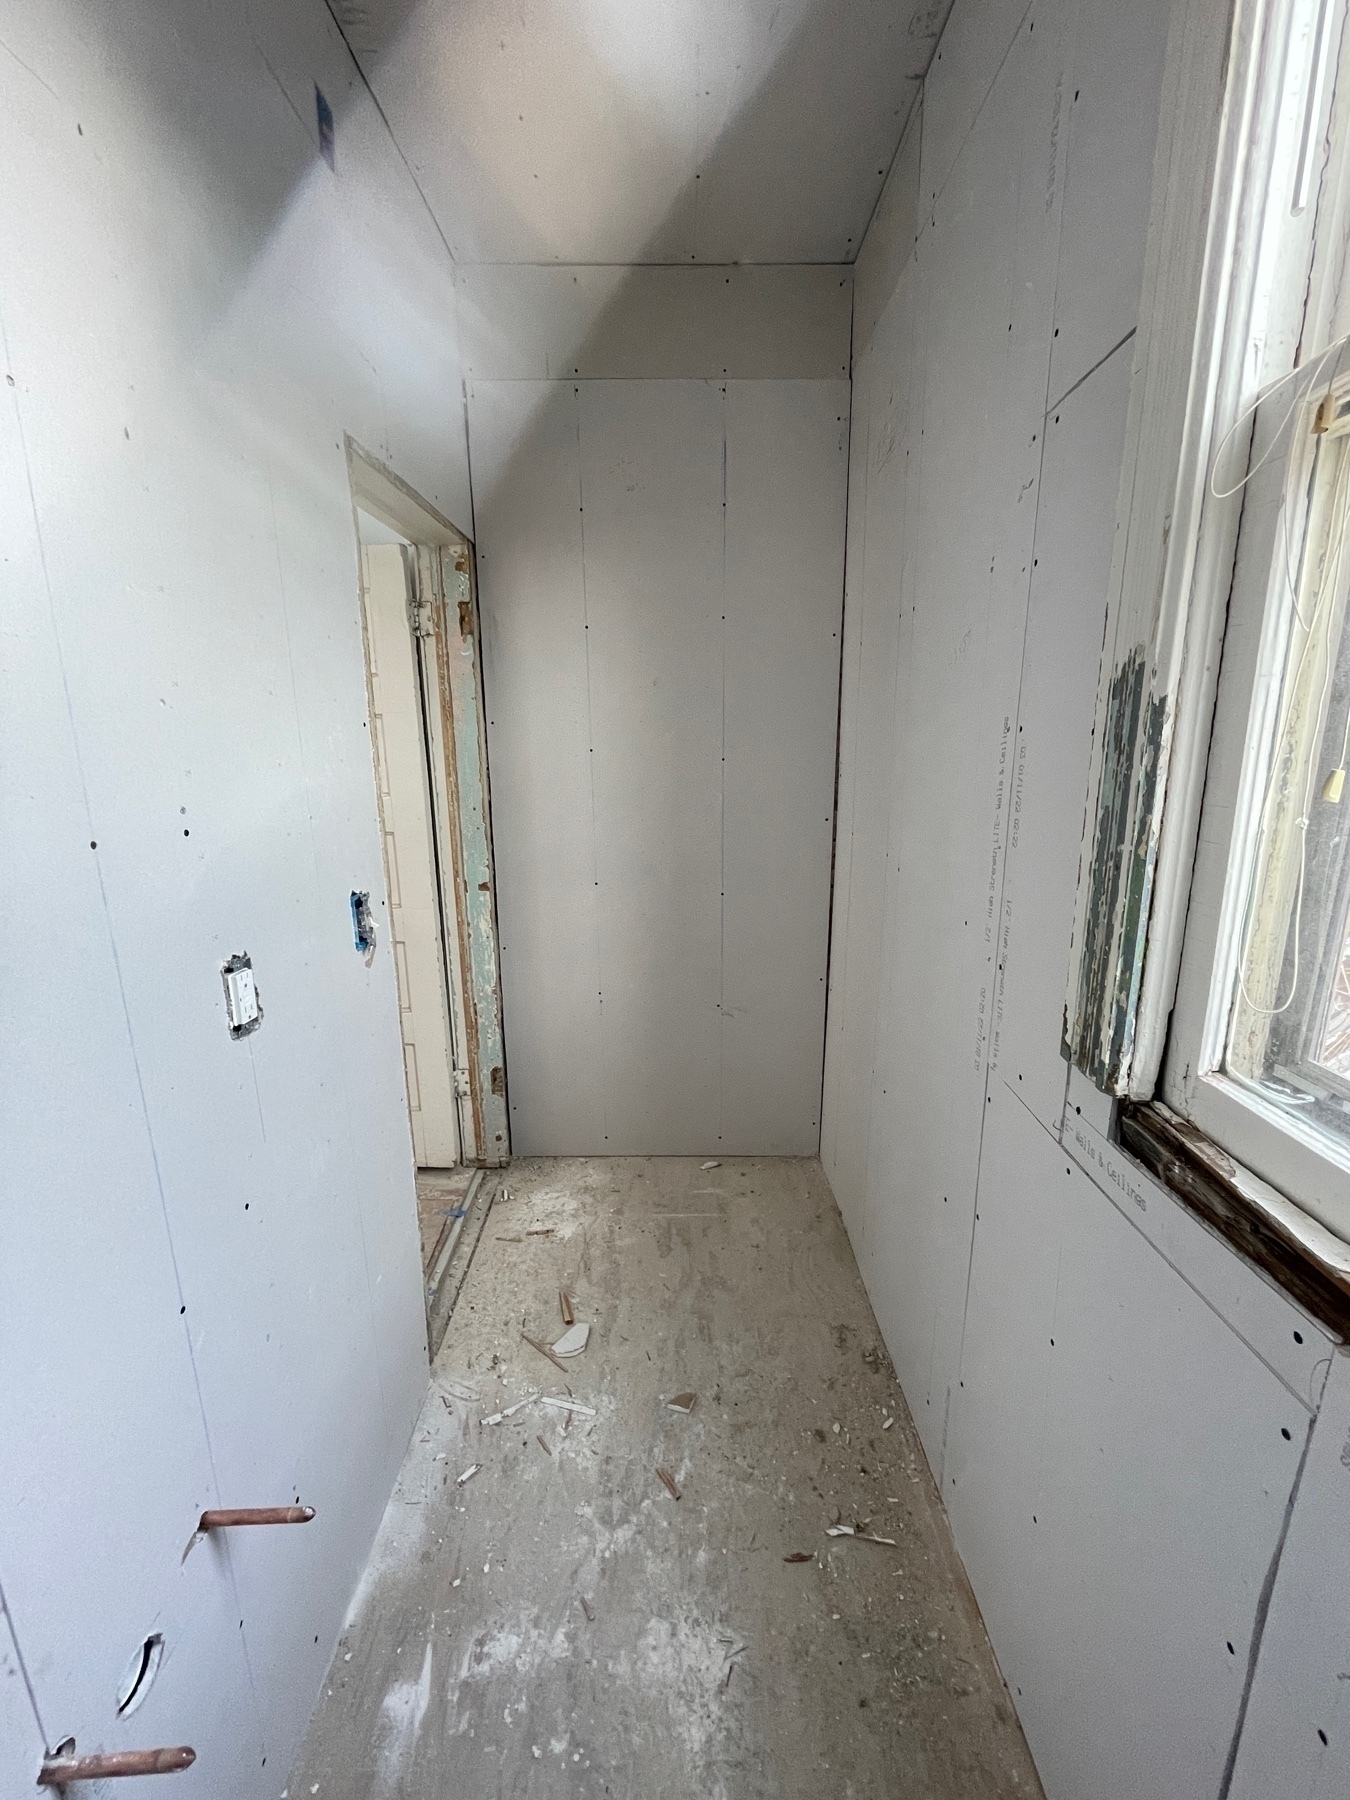
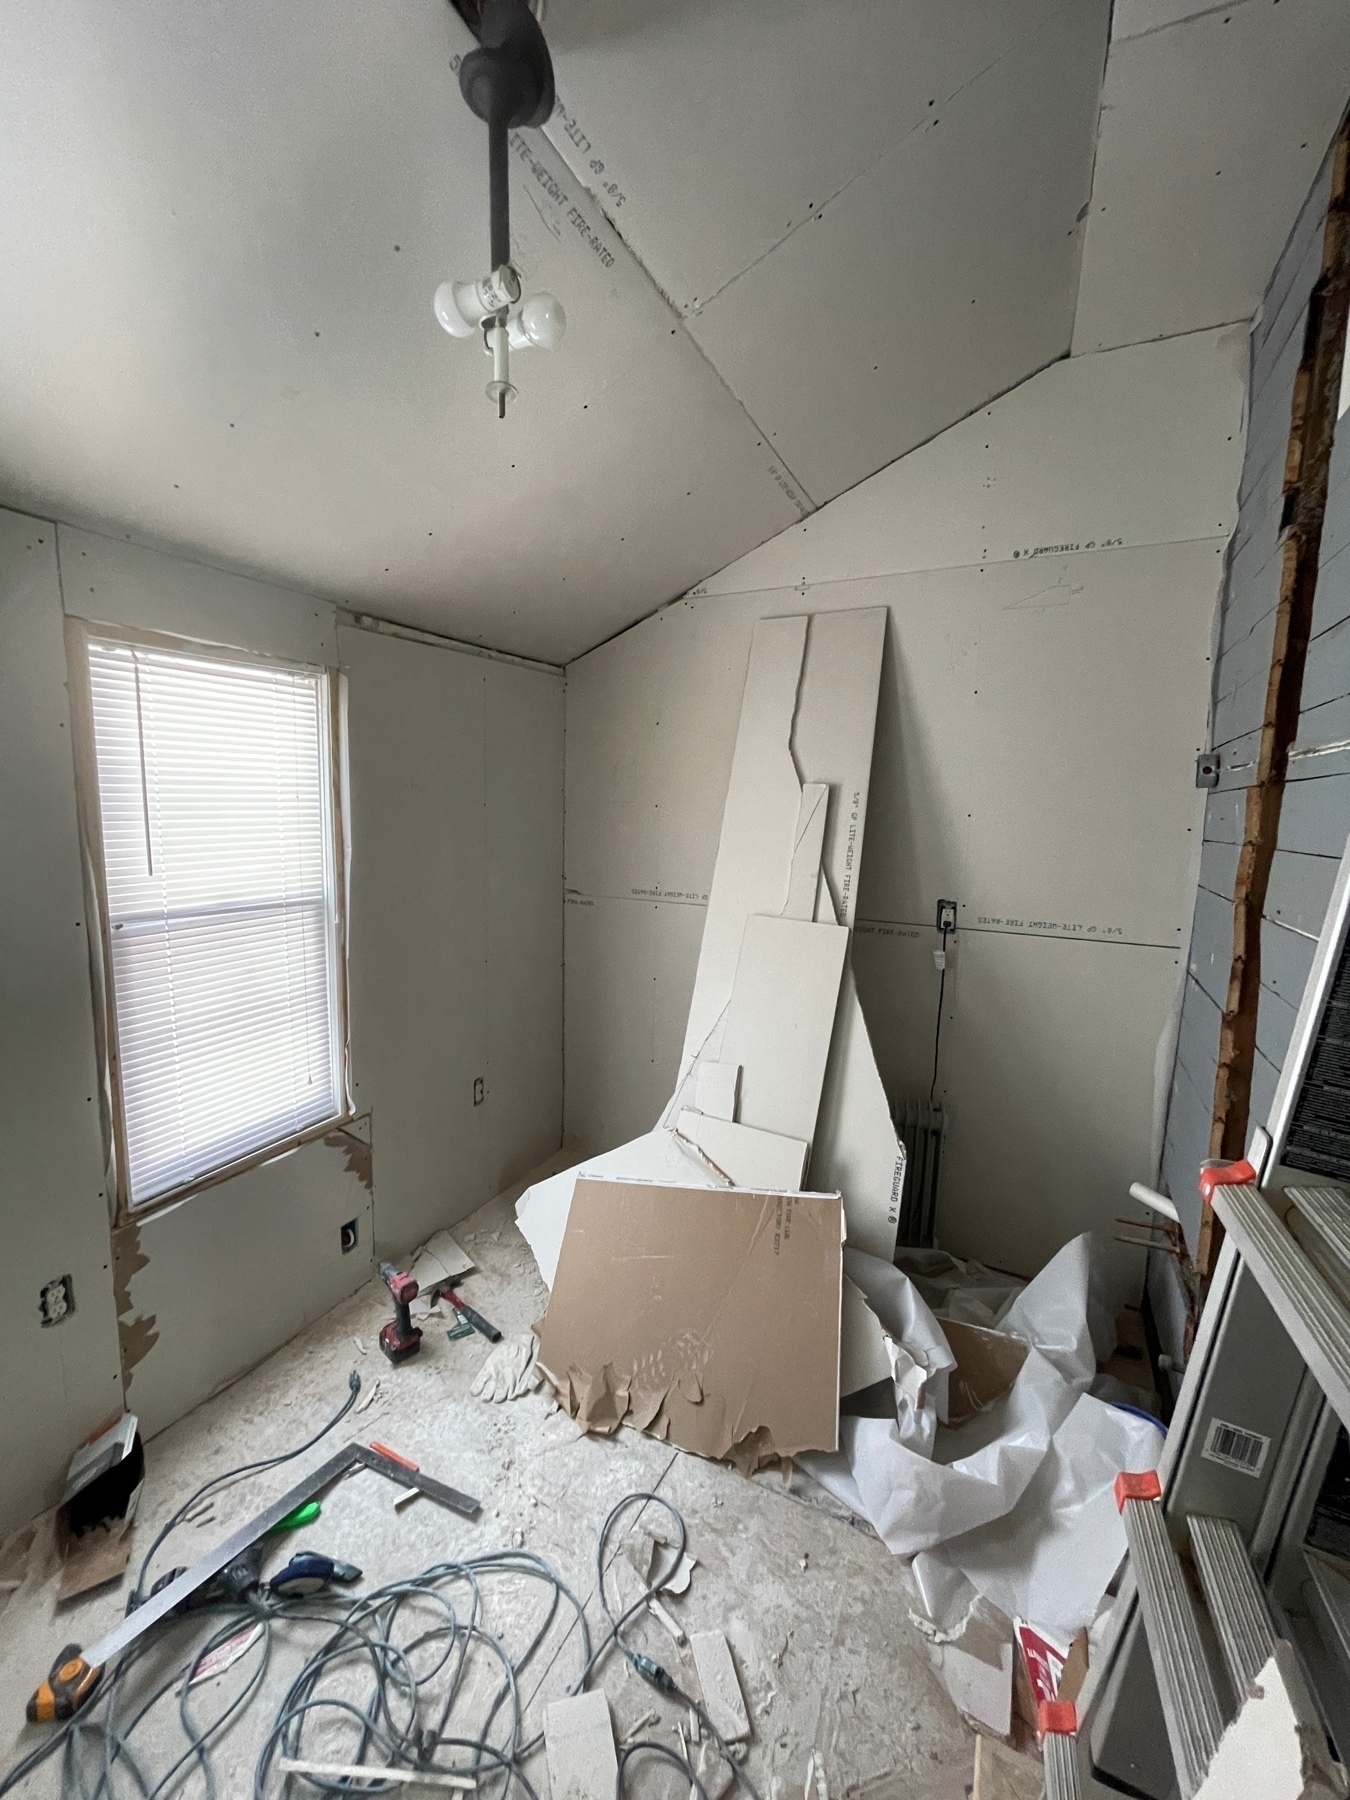
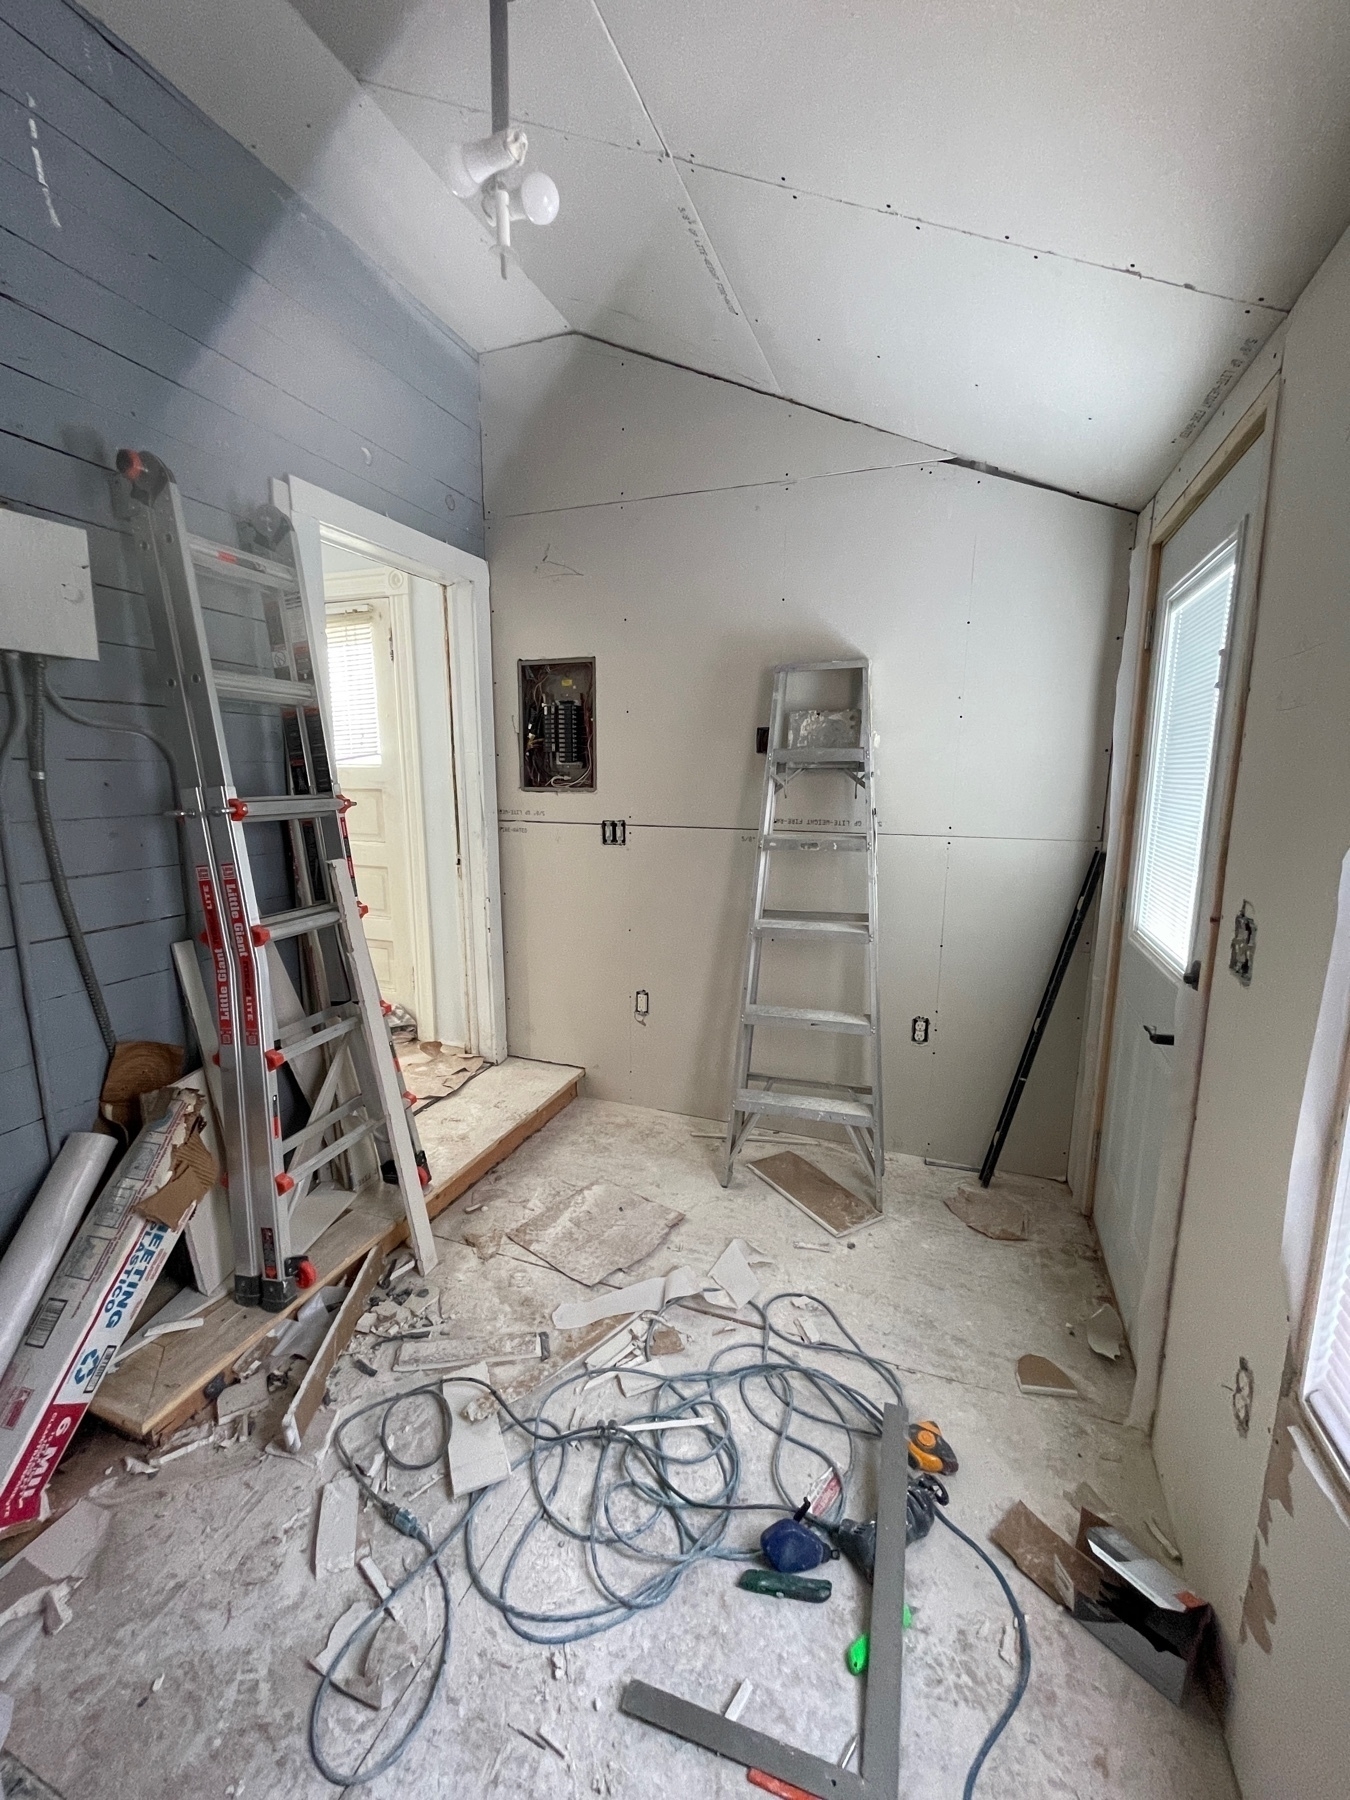
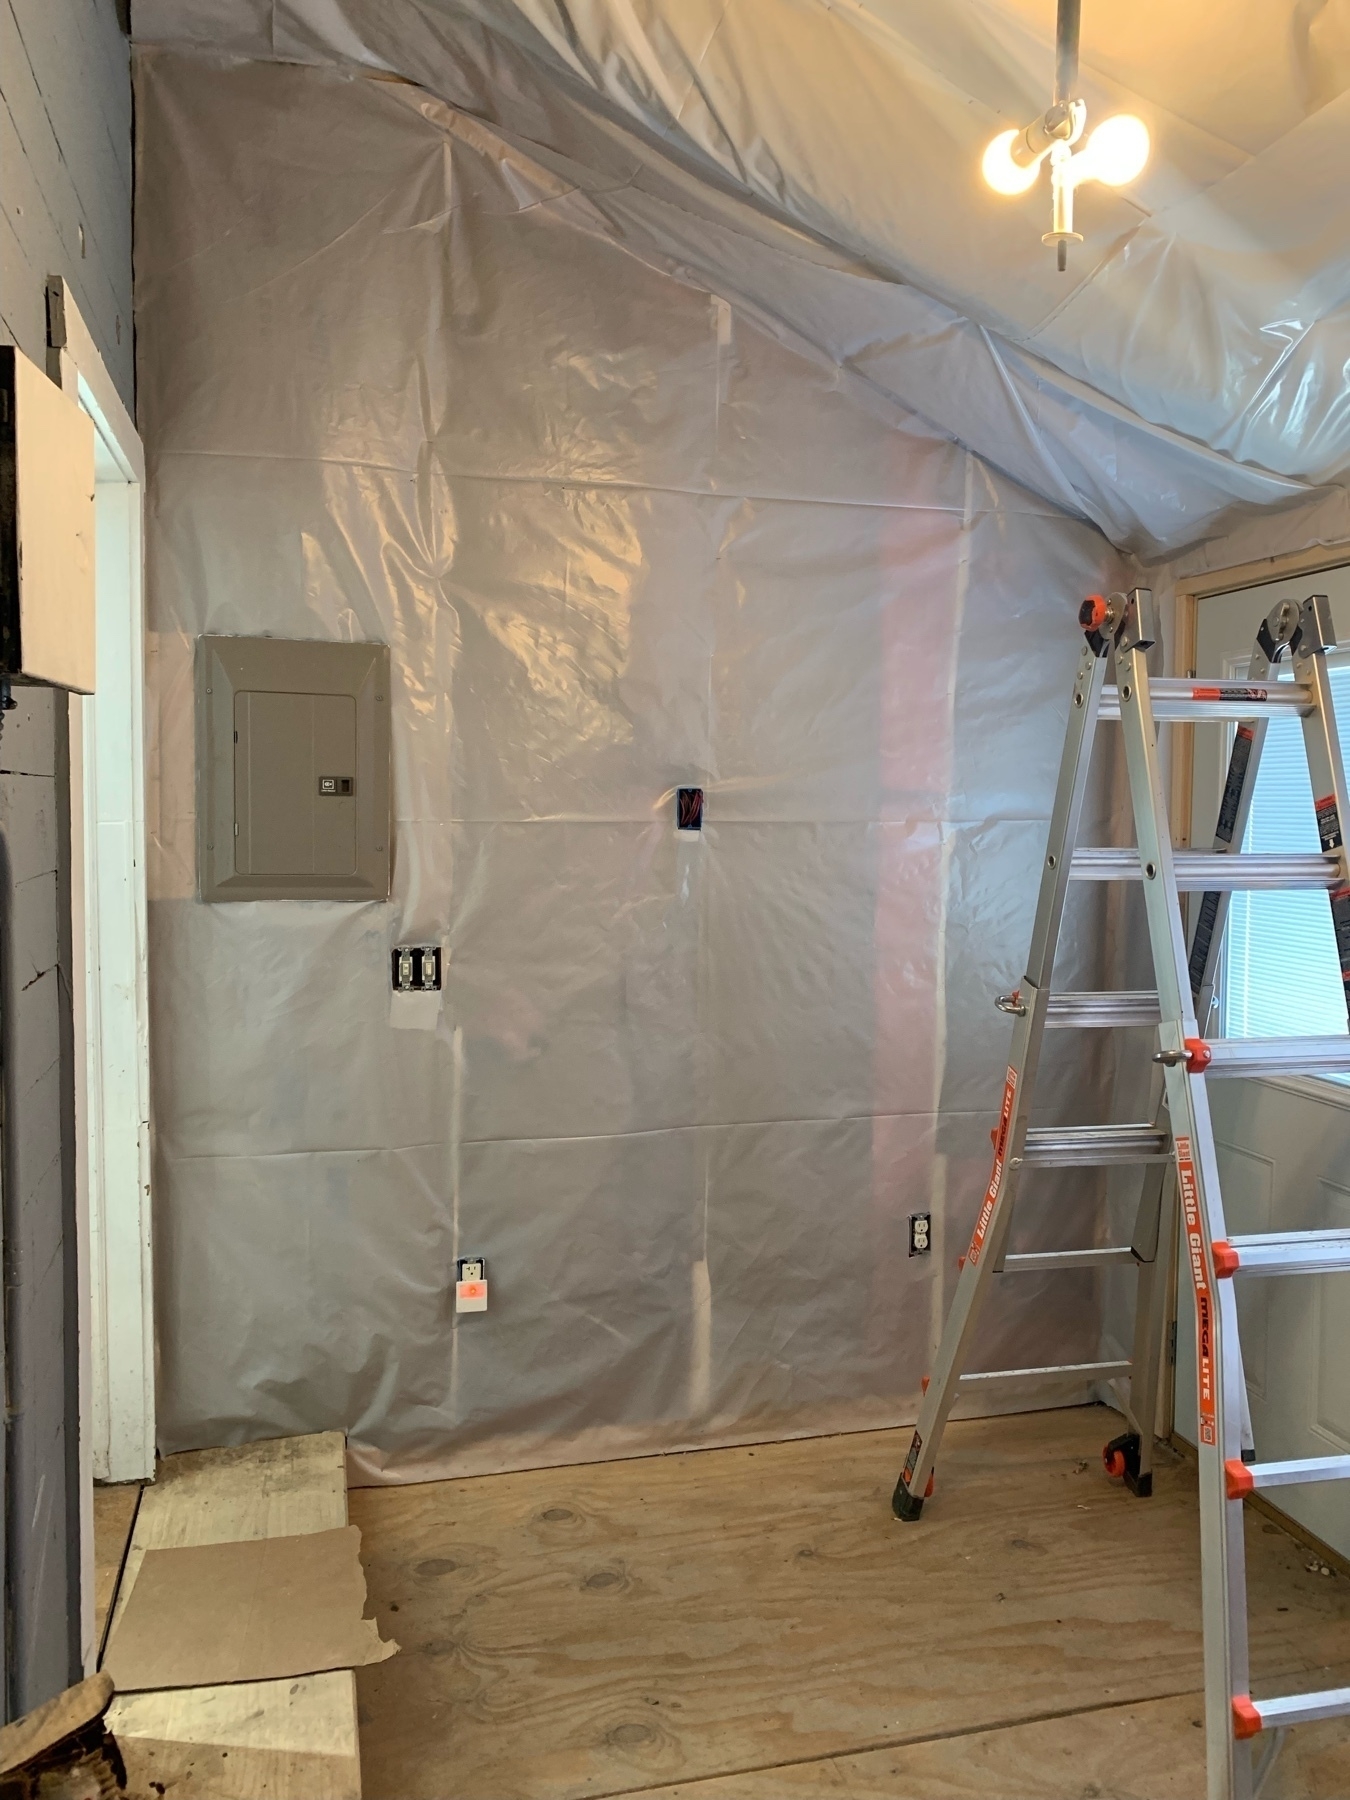
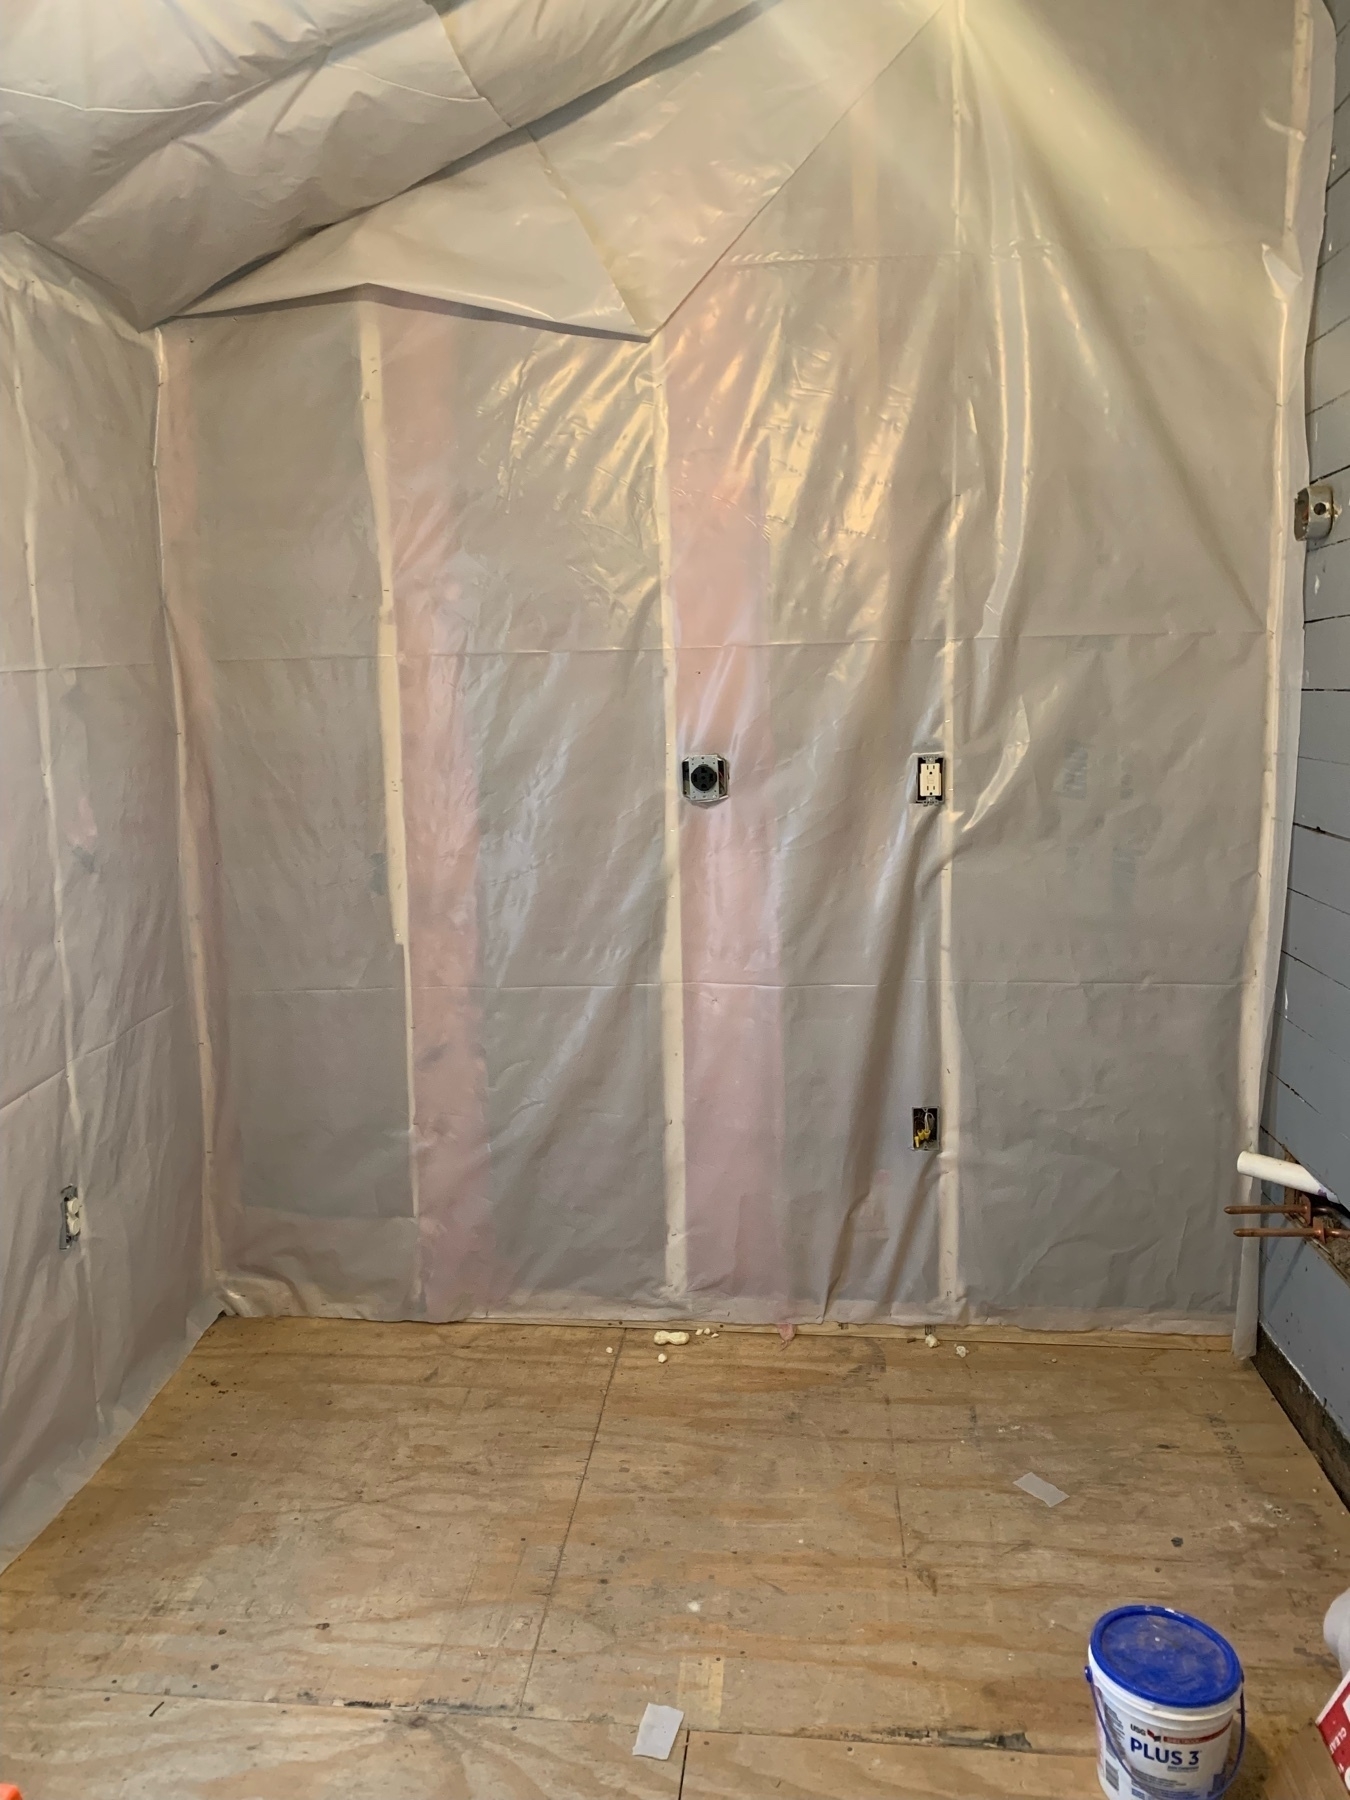
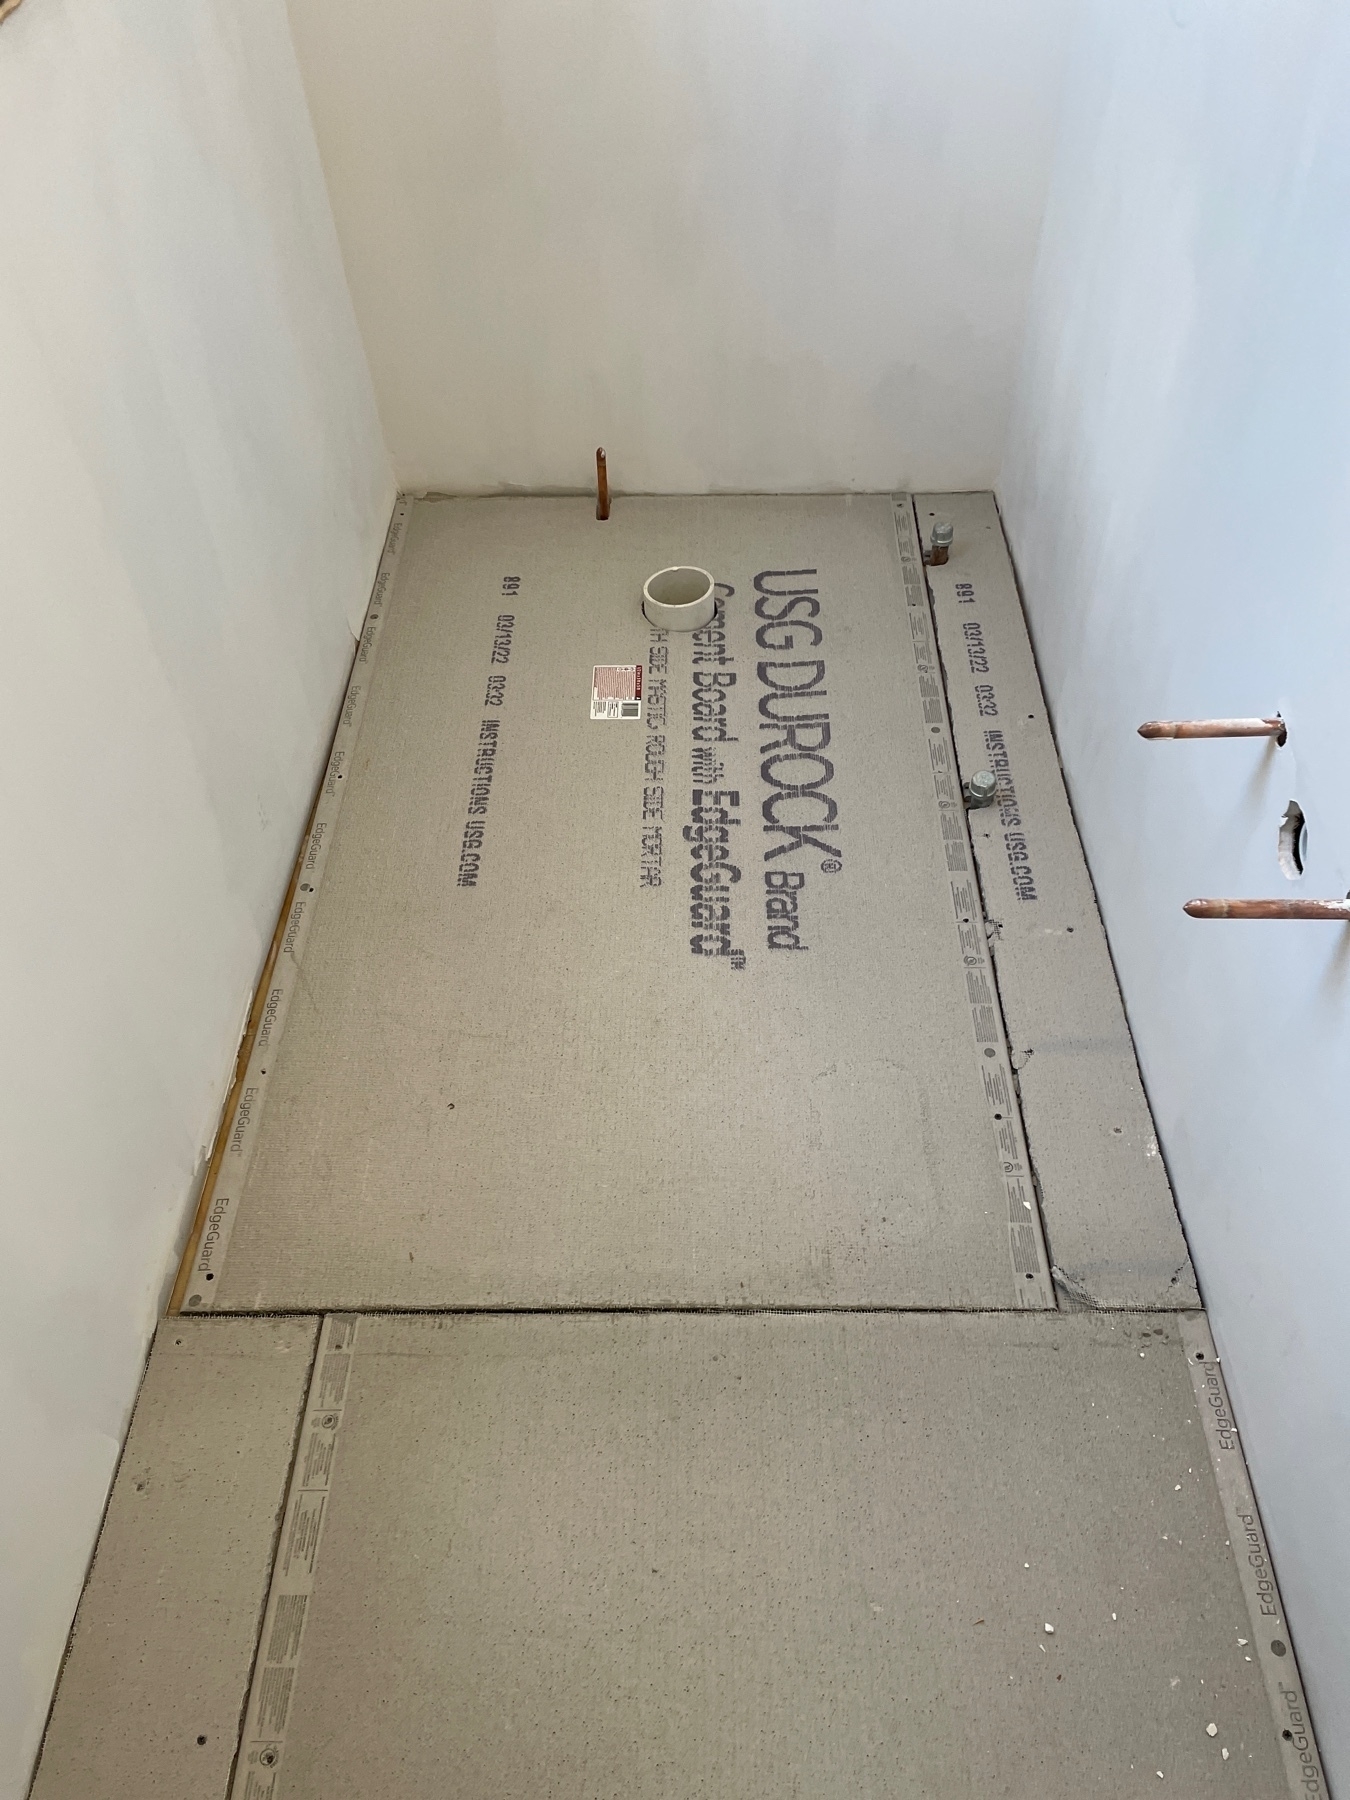
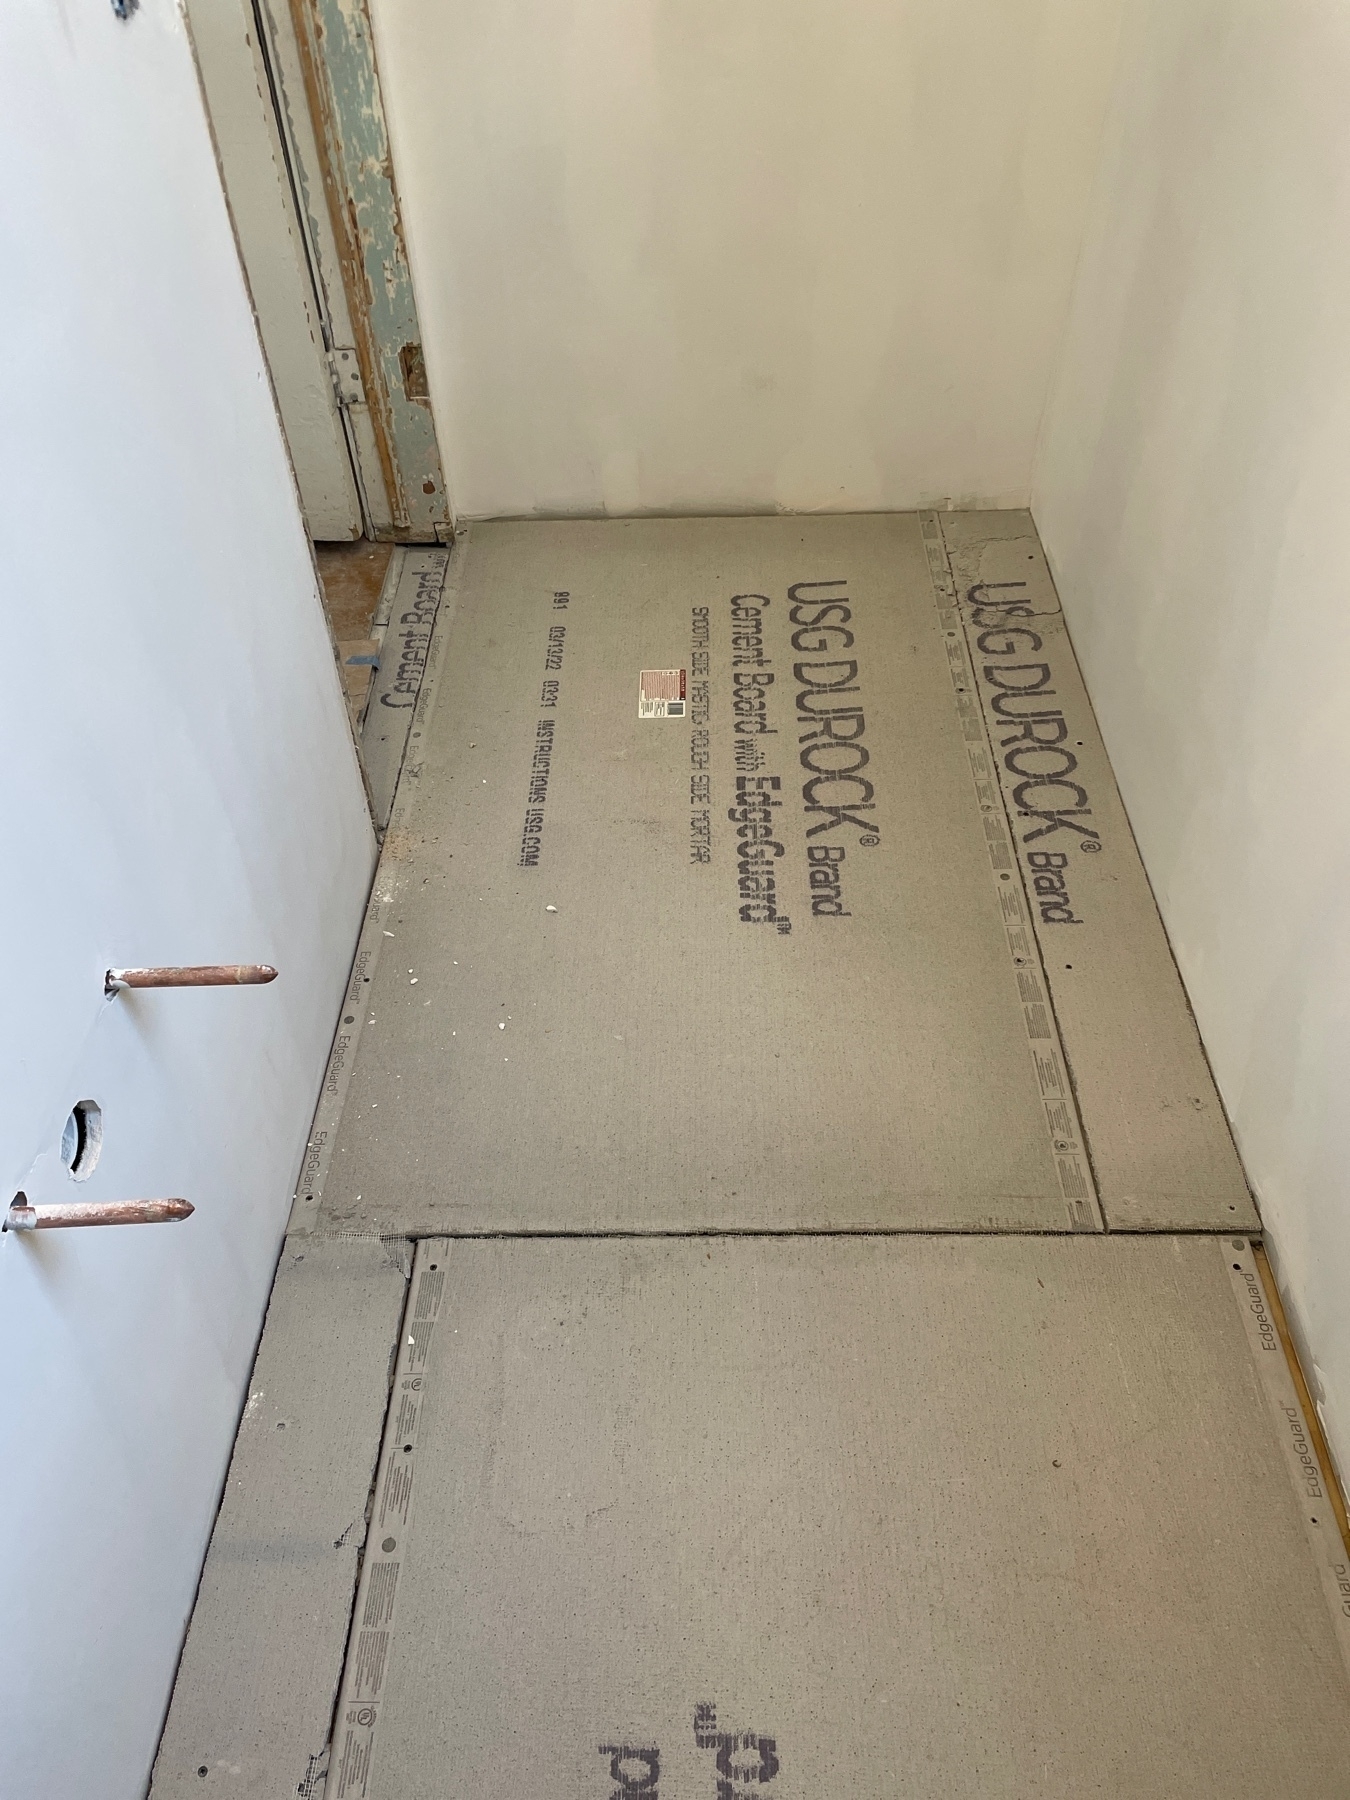
Some progress today on the powder room. Taped and mortared the cement board seams, found a tile that will work, and figured out the paint color for the Powder Room.
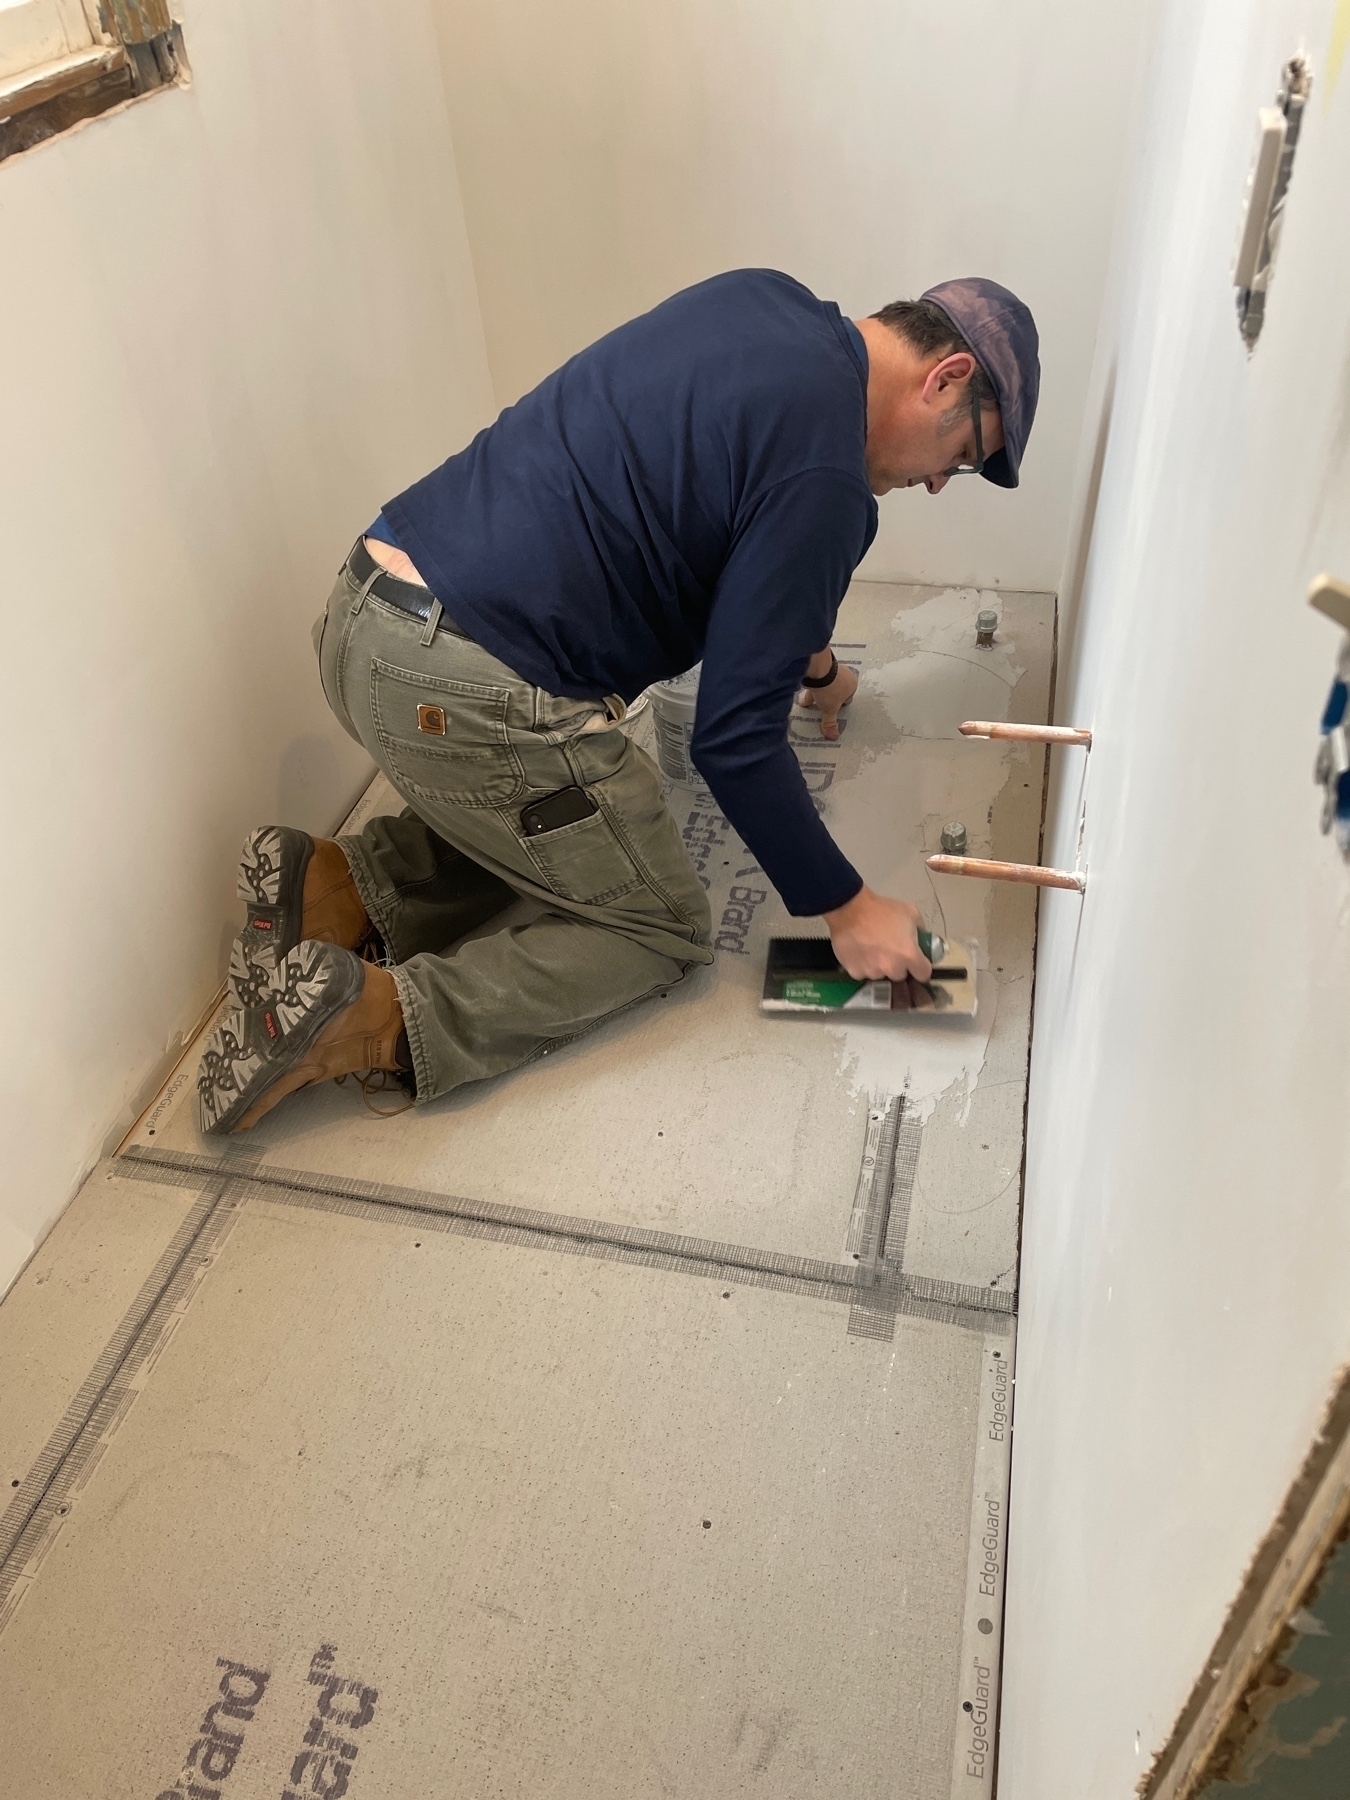
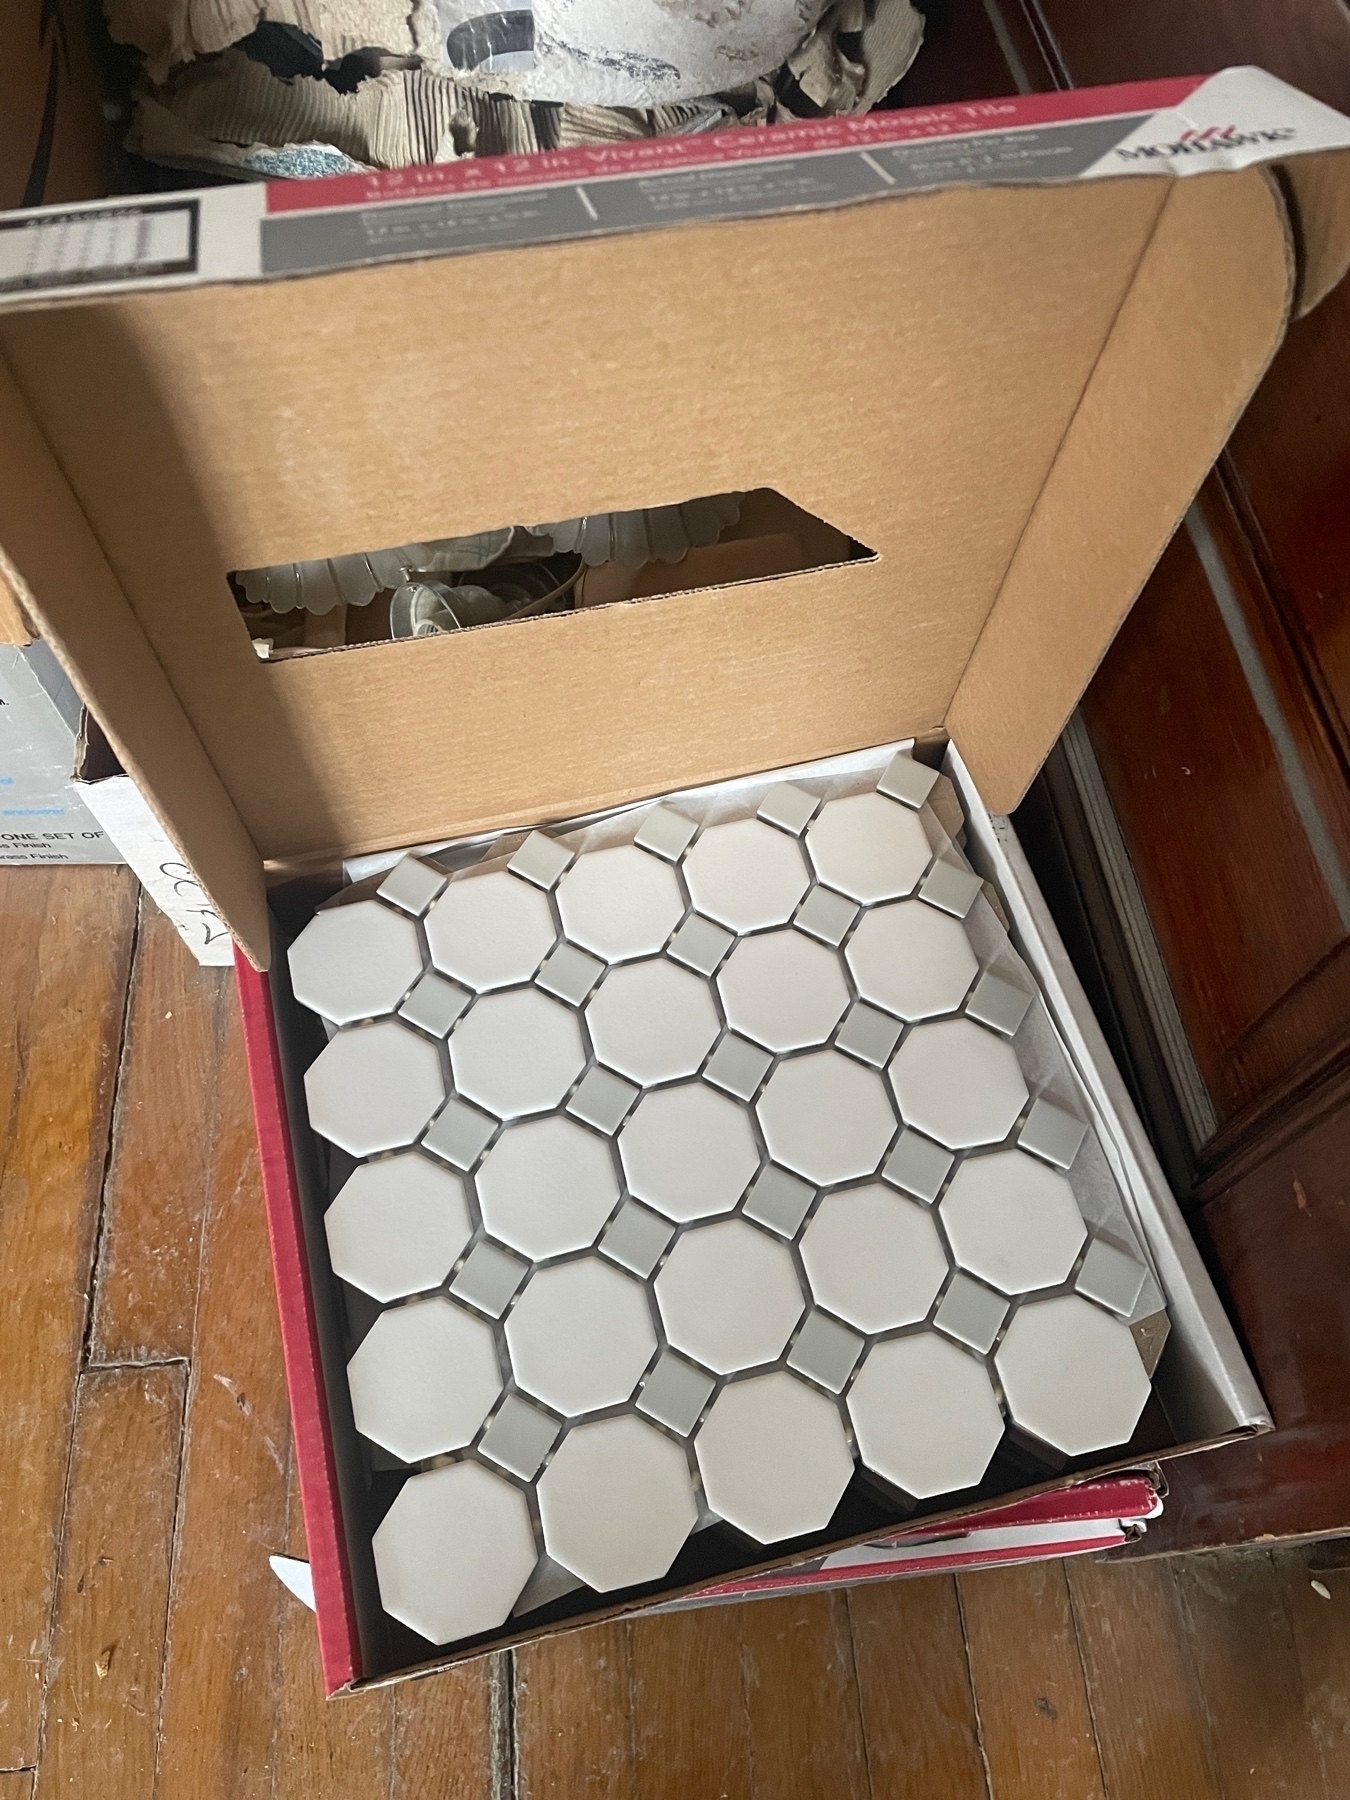
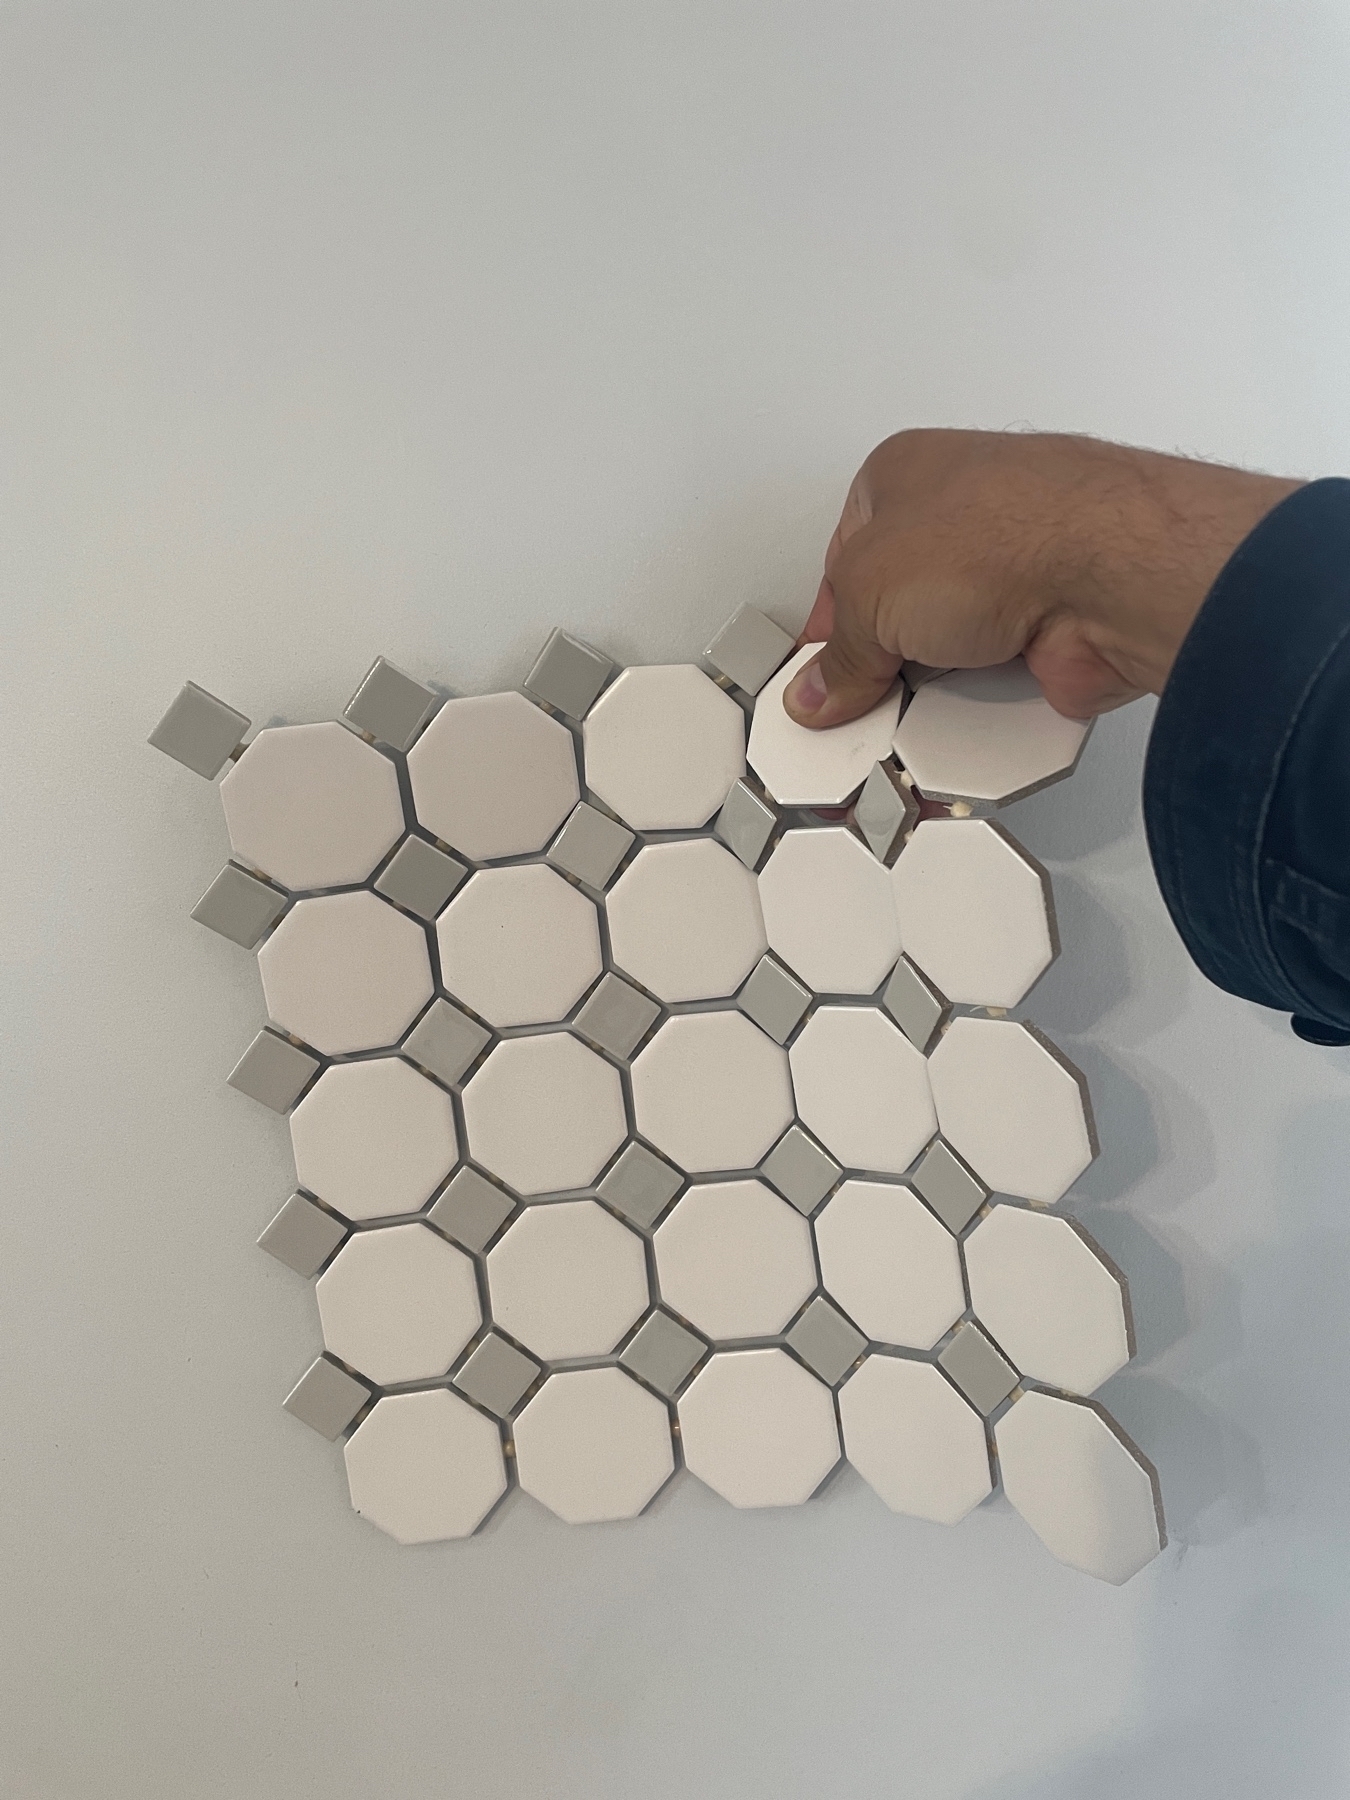
Got the cement board installed in the powder room so it’s ready for tile. But first, we have to paint, and, we can’t choose a paint until we choose the tile.
Dependencies.
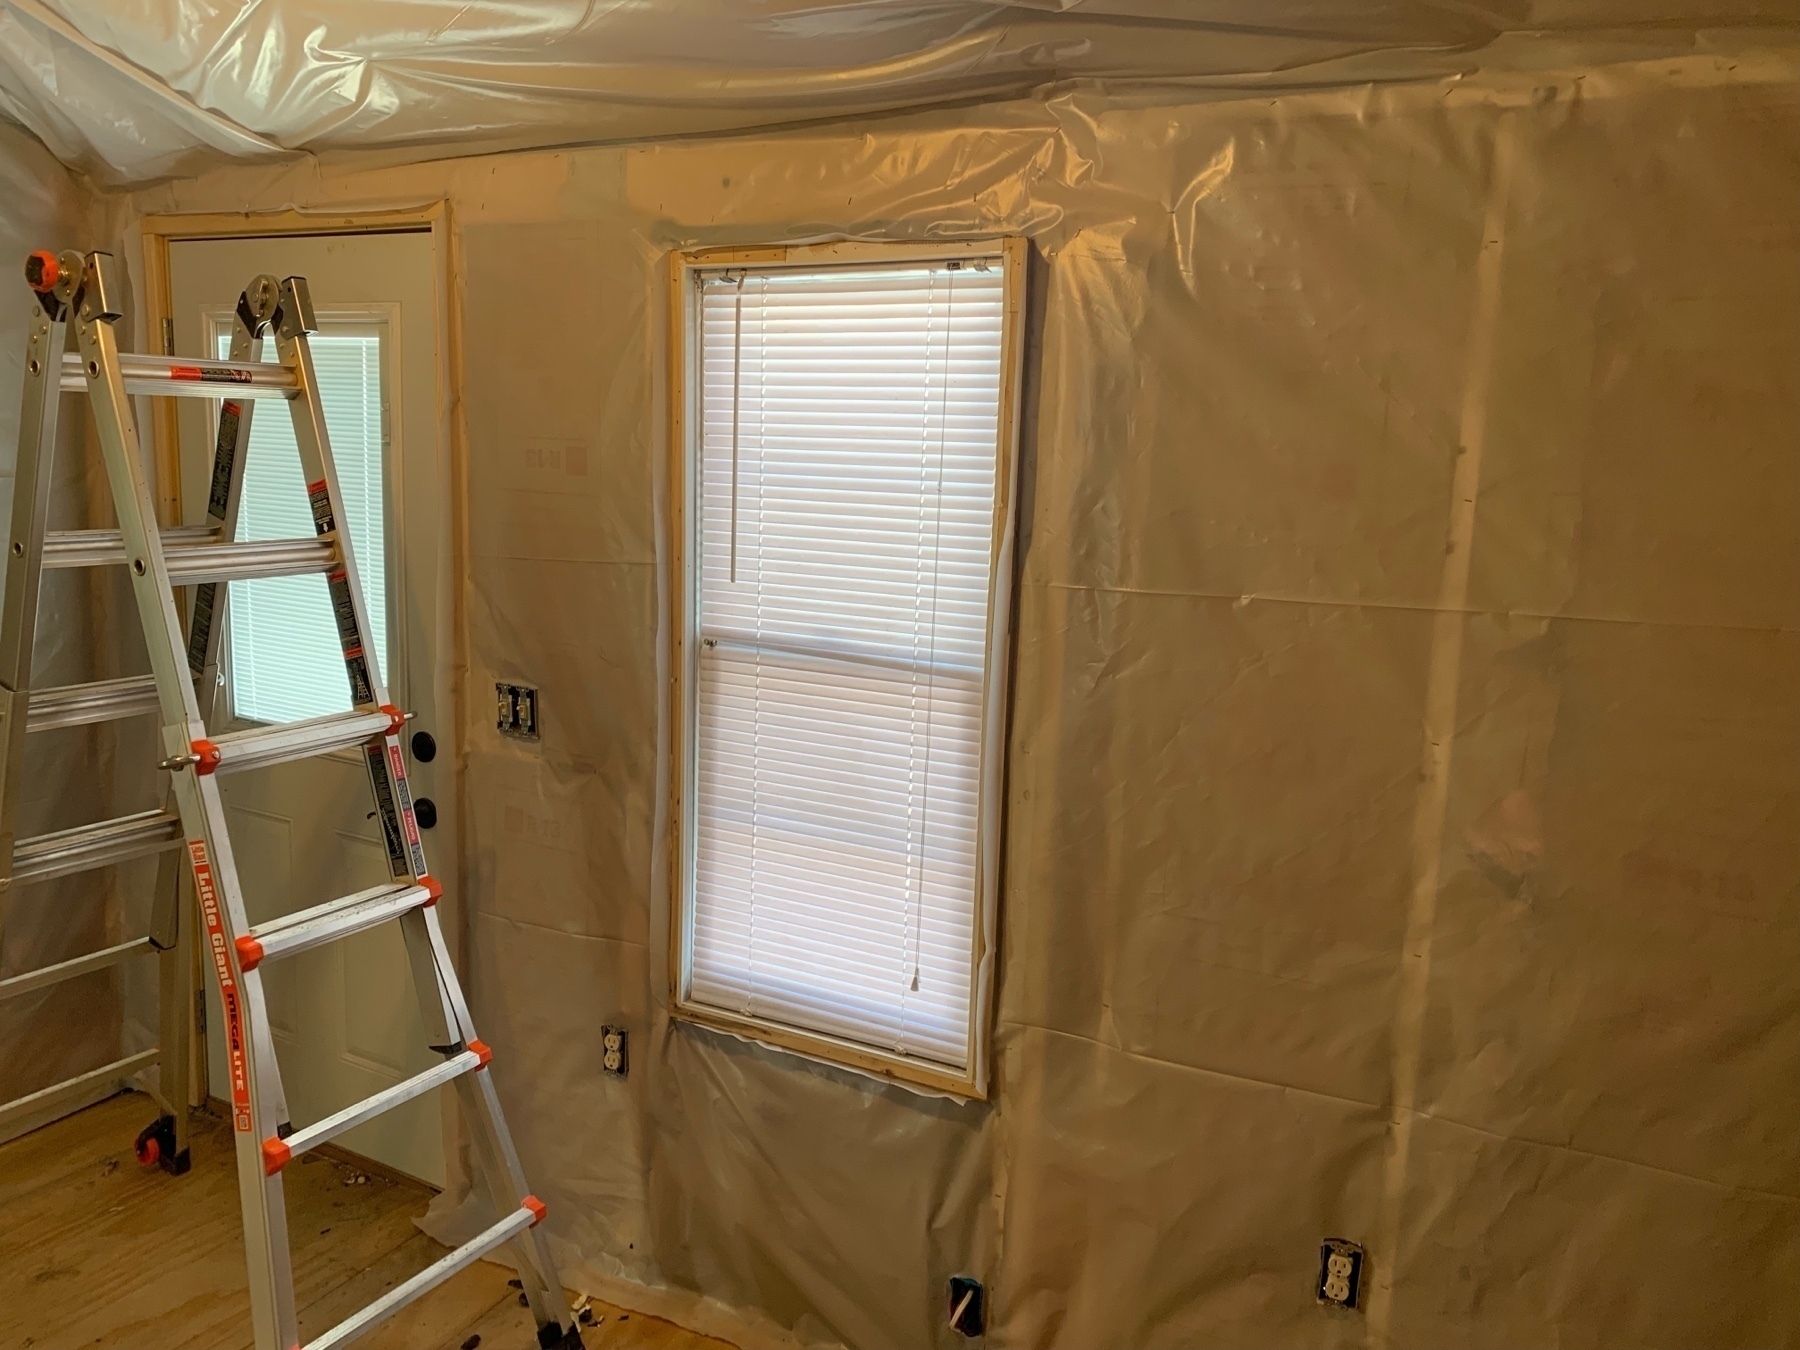
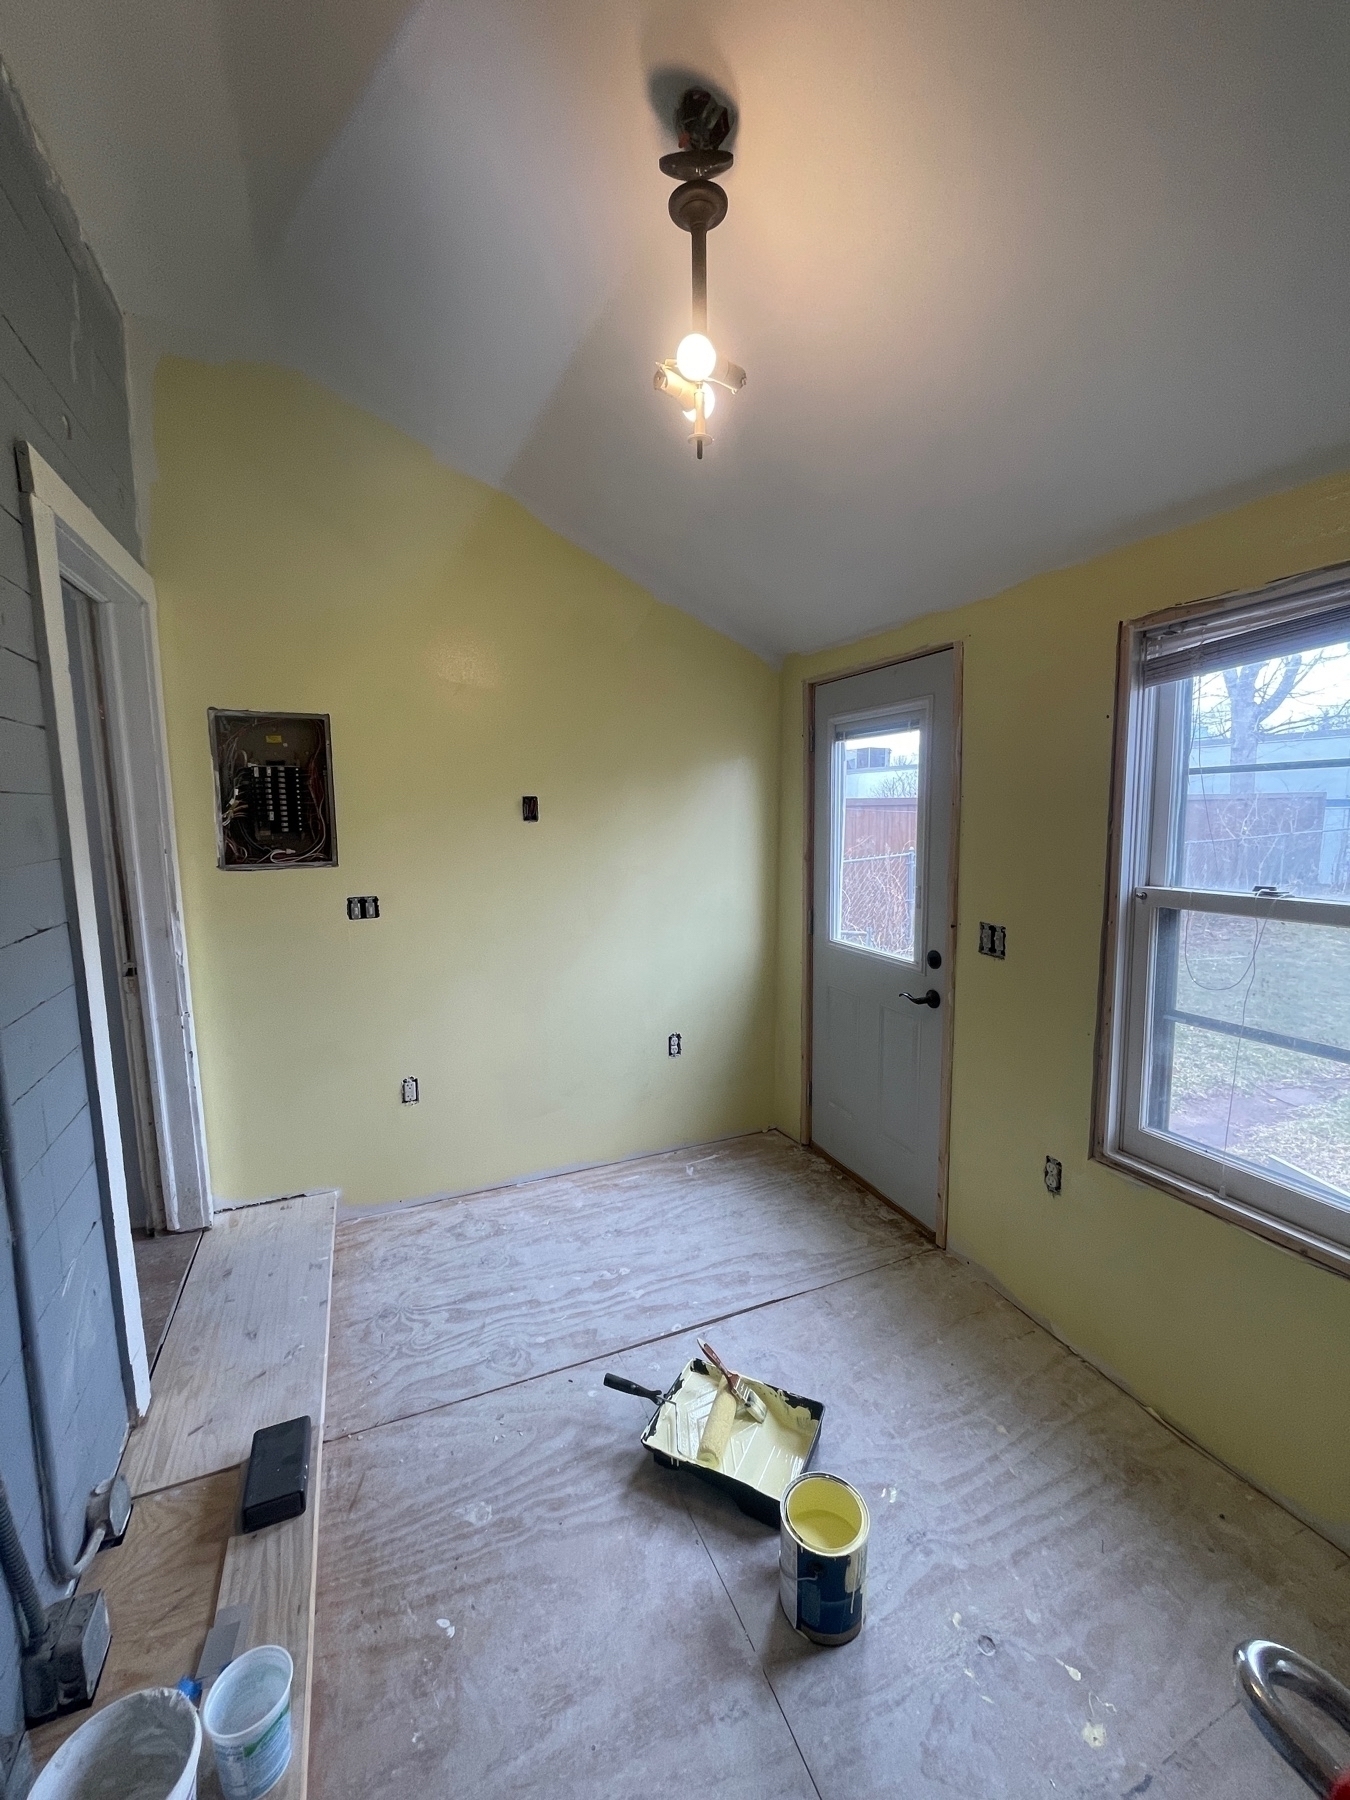
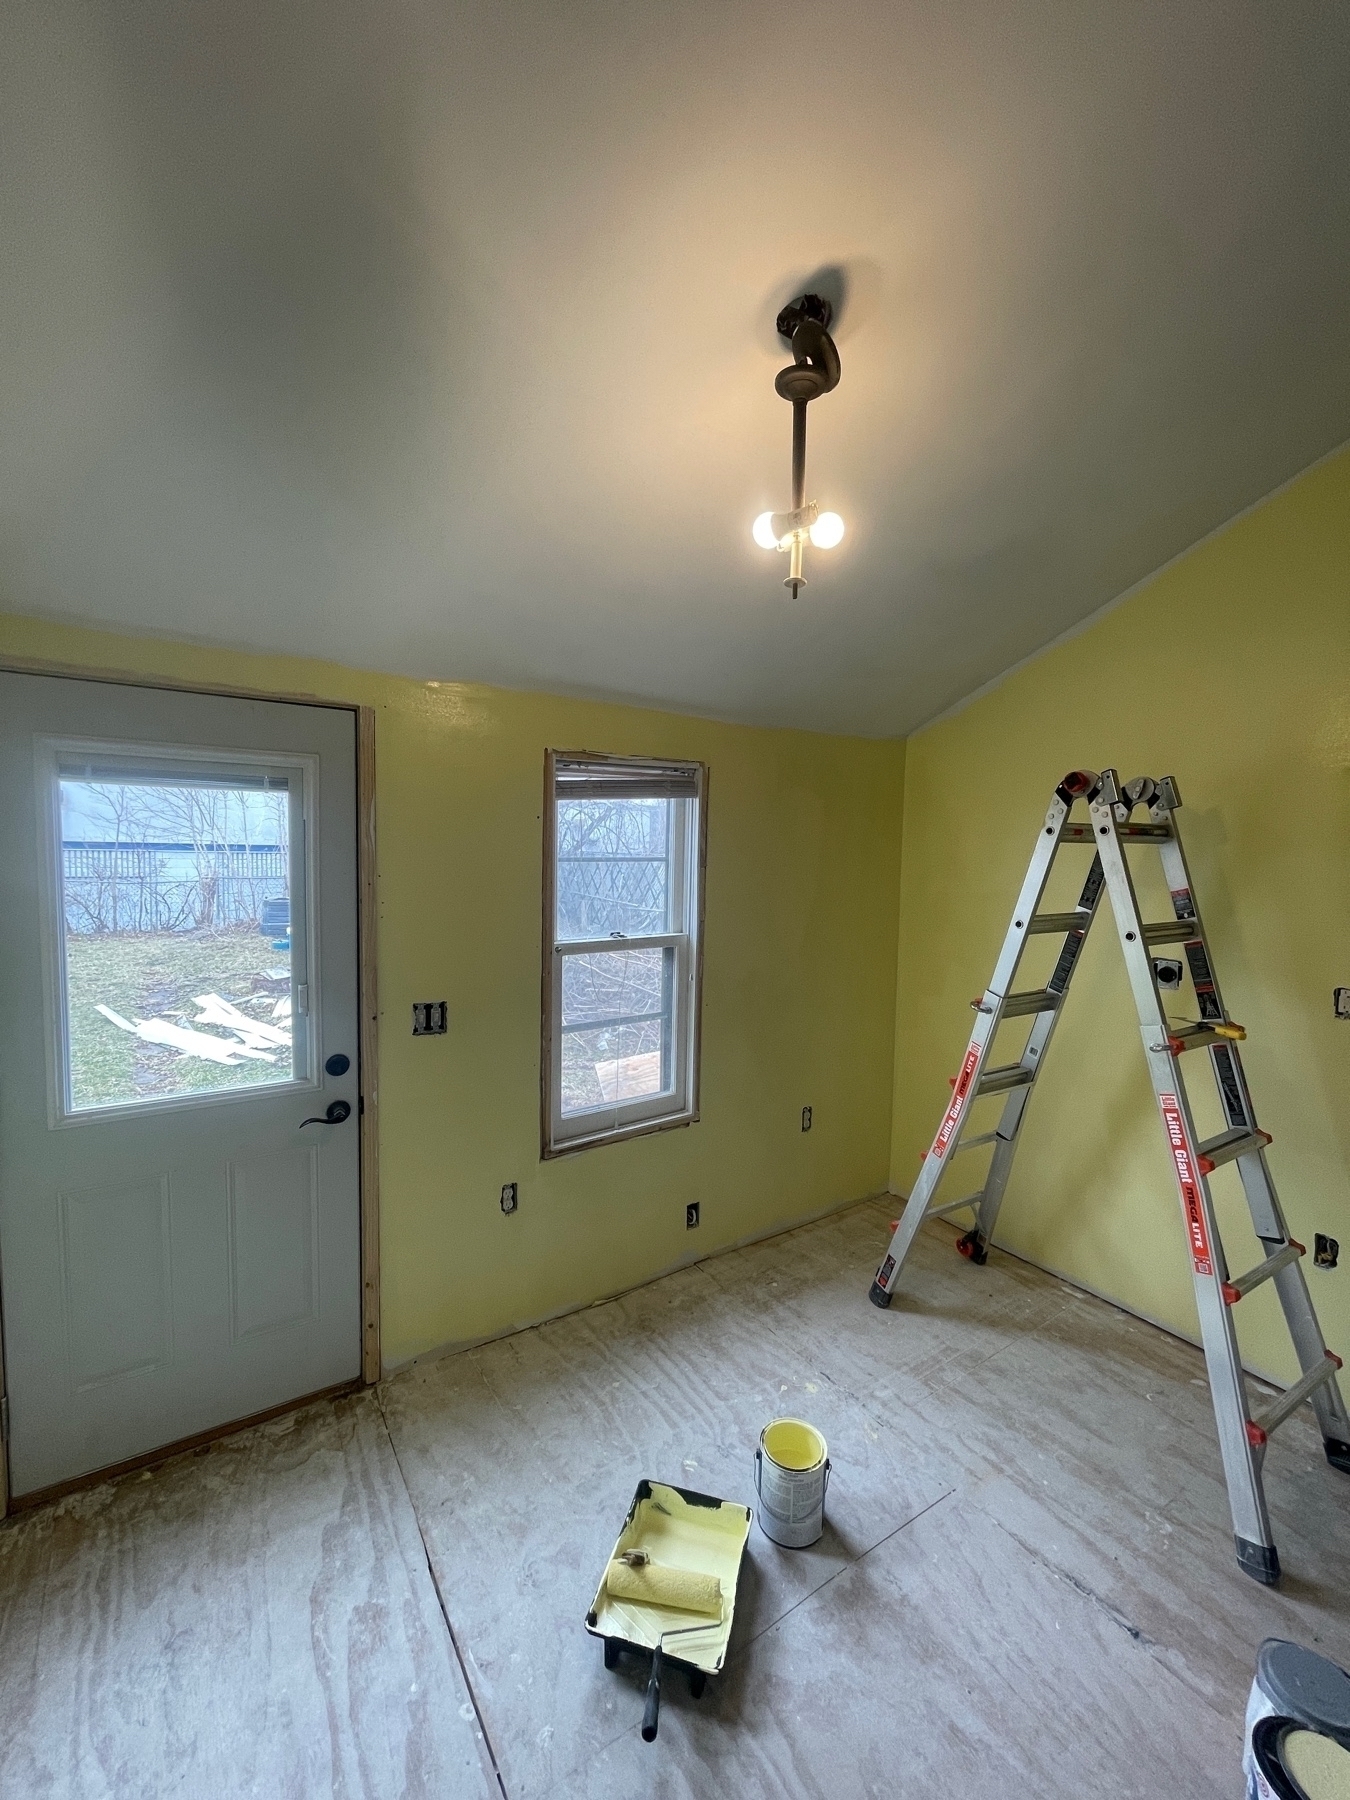
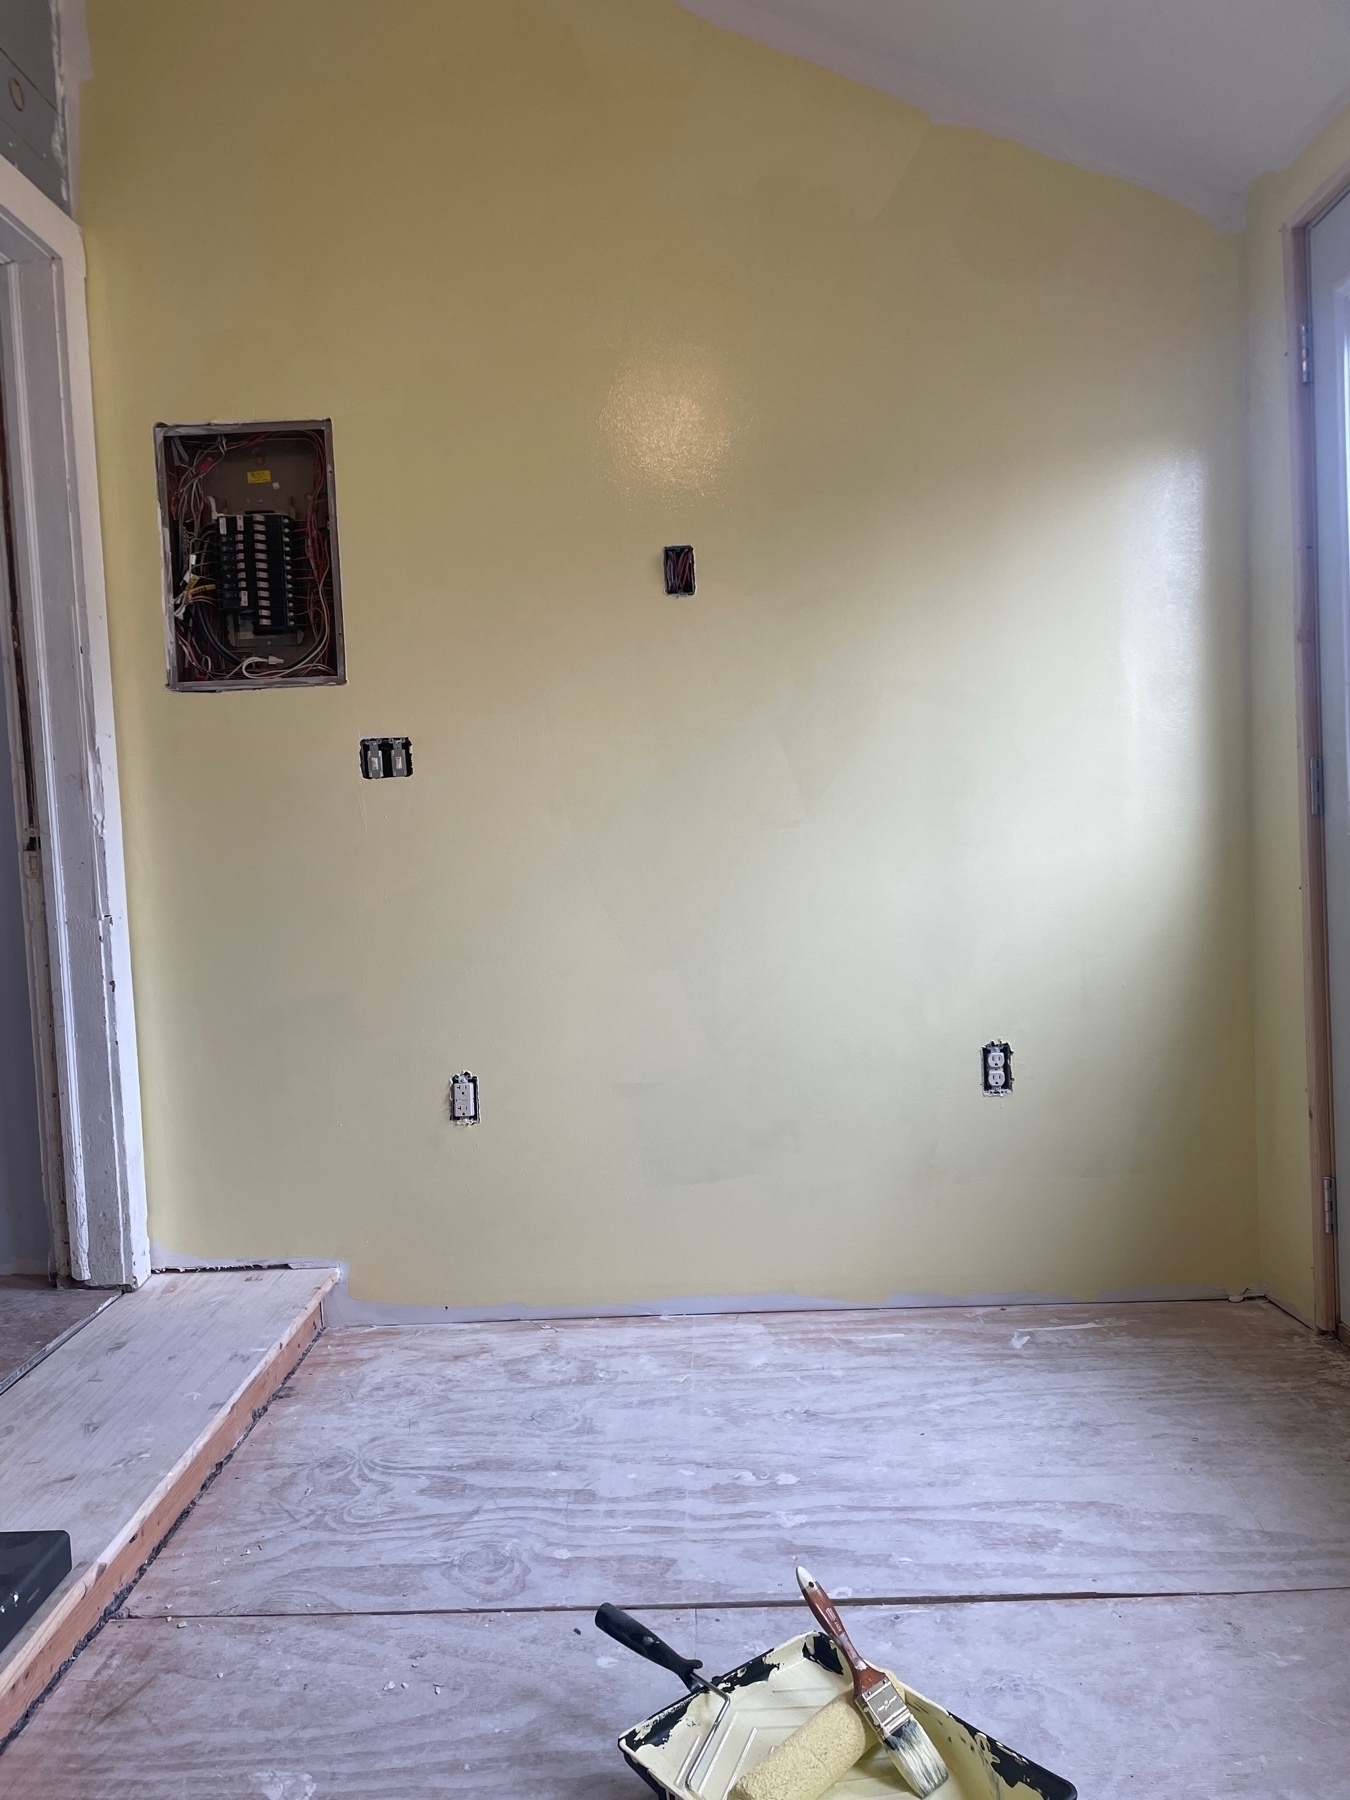
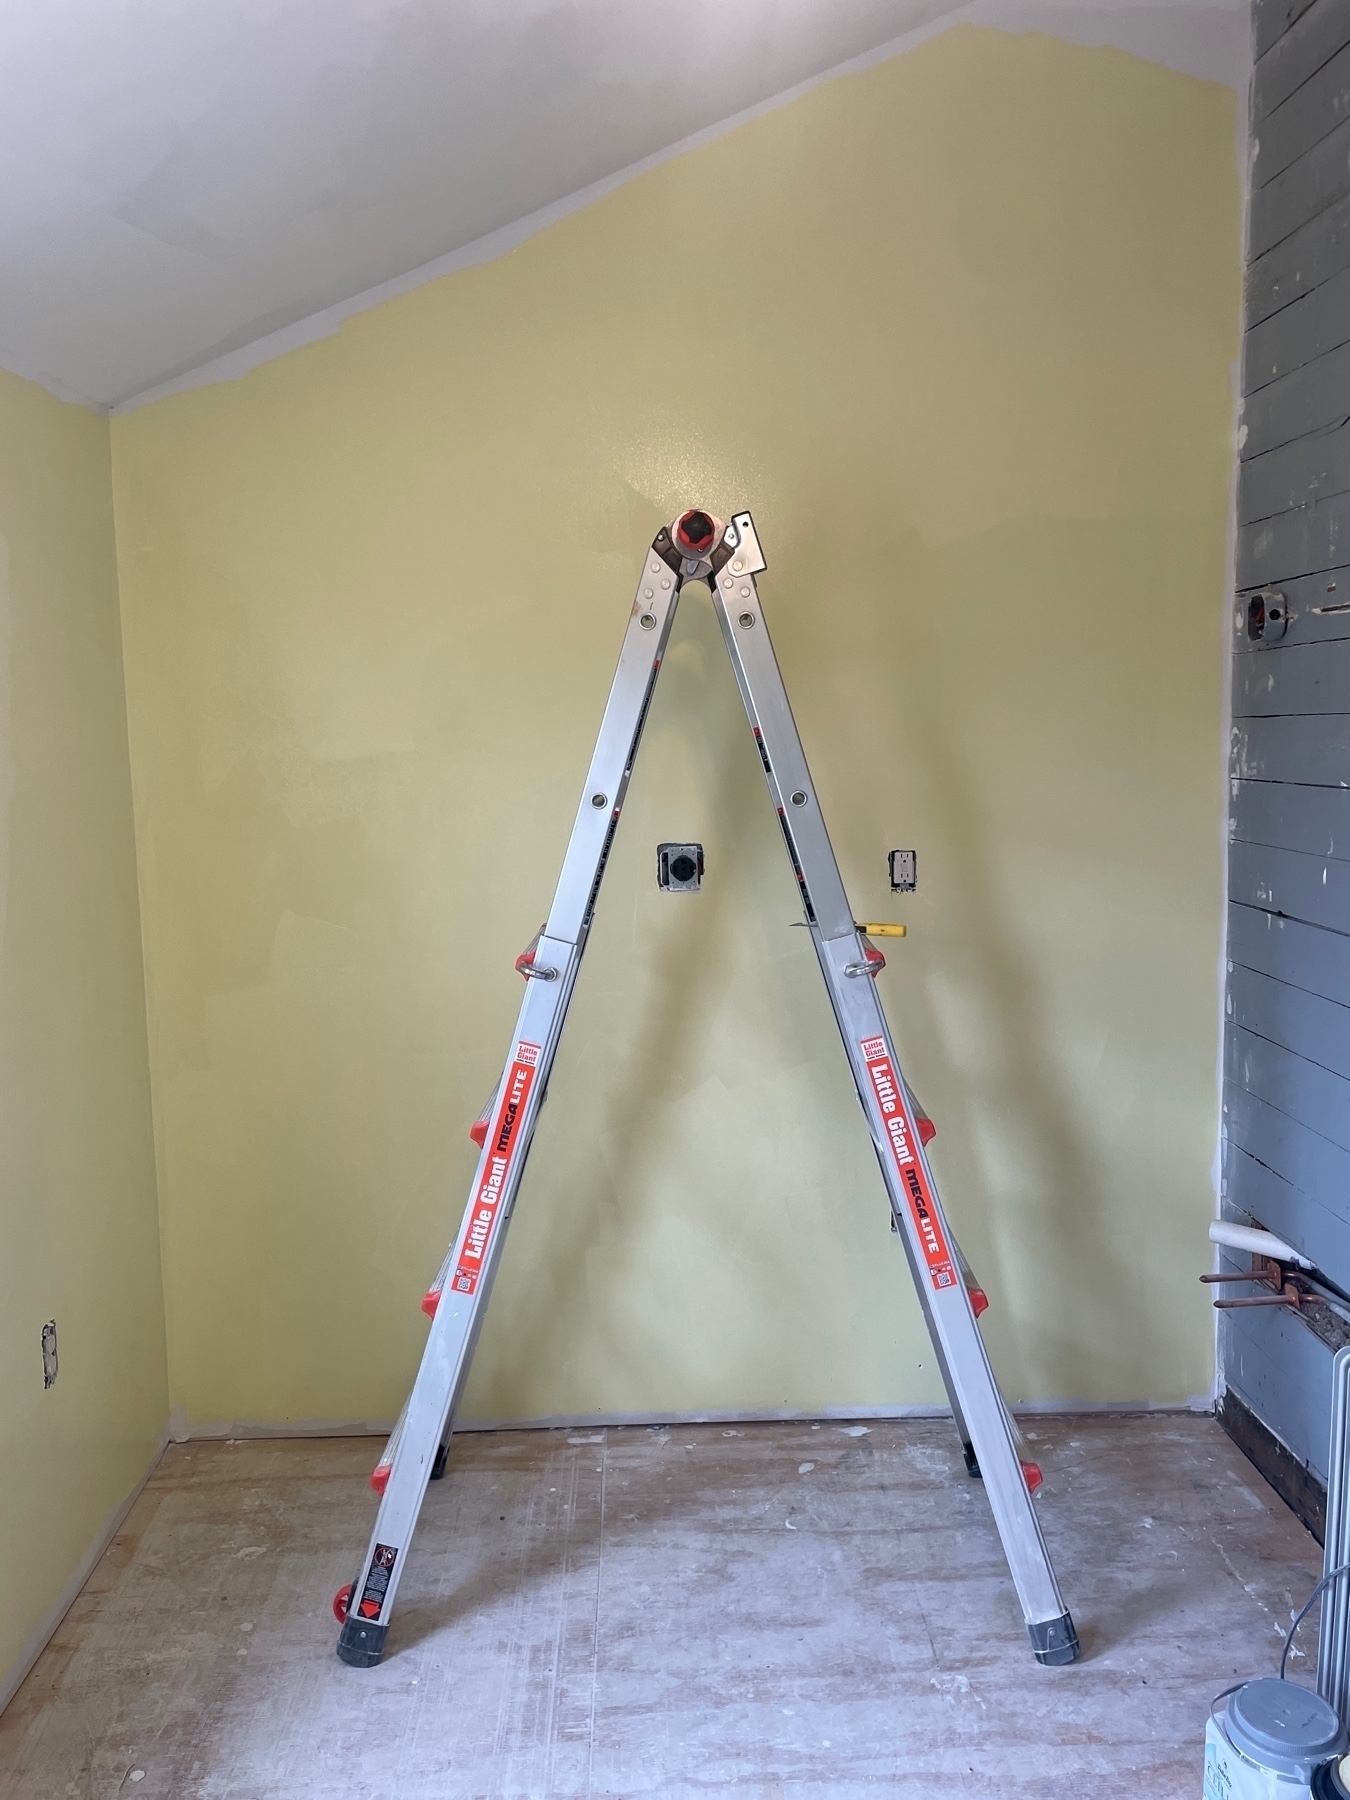
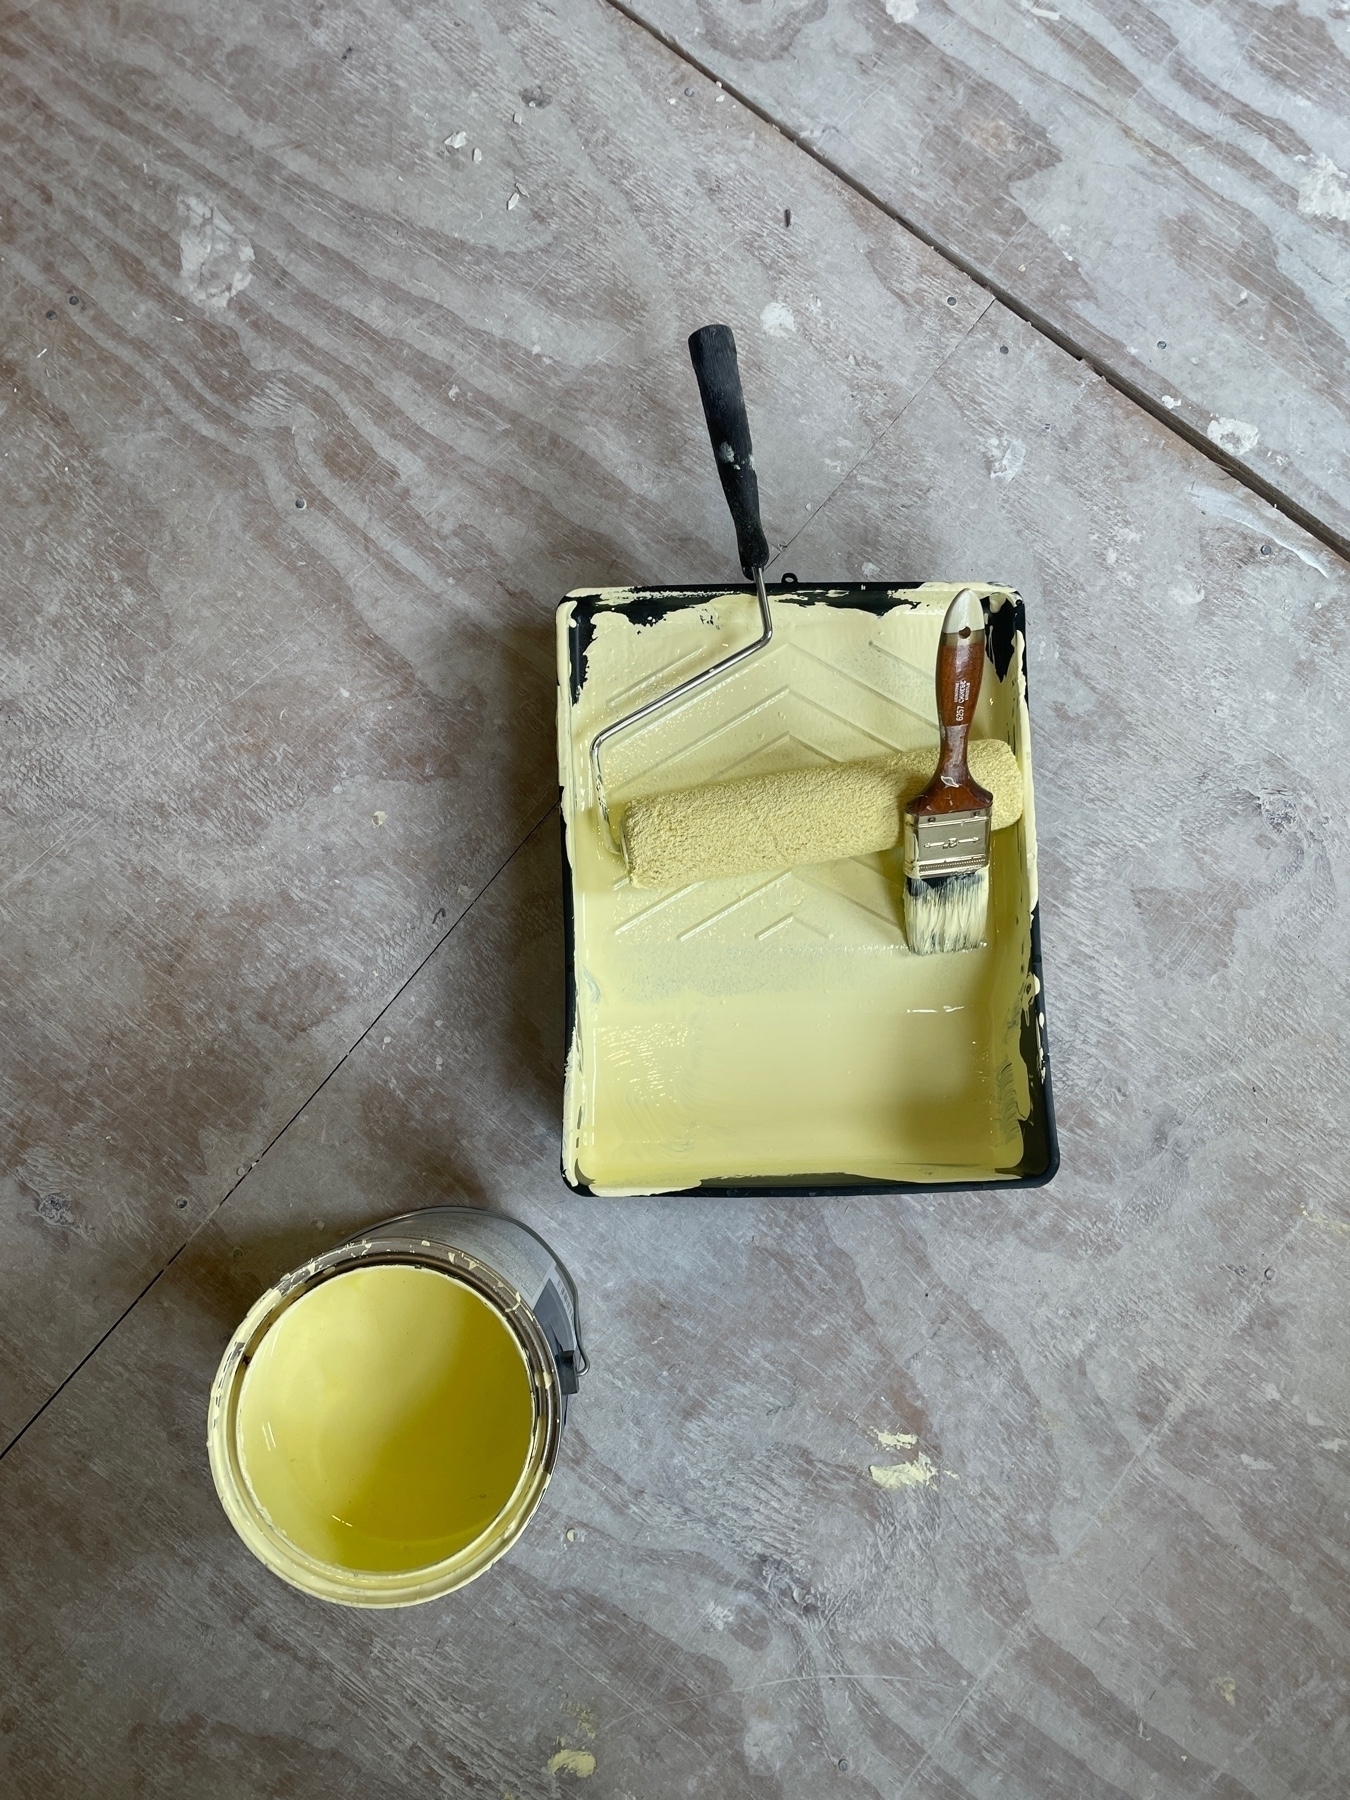
Can’t quite decide if this color for the mudroom is more “lemon” or “sunny” but I sure do think it’ll make people happy whenever they are in here. Gonna look great with the flooring once it’s in too.
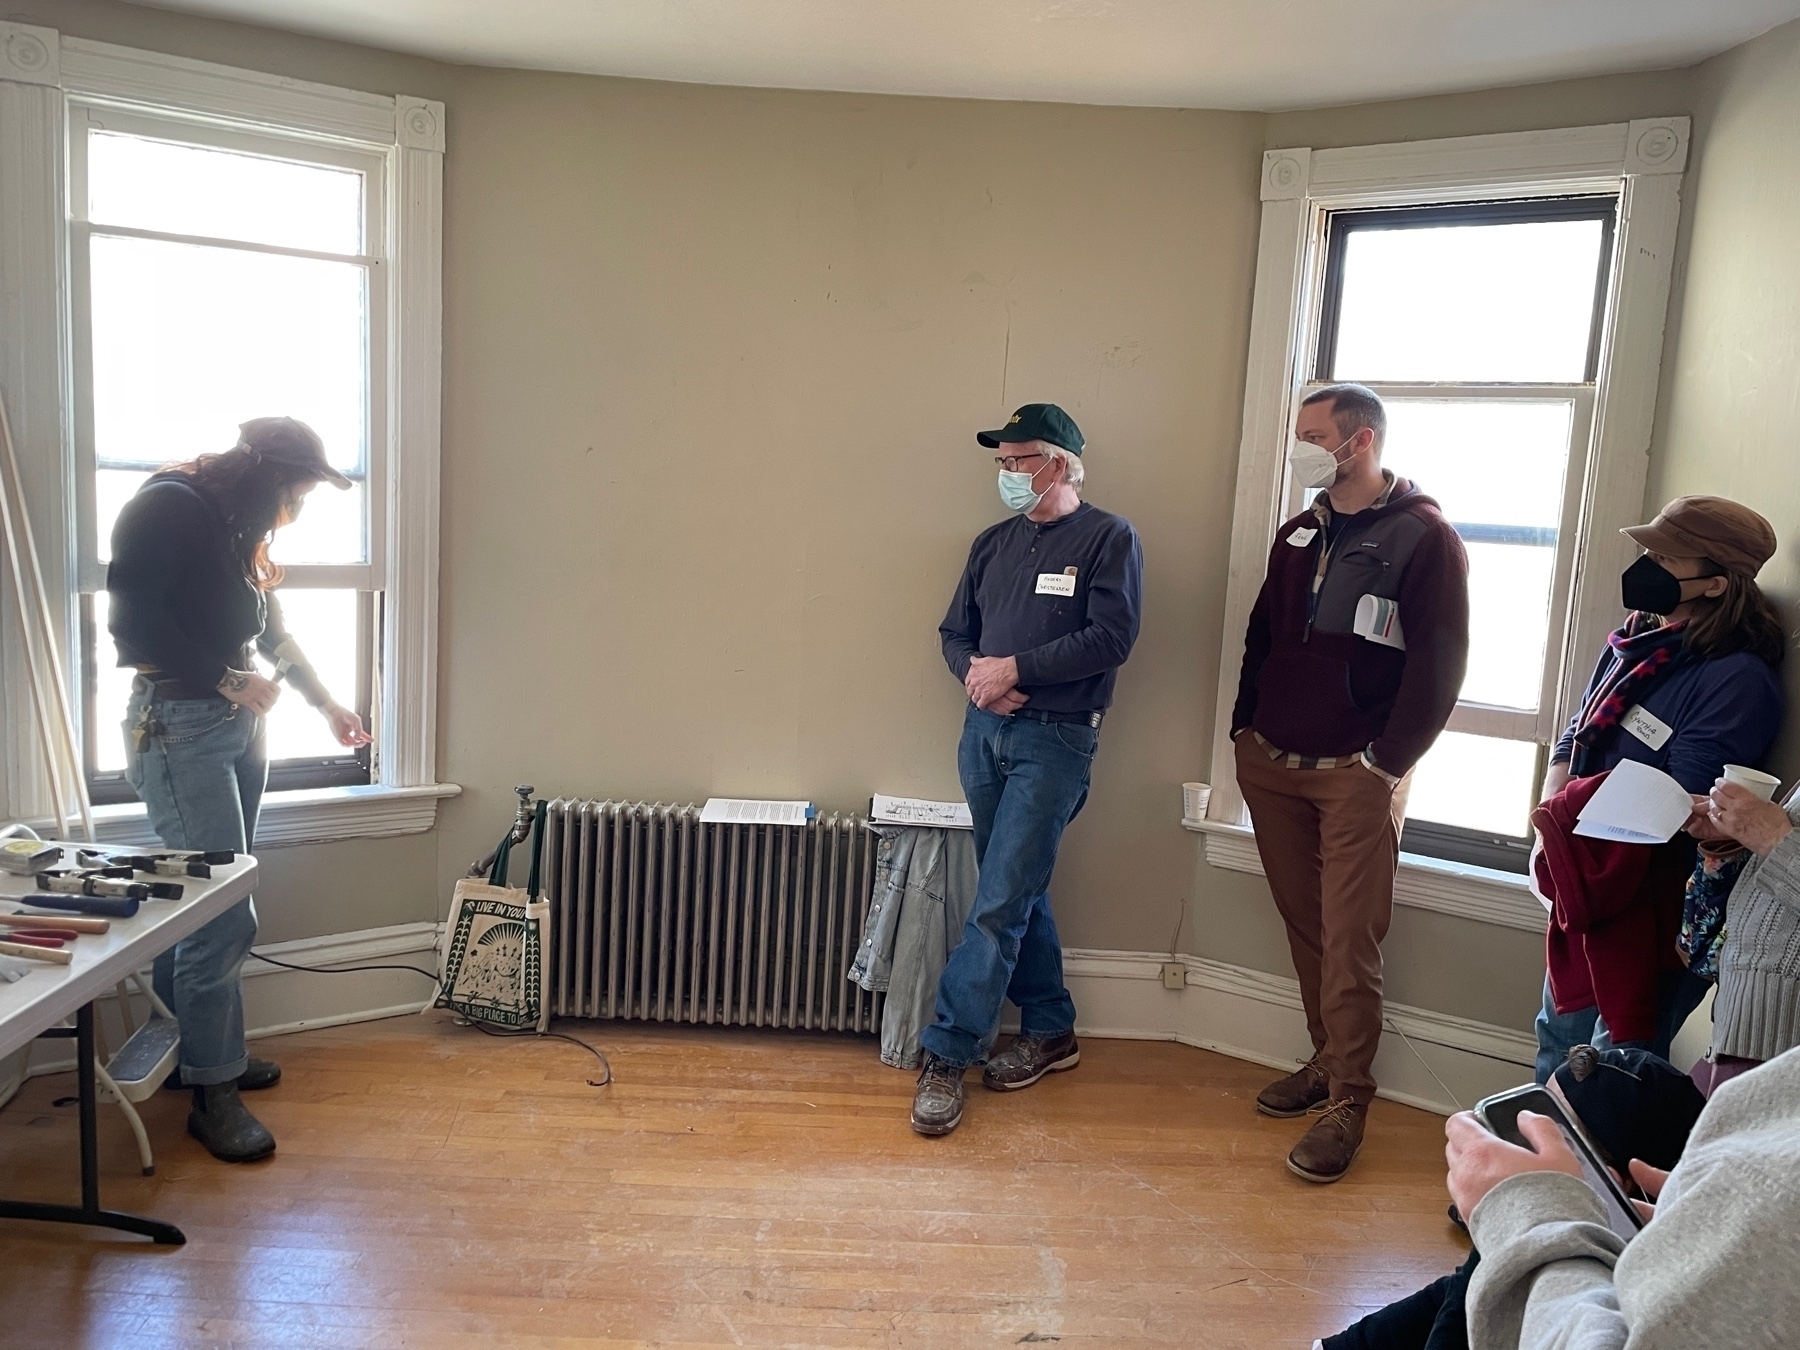
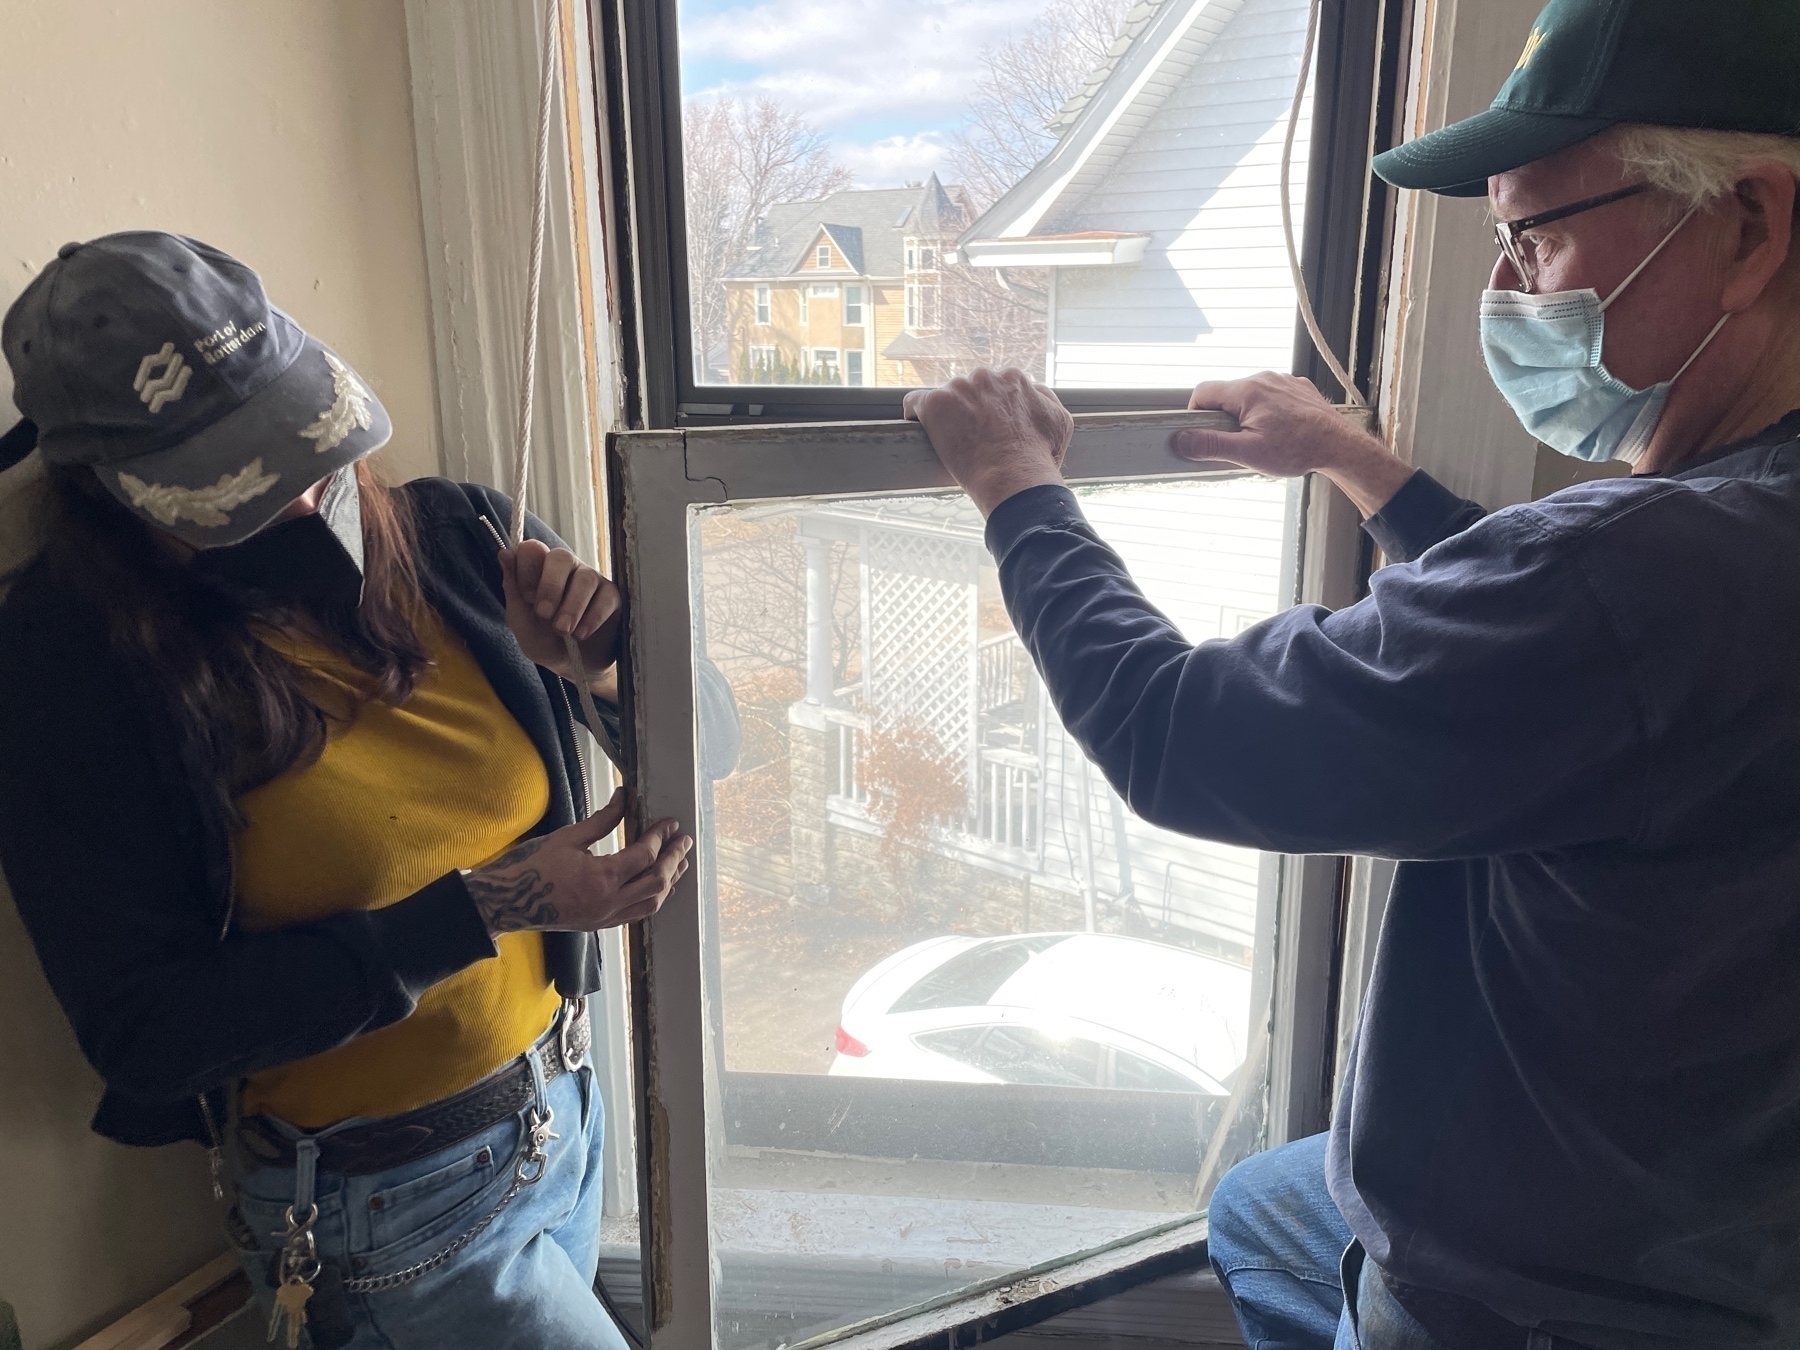
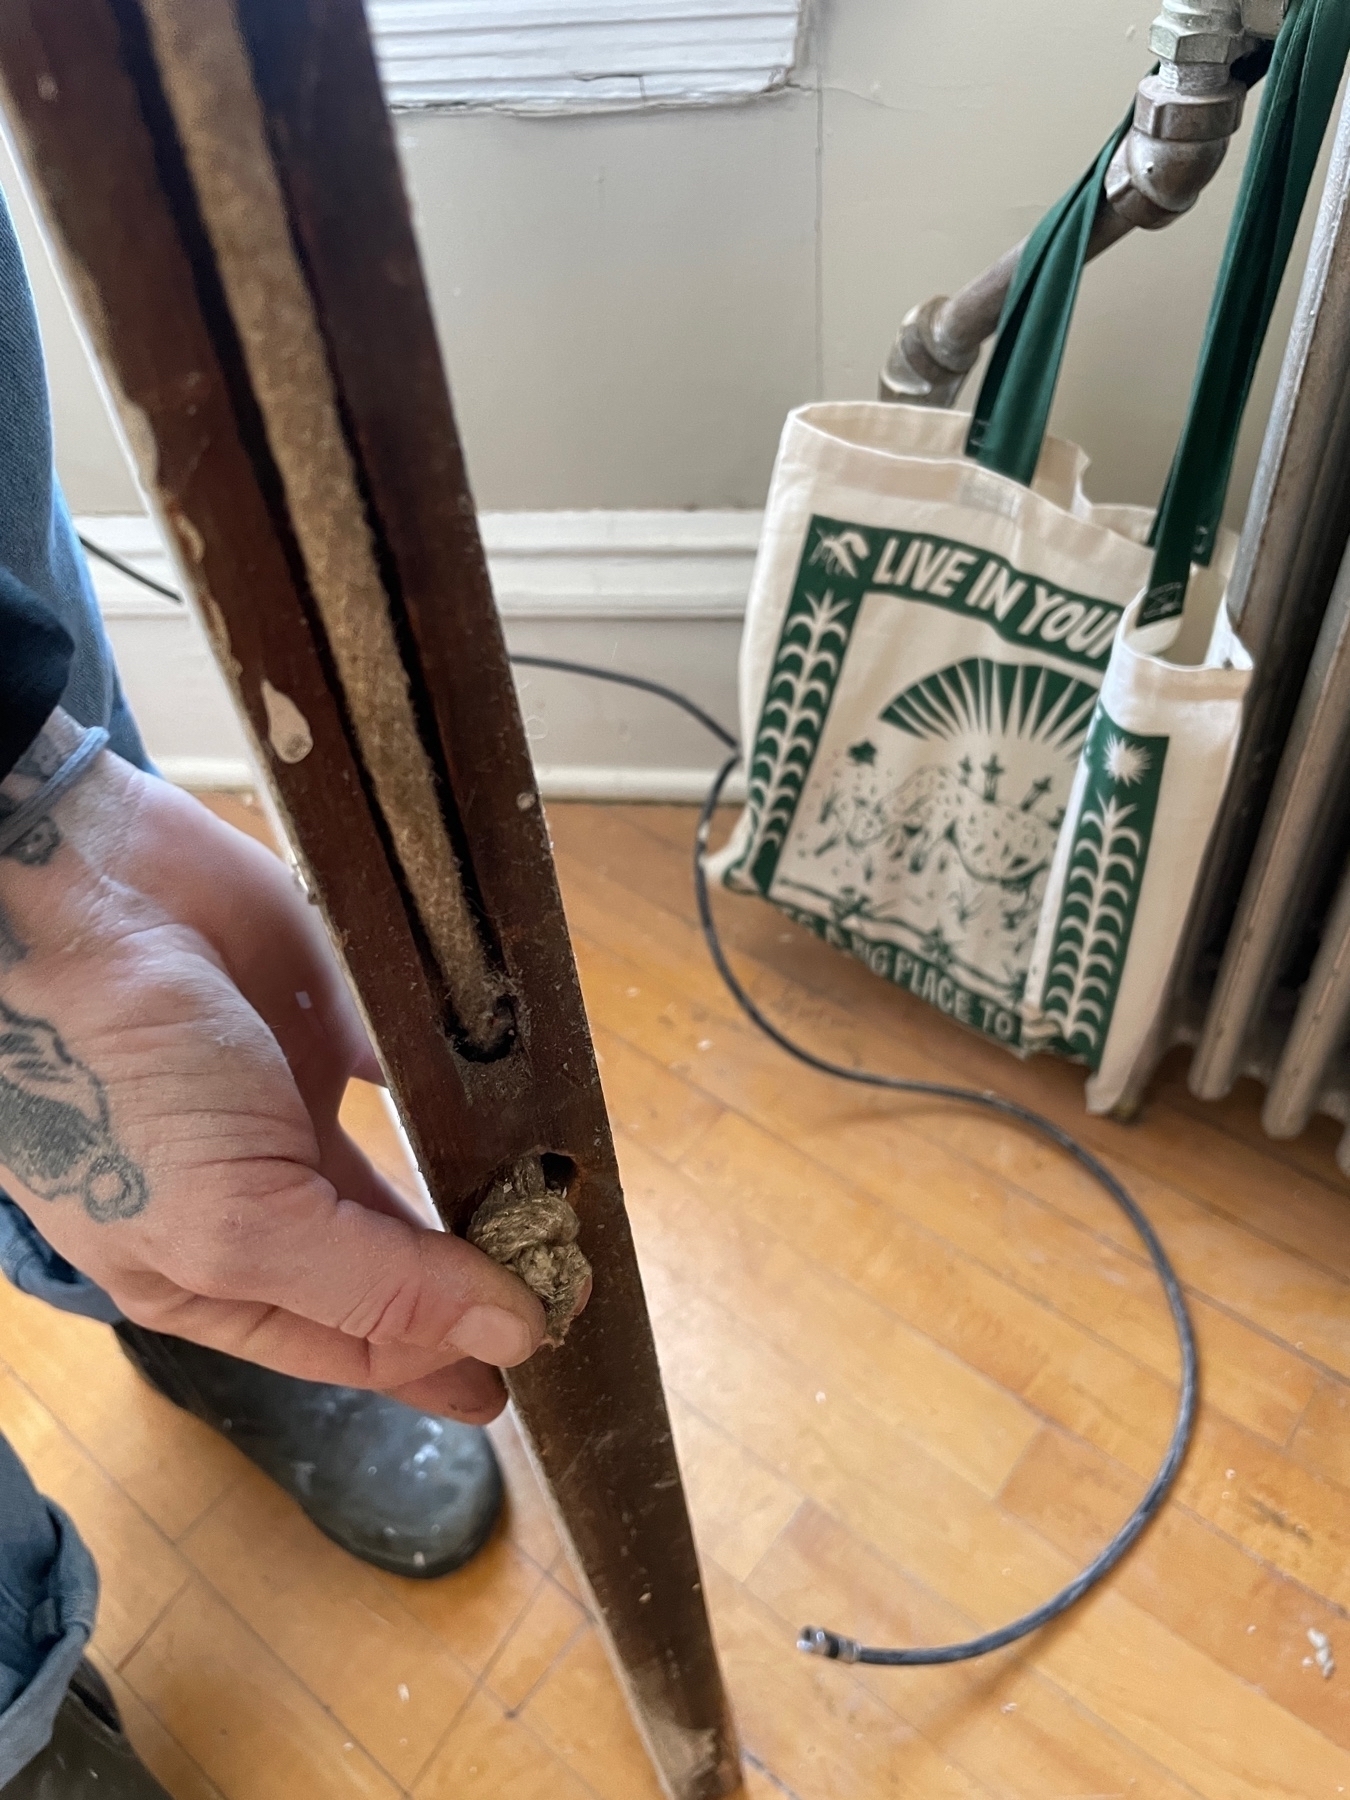
This past weekend, our friends at Rethos organized a class at Hague on repairing and re-roping old windows led by Olivia of Tiger Ox Painting. I learned a lot.
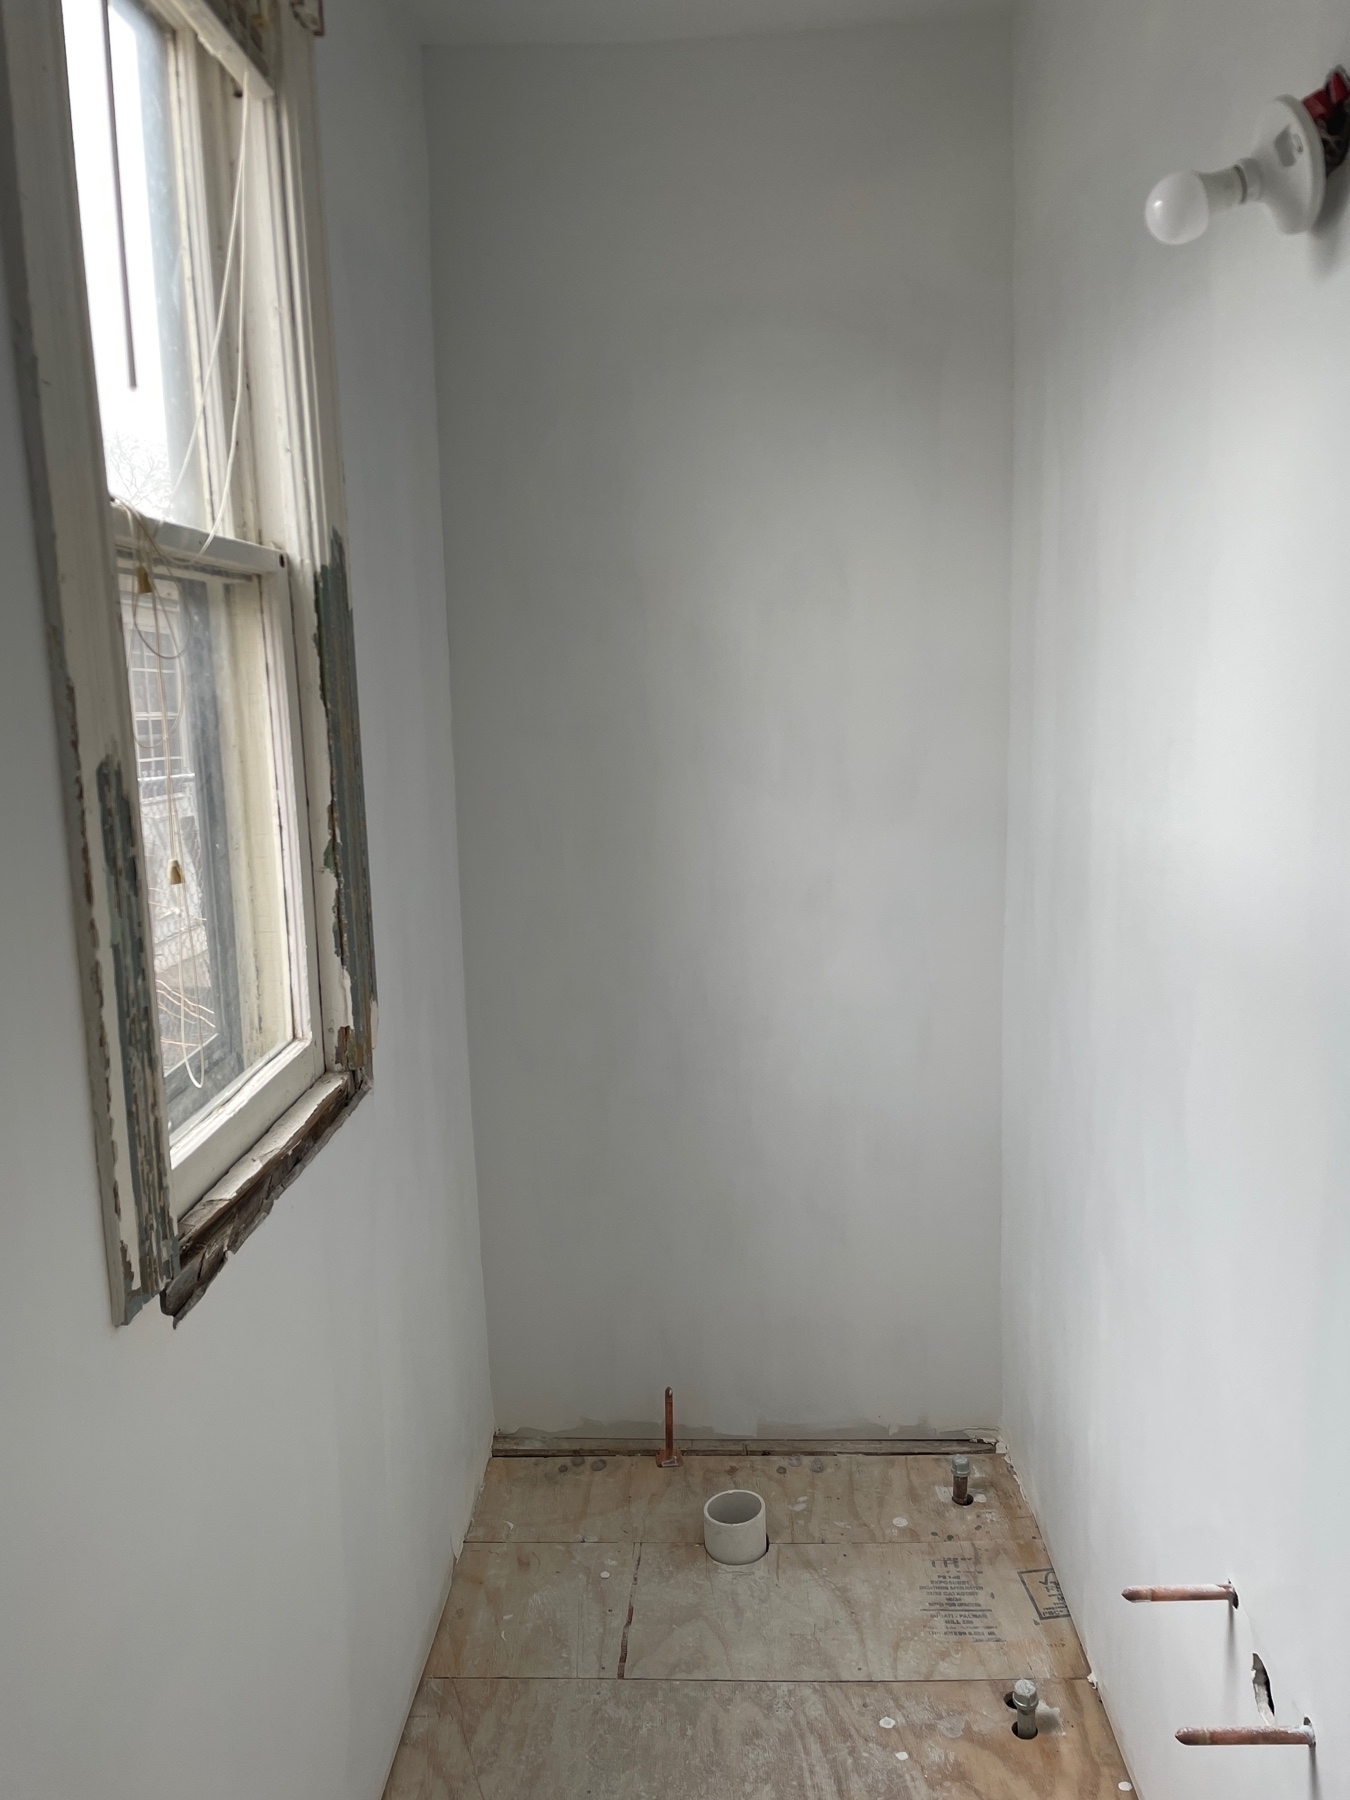
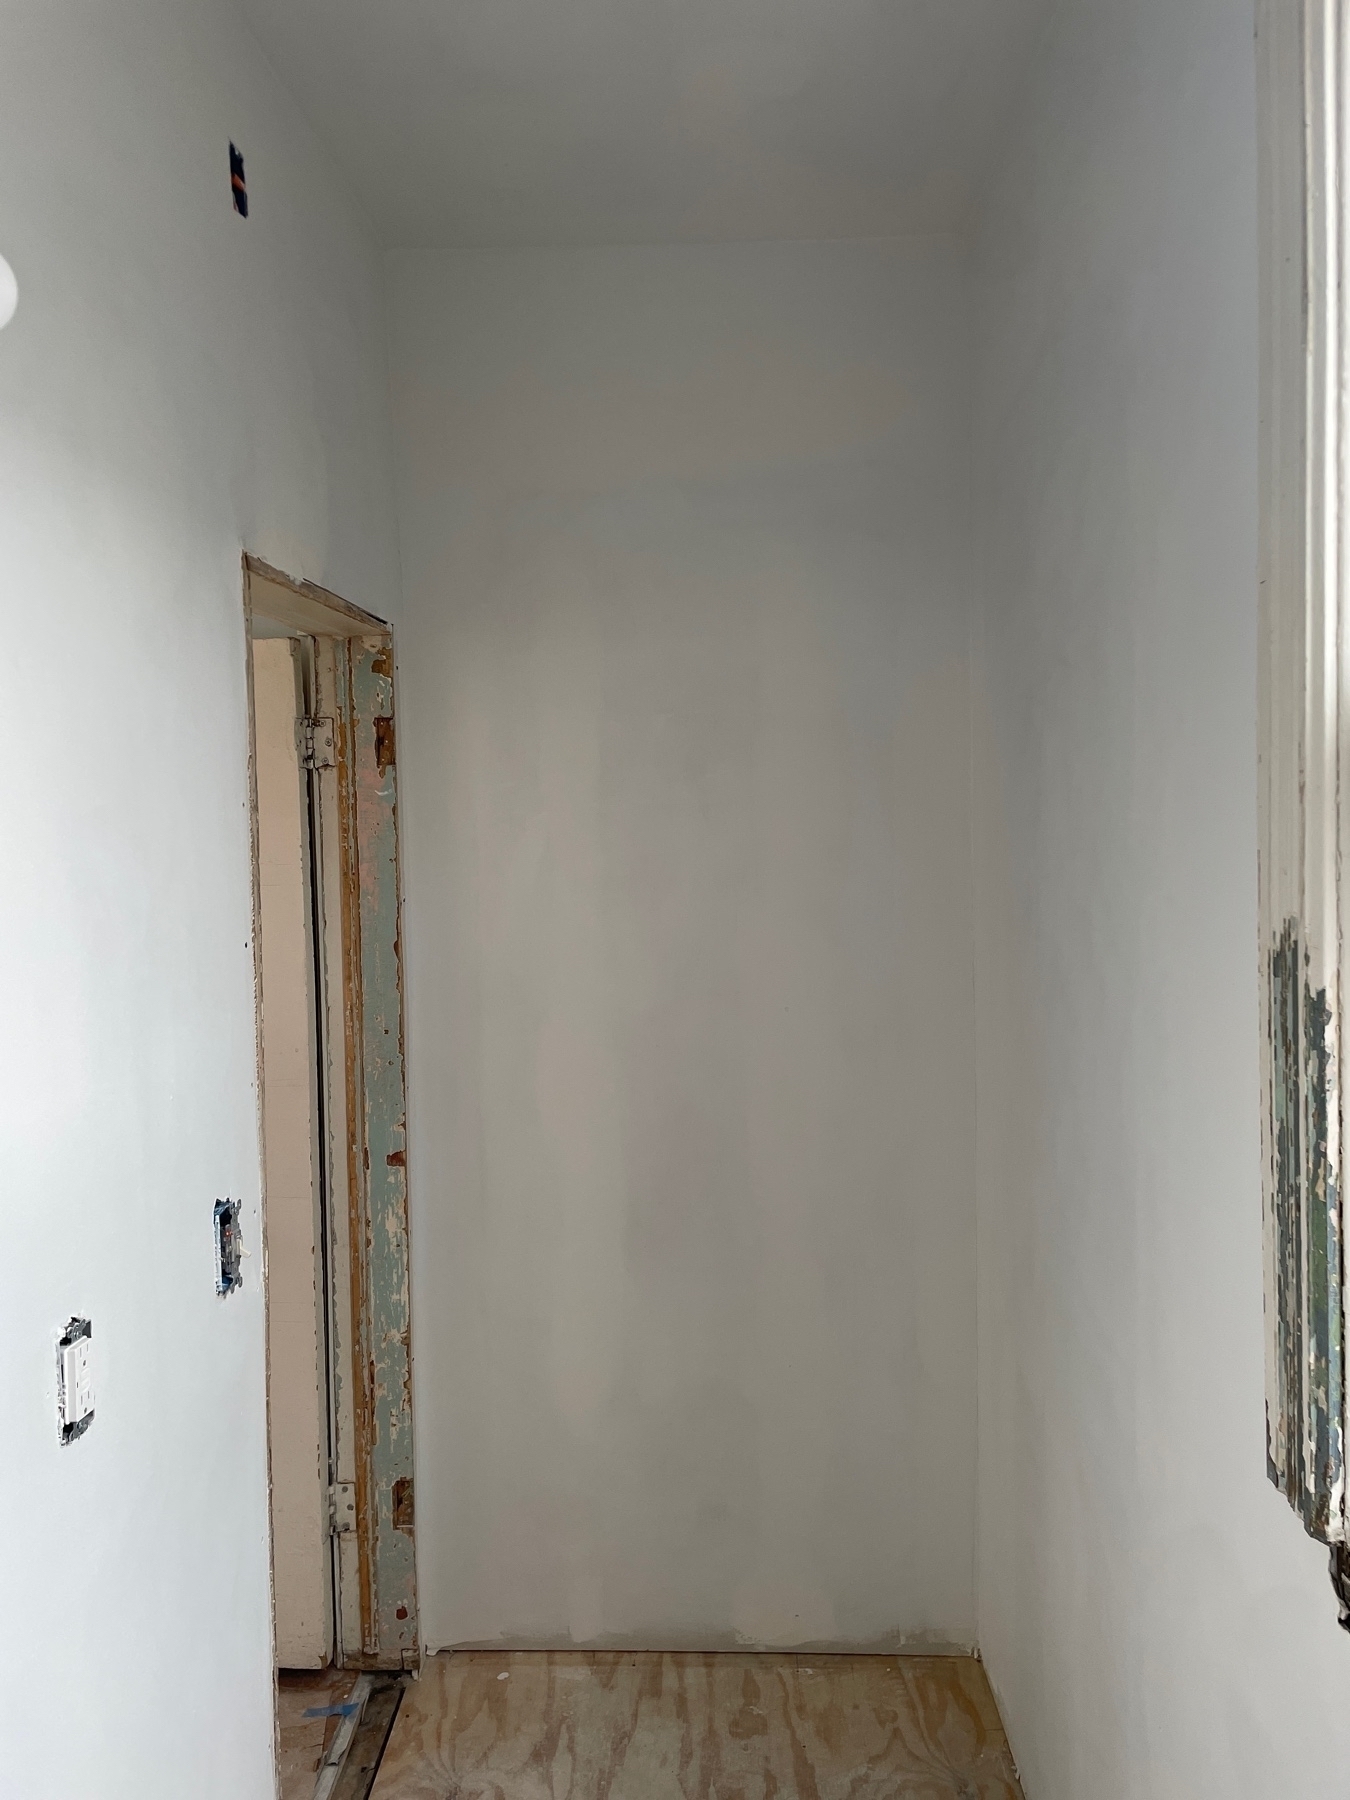
With the drywall finally done in the mud room and powder room, we can finally get back to a regular schedule on The Hague House. Spent some time cleaning up and Jason did manage to get the Powder Room primed.
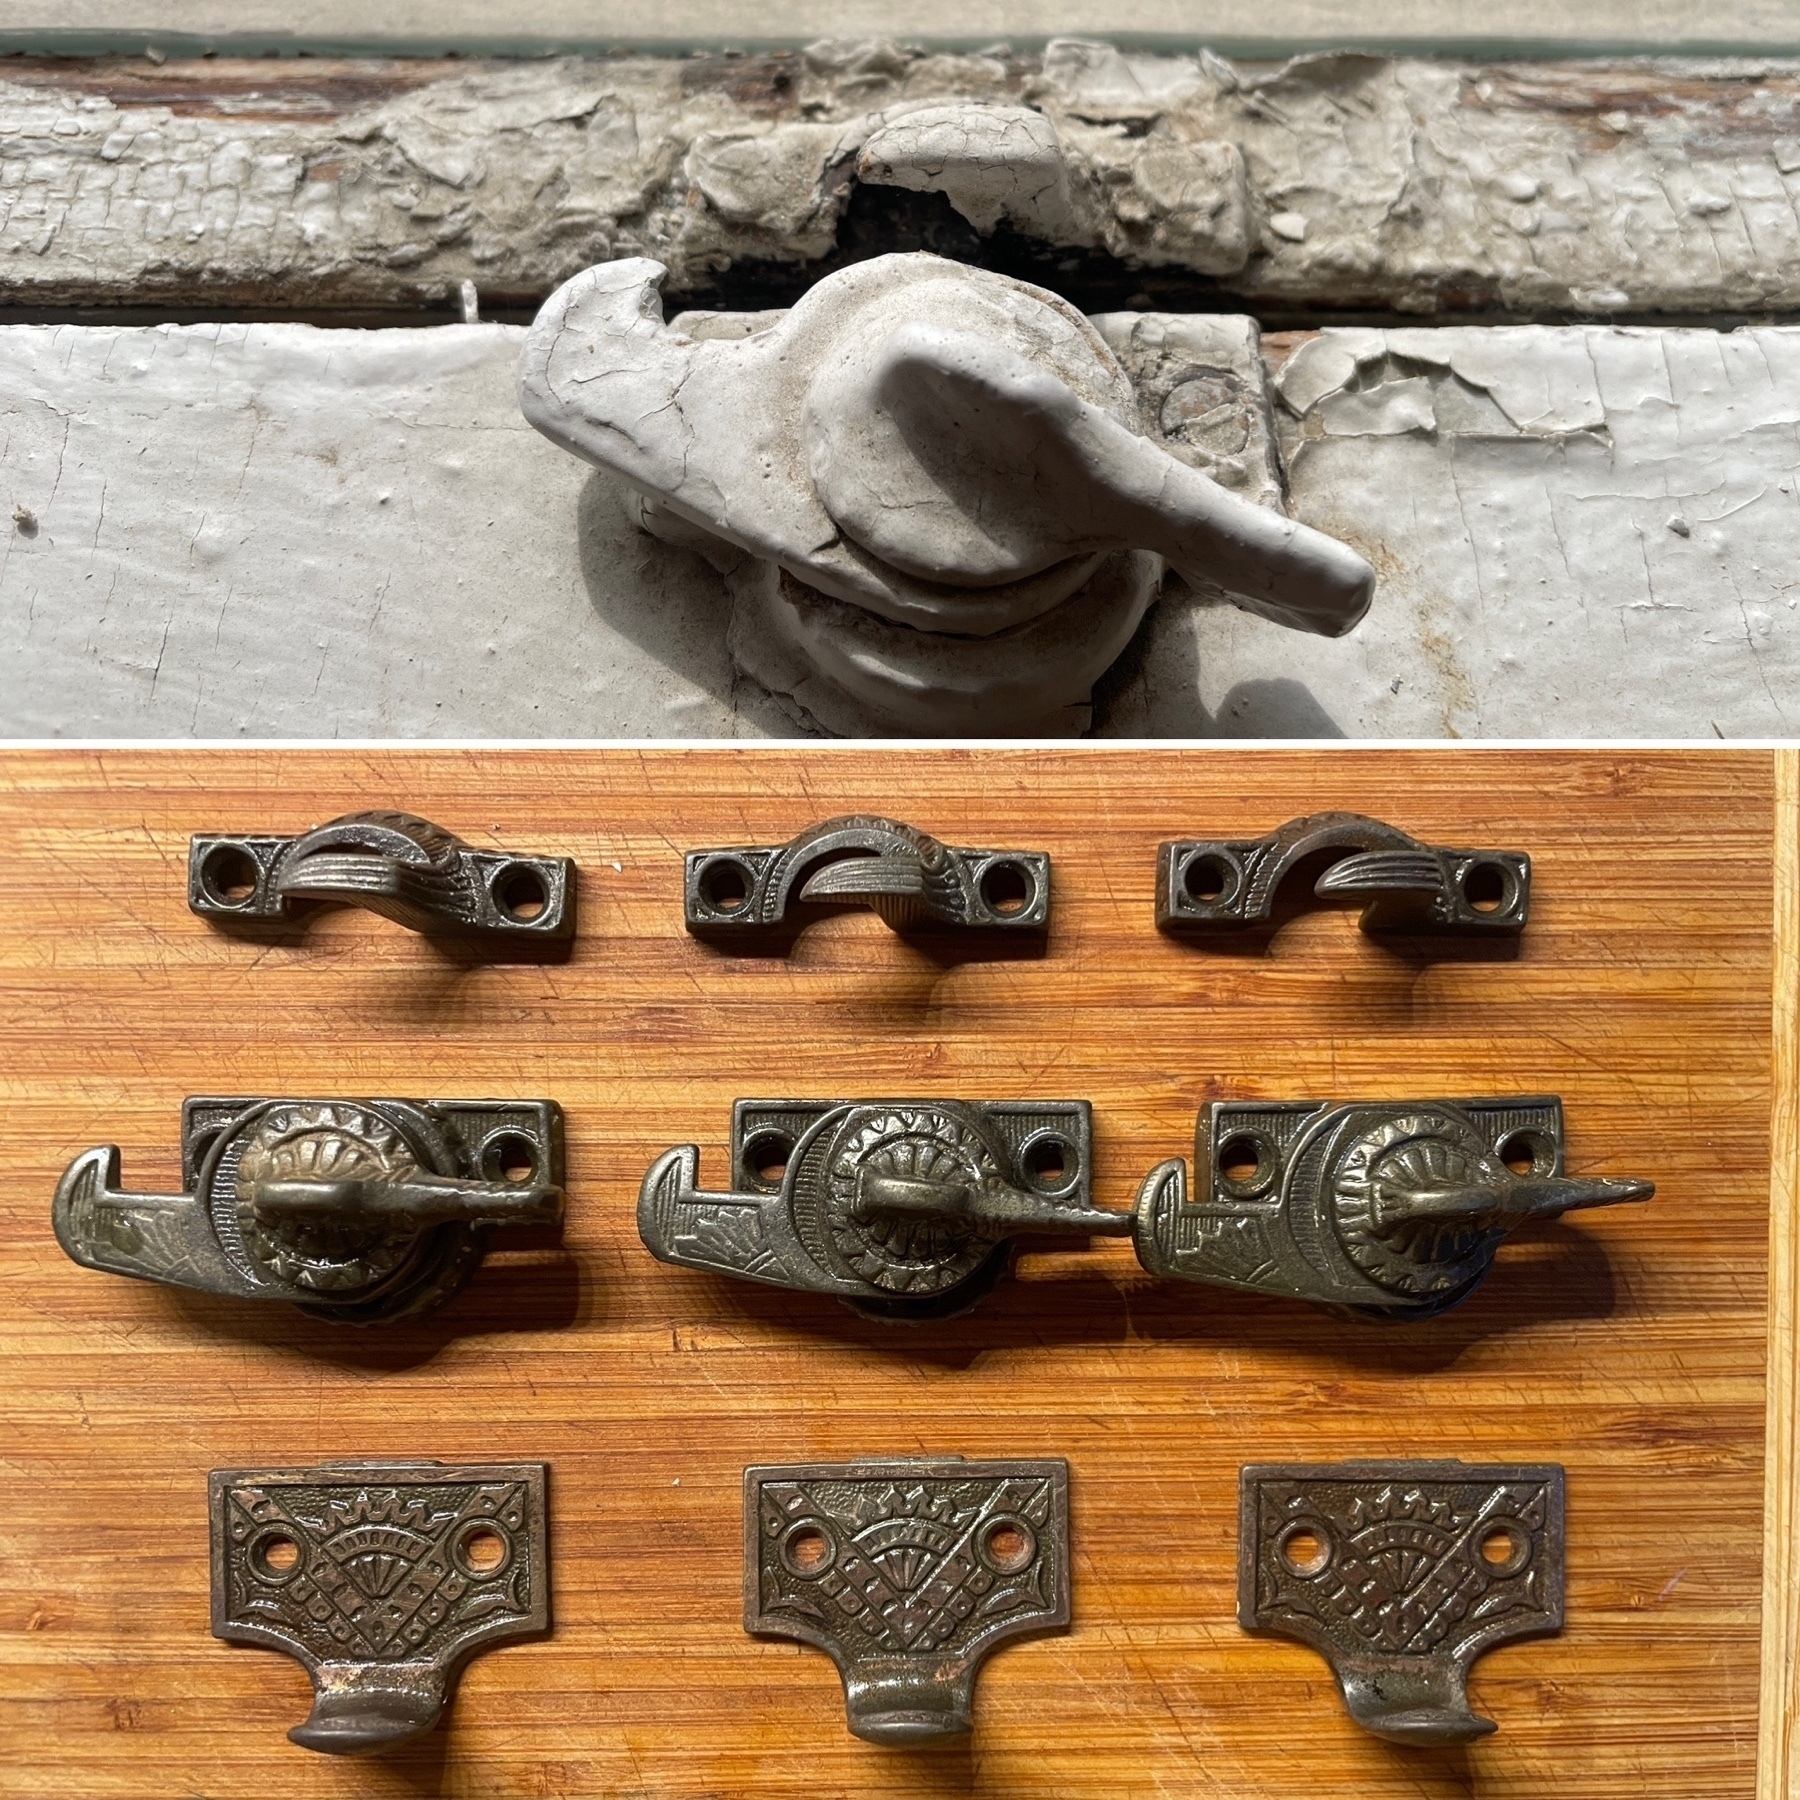
In today’s “waiting for the drywall to get done project, I’m cleaning up some of the remaining original window hardware. Here’s a before (they were all this bad) and after.
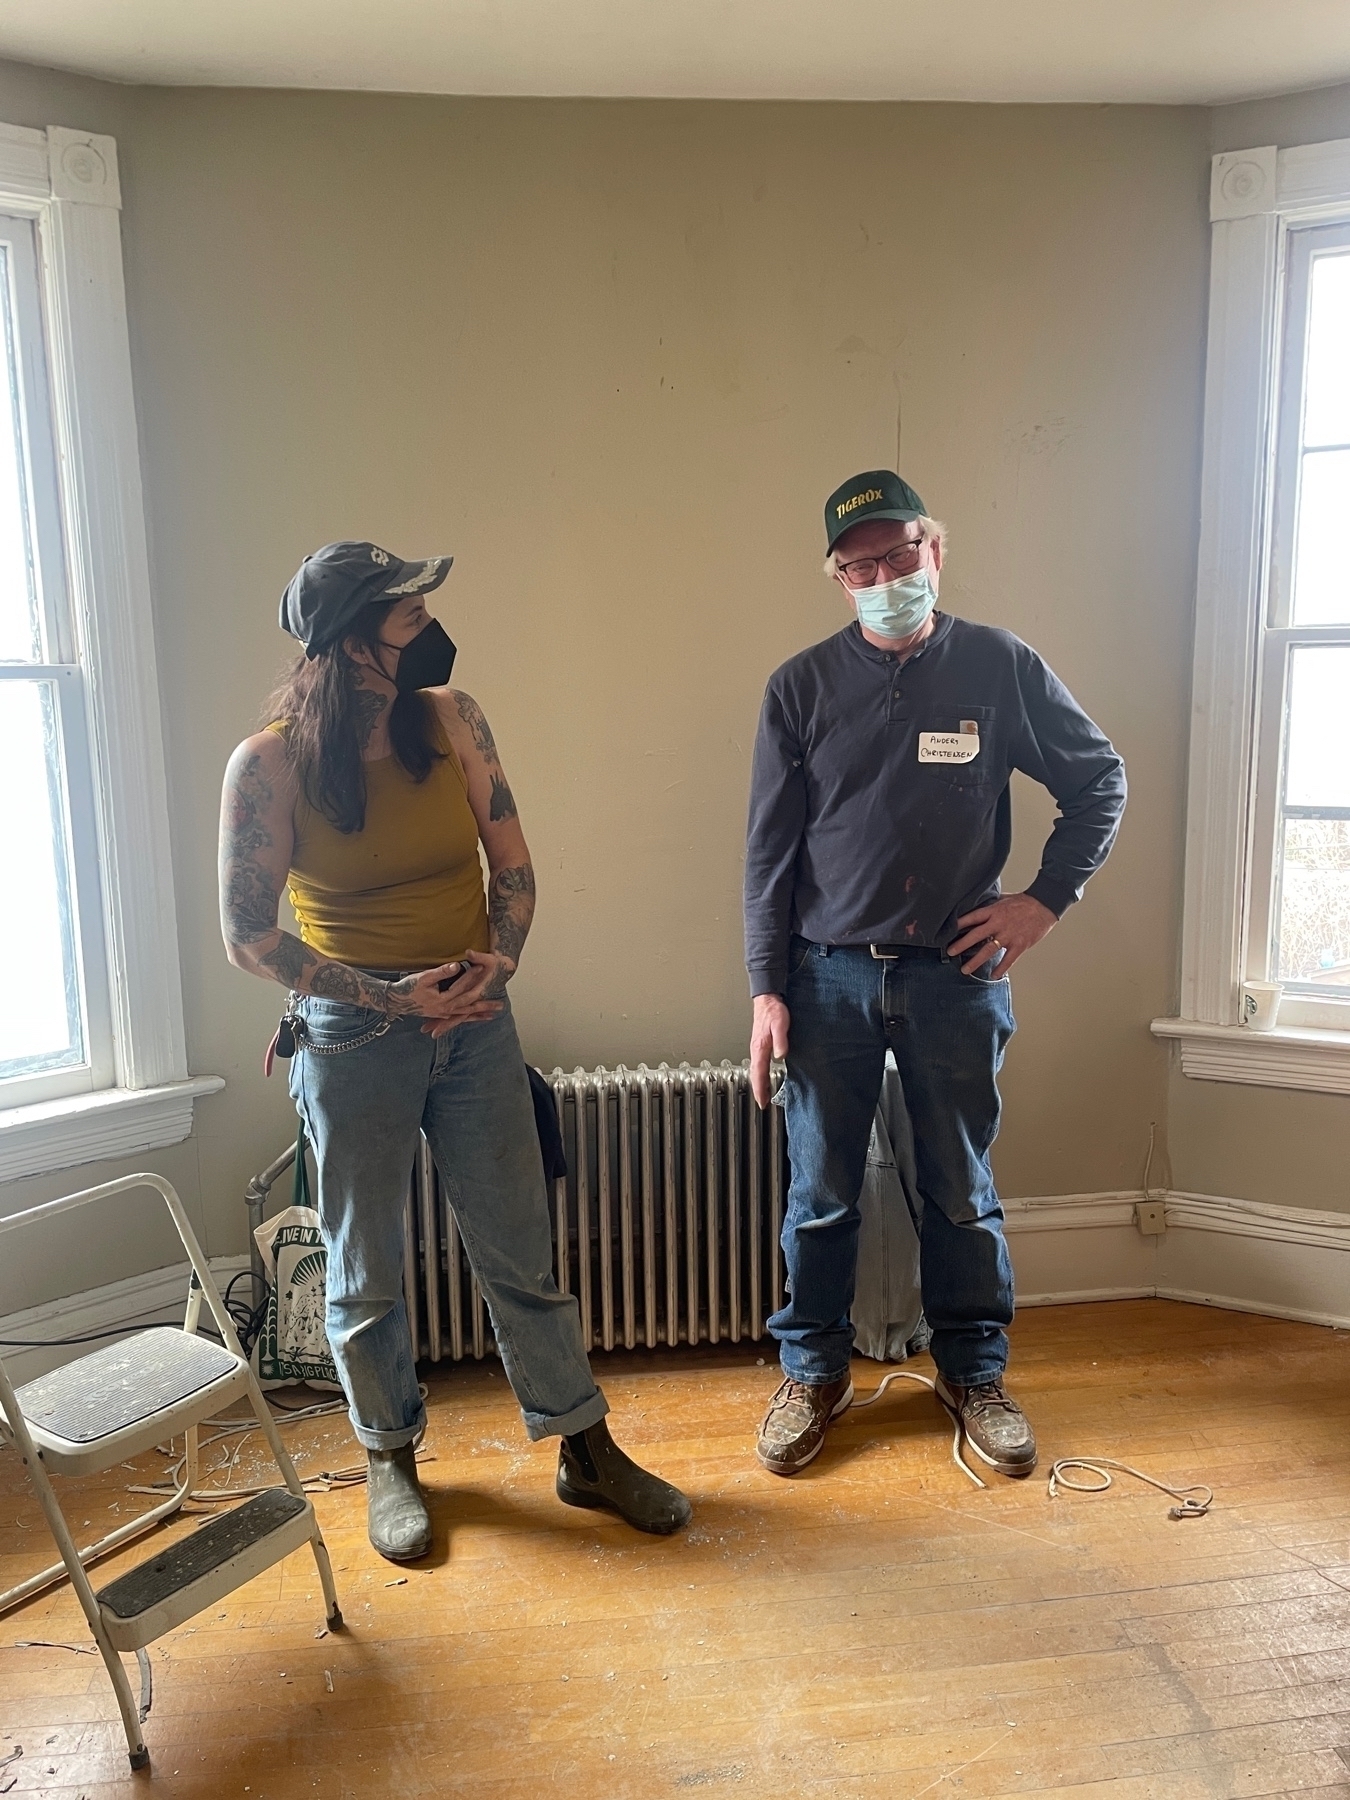
Our friend and local hero Anders Christensen, in coordination with Rethos, used the Hague house to teach a class on plaster repair. I wasn’t able to stay for the whole thing but it looks like fun and learning was had by all.
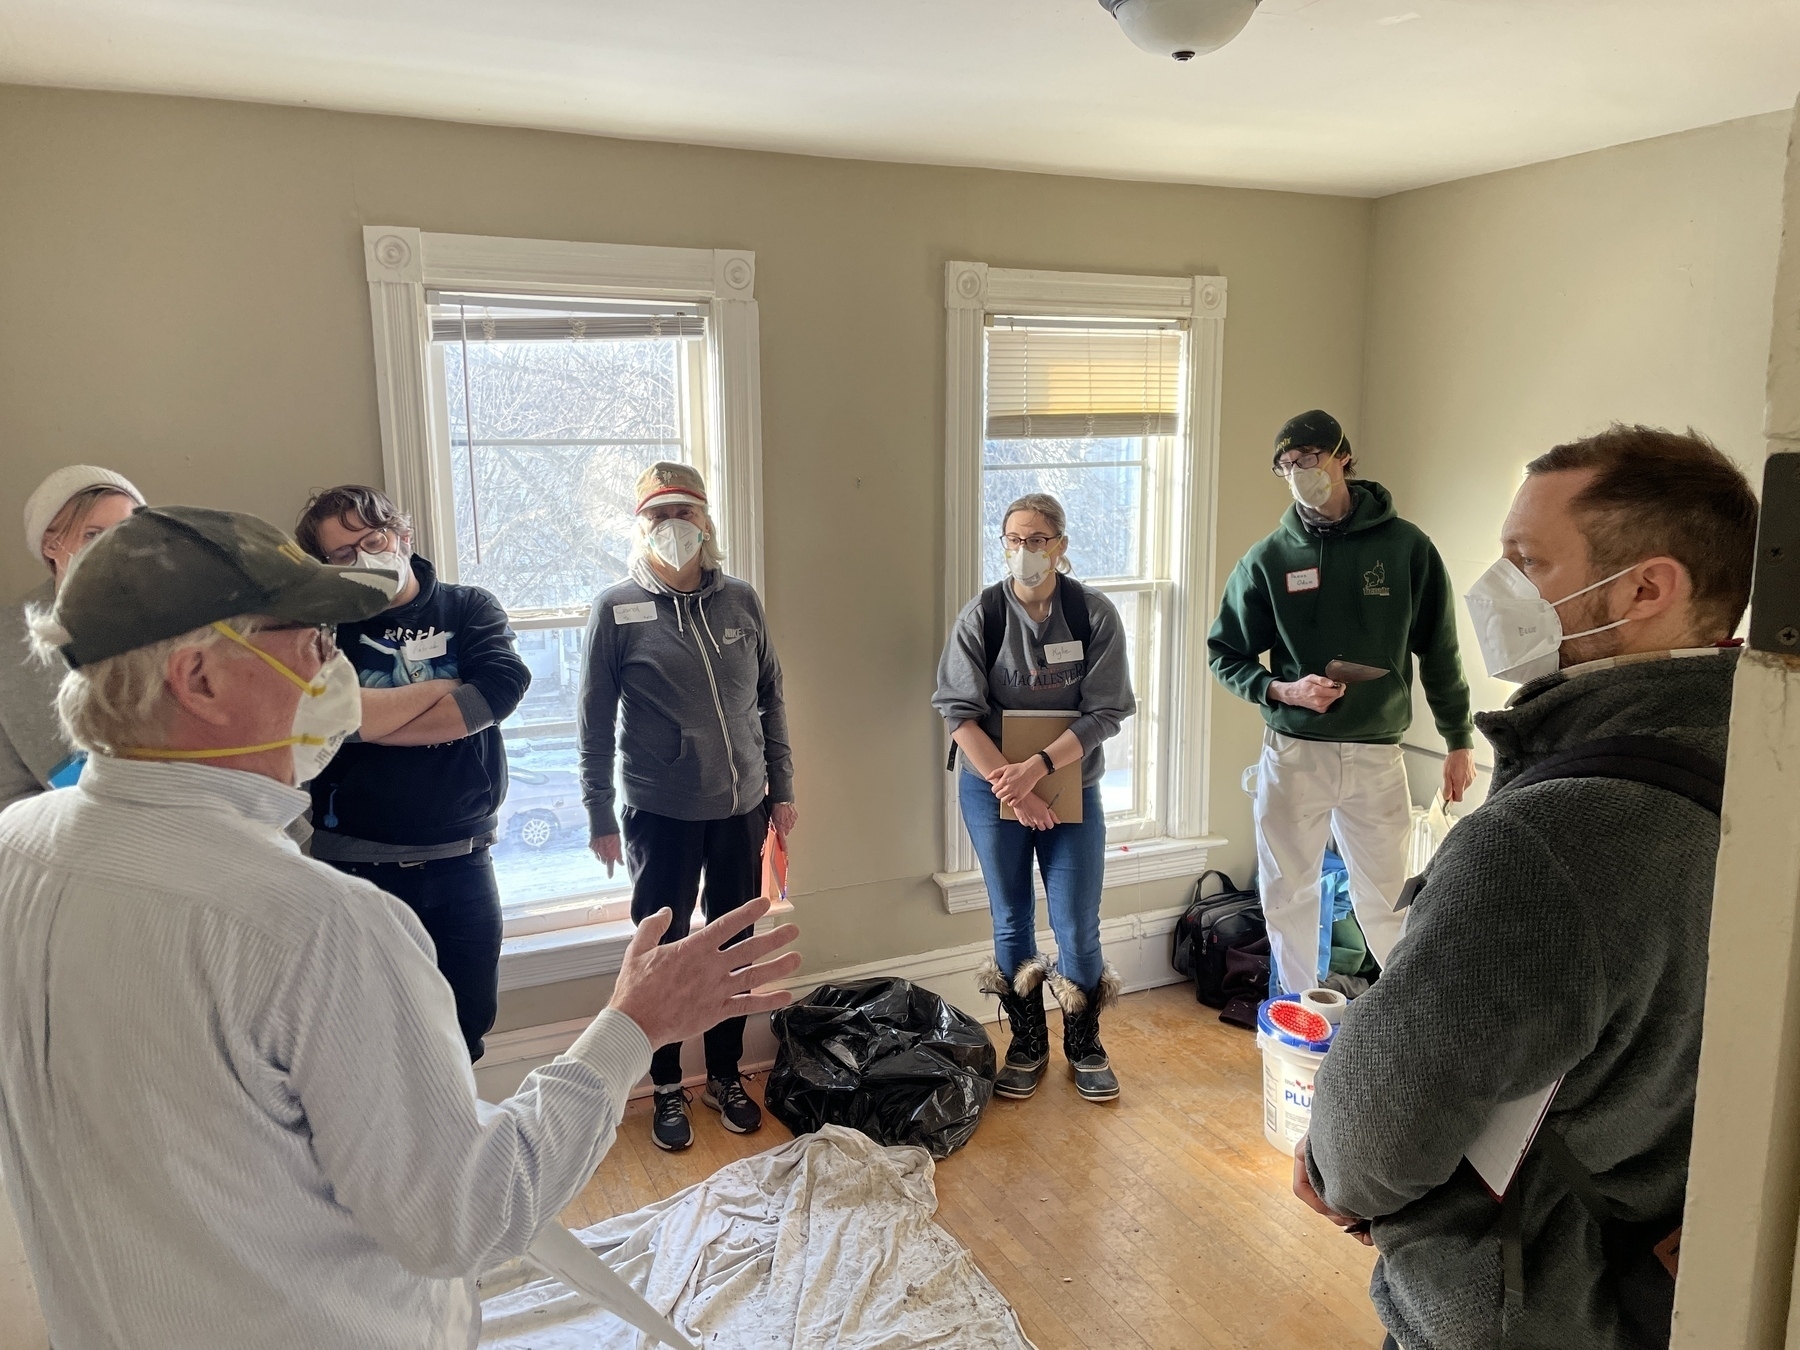
My Dad reminded me that it has been a while since I’ve posted progress on Hague House. It’s not that nothing has been happening. Progress has just been slow. I’ll be posting a couple of items shortly.
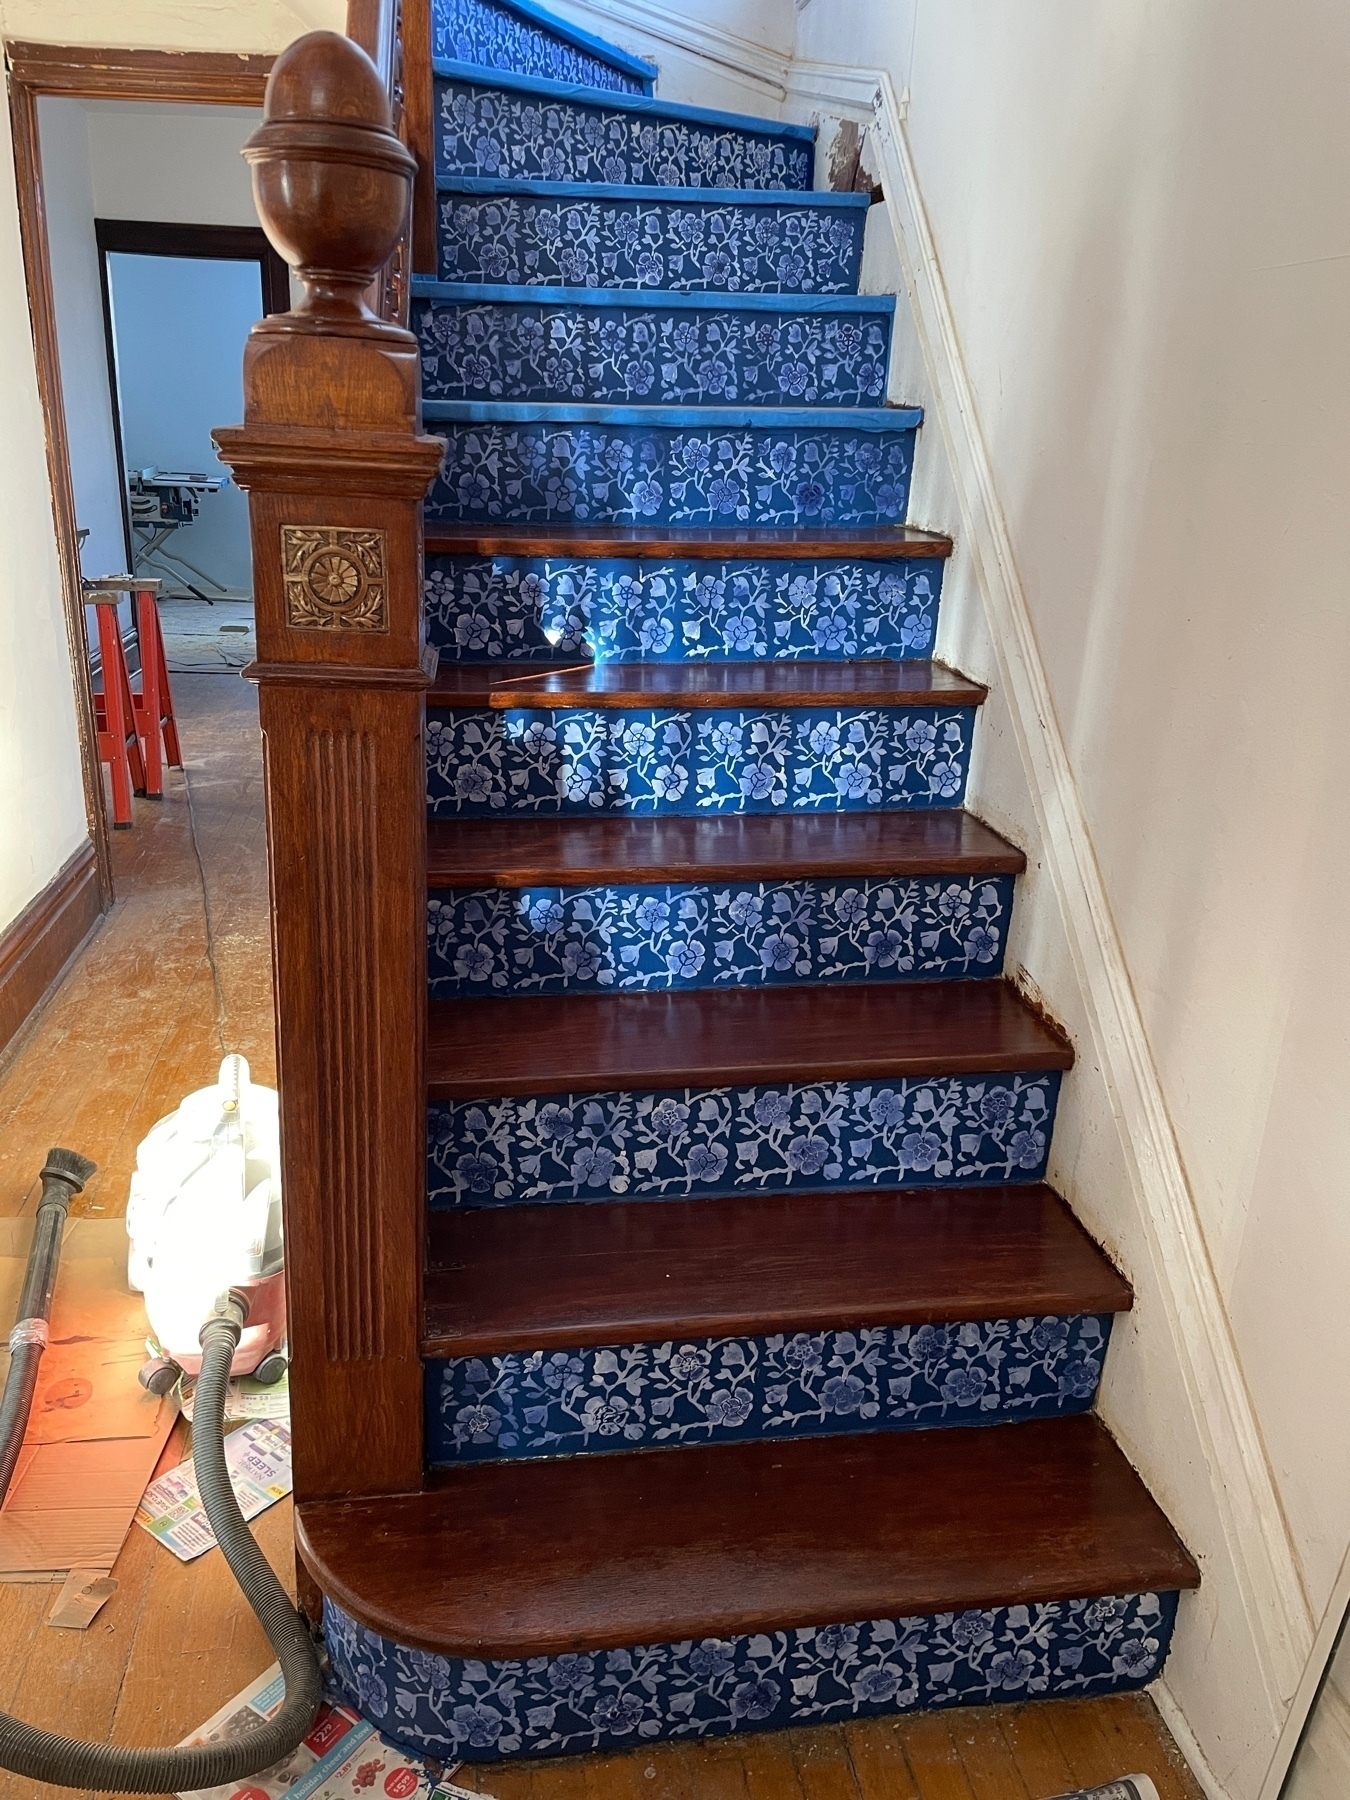
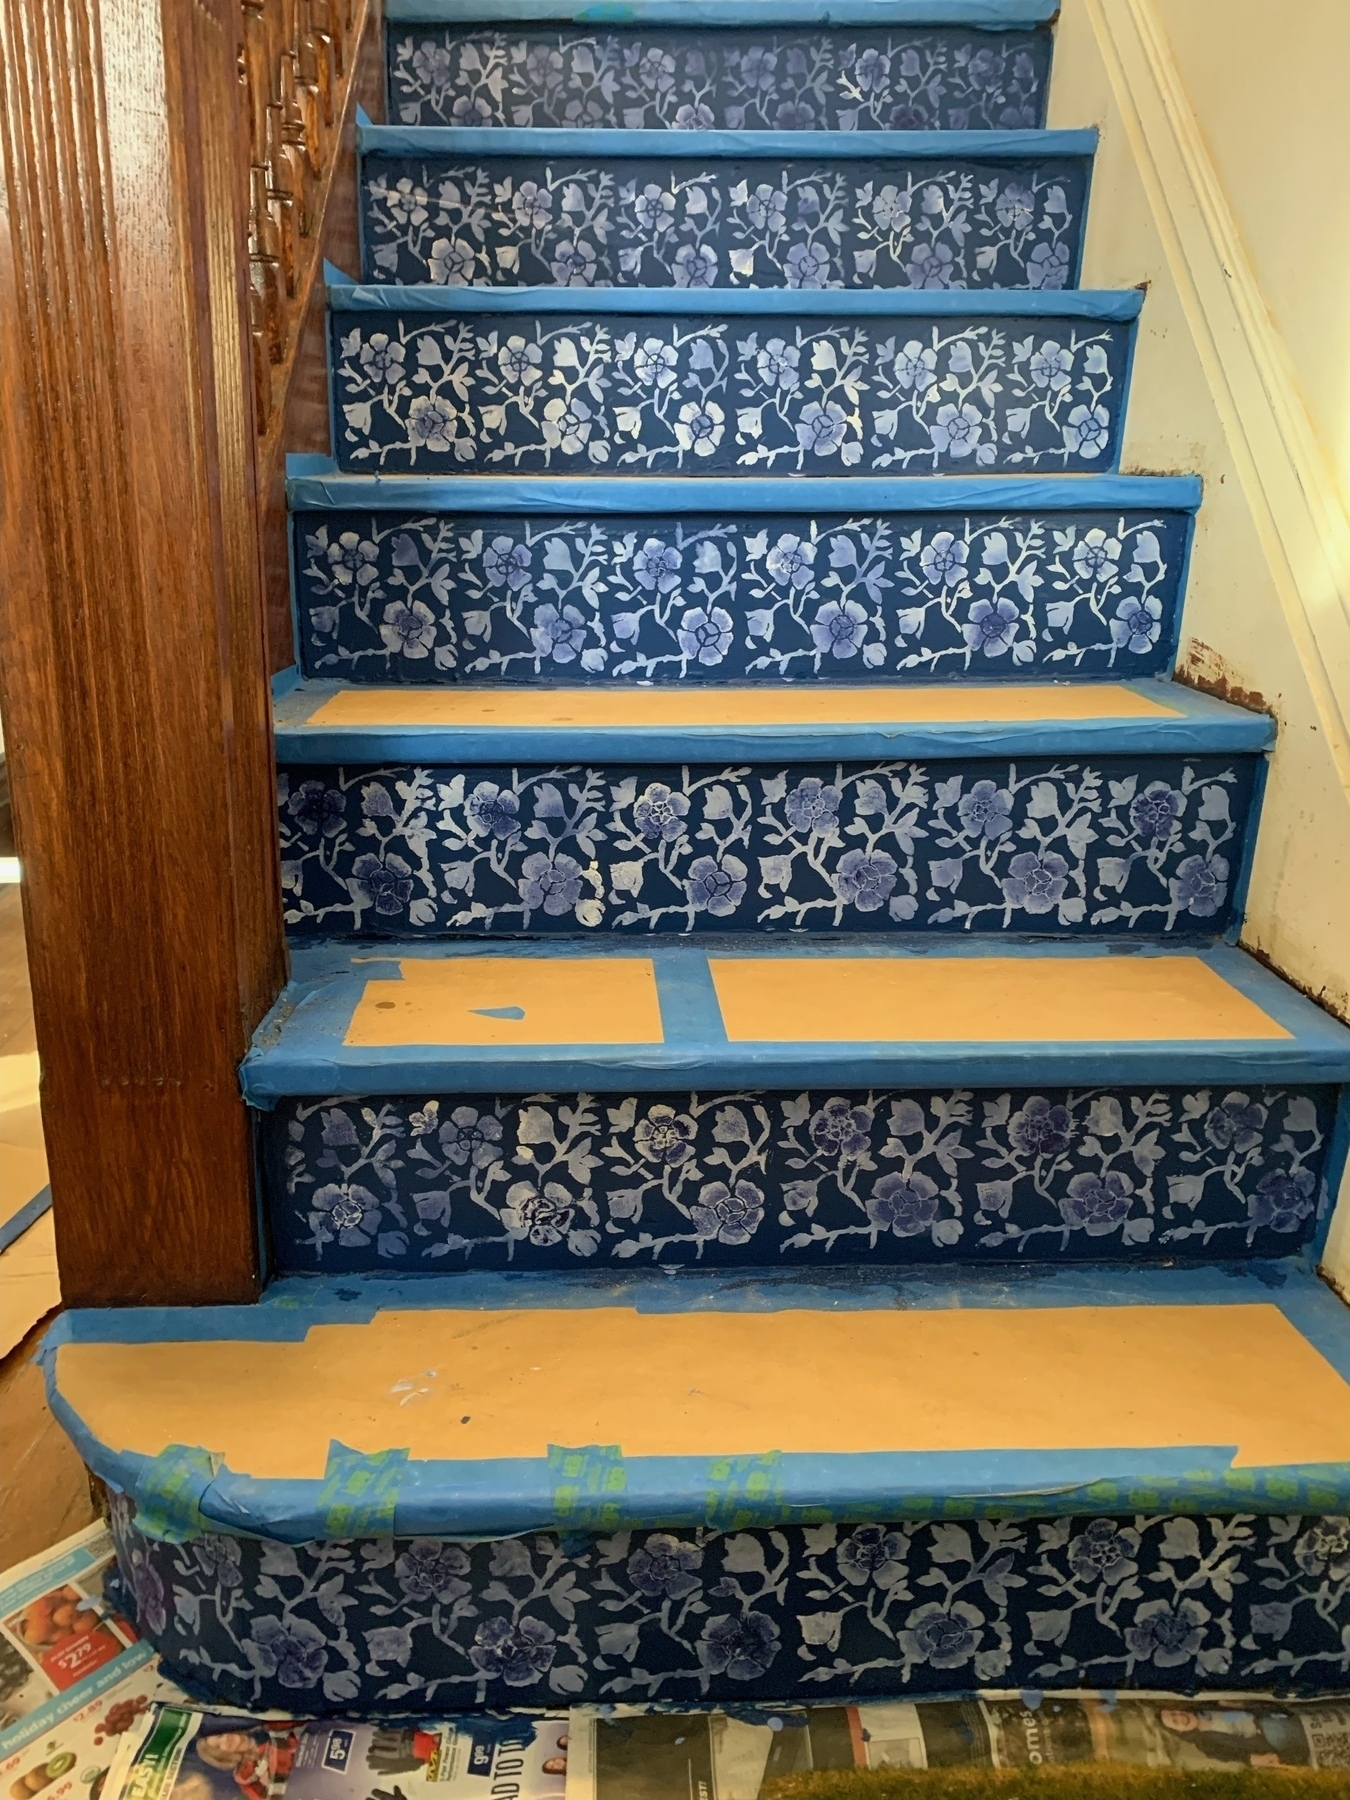
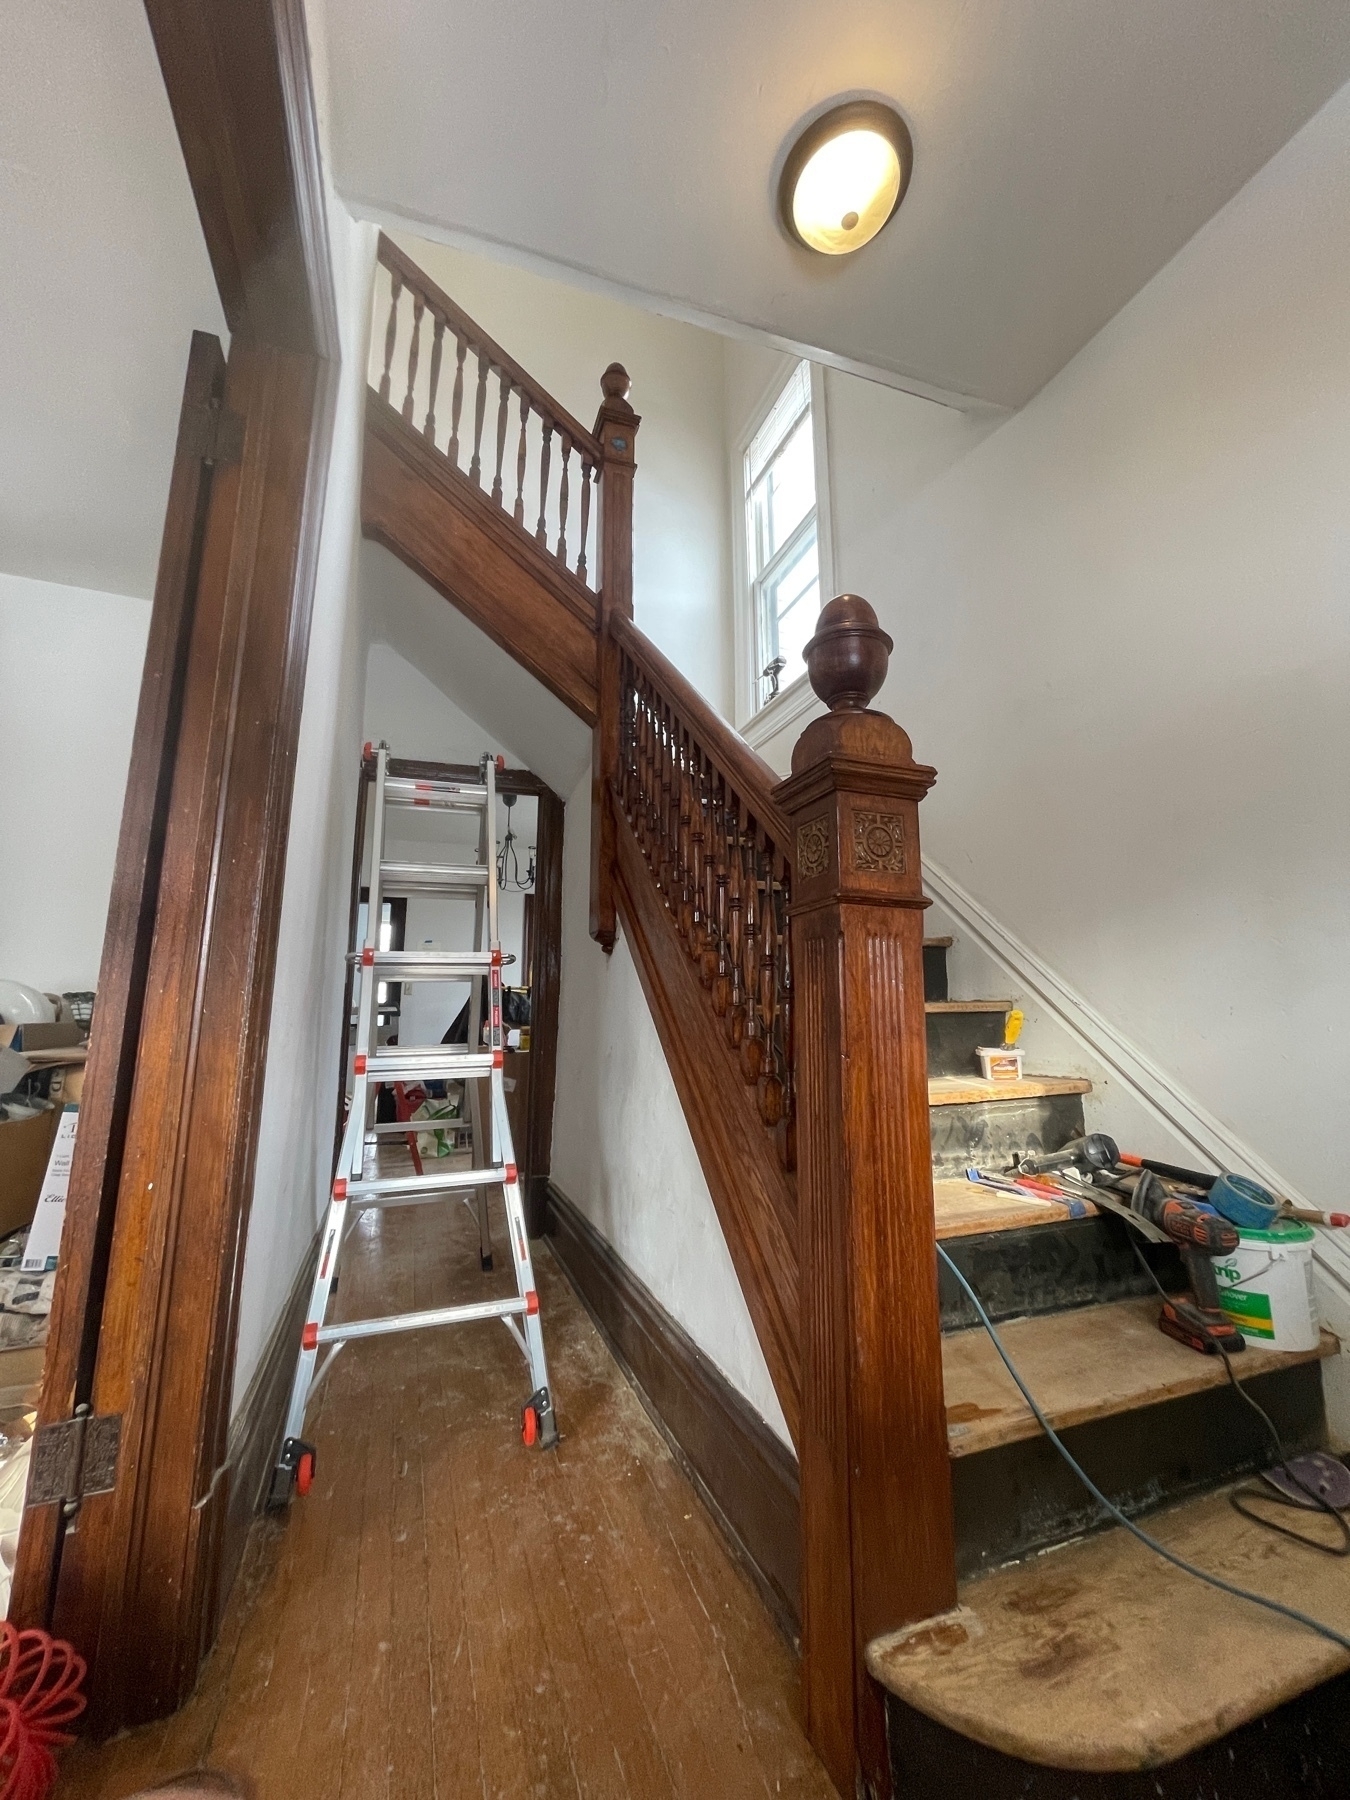
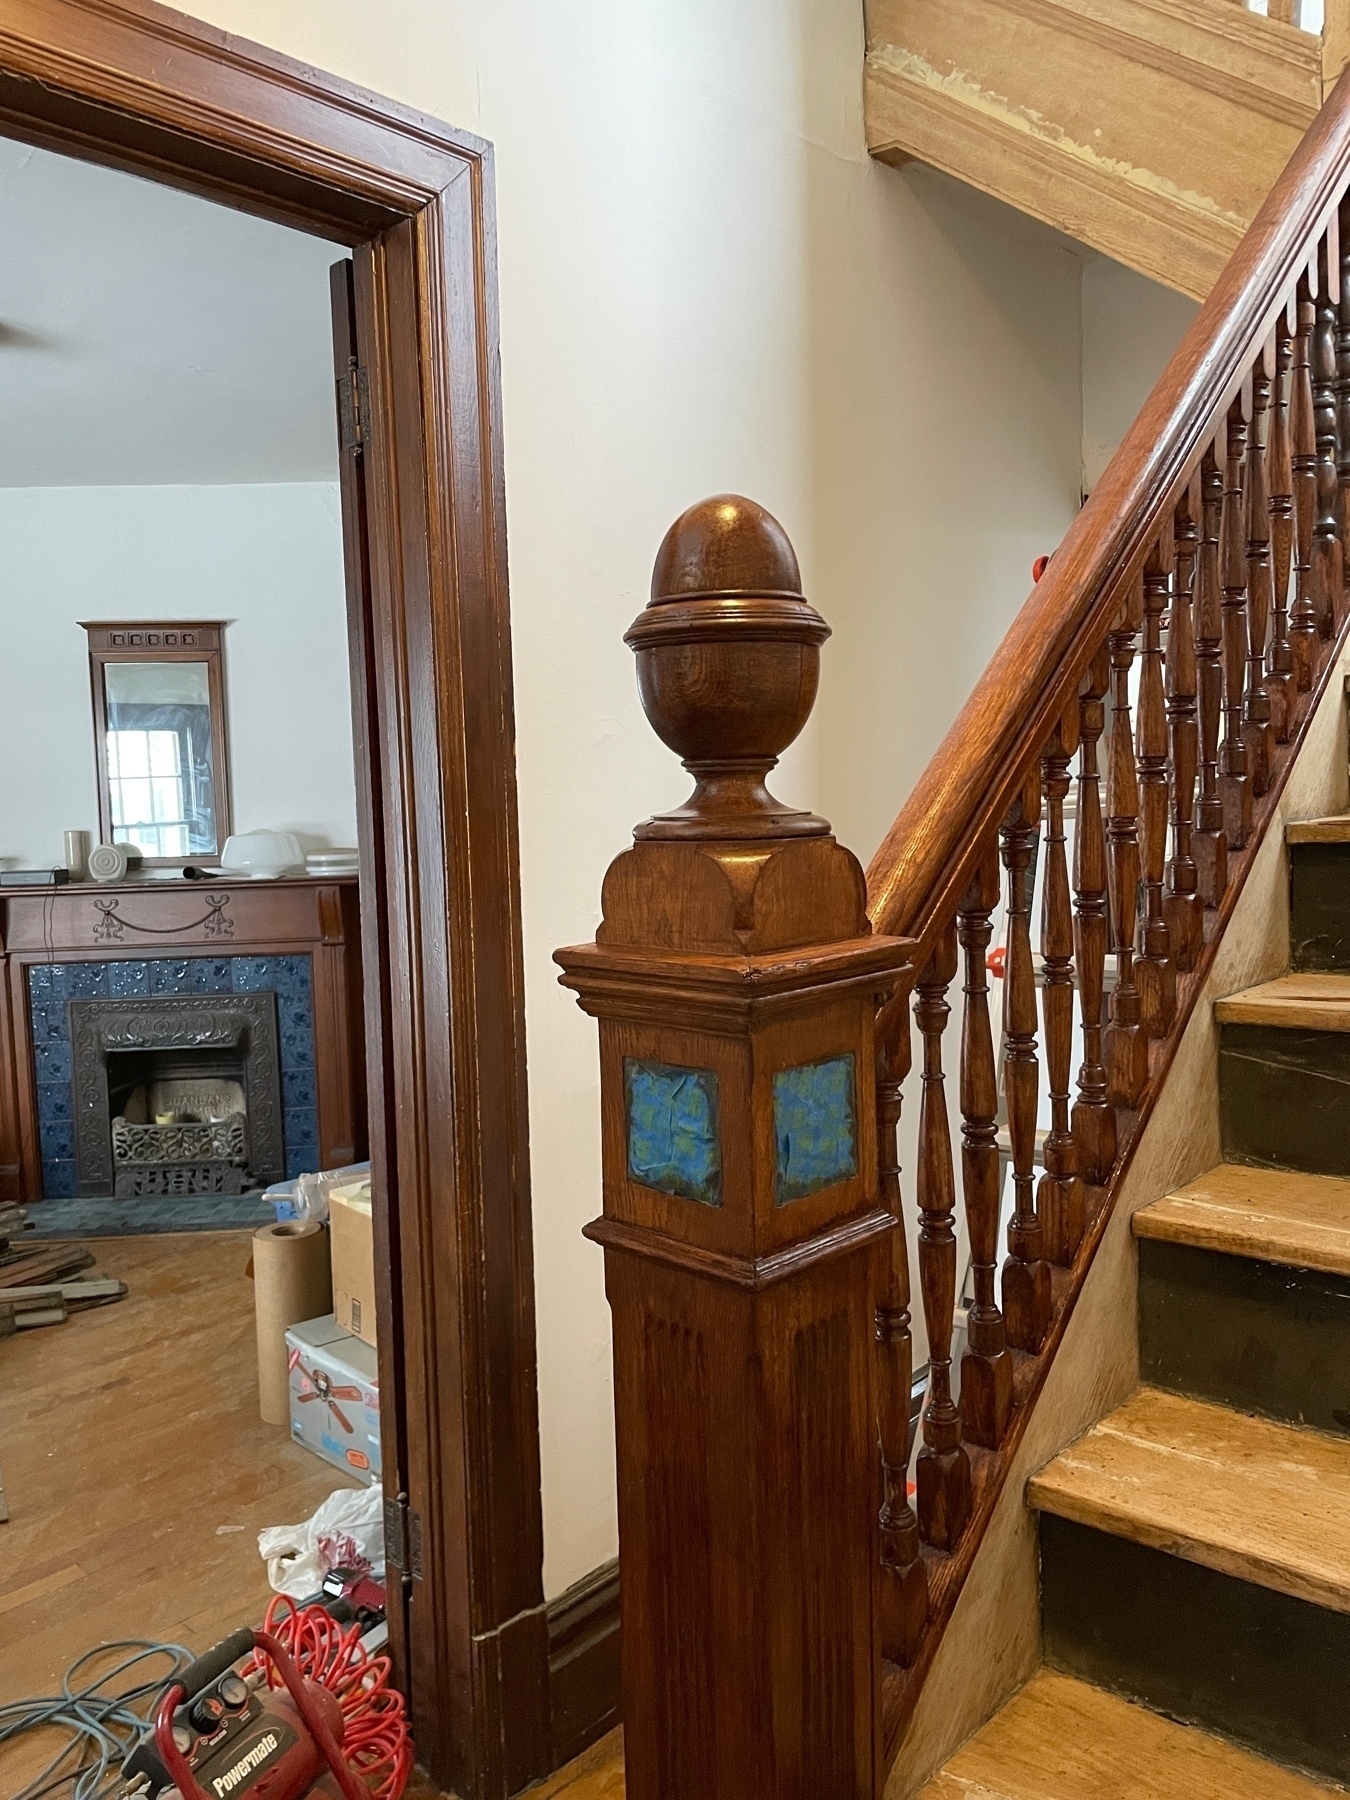
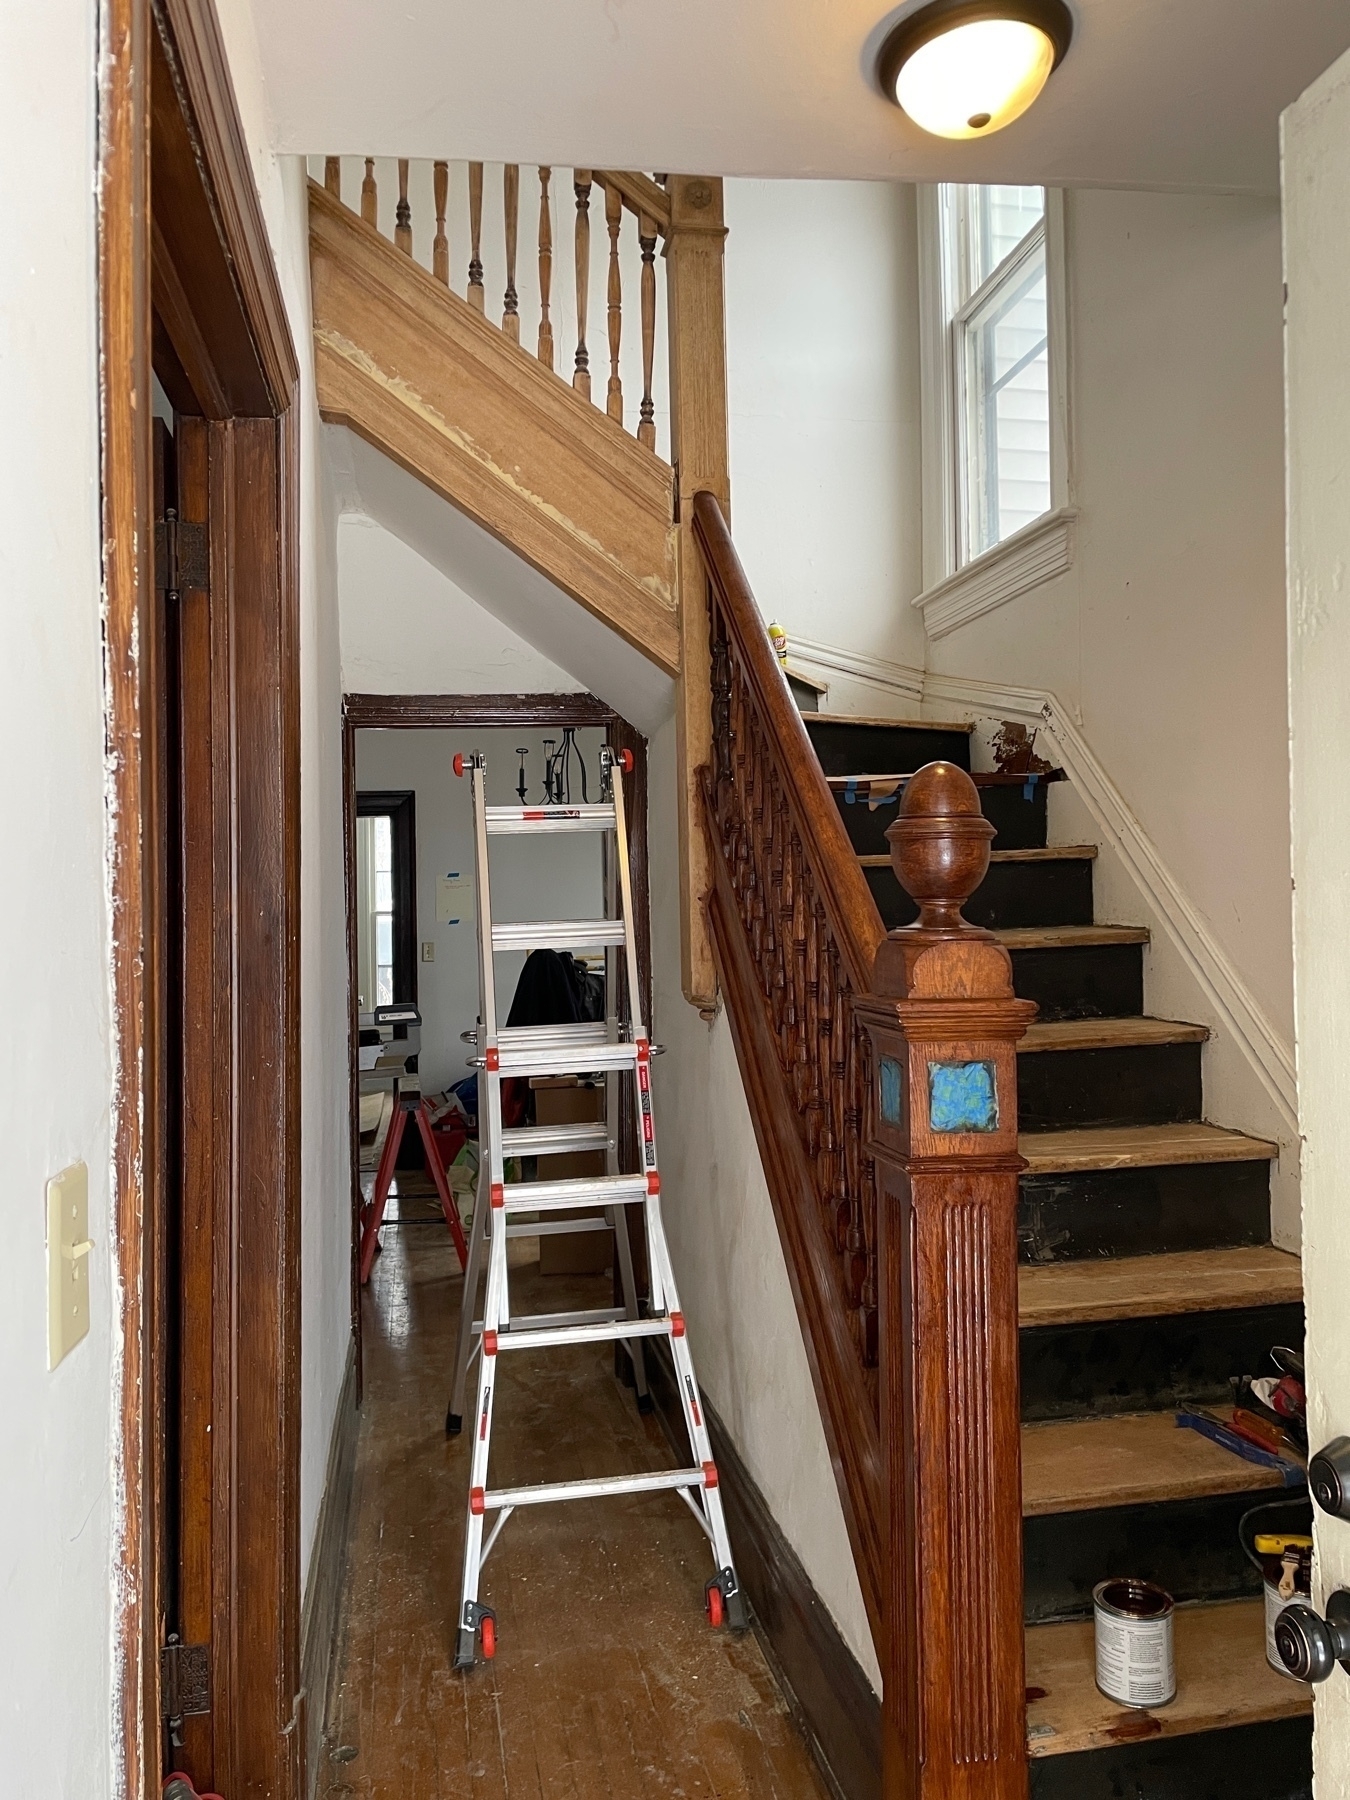
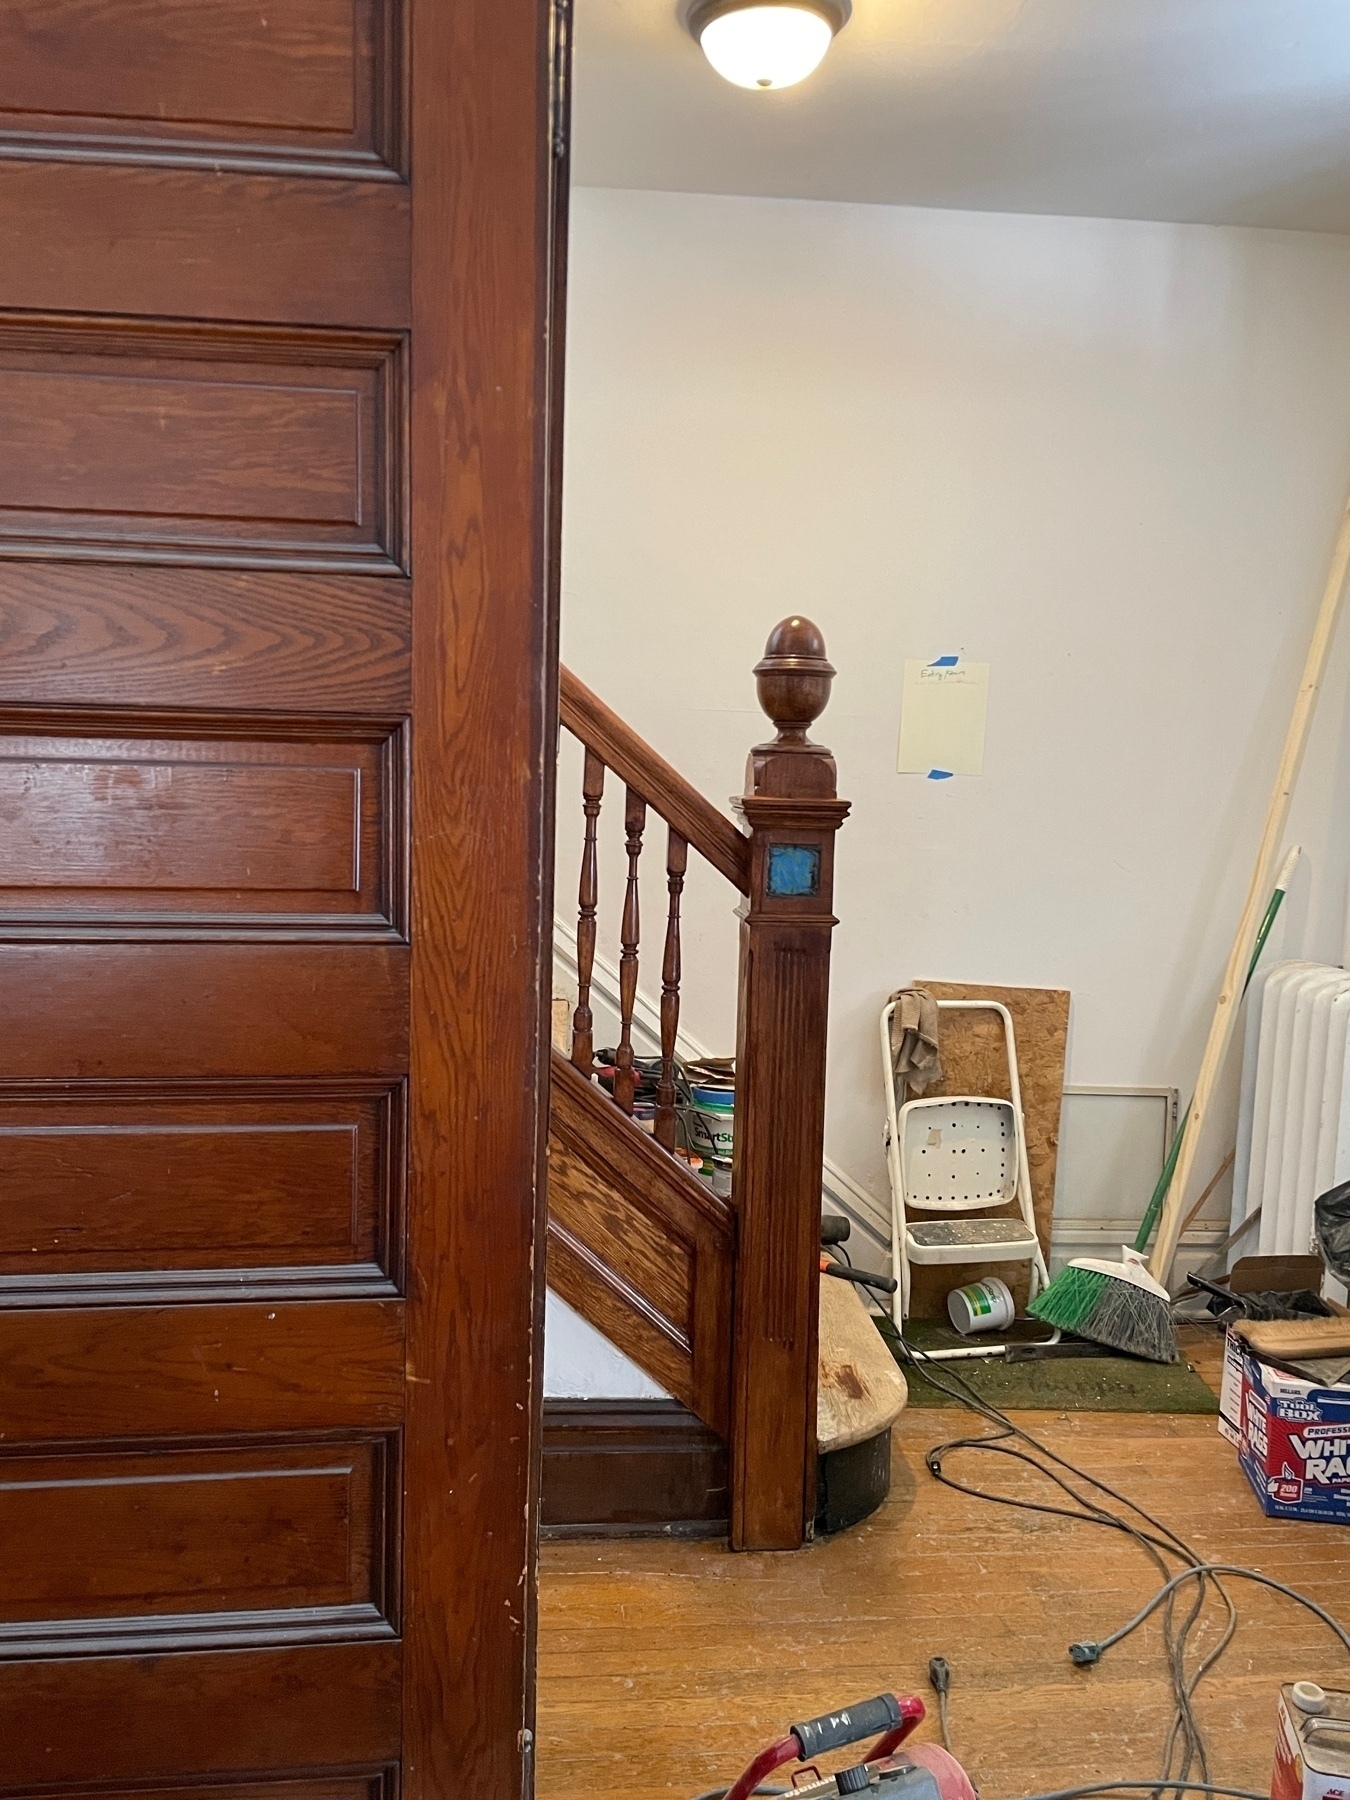
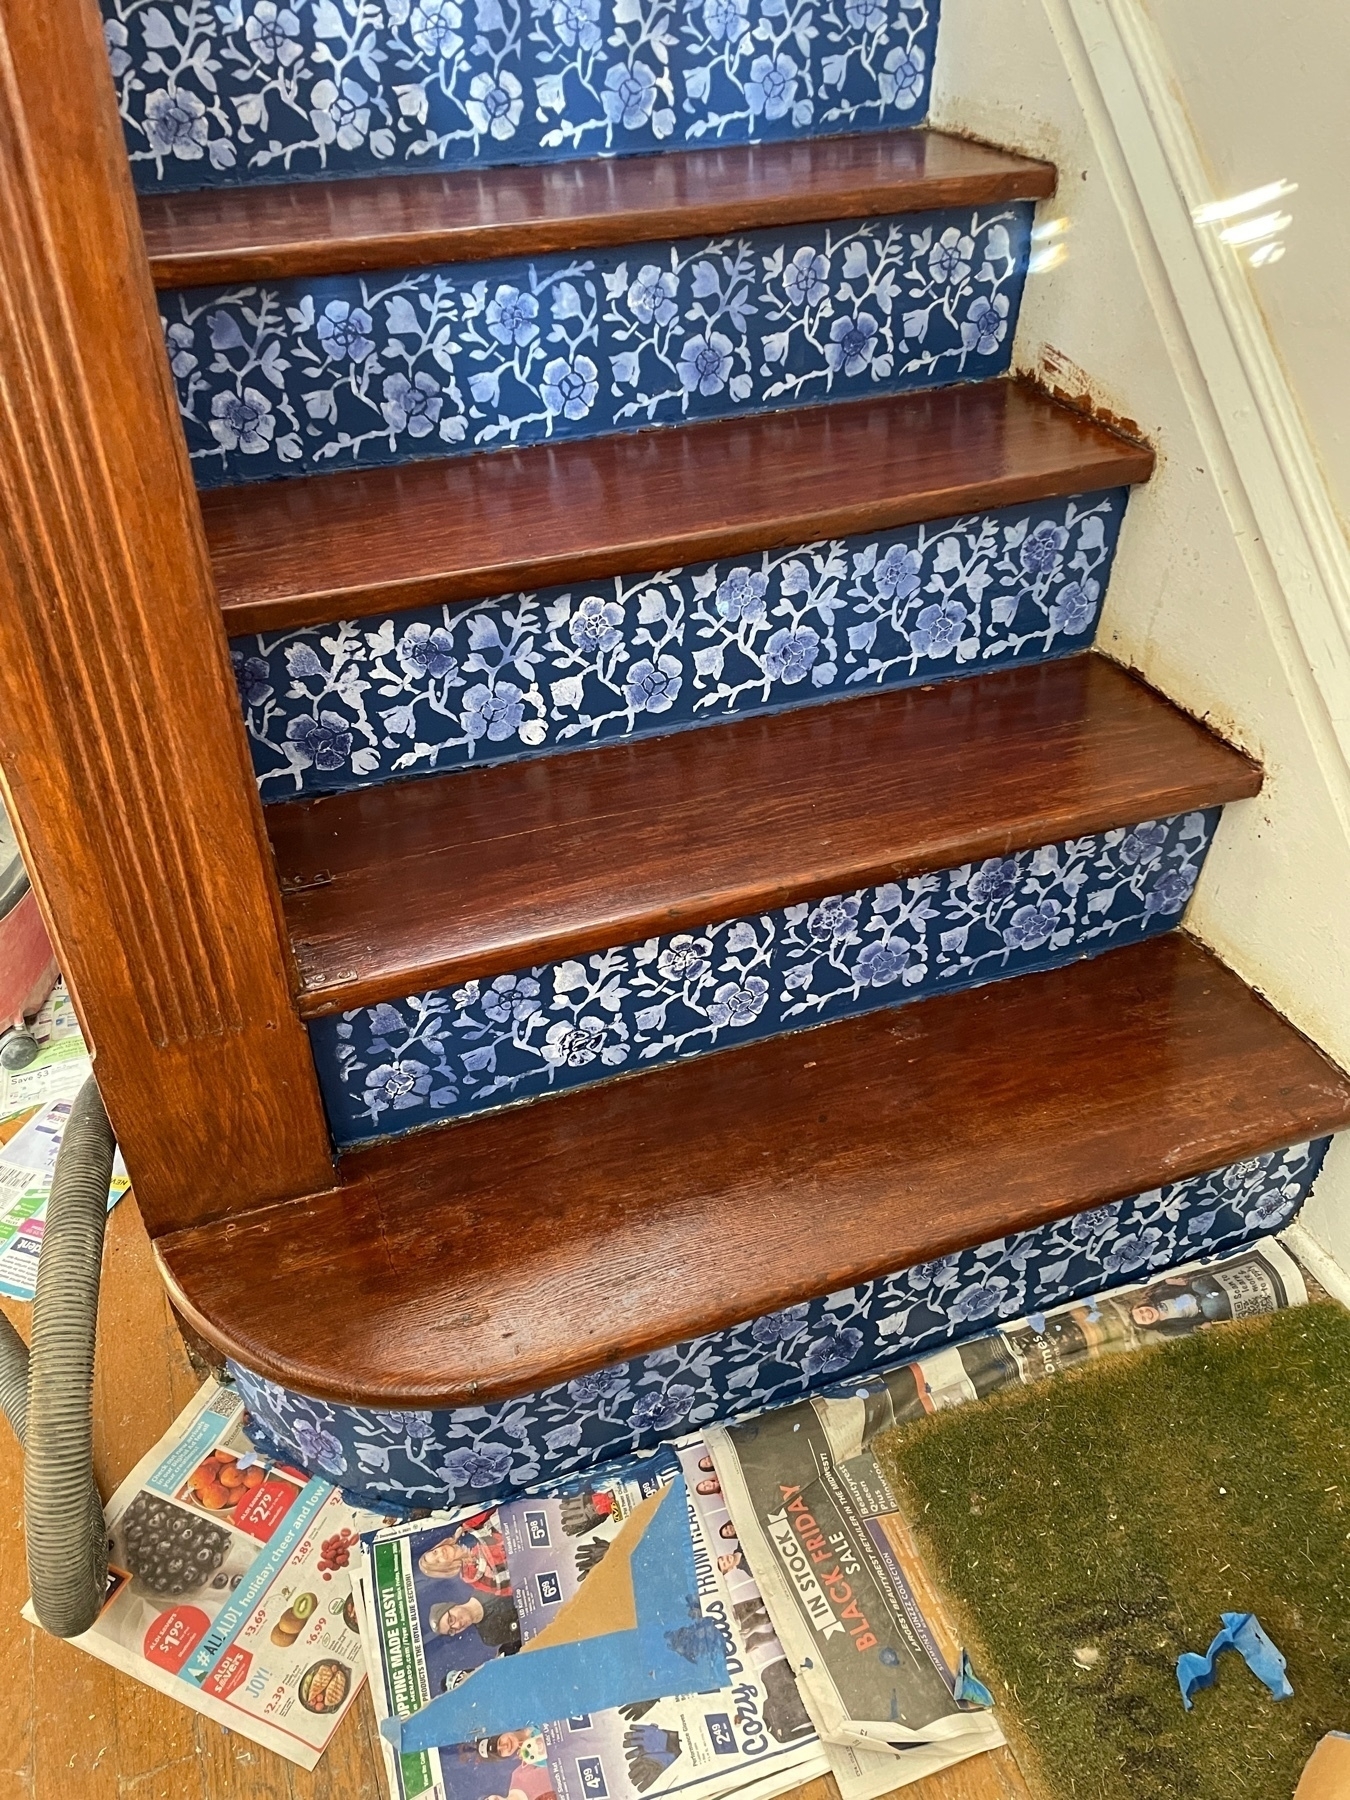
A sneak peak at what the front stairs look like with the stencil work on the risers complete and the protective off the treads.
If at first you don't succeed...
I want to say, up front, that Jason is the real artist of this part of the project. I helped provide some ideas but all the work you are about to see is his…
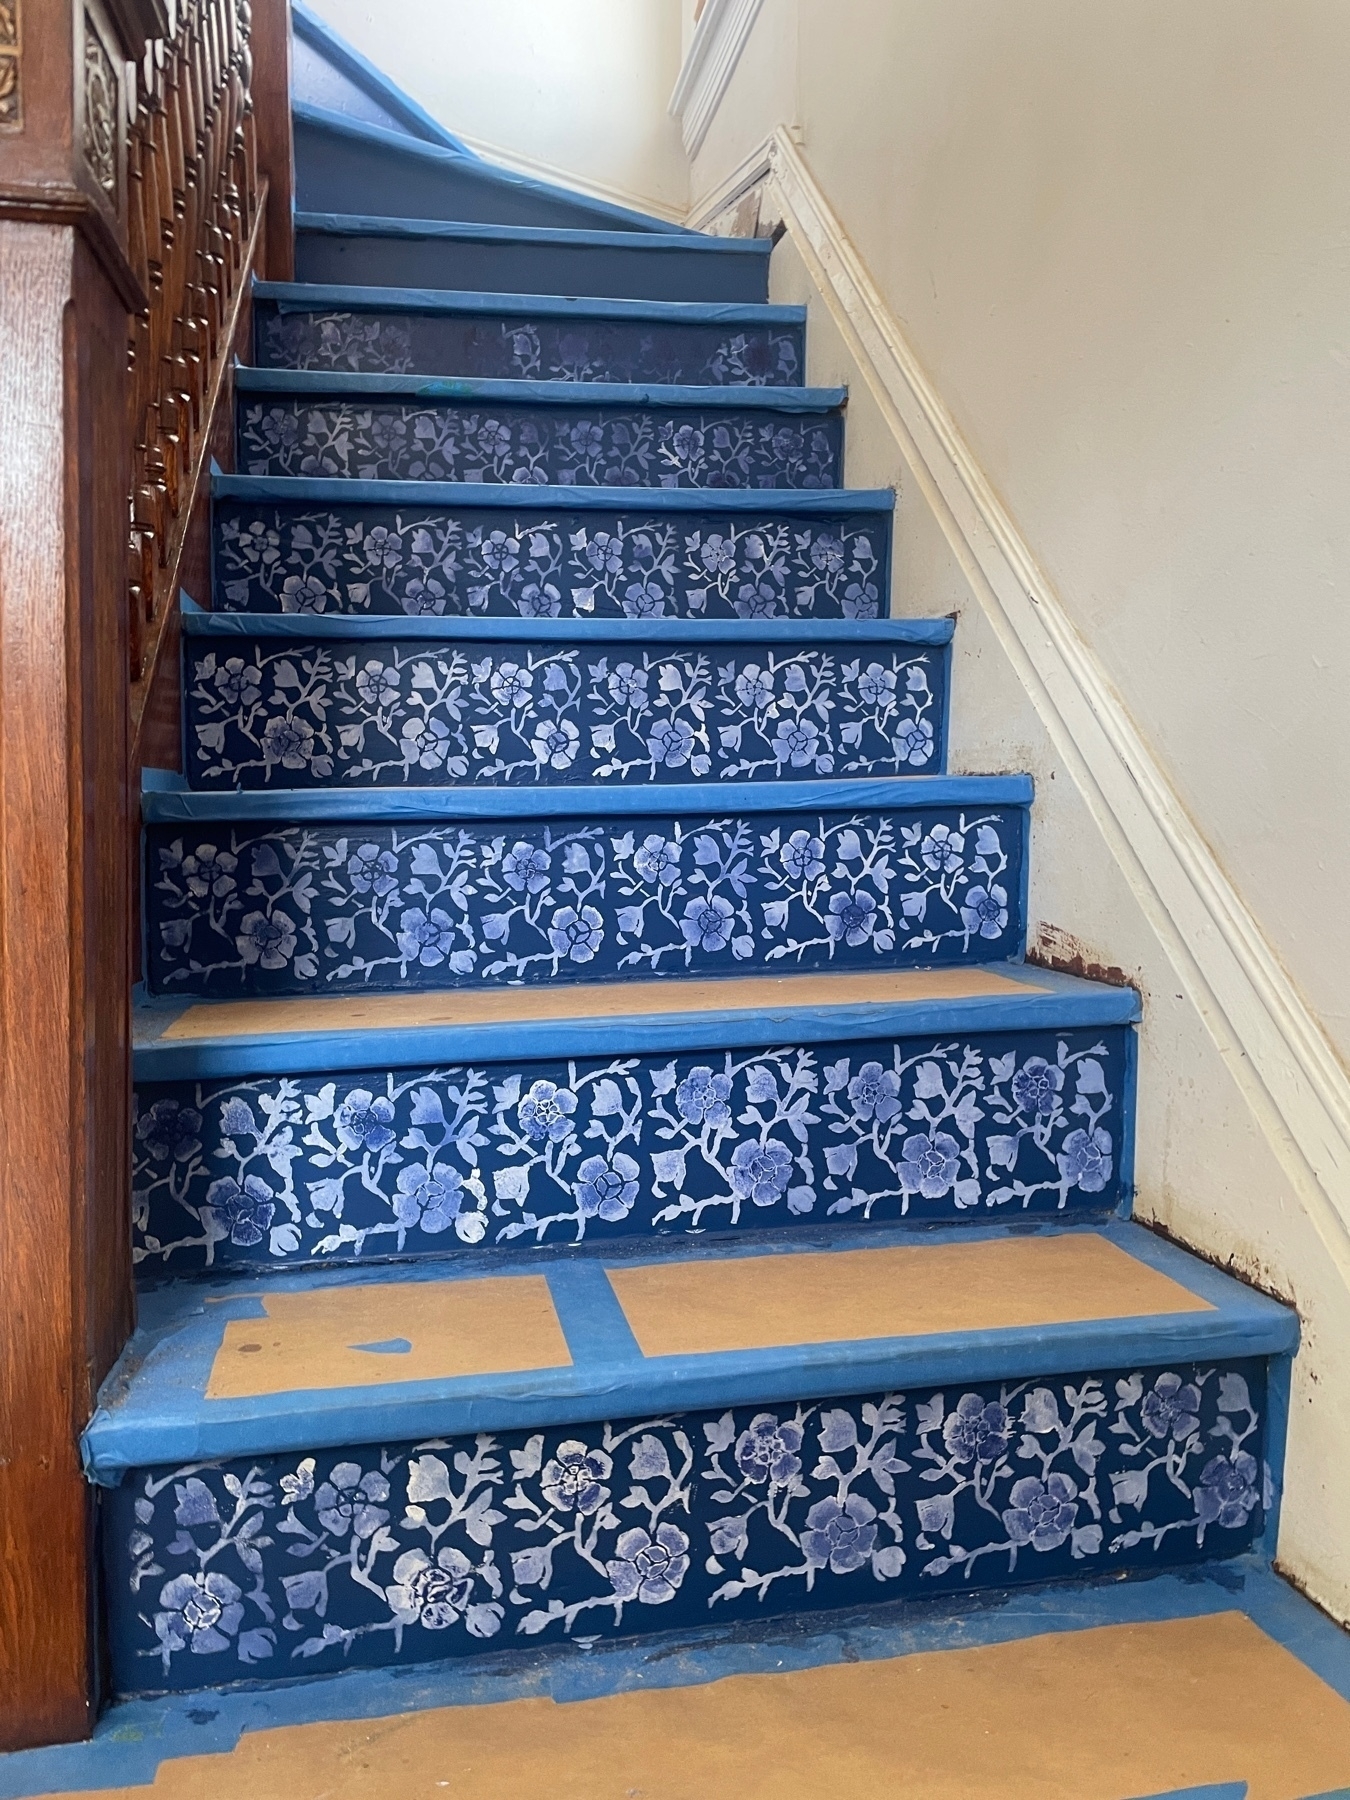
Sometimes, a journey down the path of a plan does not end up where you hoped but sometimes leads to something better. That’s the story here with the case of the risers on the main staircase.
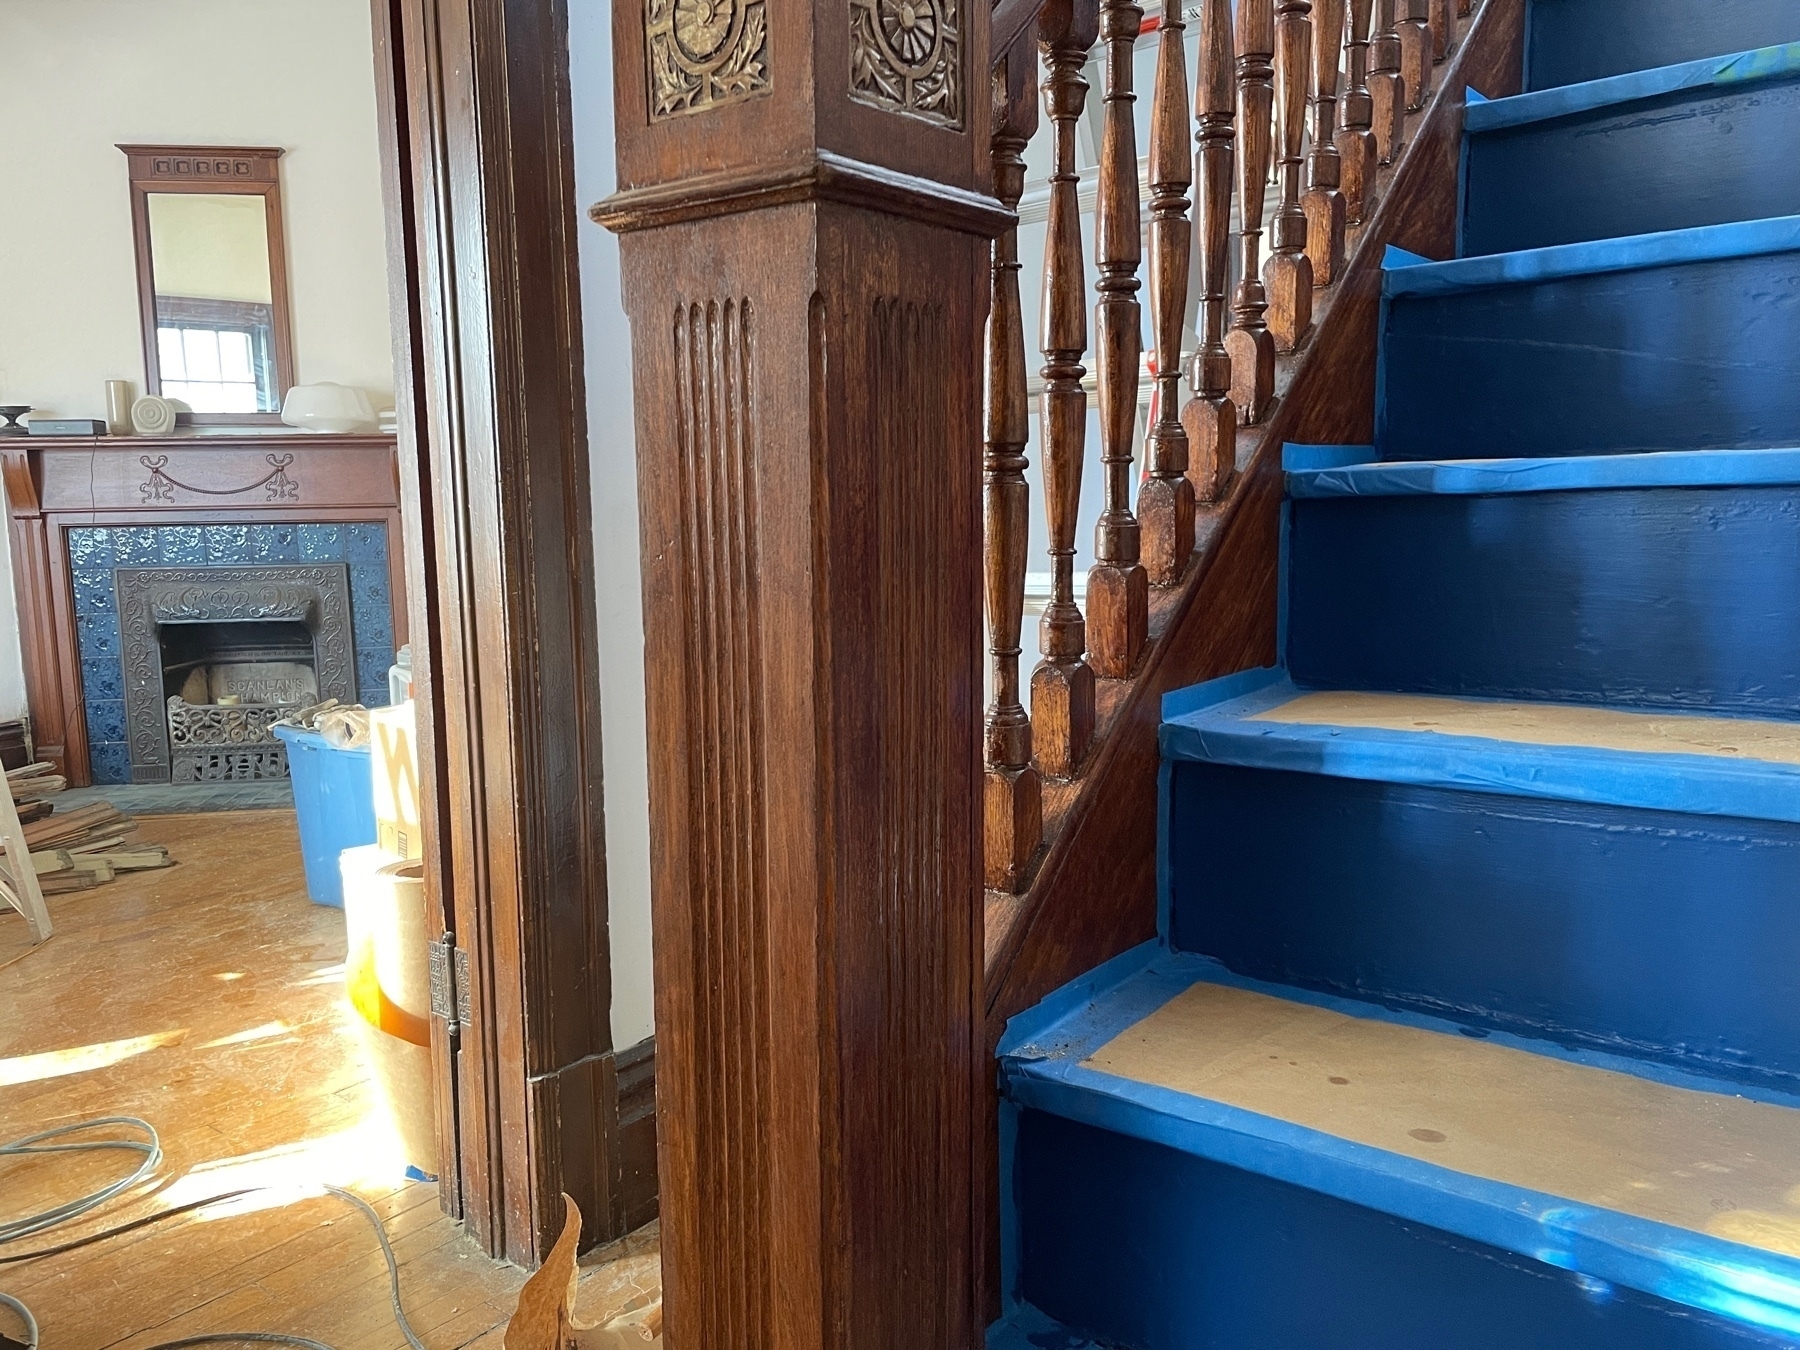
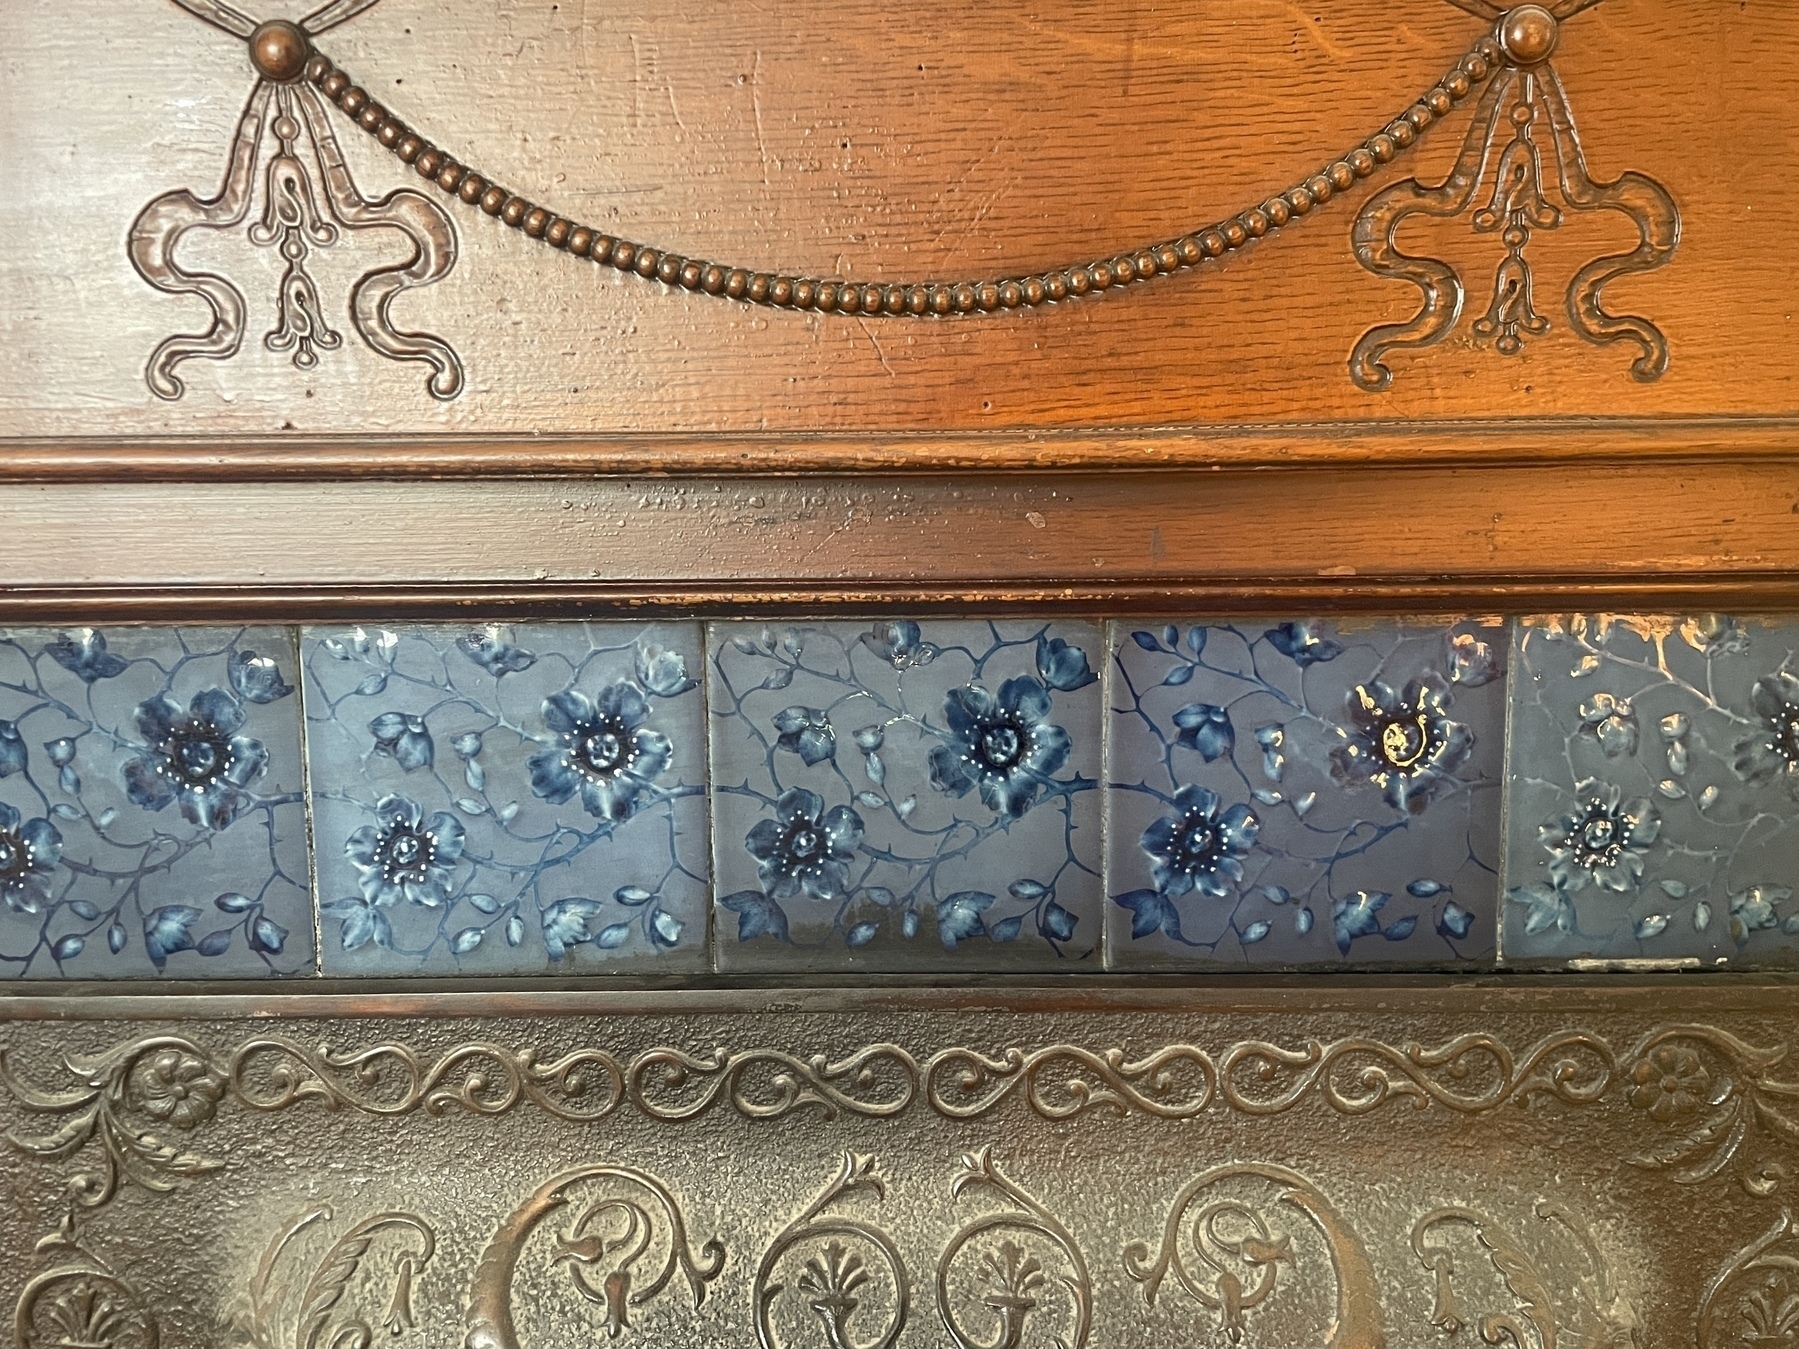
The original plan was to evoke the pattern on the tiles found on the fireplace…
At first, we planned to do that as a stamp, carved out of linoleum…
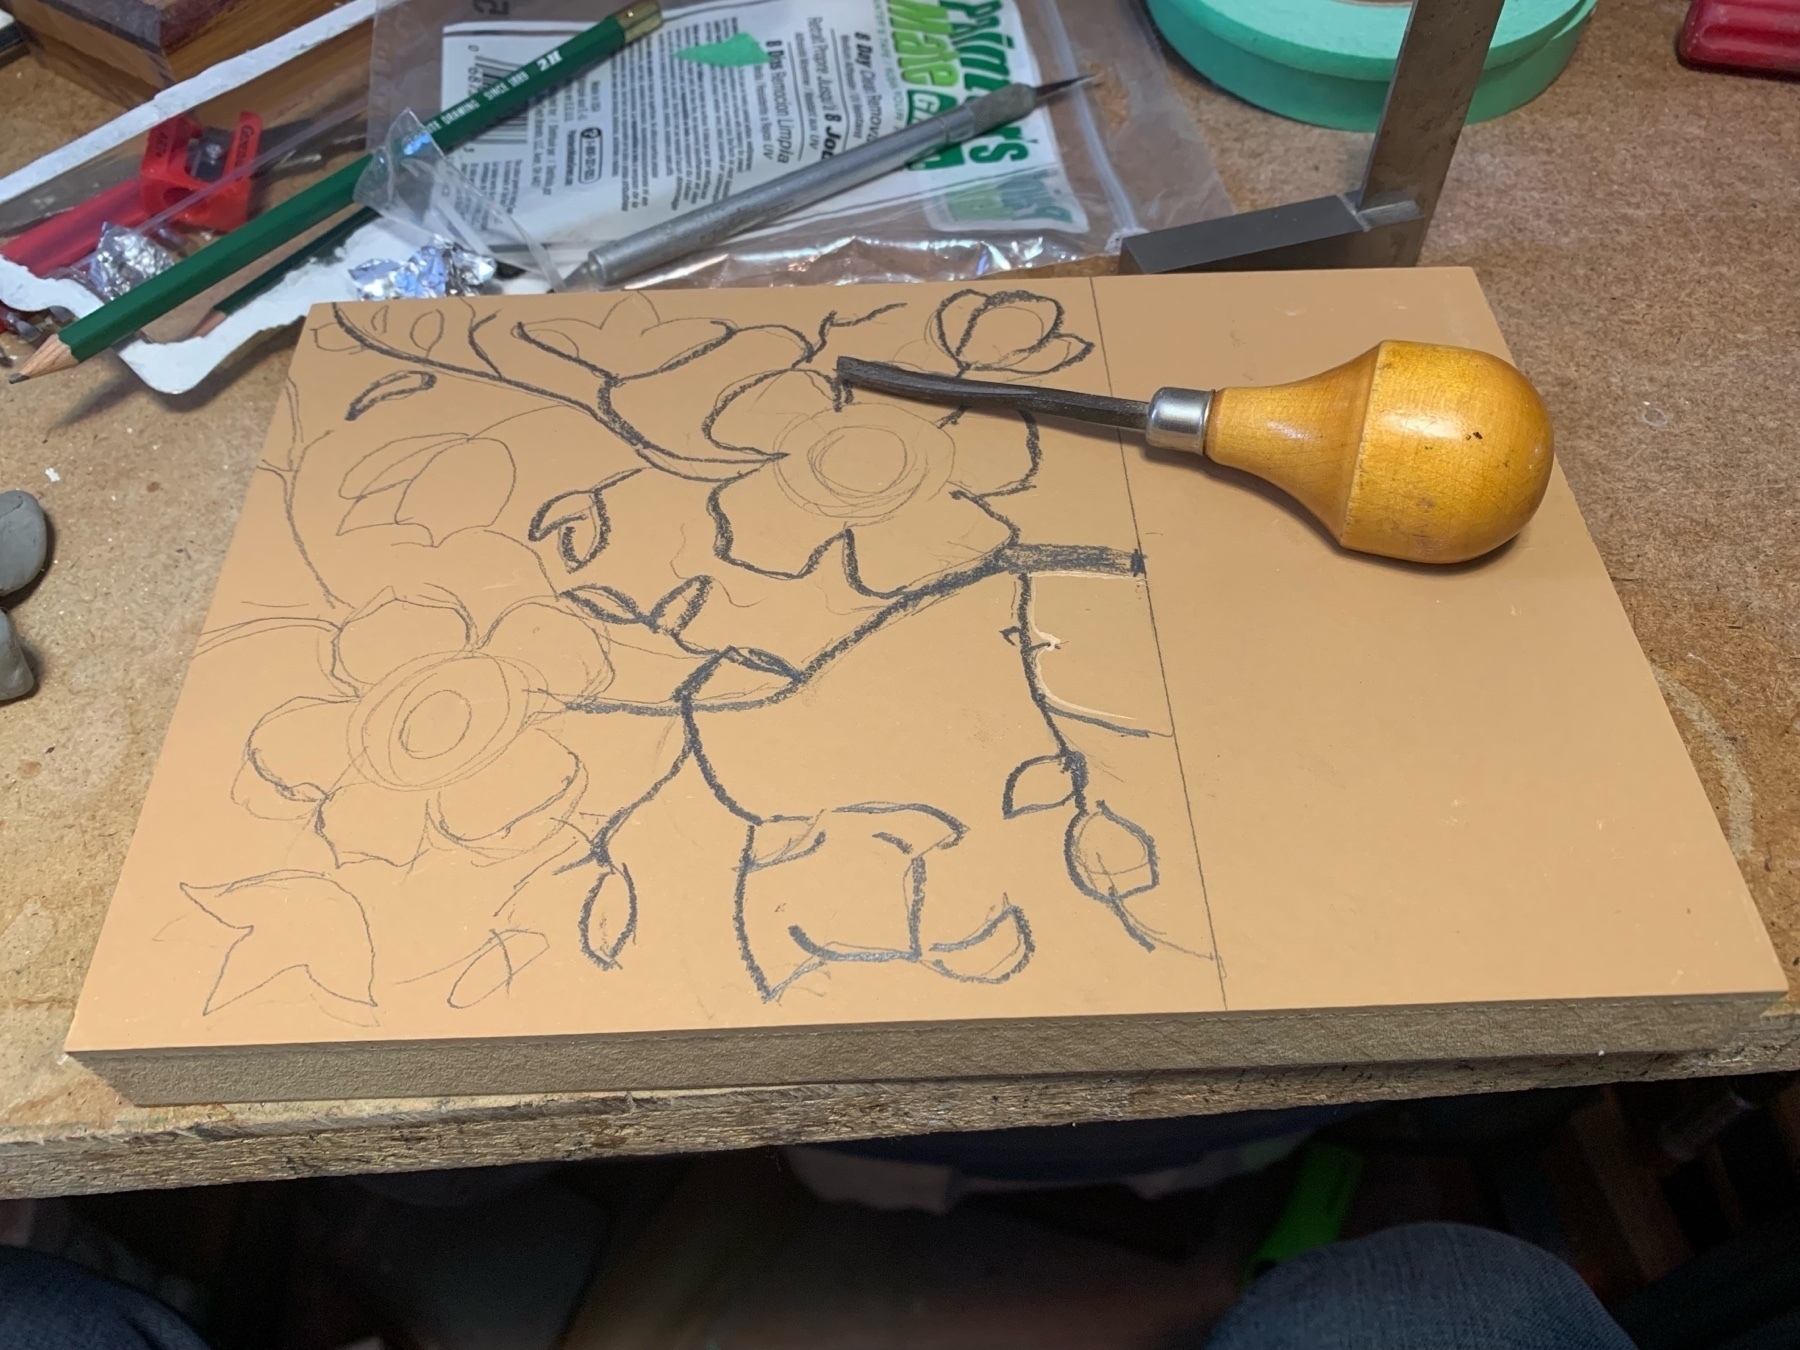
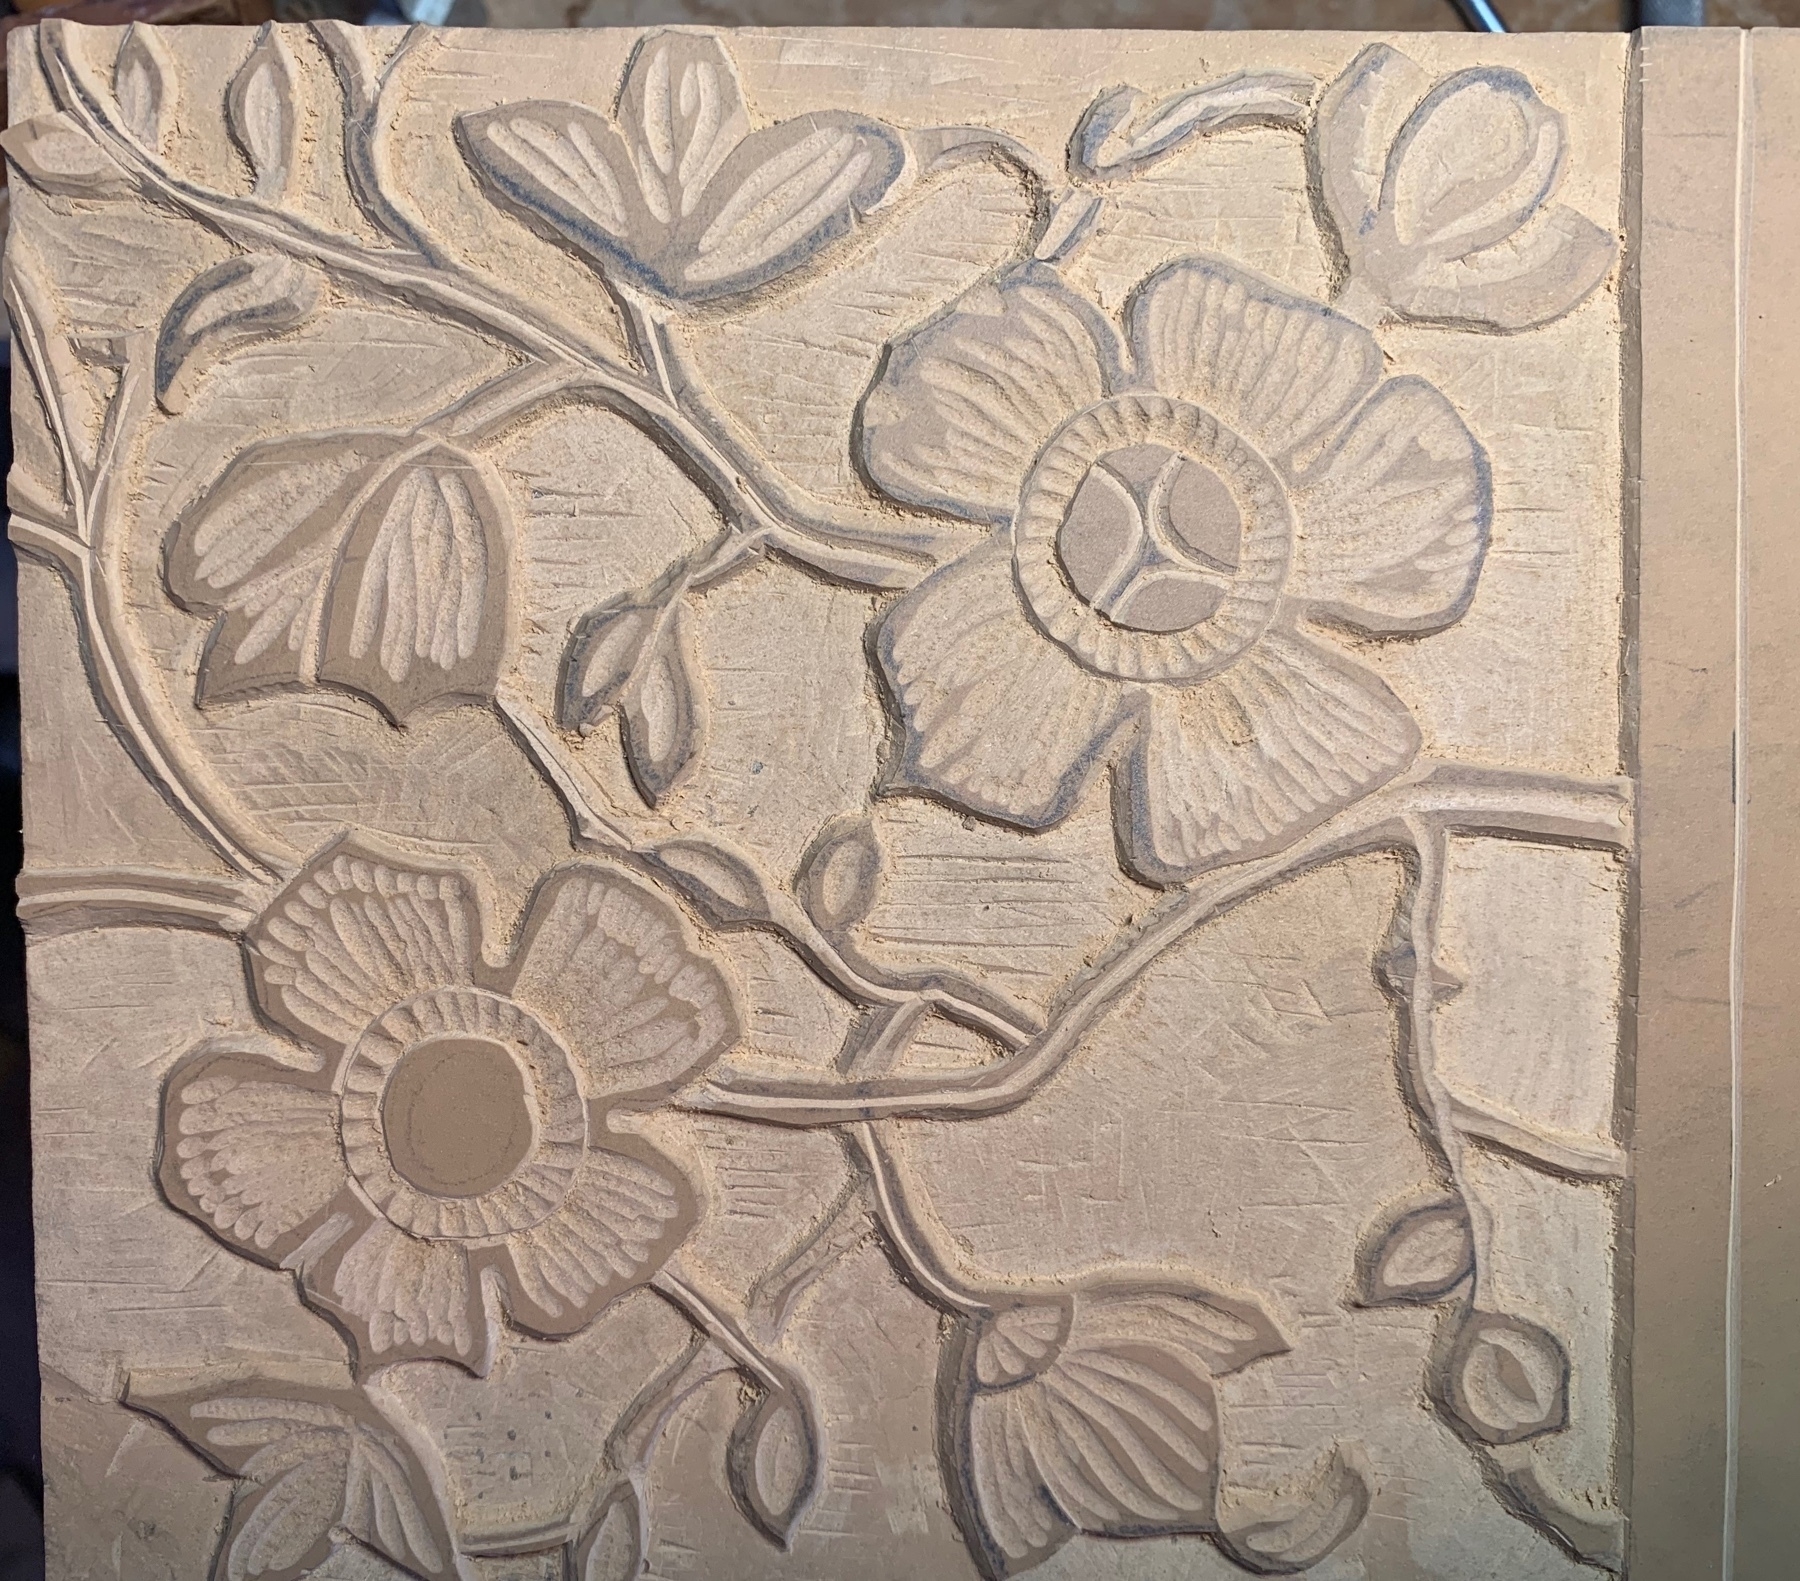
But, after doing that and testing it, we found the results to be less than ideal. But, doing the stamp was not in vain because that gave us the idea, and the pattern, for a stencil instead.
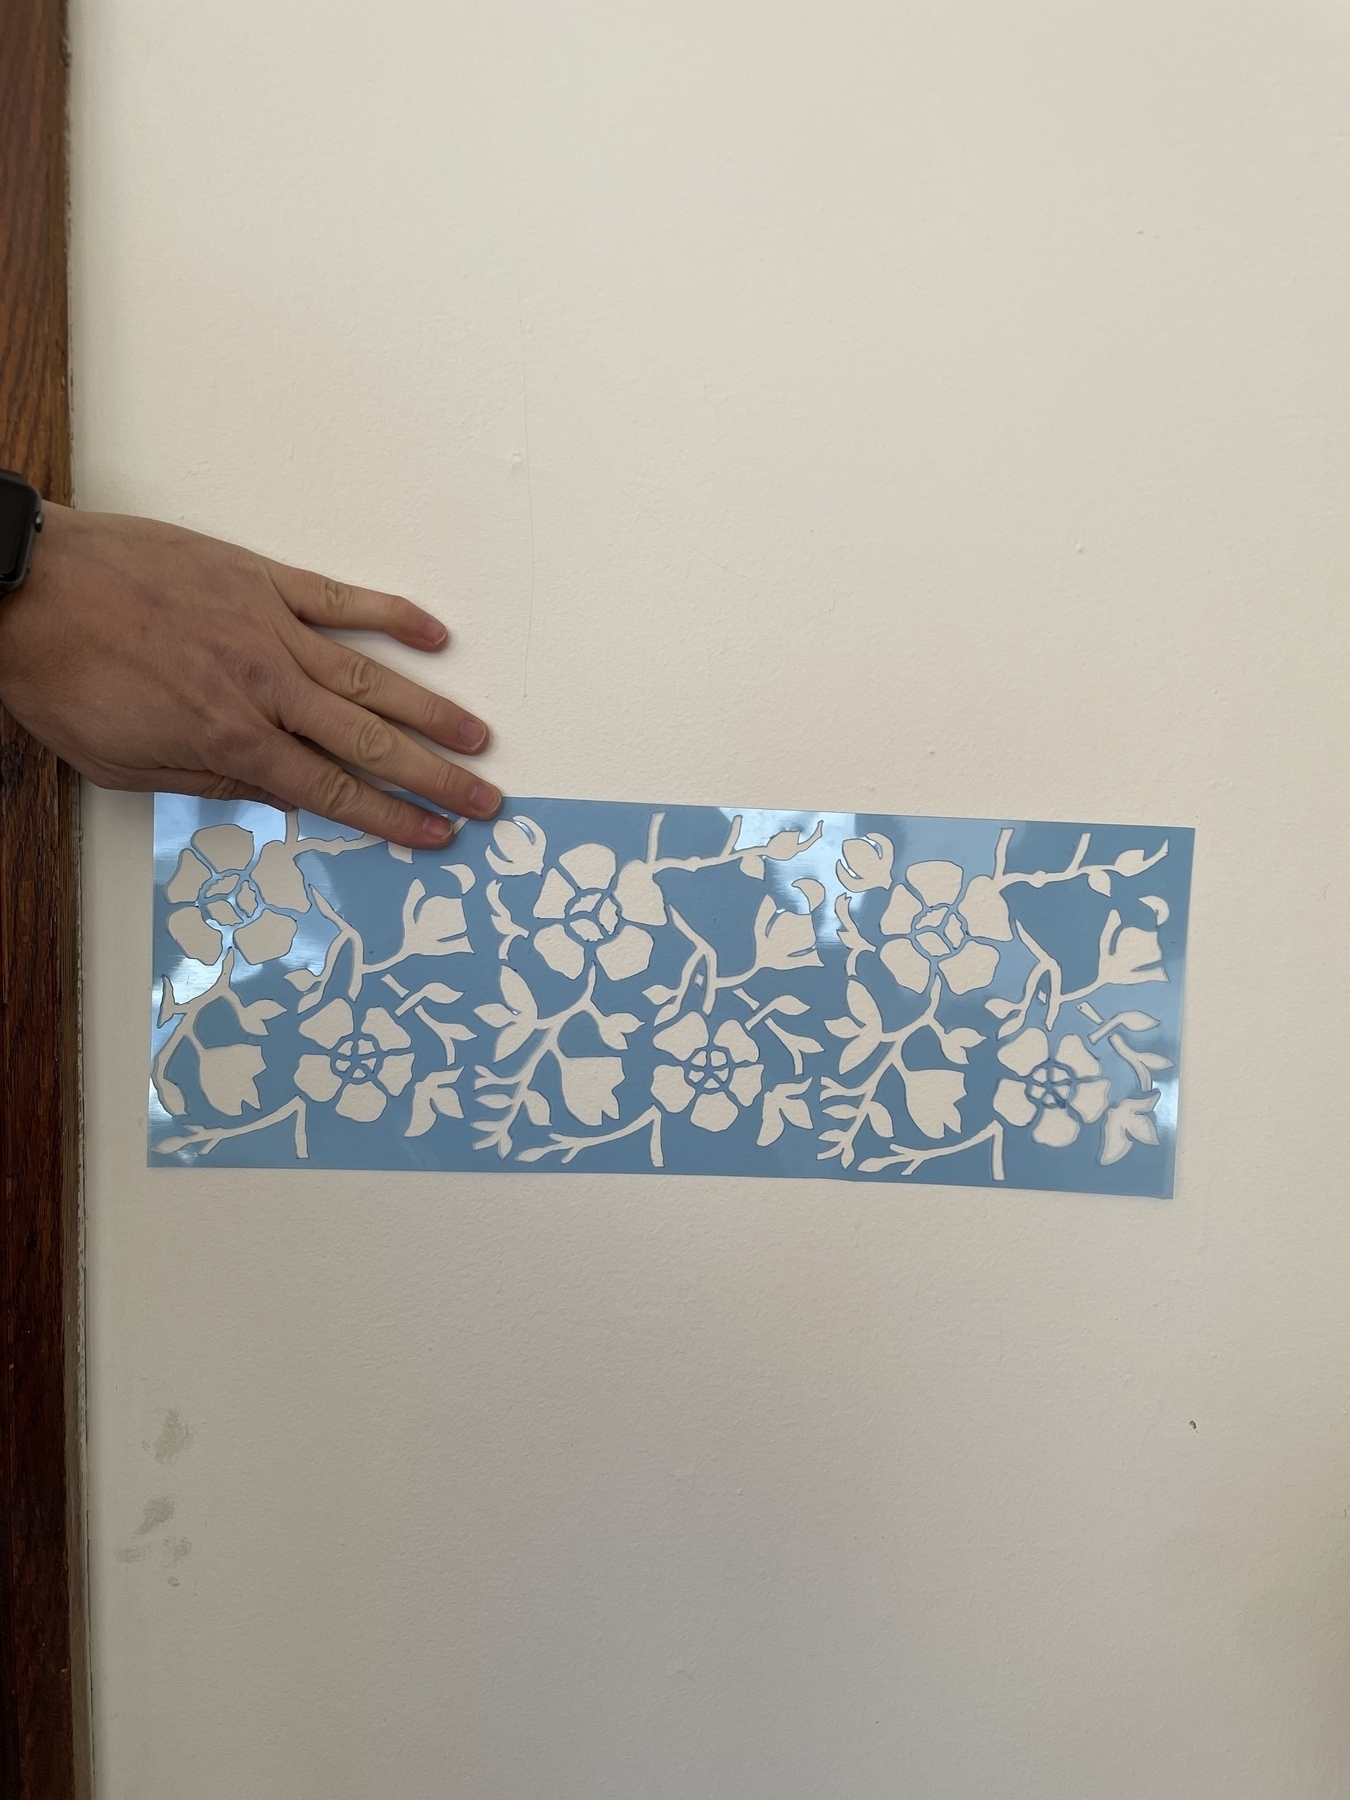
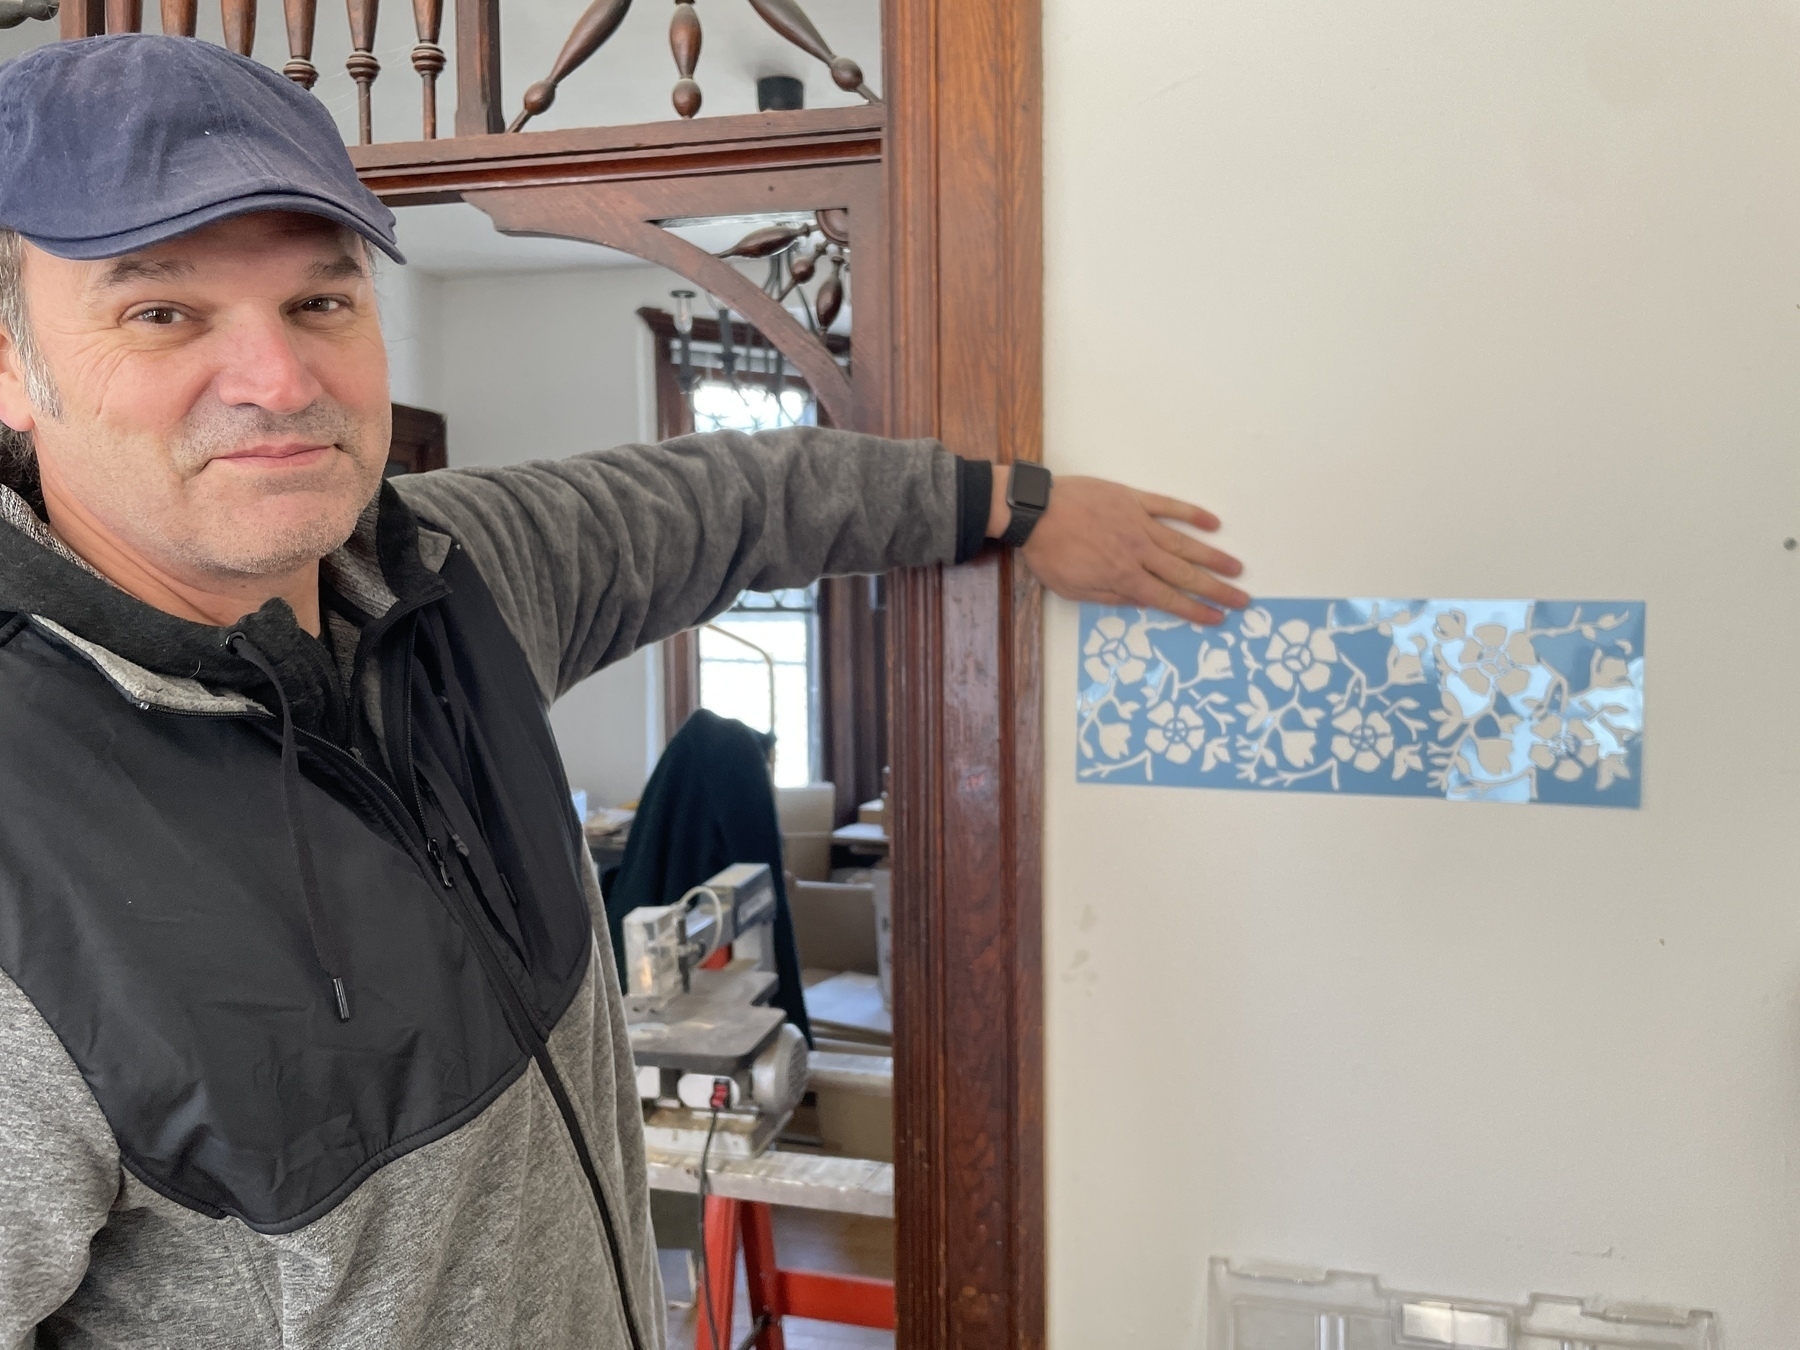
The first few that have been done so far are beyond what I had even hoped for…
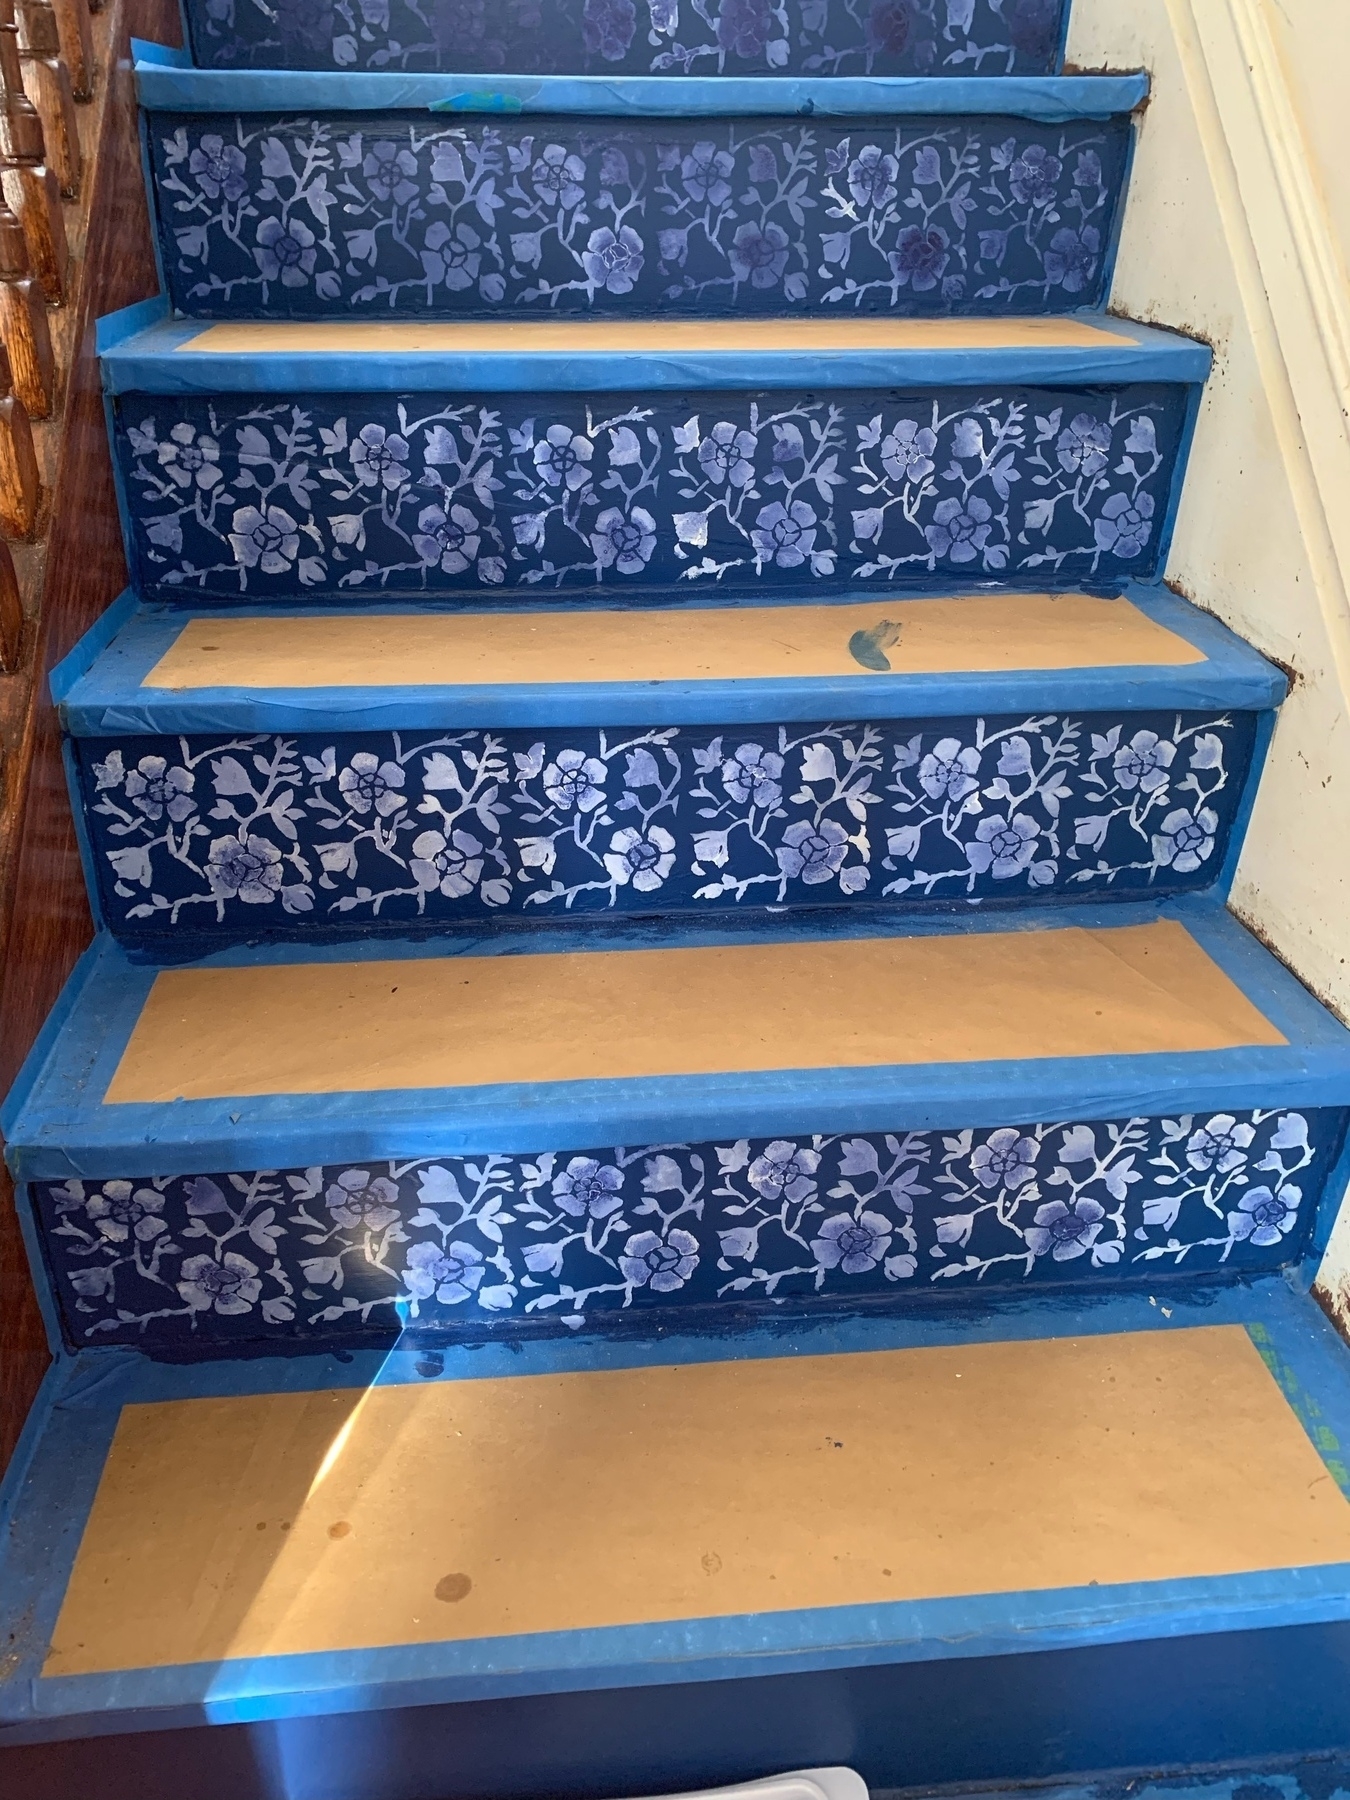
Stay tuned for the completed results.
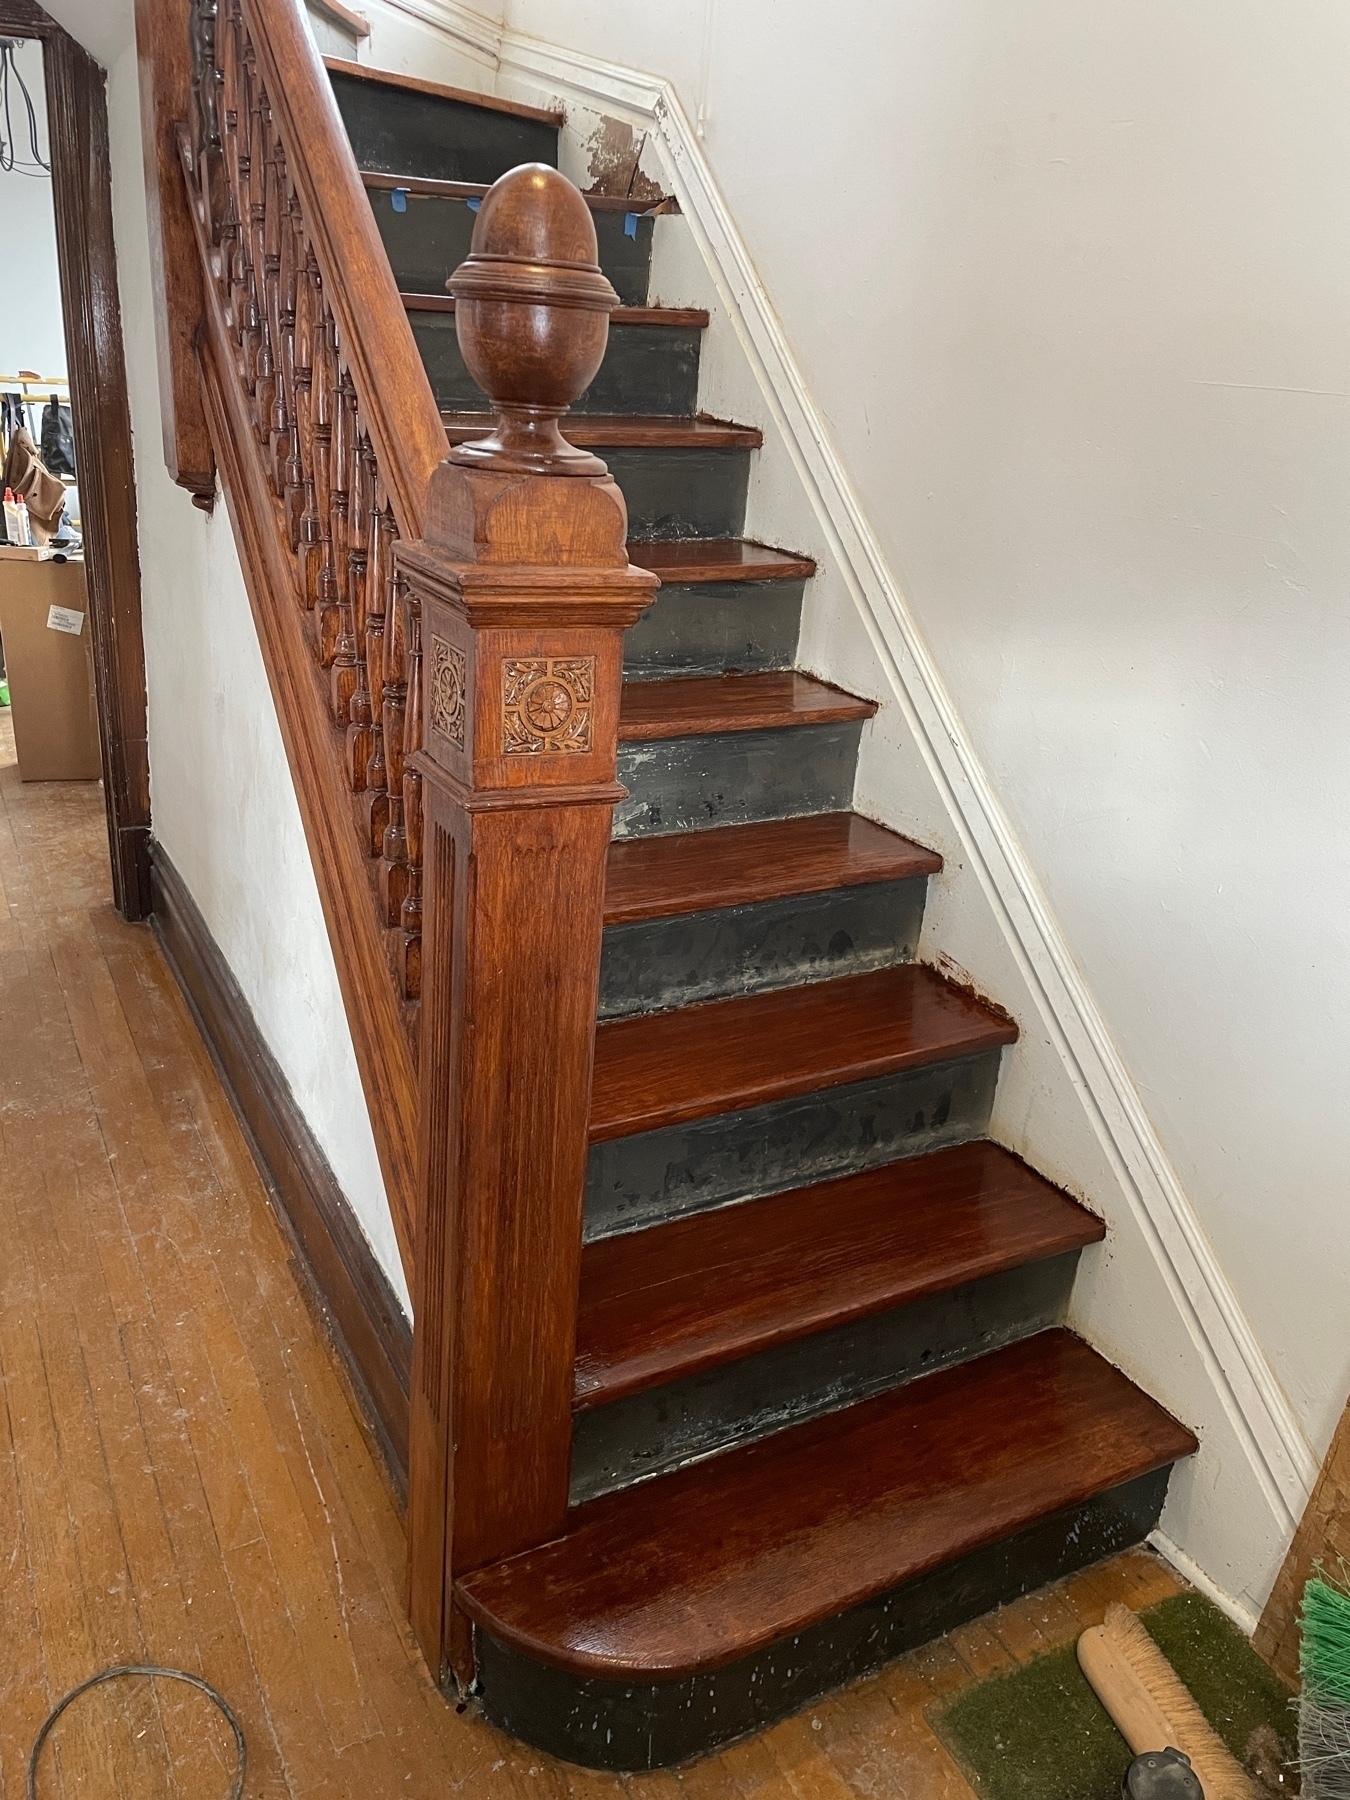
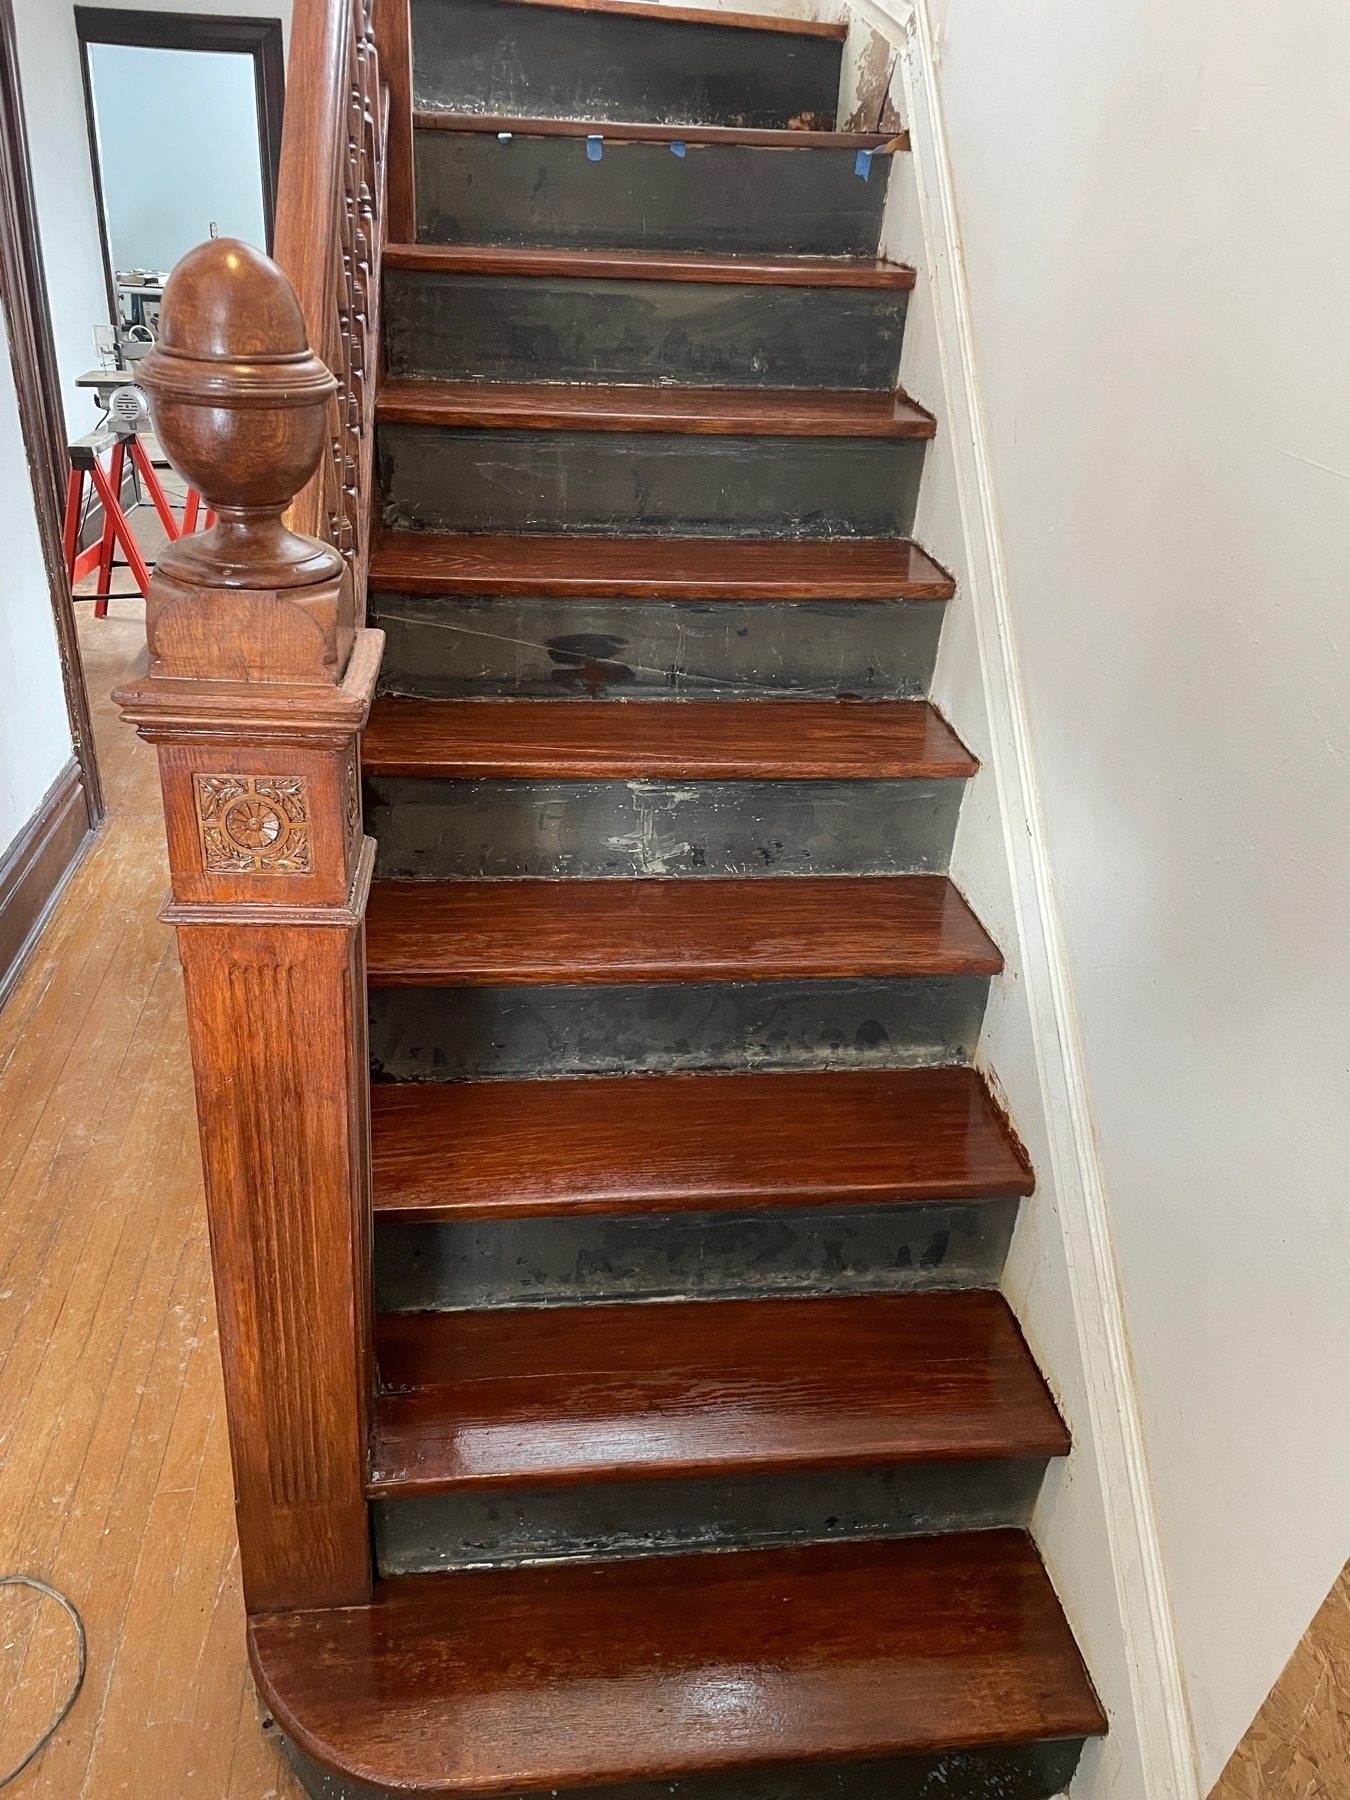
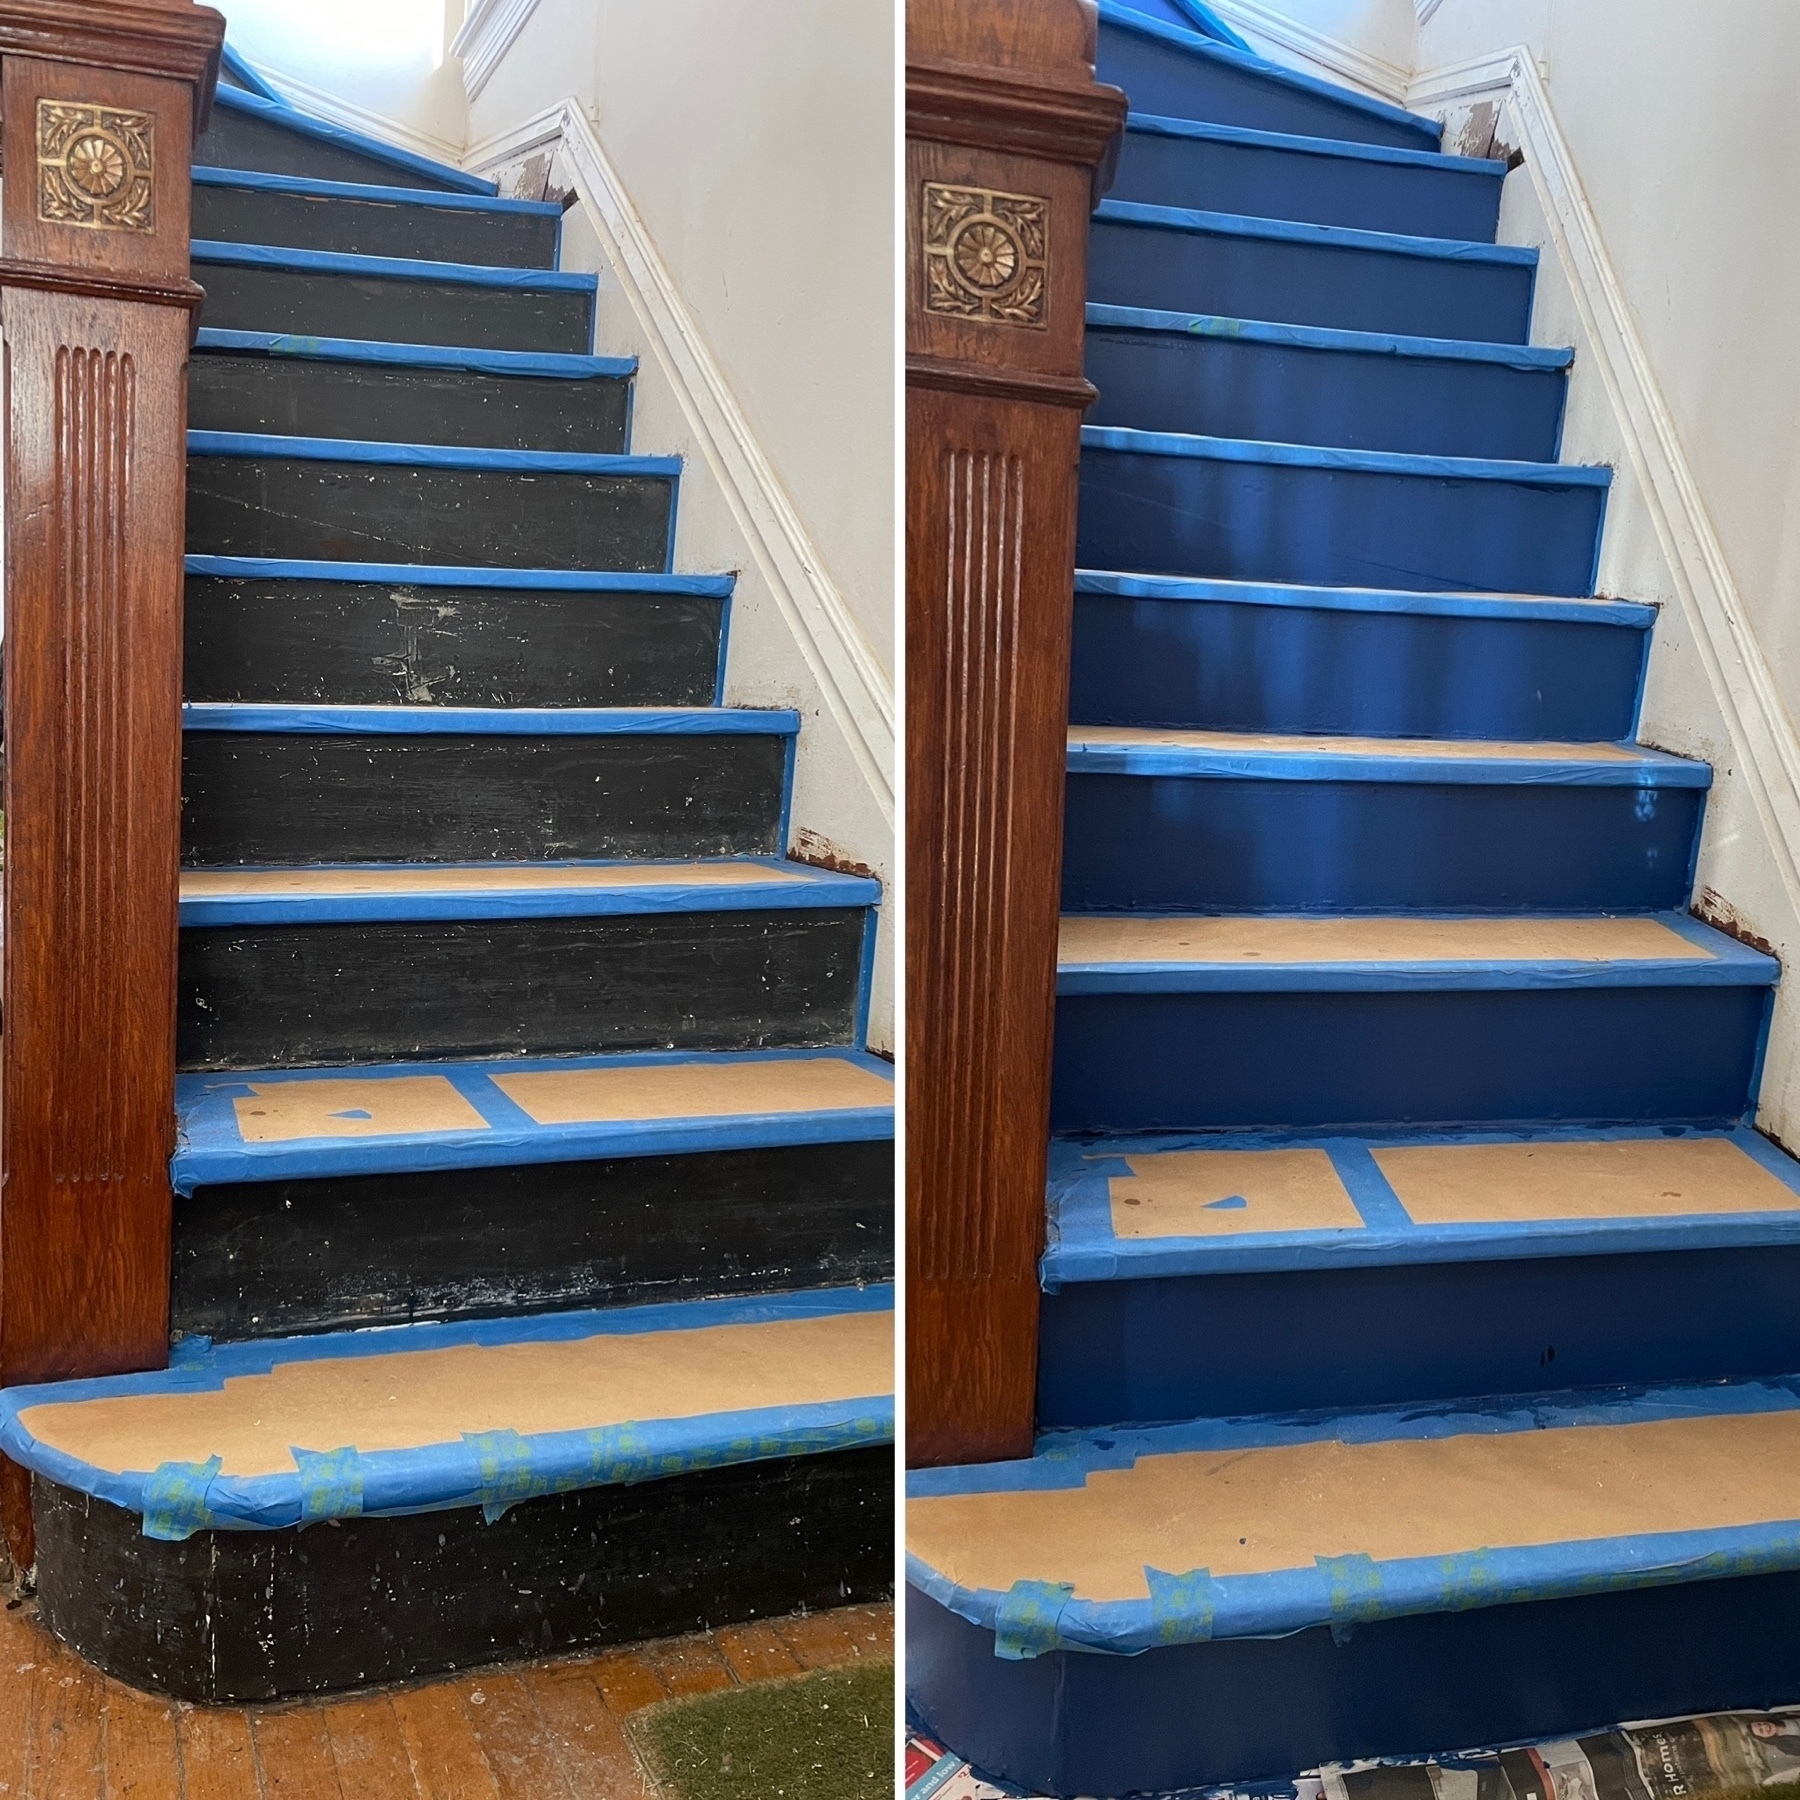
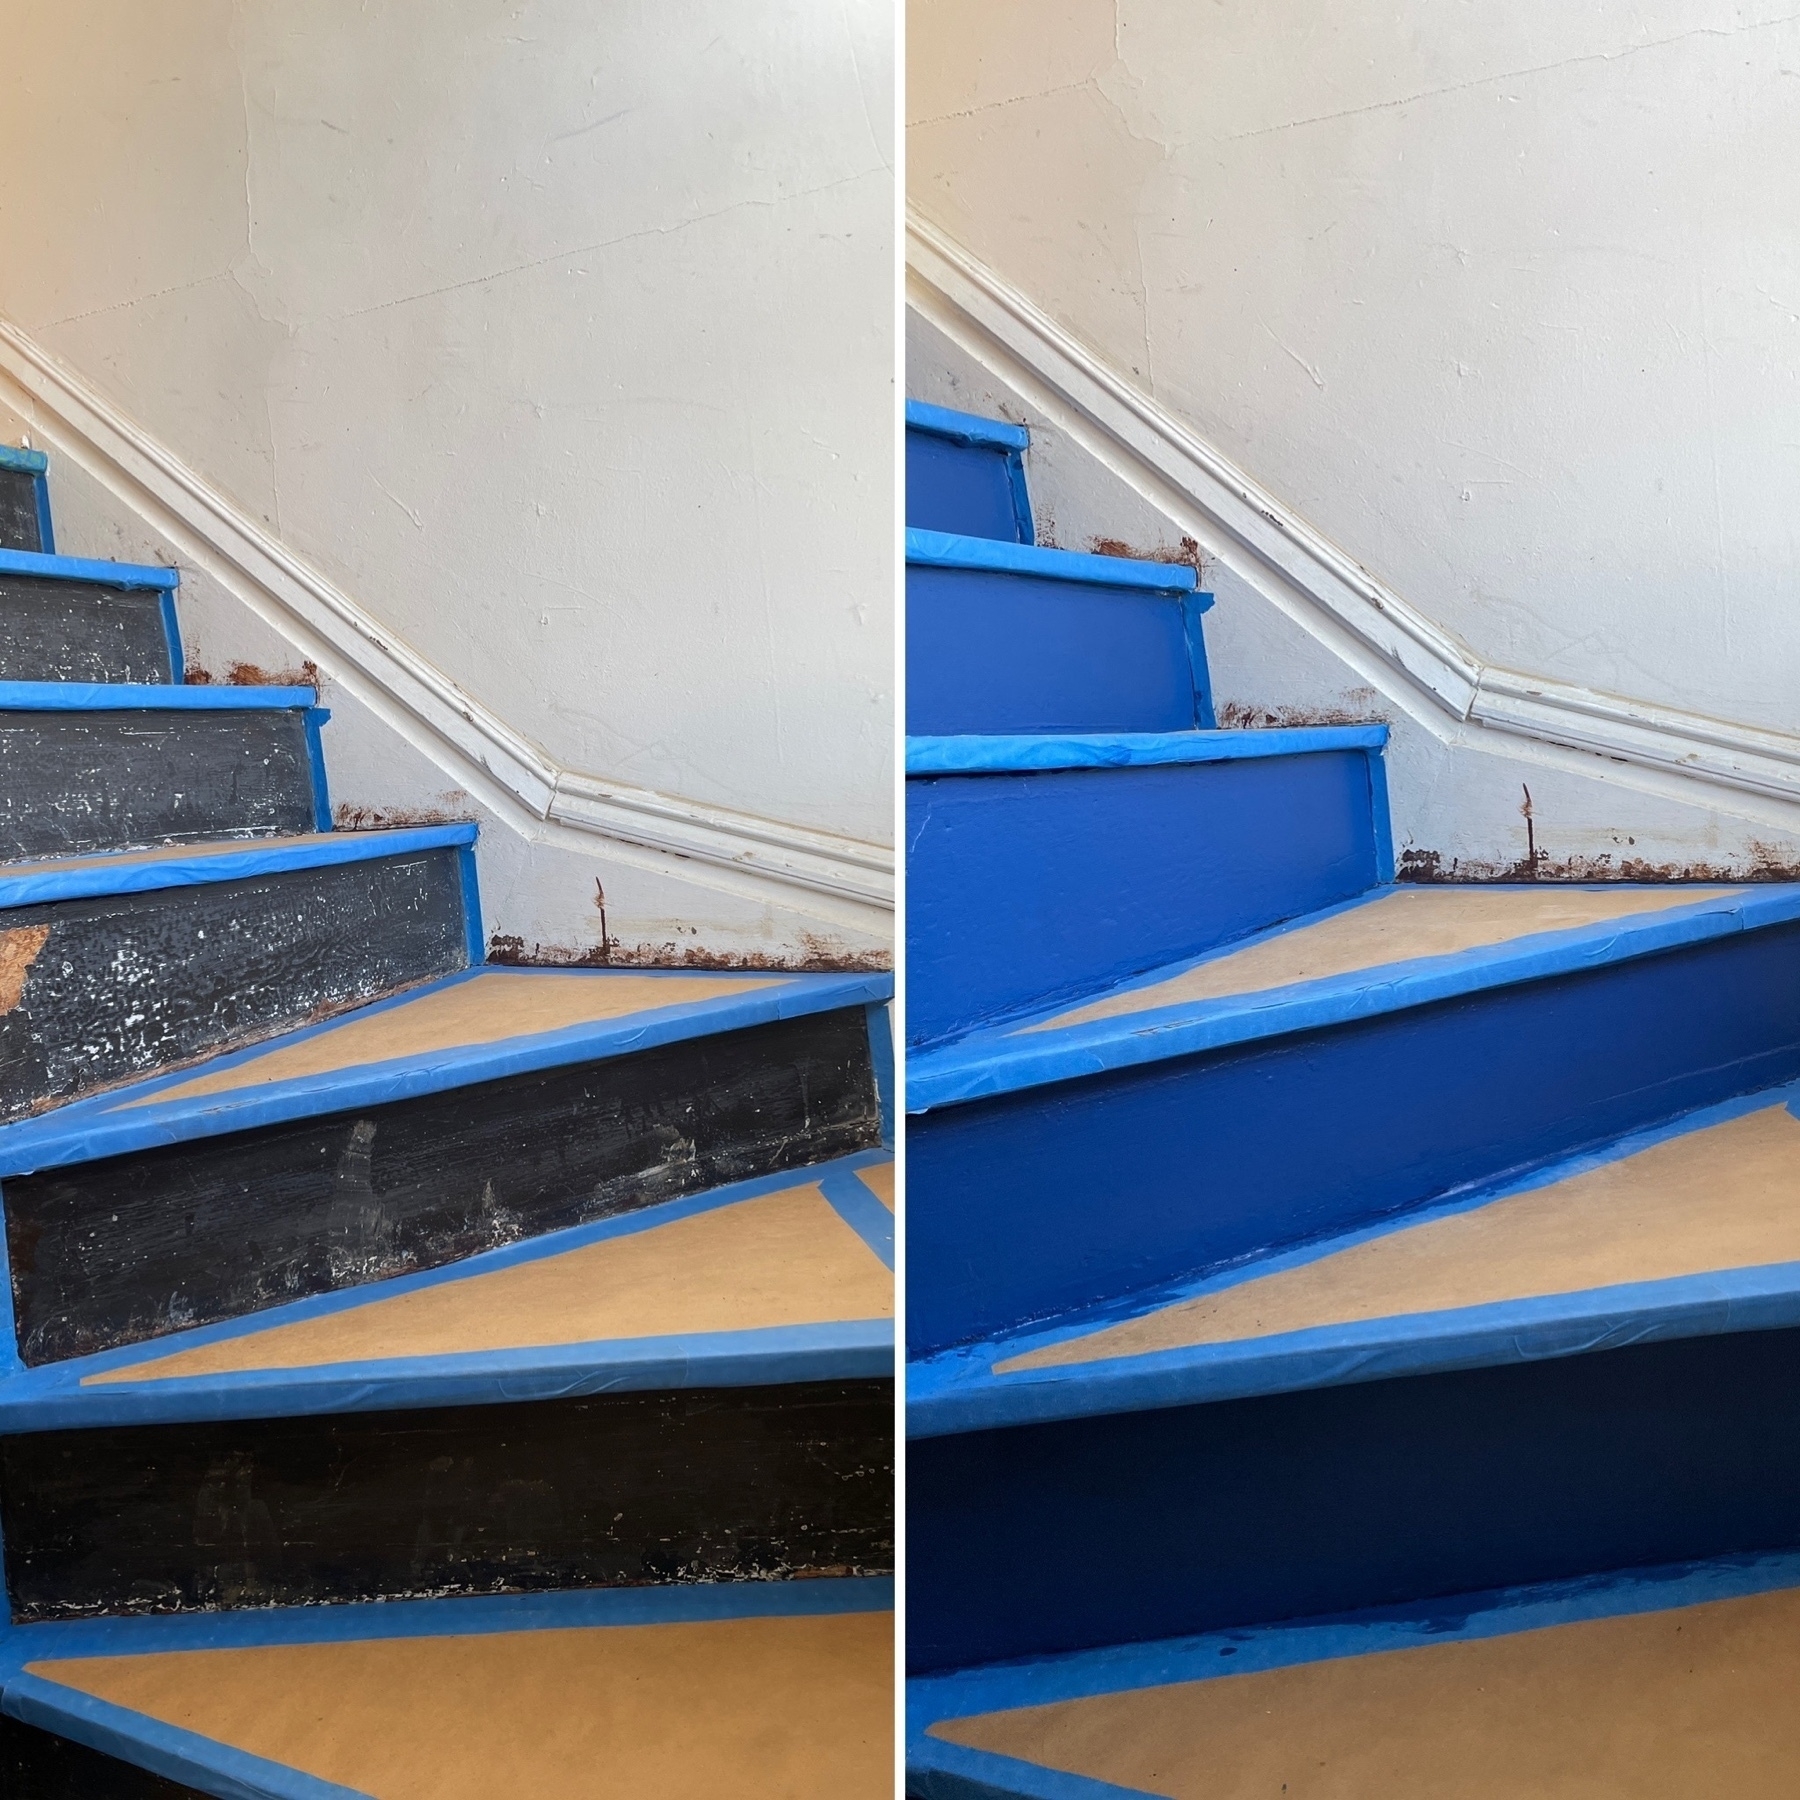
The base paint for the risers on the front stairs is coming along nicely. Here’s some before and afters.
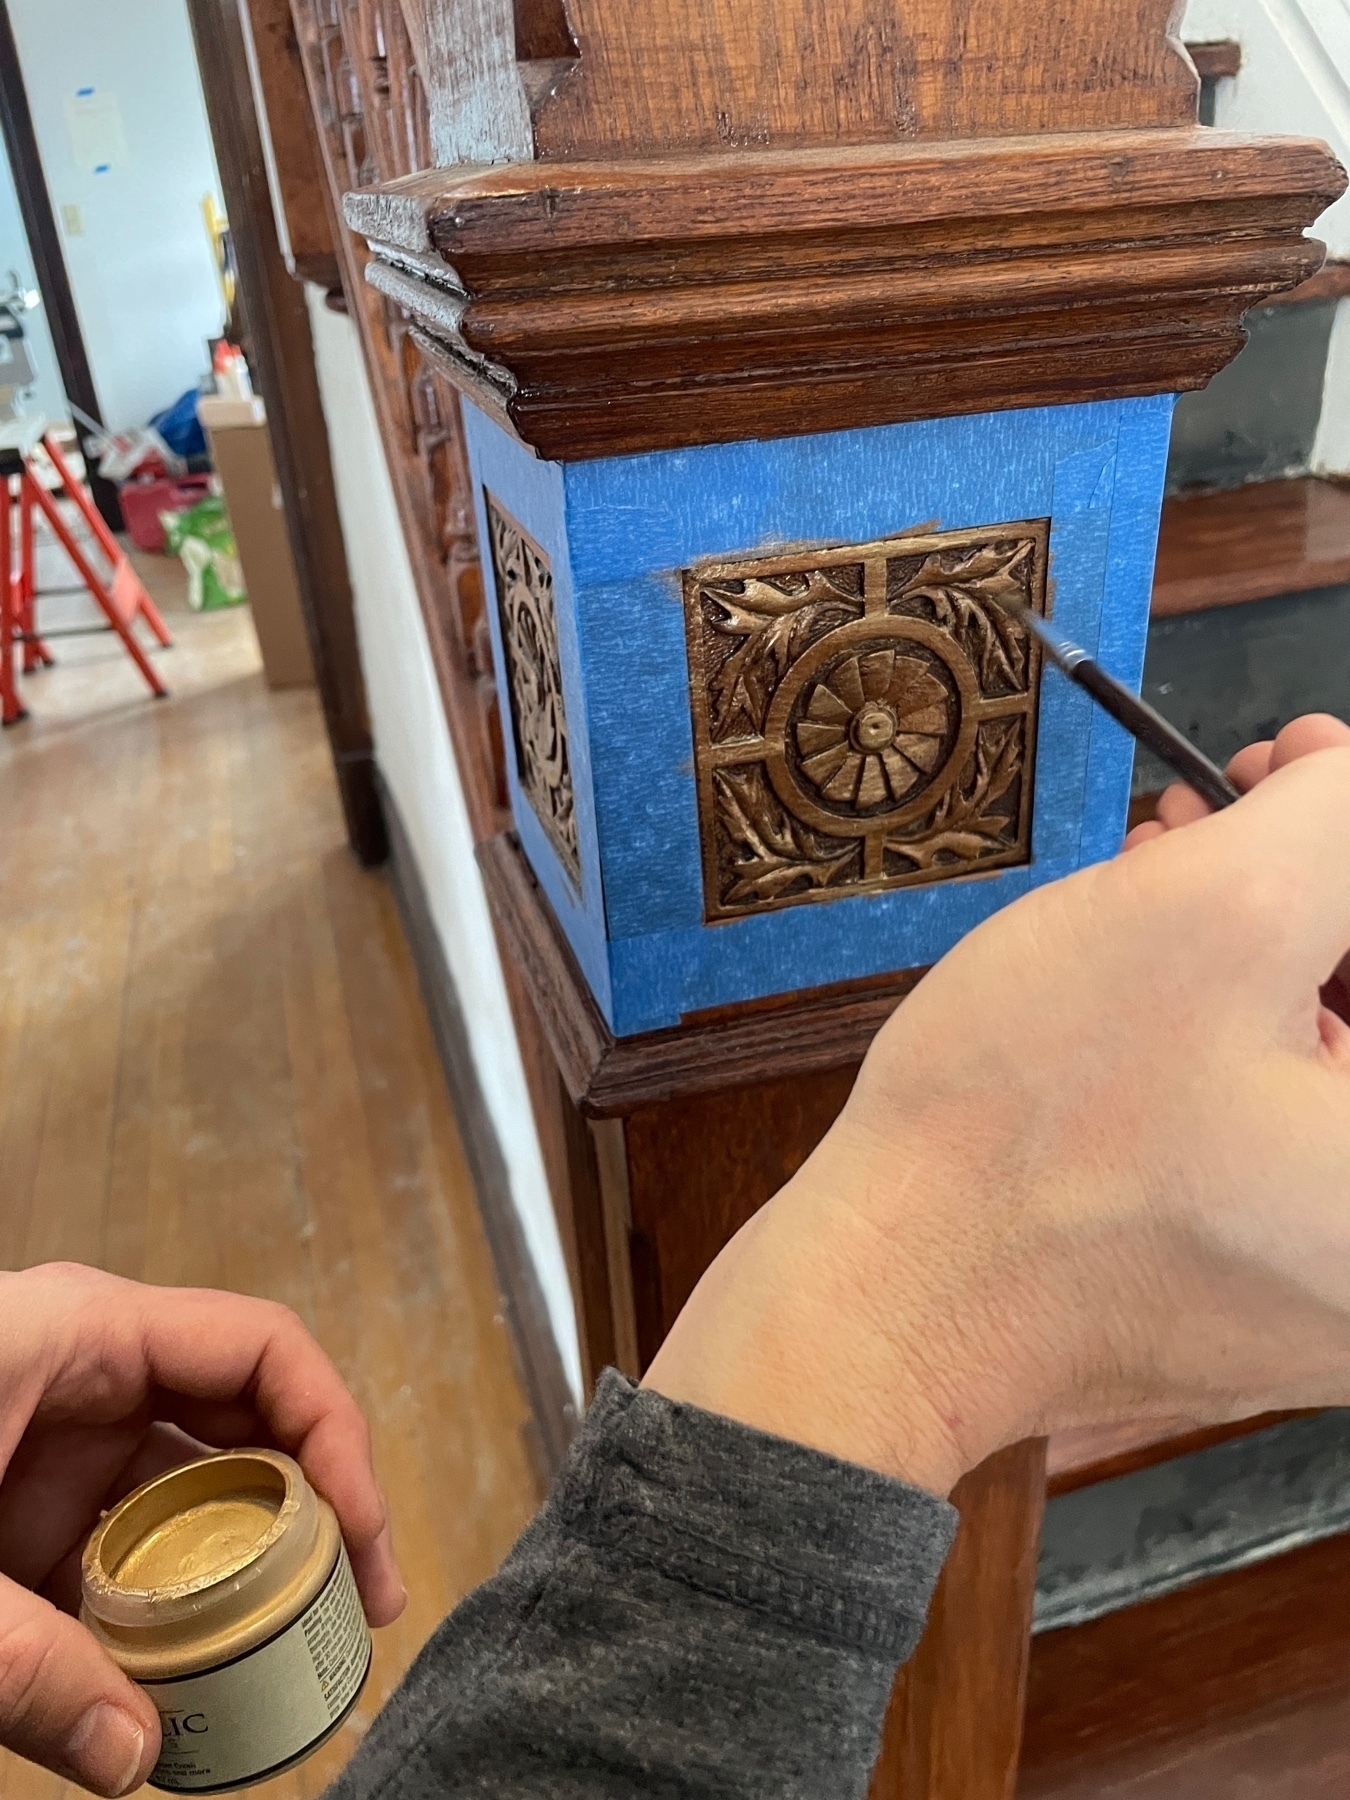
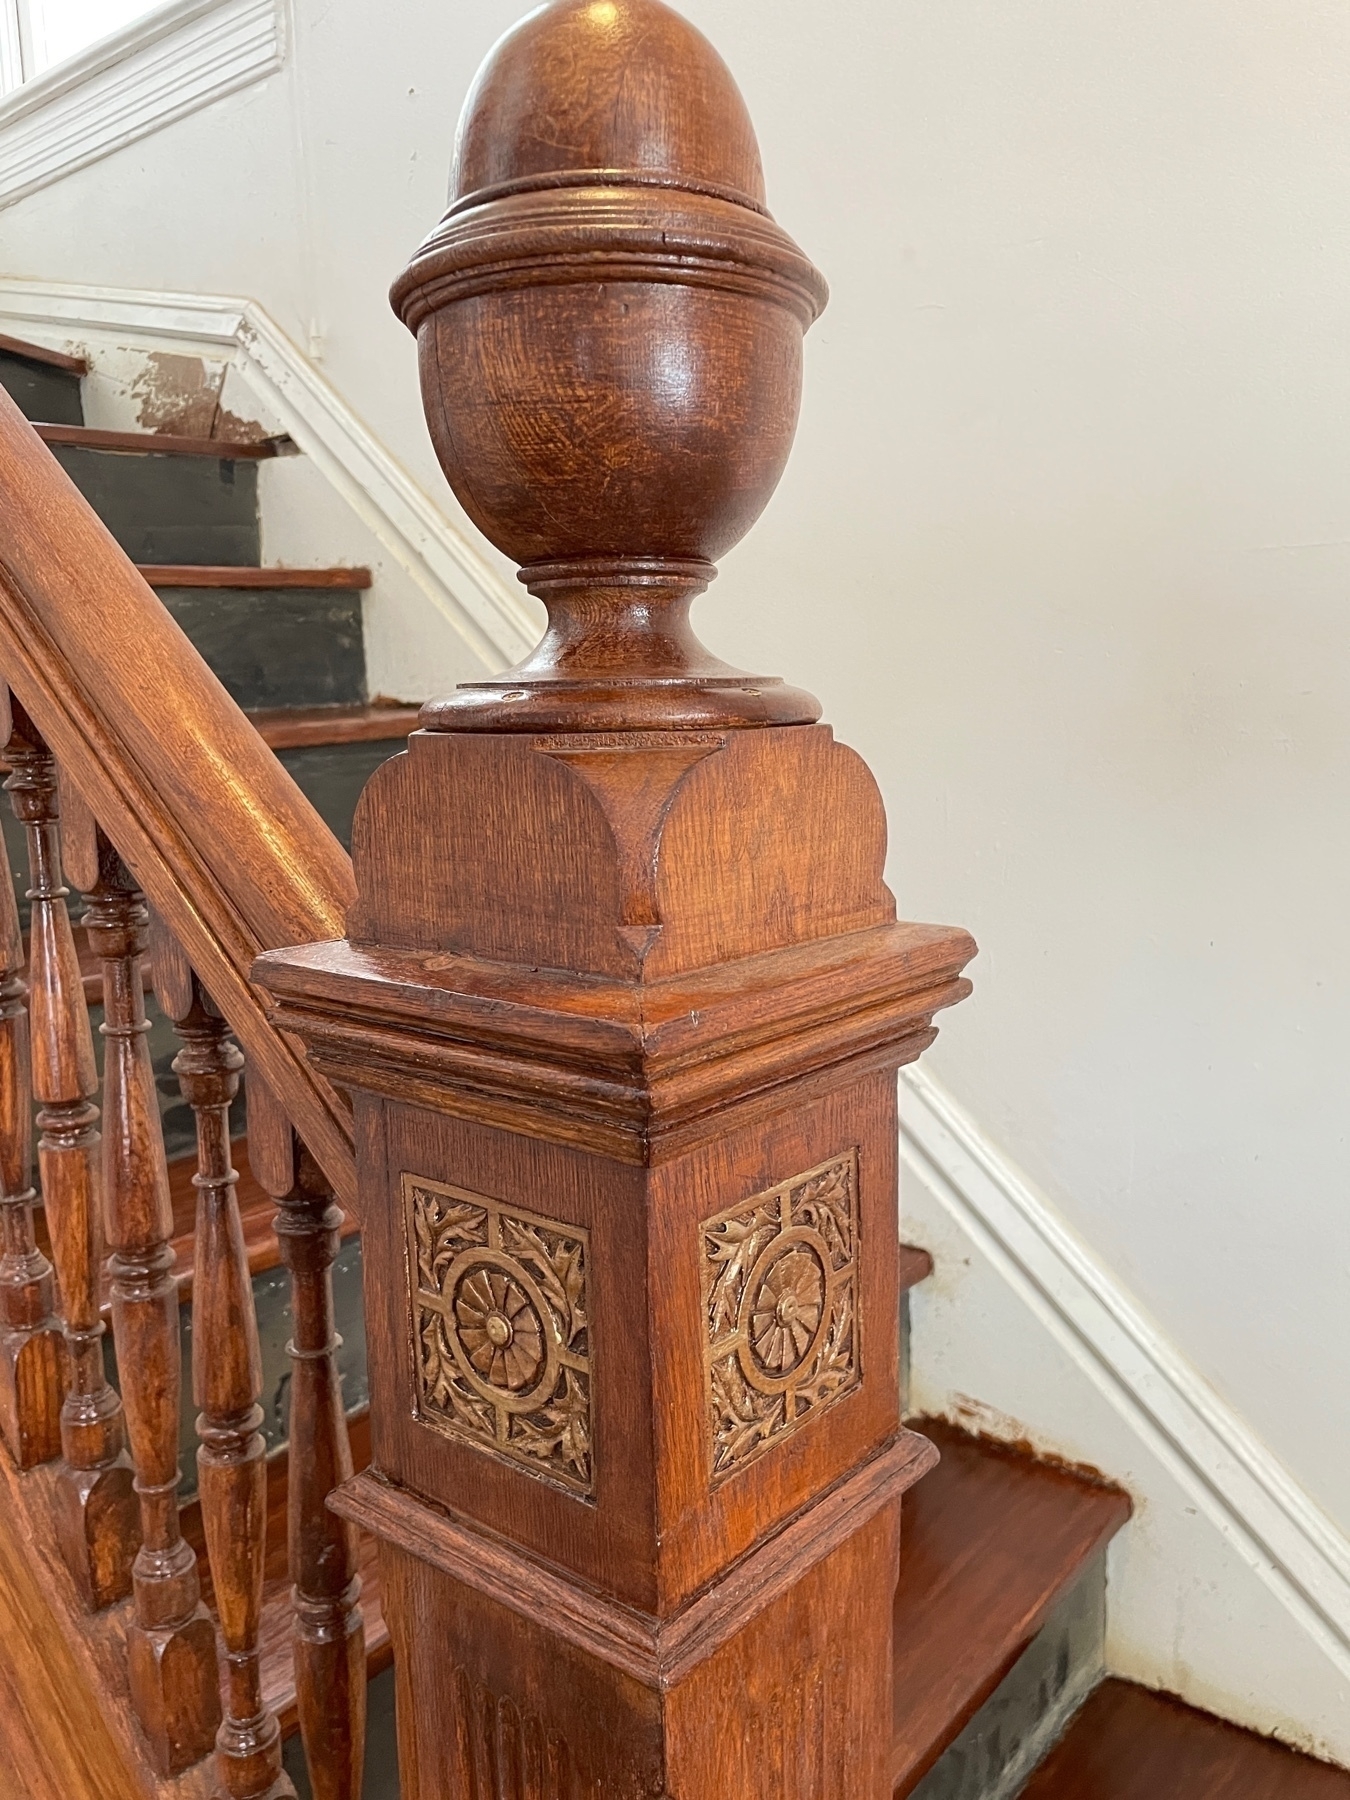
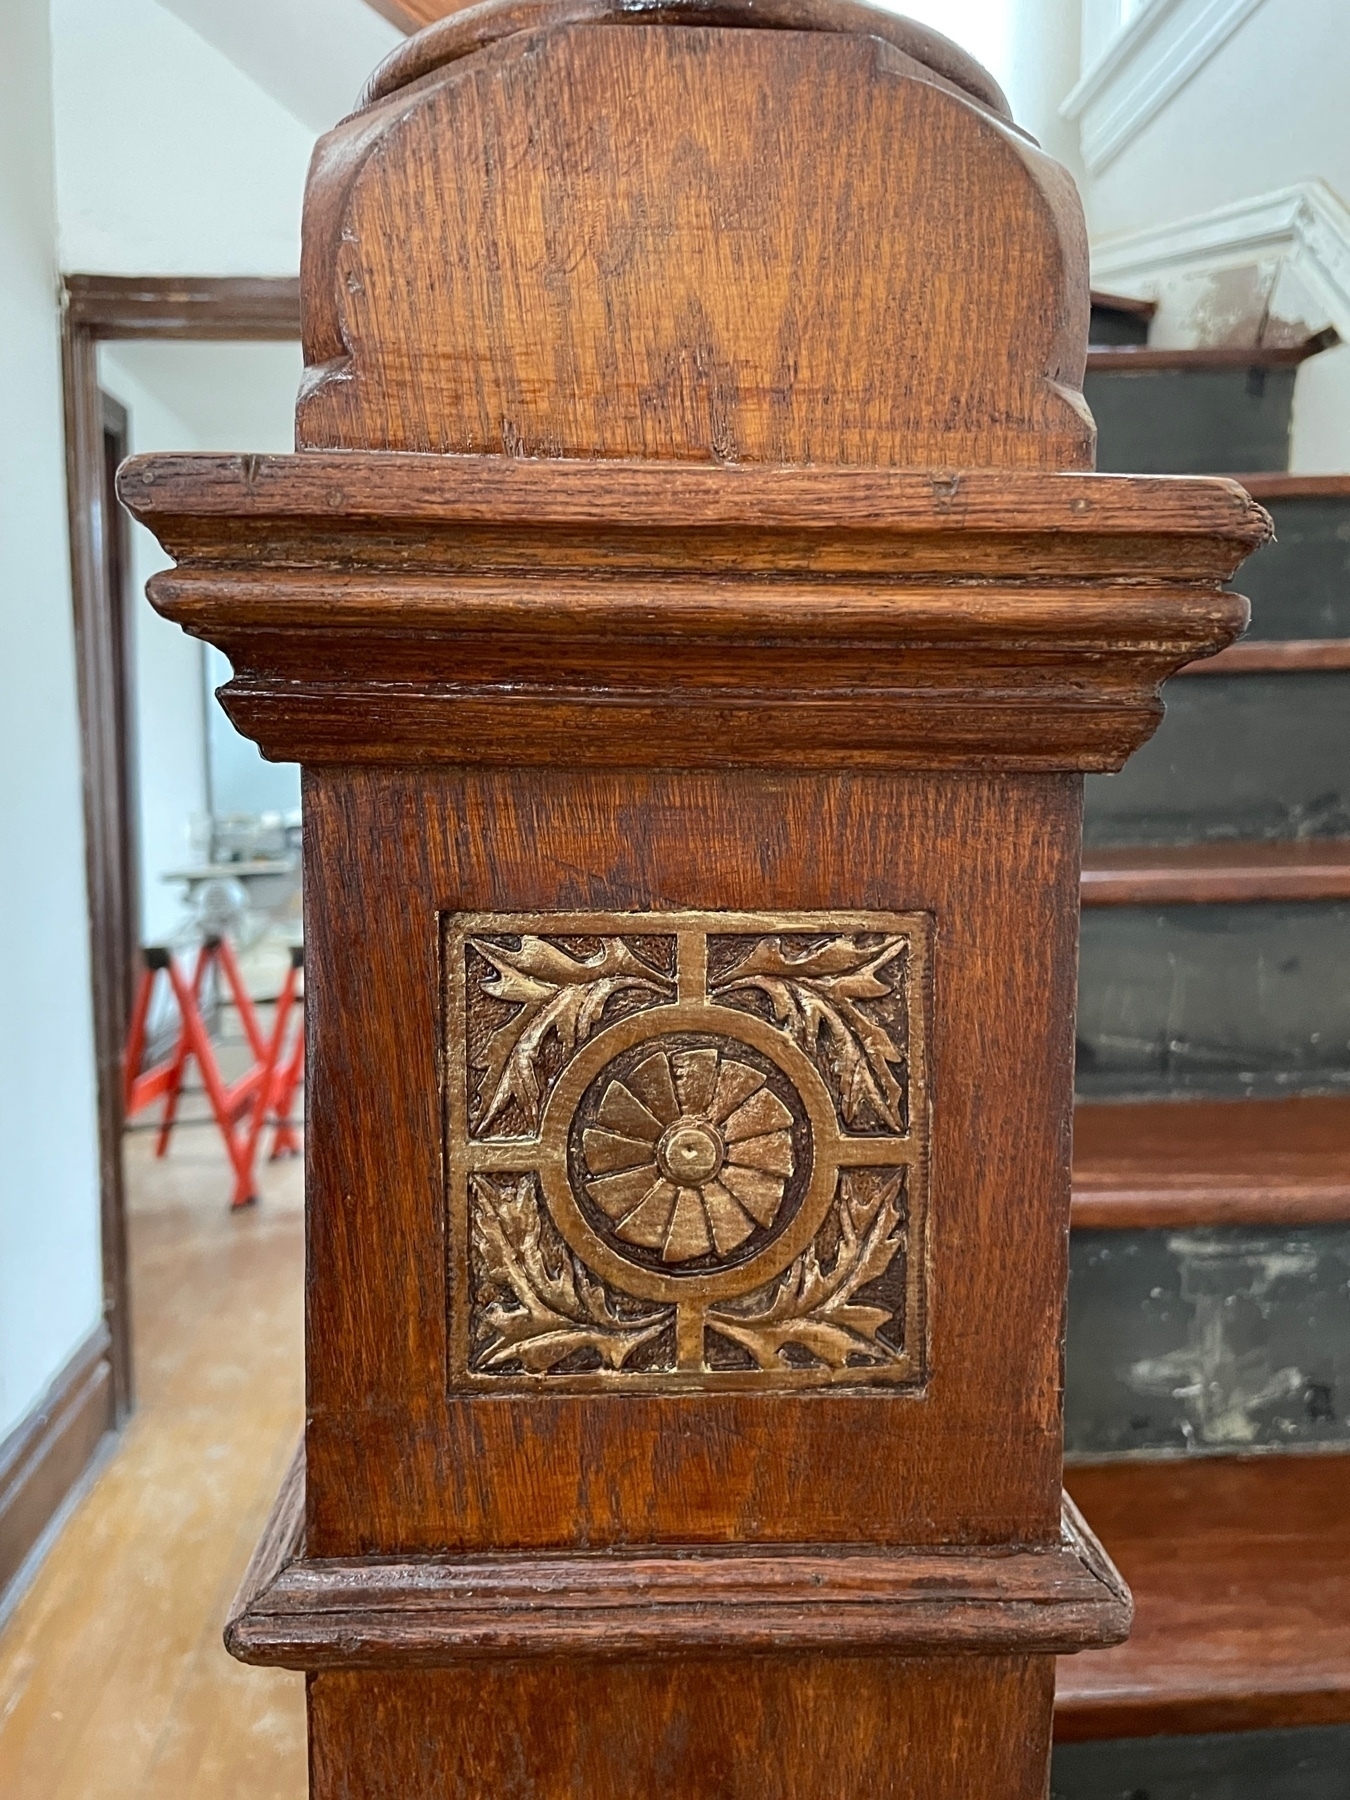
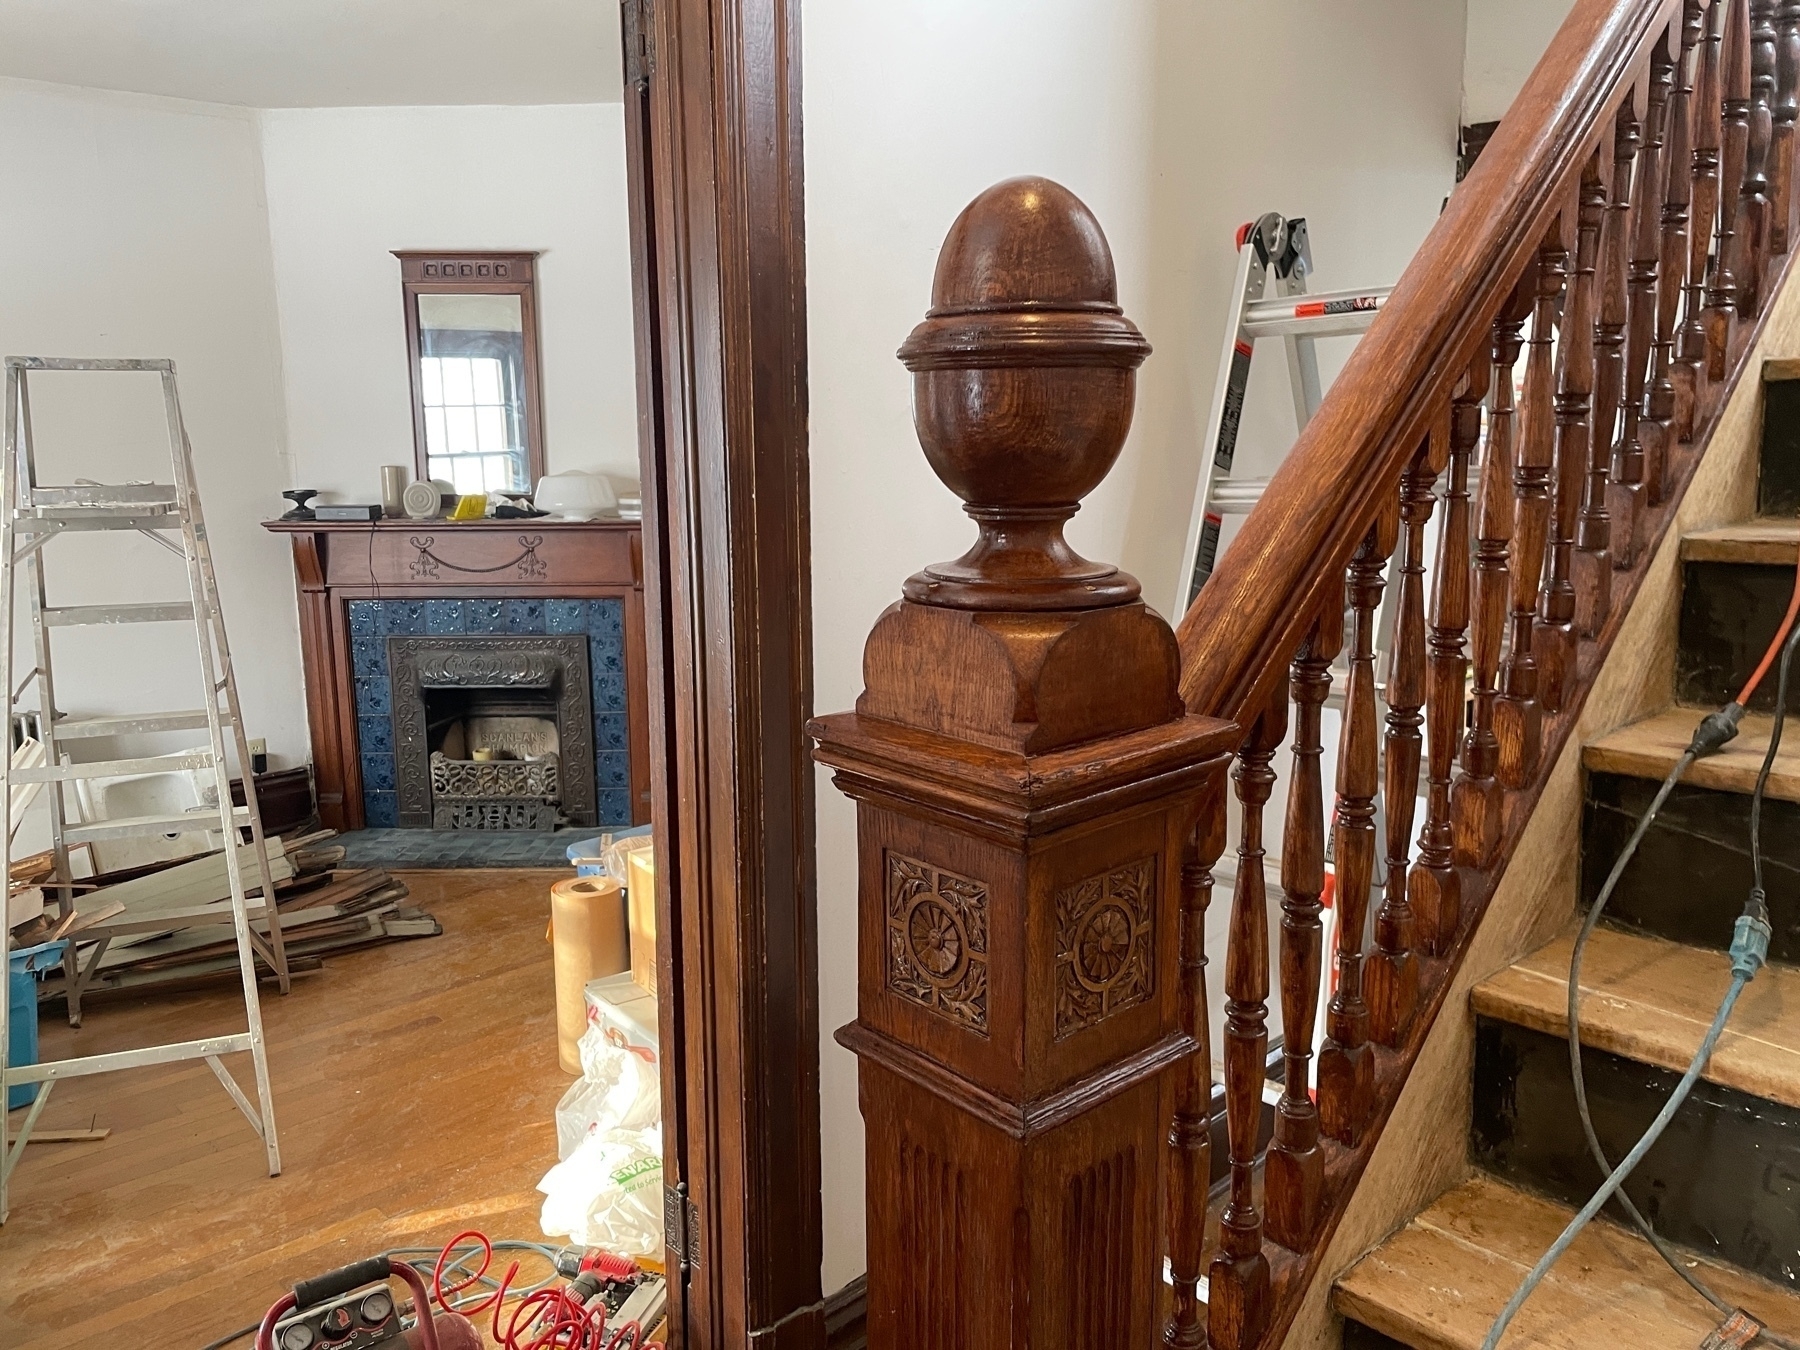
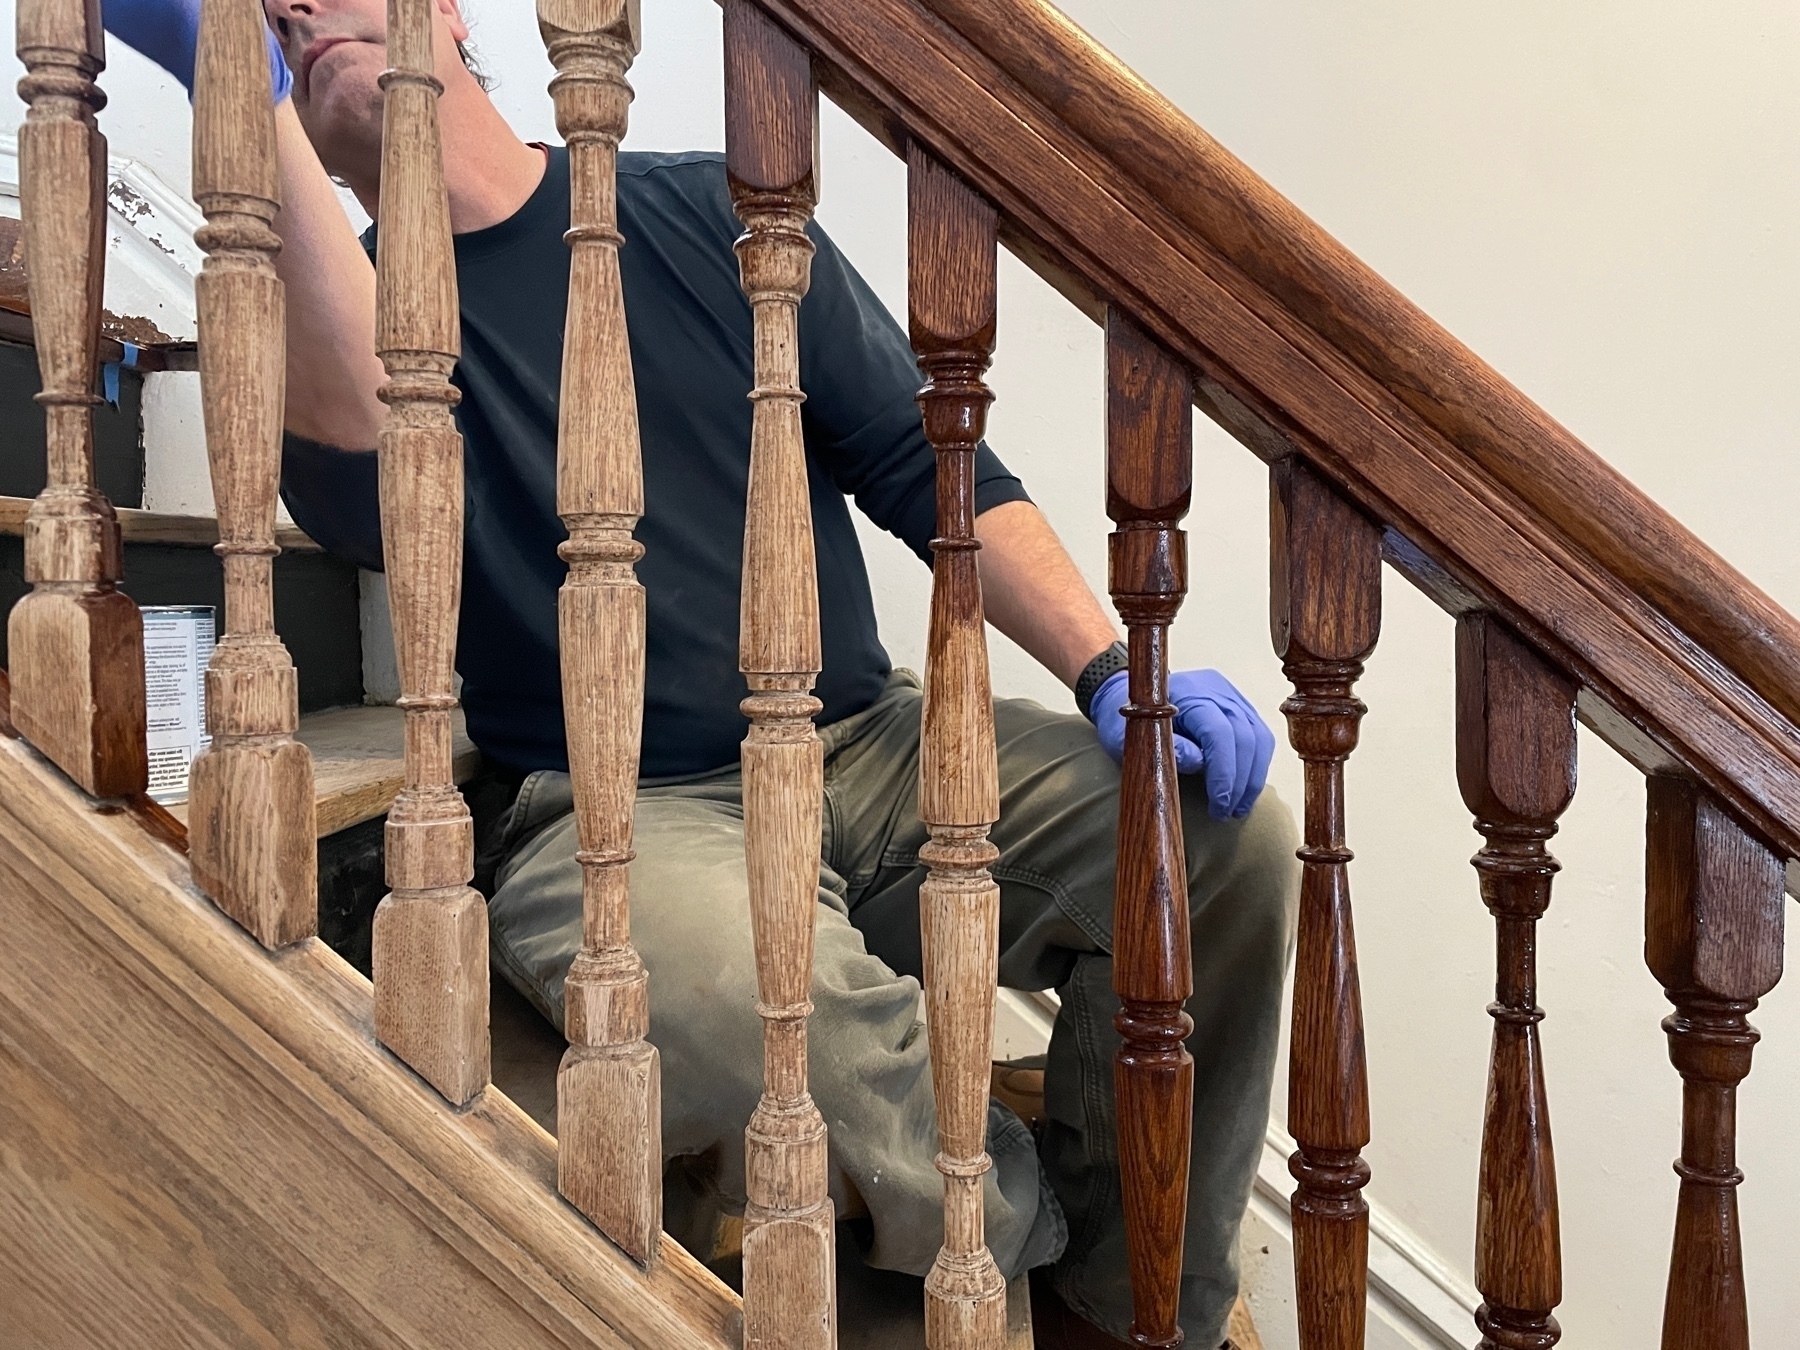
Todays fun project, besides touch ups on the staining, was some dry brush of metallic paint on the insets to make them pop a bit more.
